|
|
|
|
Products mentioned in this Article
--None--
|
|
|
|
|
|
|
|
|
 |
|
|
 |
Commandos vs. Engineers:
Digging in for Battle
with Mark Francis & Mike Haught
After
painting up the Panzer Brigade armour it was time to do the required compulsory
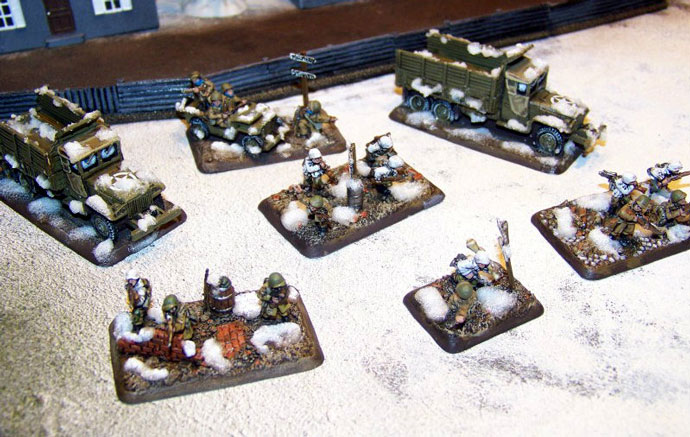
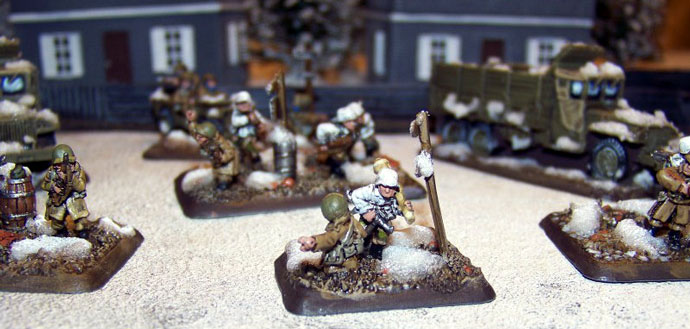
SS infantry platoon choice and I had decided to go with the SS-Jäger over the
SS-Fallschirmkommando. The main reason for this was because I wanted to add a
couple of Jägers in captured American uniforms to the platoon leading the rest
of the SS-Jägers forward. I also decided to use the Battlefront rubble bases
that I had been sitting on since Cassino came out to make the platoon look as
if it’s fighting through the outskirts of Malmedy.
|
 |
| Read Commandos vs. Engineers: Part Four here... |
|
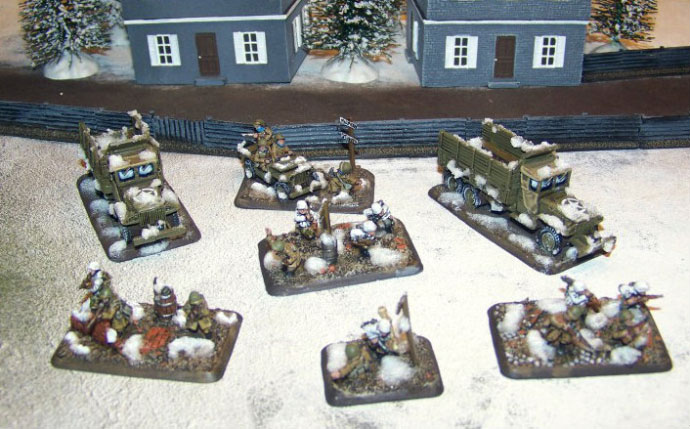
The unit also has a pair of captured US trucks as transport that gives the platoon the Enemy Disguises rule while mounted, although I’m not sure that is a risk I’d like to take with 3-4 teams occupying each truck. Since I will be playing Mike’s Engineers, I fought it fitting that the trucks that I used be engineer trucks from the Engineer Support Platoon box set; I will also need the supply truck for my Pioneer platoon. I’m not sure what to do with the bulldozer just yet; perhaps it will become part of an objective.
|
 |
|
While doing this platoon I also decided to paint up one of the Skorzeny teams, something I’d been looking forward to since starting this project.
~ Mark.
|
Fortifications
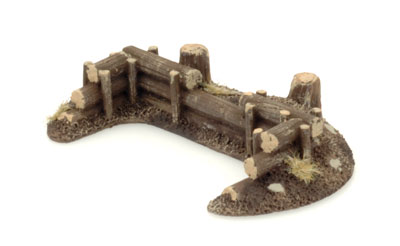
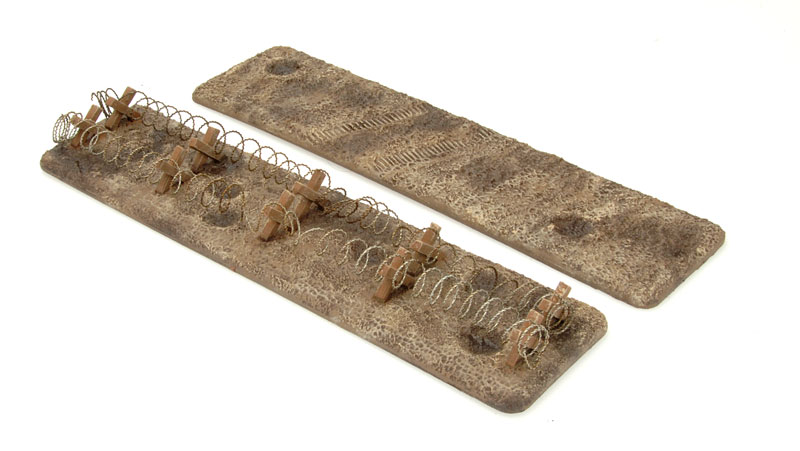
I wanted my fortifications to match my basing scheme, so I’ve given them a bit of a re-paint using the same colors as my bases (link).
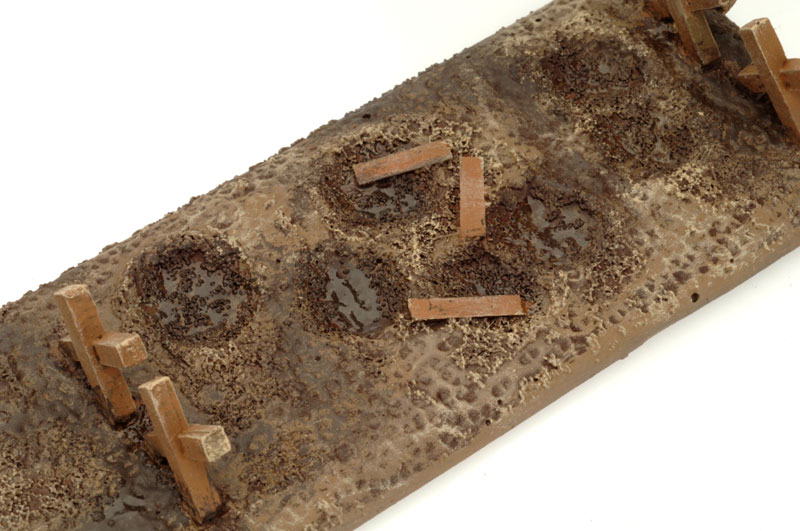
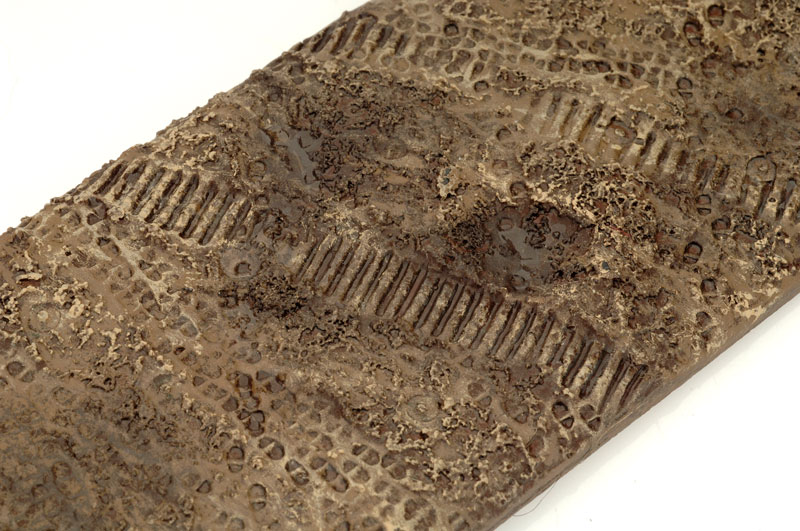
As with my bases, I made sure that all of the low-lying areas were colored darker, including all of the mortar shell holes, tank tracks, and the occasional footprint.
I chose the timber dug-in and emplacement markers because that was what the 291st Engineers was building when the Germans attacked through the Ardennes. They operated several saw-mills and were constructing bridges, emplacements, and winter quarters for the units operating in the Malmedy region.
|
 |
 |
 |
I decided not to add water effects to the emplacements as they are built up and water would naturally run off the tops rather than pool. There are some low areas where I conservatively added some gloss varnish to give the piece a damp impression.
However, the minefields and wire entanglements had some flat areas where water would pool. The only problem I had with using the PVA method on the obstacles is the fact that the fortifications are flexible, and I am worried the water effects would crack. So instead of filling the holes with a little PVA, I applied gloss varnish in very selective areas to get the reflective look.
|
|
Pooled Water
After painting, I darkened the low areas carved out of the base with German Camo Dark Brown. AFTER varnishing the team, these low areas would be filled with PVA glue (or a suitable water effect). Let that dry overnight, and you should have some soggy-looking ground!
The key with water effects is not to go overboard with them. In this case, less is definitely more. Smaller wet patches look better than large puddles that take up large parts of the base. It’s definitely worth doing a few tests before committing to a density across your force.
|
You can also experiment with gloss and satin varnishes applied to small areas, rather than the PVA. I tried this on another platoon and found that you can actually get a lot more control, however, you will need to build up several layers if you are trying to fill in a puddle or crater. I think I’ve struck a balance between the two that I am happy with, and you’ll have to experiment on your own to find what you are happy with too.
|
 |
Grass Clumps
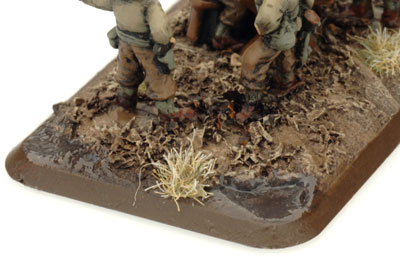
The dead grass clumps was experiment for this army. I wanted to have very little vegetation on the base to really underscore the messed up ground my poor troops were tasked with taking. Any grass that was growing would be the occasional isolated plant trying to reclaim the twisted landscape.
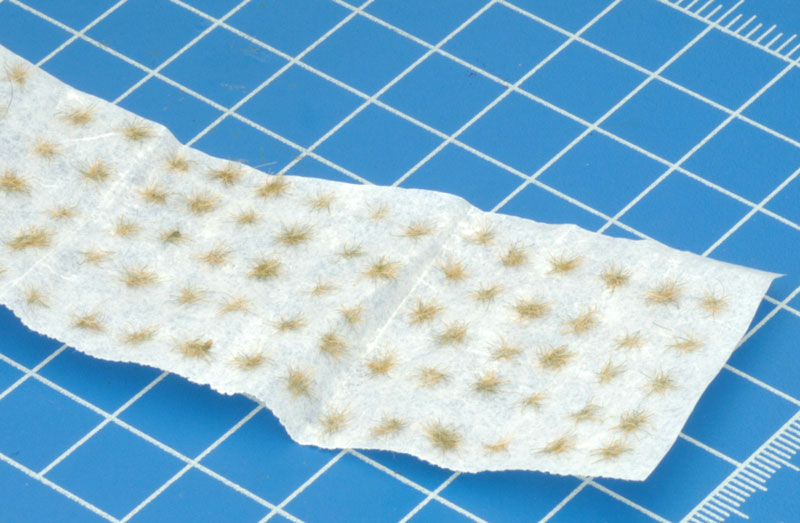
Typical tufts were simply too large for my goal, so I elected to make my own using GF9 static grass. I got a piece of wax paper (or baking paper) and applied small beads of PVA glue in rows. I then sprinkled the static grass on the beads of glue and let them dry.
|
 |
 |
After flicking off the excess static grass, the result was a slip of wax
paper with some small tufts. These could be easily peeled off the wax
paper and fixed to the base with a tough of PVA glue. I found that I
could make the flatter tufts stick up a bit by pushing the center of the
tuft into the vinyl spackle.
Well, enough trapsing through the mud! I've got an Engineer platoon to paint!
~ Mike
|
Last Updated On Thursday, December 6, 2012 by Blake at Battlefront
|
|
|