
|
| |
|
|
|
|
|
|
Products mentioned in this Article
|
|
|
|
|
|
|
|
|
 |
|
|
Tatra vz.30 Armoured Car (RO301)
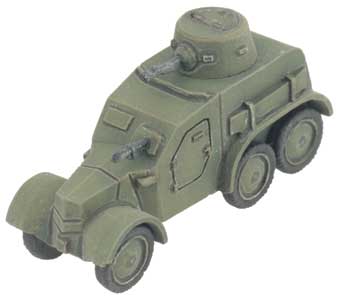 |
Tatra vz.30 Armoured Car (RO301)
includes three Tatra vz.30 Armoured Cars & three Commander figures.
The Romanian armoured car arsenal was made up entirely of captured vehicles. This included Nine a Czechoslovak-designed Tatra vz.30 armoured cars, which were acquired in 1939 with a Czech unit sought refuge after the German invasion..
Check out the Tatra vz.30 Armoured Car in the online store here...
|
Barbarossa Digital Exclusive
The Tatra vz.30 Armoured Car can support a Romanian Companie de Tancuri (Tank Company), Companie Vanatori Motorizata (Motorised Infantry Company), the Slovak Motorizovaná Pechota Rota (Motorised Infantry Company), or Obrnený Rota (Tank Company) for Operation Barbarossa. All four of these are available as digital briefings through Flames Of War Digital.
Find out how to get Flames Of War Digital... |
 |
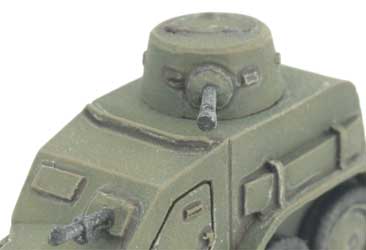 |
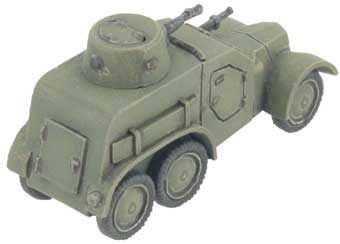
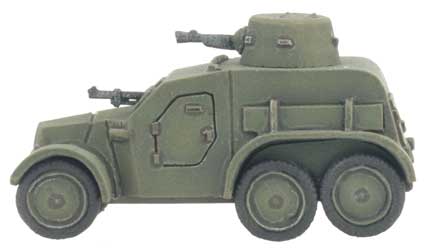
The Tatra vz.30's armoured body was mounted on a 6 x 4 truck chassis, which had good cross-country performance. The driver sat on the right side, using an armoured observation slit. The assistant driver sat on the left, and operated the Zbrojovka Brno vz.26 light machine gun. The gunner operated a second ZB vz.26 machine gun, set in a ball mount sat in the small turret.
Designed by Evan Allen
Painted by Aaron Mathie |
| The Tatra vz.30 Armoured Car in Barbarossa Digital |
|
|
|
|
Armour
|
|
|
|
Name
|
Mobility
|
Front
|
Side
|
Top
|
Equipment and Notes
|
|
Tatra vz.30
|
Wheeled
|
0
|
0
|
0
|
MG, Hull MG.
|
|
 |
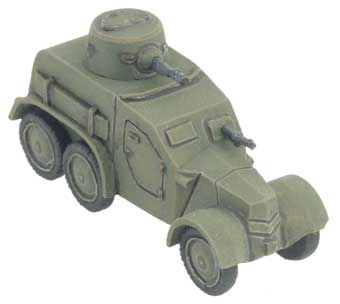 |
The Tatra vz.30's armour was no more than 6mm/¼” thick; this was deemed to be bulletproof, although only barely.
Its 32-horsepower 4-cylinder engine gave the vz.30 a top speed of 60km (37 miles) per hour. |
 |
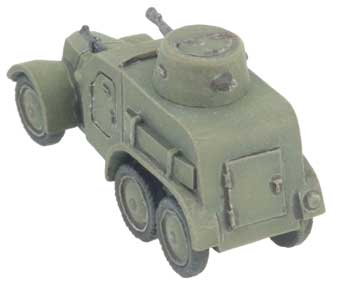 |
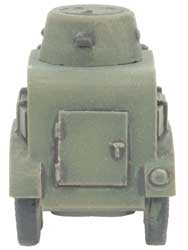
| Crew access to the fighting compartment was through a door in the rear of the vehicle. |
 |
 |
| Contact the customer service team at [email protected] if you have any issues with any of the components. |
Assembling The Tatra vz.30 Armoured Car
|
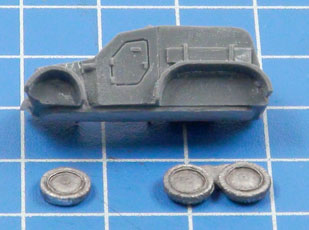
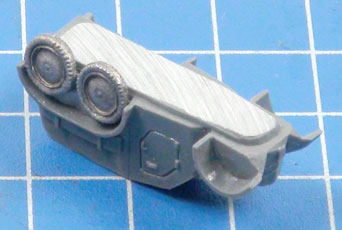
| The 4x6 chassis of the Tatra vz.30 has a single axle at the front, and double wheels. |
Glue the right-hand double back wheel piece in place, taking care to ensure it is straight. |
 |
 |
| Tip: When referring to
left or right-hand side in regards to a Flames Of War miniature, the
orientation is determined as if looking at the vehicle from the rear. |
| Glue the right-hand single front wheel in place. |
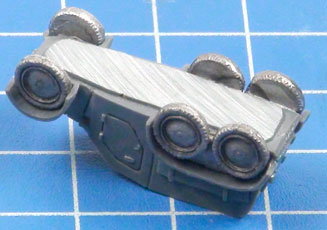
Repeat for the left-hand side. |
Place the vehicle wheels-down to check that all wheels are straight, before the glue dries. |
|
|
 |
|
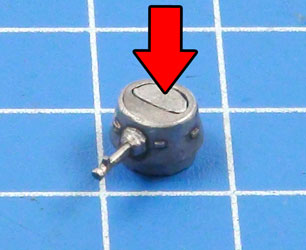
| To model the armoued car 'buttoned up', simply glue the hatch into the hole in the turret. |
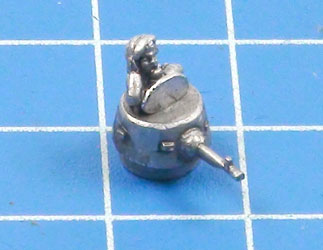
If you want to have the gunner looking out of the hatch (optional) glue the hatch vertically open,... |
...then glue the commander figure in place behind the hatch, which will help to hold the hatch in place. |
 |
|
 |
Last Updated On Thursday, February 26, 2015 by Wayne at Battlefront
|
|
|