|
|
 |
|
|
Mechanised Aces Battle Report
 |
Mechanised Aces Battle Report
with Andrew Haught & Blake Coster
Andrew's Armored Rifle Company faces off against Blake's Gepanzerte Panzergrenadierkompanie in a Campaign Turn Two 700-point Mechanised Aces battle report.
|
| Learn more about Mechanised Aces here... |
Andrew's Mechanised Ace
|
Jack Campbell leads Andrew's Armoured Rifle Company from the 1st Armored Division (page 196 of Road To Rome) into battle utilising the abilities Faith In The Plan and Strategic Commander from the Hell On Wheels ability tree.
|
| Jack Campbell's Mechanised Ace Abilities |
Faith In The Plan
To be able to adapt to the ever-shifting battle you must be flexible. The key to flexibility is good communication and training.
Once per turn a platoon that your Ace that has not Joined and is with in line of sight may re-roll one failed Motivation Check. This is in addition to the command leadership re-roll that he provides to a platoon he has joined.
Strategic Commander
A battle can be won and lost before the fighting even starts. Having the right men in the right spot can be the key to victory. After a few battles you have begun to really get to know your men and how to utilise them to better suit your mission.
One team in each combat platoon may be attached to another combat platoon. You may not remove a platoon commander using this rule.
To take this Ability your Mechanised Ace must have the ability: Faith in the Plan. |
| Andrew's Armored Rifle Company (Confident Veteran) Road To Rome (page 197) |
Armored Rifle Company HQ
|
|
| with Company HQ, Jeep & M3 half-track with .50 cal AA MG. |
25 points
|
| Combat Platoons |
|
| Armored Rifle Platoon |
|
| with HQ Section, 60mm Mortar Squad, LMG Squad, two Rifle Squads & two .50 cal AA MGs. |
270 points
|
| Armored Rifle Platoon |
|
| with HQ Section, 60mm Mortar Squad, LMG Squad, two Rifle Squads & two .50 cal AA MGs. |
270 points
|
Weapons Platoon
|
|
Assault Gun Platoon
|
|
| with three M8 Scoot HMC. |
135 points |
| Total Points: |
700 points |
|
Blake's Mechanised Ace
|
| Dirk Emmelmann leads Blake's Gepanzerte Panzergrenadierkompanie from 26. Panzerdivison (page 120 of Fortress Italy) into battle utilising the abilities Heavy Assault and Hit'em Hard from the Ironhorse ability tree. |
| Dirk Emmelmann's Mechanised Ace Abilities |
Heavy Assault
No one asks why you have notches carved in the handle of your sharpened entrenching tool...
Your Mechanised Ace may re-roll his failed skill checks to Hit in Assault Combat.
Hit ‘Em Hard
You and your men accept that there will be casualties when charging the enemy and you do not let that slow you down.
When your Mechanised Ace joins one of your Combat or Weapons platoons that launches an Assault, the first hit on the platoon does not count towards Pinning Down the platoon.
To take this Ability your Mechanised Ace must have the ability: Heavy Assault.
|
Blake's Gepanzerte Panzergrenadierkompanie (Confident Veteran) Fortress Italy (page 120)
|
Gepanzerte Panzergrenadierkompanie HQ
|
|
with Company HQ & one Panzerschreck team.
|
100 points
|
| Combat Platoons |
|
Gepanzerte Panzergrenadier Platoon
|
|
with HQ Section & three Panzergrenadier Squads.
|
220 points
|
Gepanzerte Panzergrenadier Platoon
|
|
| with HQ Section & three Panzergrenadier Squads. |
220 points
|
Weapons Platoon
|
|
Panzergrenadier Cannon Platoon
|
|
| with four Sd Kfz 251/9 D (7.5cm). |
160 points |
| Total Points: |
700 points |
|
| The Battlefield (The German Objectives are outlined in red; the American objectives are outlined in blue.) |
| Deployment (The German platoons shown are outlined in red; the American platoons are shown outlined in blue.) |
German Deployment
|
American Deployment
|
1. Gepanzerte Panzergrenadierkompanie HQ
2. Panzergrenadier Cannon Platoon.
3. Gepanzerte Panzergrenadier Platoon (mounted).
4. Gepanzerte Panzergrenadier Platoon (dismounted).
|
1. Armored Rifle Company Command team (in building).
2 & 3. Armored Rifle Platoons (mounted).
4. Assault Gun Platoon & 2iC Command team.
|
Before we started the game Andrew used his Strategic Commander ability to swap a mortar stand and an infantry stand in his two Combat platoons. This made the platoon with the extra mortar stand into his defensive platoon while the extra rifle stand made other platoon into a more of an assaulting platoon.
|
Let The Battle Begin
|
Turn One
|
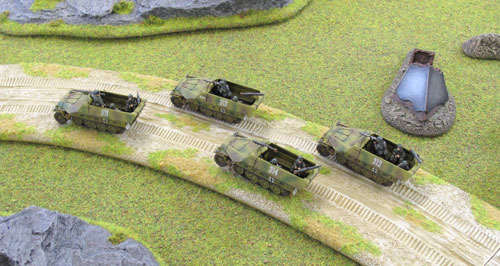
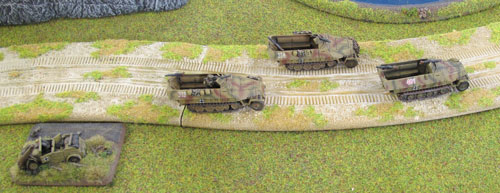
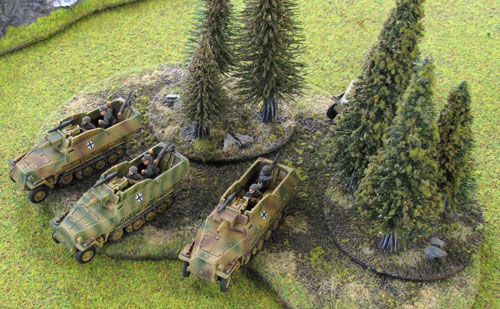
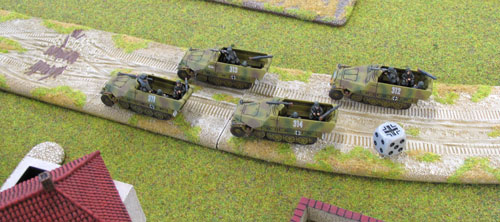
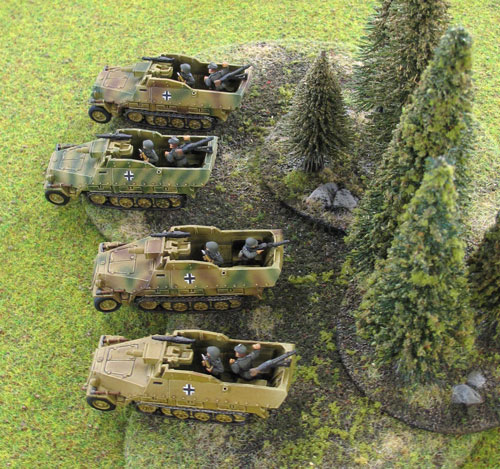
Blake won the dice off and the first turn. On the right flank Blake’s dismounted Gepanzerte Panzergrenadier Platoon failed to dig in. His second Gepanzerte Panzergrenadier Platoon moved boldly up to centre of the table with the Company HQ doing the same on the left flank. His Panzergrenadier Cannon Platoon moved through the woods to achieve concealment and cover the advance. However, one half-track was lost to due to becoming bogged down.
Right & Below: Blake's half-tracks advantage towards their objective.
|
 |
 |
|
|
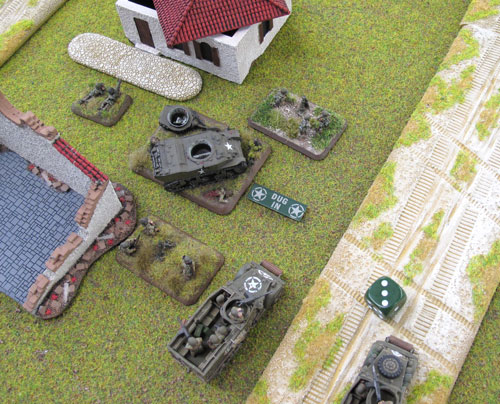
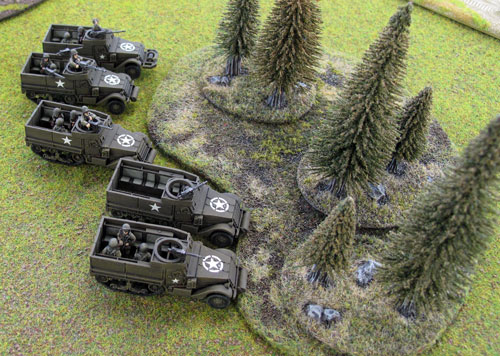
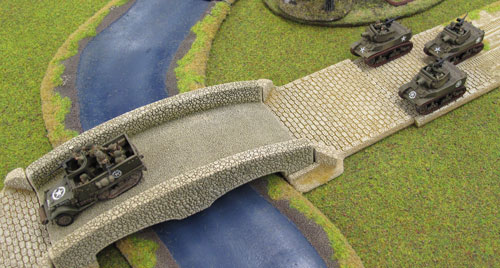
Andrew's 2iC command team proceeded up the road towards the dismounted Panzergrenadiers while the mortars and bazookas near the Company Commander dug in to shore up their position. The assault-focused infantry platoon with the extra rifle team advanced and took cover behind the wood near the pond. The M8 Scotts fired a bombardment on the right flank, catching Blake’s infantry in the open since they had failed to dig in. However, the bombardment only resulted in pinning the unit.
Left: The mortars and bazooka teams dig in.
Below left: Taking cover behind the woods.
Below right: The M8 Scotts fire a bombardment. |
 |
|
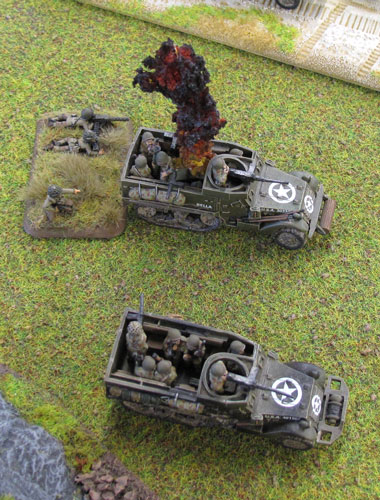
At the top of turn two, Blake once more started by trying to dig in his dismounted Panzergrenadiers, but failed. The Company HQ and mounted Panzergrenadier Platoon moved closer to the objective near the building. The bogged-down half-track was able to join the rest of the Cannon Platoon on the edge of the woods. The resulting fire from the Cannon Platoon destroyed one of Andrew’s half-tracks, with only one LMG team making its Passenger Save.
|
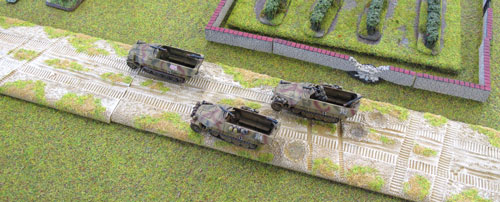 |
Above right & below left: The advance continues; Below middle & right: The first casualty of the day.
|
 |
 |
|
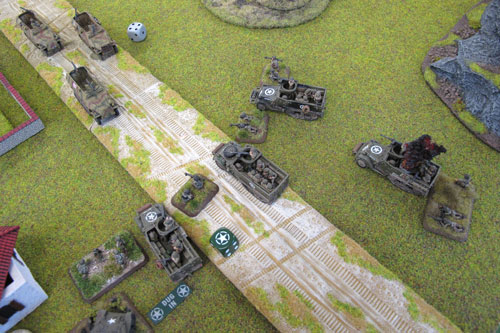 |
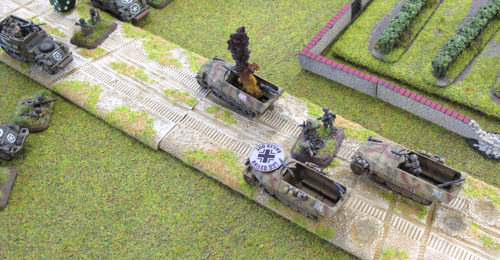
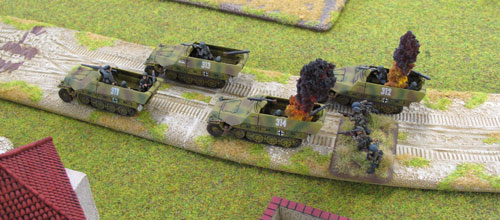
Andrew unleashed the power of his .50 cal machine-gun on the Cannon Platoon, destroying one half-track and bailing two the others. His 2iC grabbed some cover on the other side of the bridge and machine-gunned Blake’s dismounted Panzergrenadiers, killing one stand, with a bombardment from the M8s claiming another. Now in range of the dug-in bazooka teams, Blake’s half-tracks escaped their incoming fire. However the fire from the .50 cals proved lethal once again, destroying one half-track from the Company HQ and two half-tracks in Blake’s Mounted Panzergrenadier Platoon, with only one team out of four making a successful Passenger Save. The fortunes of war seemed to be with the Americans at this stage.
|
Above left: The .50 cal MG prepare to fire; Below left & right: The aftermath of the .50 cal MG fire.
|
 |
 |
Turn Three
|
|
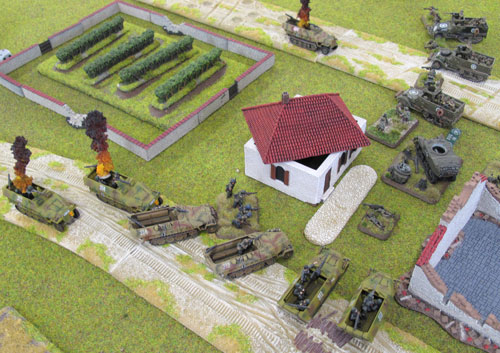
Blake once again tried and failed to dig in his Dismounted Panzergrenadiers on the right flank, but was finally able to unleash the firepower of the Cannon Platoon as all of the half-tracks successfully negotiated the terrain of the woods. Five dice against Andrew’s assault platoon destroyed two half-tracks and bailed another, with all teams inside failing their Passenger Saves. The combined firepower from Blake’s Company HQ and Mounted Panzergrenadier Platoon managed to kill two bazooka teams, a half-track and an LMG team before mounting an assault.
Right: The Panzergrenadiers move into position for the assault.
|
 |
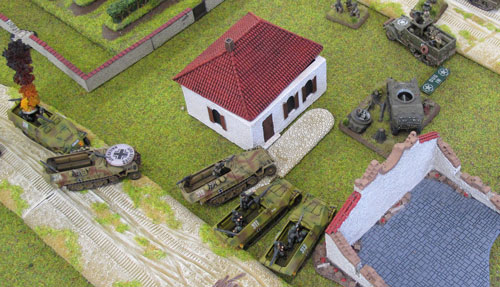
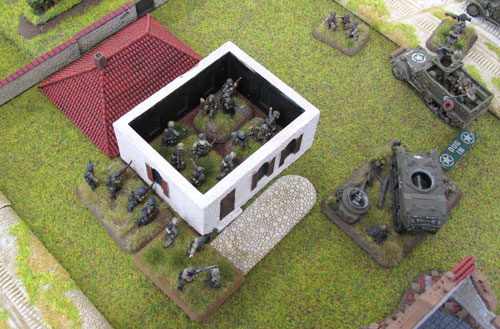
| Unable to bounce the incoming half-tracks with Defensive Fire, Andrew lost another Bazooka team but soon realised the only team able to counterattack was his Company Commander and therefore decided to fall back. However, the loss of the mortar team did force a Platoon Morale Check, which Andrew was able to pass as the Germans consolidated into the now empty building and were able to contest the objective. |
| Below: The assaulting Panzergrenadiers push the defenders out of the building, allowing them to contest the objective. |
 |
 |
With the worm turning in the Germans' favour, Andrew threw the M8s and his 2iC against the Dismounted Panzergrenadiers. Seeing an opportunity, Andrew dismounted his infantry and moved his Bazooka team into Assault range of the Cannon platoon. During his shooting step, the combined fire from the M8s and 2iC killed three teams: enough to force a Platoon Moral Check, which Blake promptly failed.
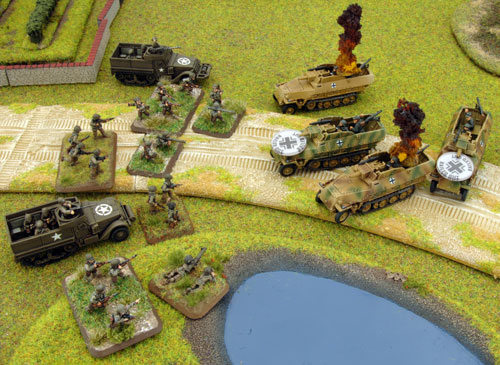
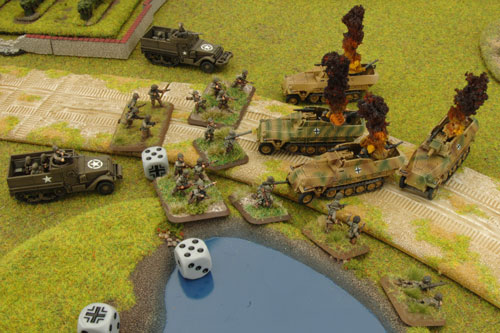
On the other side of the table, the fire from the Bazookas and .50 cal MGs either destroyed or bailed all of the half-tracks of Blake’s Cannon Platoon. The pending assault was left with little to do but mop up the bailed-out half-tracks.
|
Below: Mopping up the Cannon Platoon.
|
 |
 |
|
At the start of the fourth turn, Blake was forced to roll Company Moral to stay in the fight, but failed. It was a close game, if not for a bit of luck on Andrew’s part, Blake was very close to pulling off a victory. However, an American victory means the Allies are one step closer on the road to Rome.
~ Andrew & Blake.
|
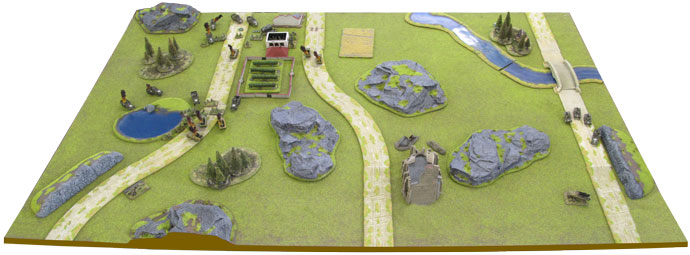
| The Aftermath |
 |
Last Updated On Thursday, May 1, 2014 by Blake at Battlefront
|
|
|