
|
| |
|
|
|
|
 |
|
|
Putting Them To The Test
 |
Putting Them To The Test:
The Battlefront Studio Panzer Ausbildungs Abteilung 500 On The Tabletop
with Blake Coster & Steven MacLauchlan
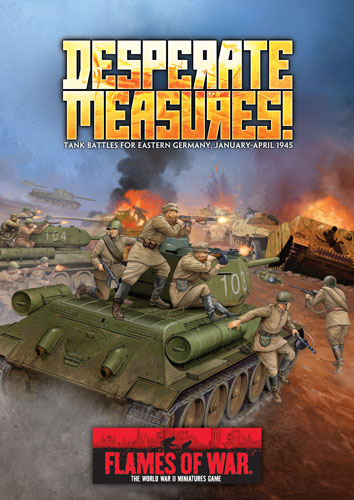
The Panzer Ausbildungs Abteilung 500 featured in Desperate Measures was the inspiration for the latest Battlefront Studio painting challenge. Each member of the studio spent twelve hours painting a single tank with the aim of creating a 1500-point force. Once the army was complete; it seemed a shame not to get them on the tabletop.
|
The Battlefront Studio Panzer Ausbildungs Abteilung 500
Over the last few weeks we’ve featured an article on each of the platoons of the Studio’s Panzer Ausbildungs Abteilung 500. Check out the links below to learn more about each of the platoons:
|
| So I (Blake) managed to talk Steven into facing off against the Studio
Panzer Ausbildungs Abteilung 500 with a Hero Sredniy
Samokhodno-artillyeriyskiy Polk (or Hero Medium Self-propelled Artillery
Regiment) also featured in Desperate Measures. |
Below: The Battlefront Studio's Panzer Ausbildungs Abteilung 500 in its entirety.
|
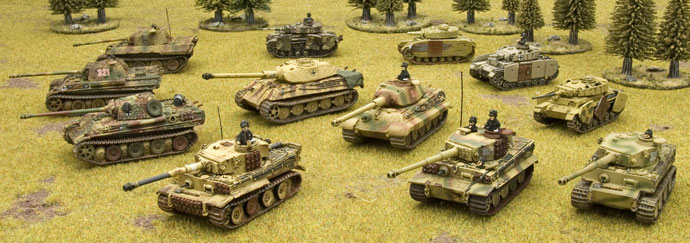 |
1500-point Panzer Ausbildungs Abteilung 500 (Confident Trained)
|
Panzer Ausbildungs Abteilung 500 HQ
|
|
with one Tiger I E (painted by Victor Pesch)
|
155 points
|
| Combat Platoons |
|
| Panther Ausbildungs Platoon |
|
| with three Panther A or G (painted by James Brown, Mike Haycock, & Blake Coster)
|
405 points
|
Schwere Panzer Ausbildung Platoon
|
|
with two Tiger I E (painted by Wayne Turner & Chris Townley)
|
280 points
|
| Schwere Panzer Ausbildung Platoon |
|
| with two Königstiger (Porsche) (painted by Casey Davis & the Studio) |
445 points |
| Leichte Panzer Ausbildungs Platoon
|
|
with four Panzer III L or M (painted by Mike & Andrew Haught, Steven MacLauchlan, & Sean Goodison)
|
180 points
|
Each upgraded with Schürzen.
|
20 points
|
| Total Points: |
1485 points |
|
Below: The Hero Sredniy
Samokhodno-artillyeriyskiy Polk in all its glory.
|
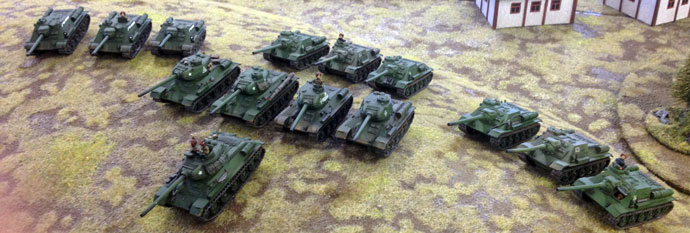 |
1500-point Hero Sredniy
Samokhodno-artillyeriyskiy Polk (Fearless Trained)
|
| Hero Sredniy
Samokhodno-artillyeriyskiy Polk HQ
|
|
with one T-34/85 obr 1944
|
95 points
|
| Combat Companies |
|
Hero Medium Assault Gun Company
|
|
| with three SU-100
|
360 points
|
| Hero Medium Assault Gun Company |
|
| with three SU-100 |
360 points
|
| Hero Medium Assault Gun Company |
|
| with SU-85 |
230 points |
| Support Companies
|
|
Hero Tankovy Company
|
|
with four T-34/85 obr 1944
|
375 points
|
| Total Points: |
1420 points |
|
The Table & Mission
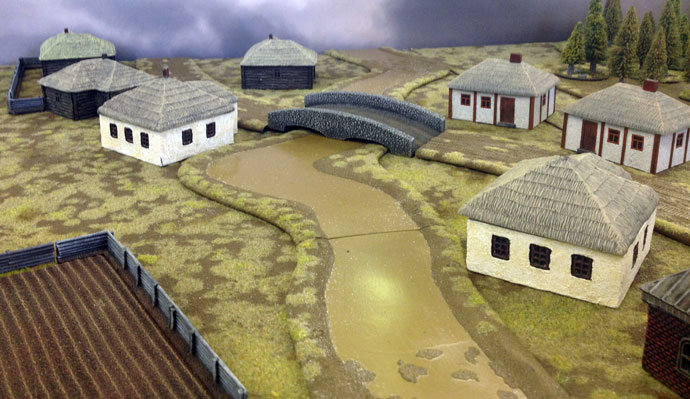
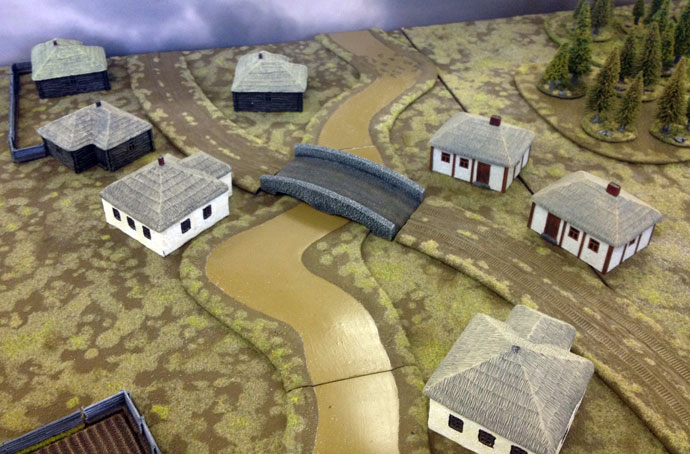
For the mission we settled on Dust Up and placed our Objectives atop each of the hills at either end of the table and at each end of the road. The story we wanted to tell was the Soviets attempting to capture the village and gain control of the high ground surrounding it, with the Germans trying to prevent this from happening.
|
Below: The village in the center of the table.
|
 |
|
Deployment
I need the toughness of the Panthers and Königstigers on the table, so I decide to keep the Panzer III platoon along with Tiger I E platoon in reserve. Hopefully the high rate of fire of the Panzer IIIs will be able to take advantage of the weaker side armour of the Soviet tanks. Steven’s SU-100s pack plenty of punch and pose a serious threat to everything bar my Königstigers. Therefore he chooses to keep the T-34/85 obr 1944 and SU-85 in reverse.
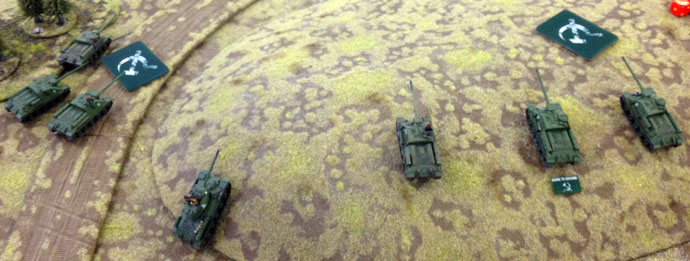
Deployment is simple: both armies take advantage of the cover provided by the hills at their ends of the table.
|
Below: The Soviet deployment showing the position of the objectives.
|
 |
Below: The German deployment showing the position of the objectives.
|
Let The Battle Begin...
The first few turns are all about manoeuvring. Since both armies start in opposite corners of the table, not even the SU-100 and Königstigers with ranges of 40”/100cm have any valid targets.
|
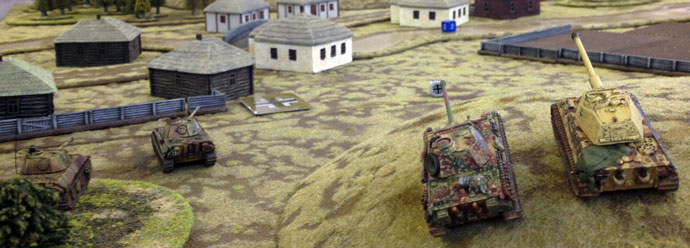
| Below: Blake's Panthers and Tigers rumble up and over the hill. |
 |
| Below: Over the hill and into the forrest. |
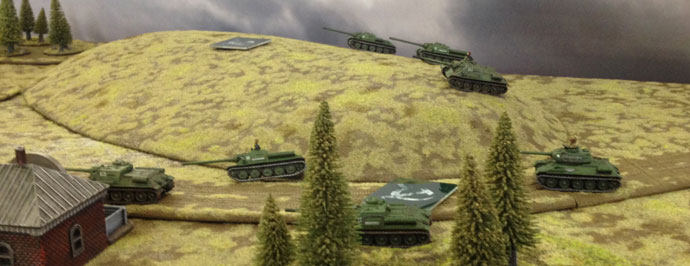
| Below: Steven's SU-100s go hull-down on the hill and advance along the road into the village. |
 |
Below: The Panther's advance into the village as the Königstigers take up firing positions to oppose the SU-100s on the hilltop.
|
 |
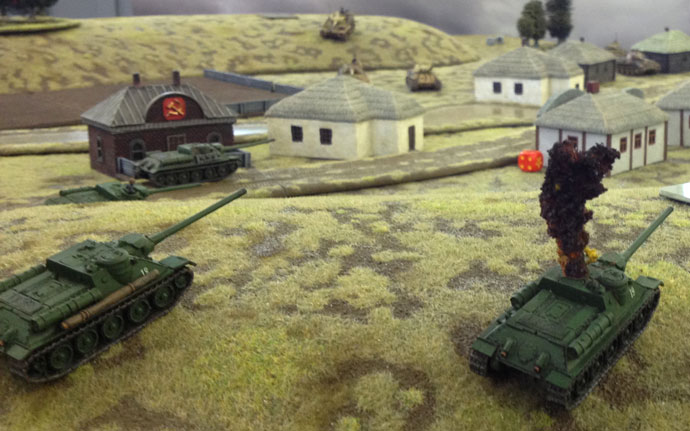
First Blood
With the enemy finally in range, the Königstiger platoon claims first blood, destroying the first of the SU-100s located on the hilltop.
|
Below: The Königstigers claim first blood.
|
 |
Take That!
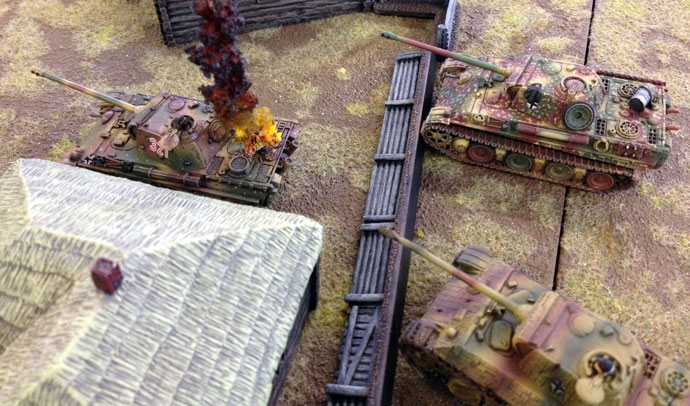
The Soviets take up a position in the village and retaliate, taking out a Panther at the opposite end of the village.
|
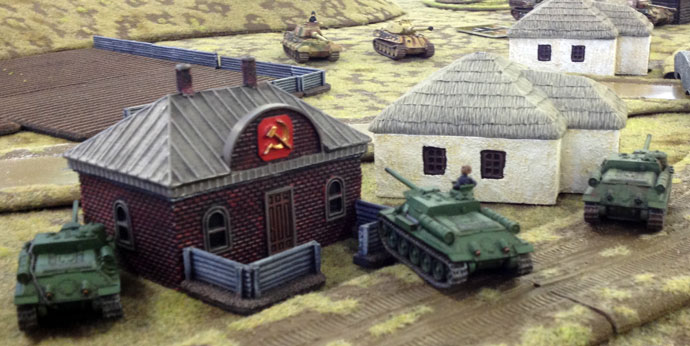 |
| Below: The SU-100s claim their first victim. |
 |
Below: A wider view of the action.
|
 |
Disaster Strikes!
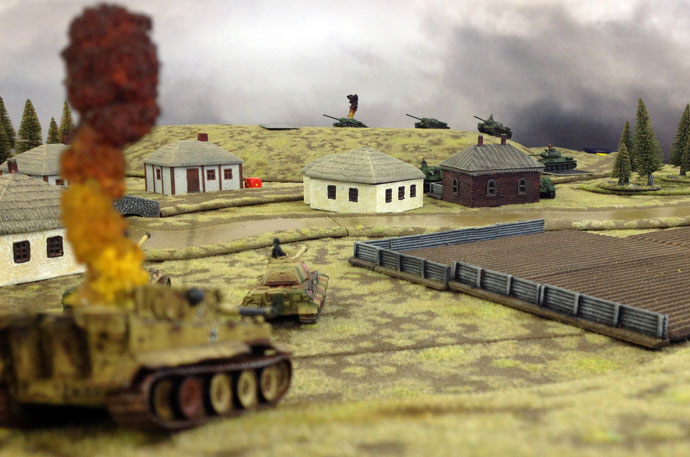
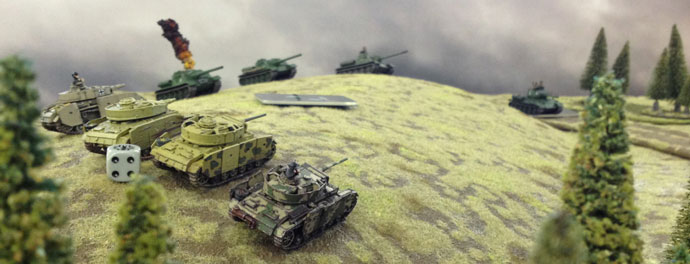
Long-range fire from the SU-100s on the hilltop claims the Company Commander’s Tiger I E coming over the crest of the hill. But the loss of the Company Commander is countered by the arrival of the Germans' first platoon from reserve: the Panzer IIIs.
|
Below: Long-range fire claims the Company Commander's Tiger I E.
|
 |
| Below: The Panzer III platoon arrives from reserve. |
 |
| Below: The remaining Panthers consolidate their position further into the village. |
Looking Down The Barrel(s)!
With the Panzer III platoon coming in from reserve and immediately threatening the objective on the hilltop, all the Soviet firepower concentrates on them in an attempt to eliminate the threat. However, the combined firepower can only destroy one Panzer III and bail out another.
|
| Below: The Panzer IIIs feel the wrath of the Red Army. |
 |
Help Is On The Way
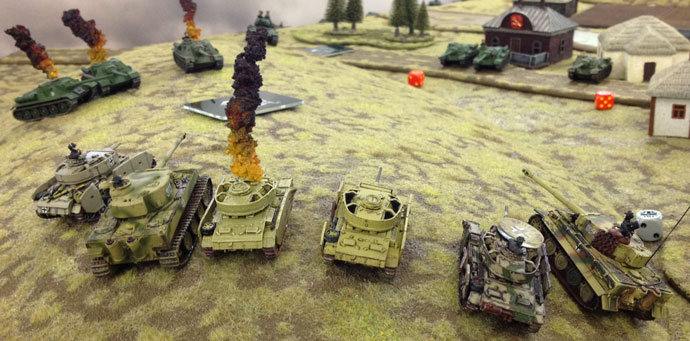
The last of the reserves for the Germans arrive as the Tiger I E platoon reinforce the Panzer IIIs. Meanwhile, long-range firepower from the Königstigers eliminates the SU-100 platoon situated on the hilltop.
|
| Below: The Tiger I E platoon reinforce the Panzer IIIs. |
 |
That Was Quick
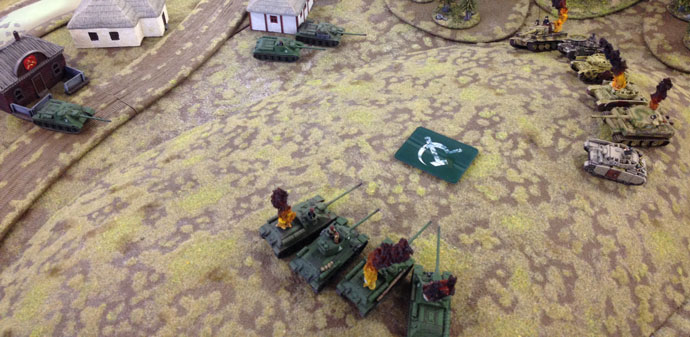
As quickly as they arrived, the Tiger I Es are destroyed in hail of 100mm shells. The Panzer IIIs are now left to contest the objective by themselves until further help can arrive.
|
Below: The Tiger I E platoon is destroyed.
|
 |
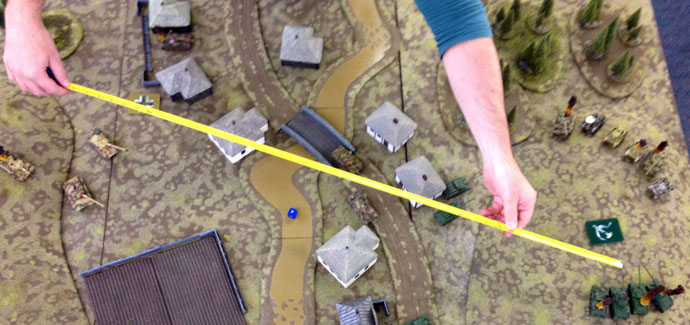
| Below: Blake checks the range for the Königstiger to inflict some payback. |
 |
Payback
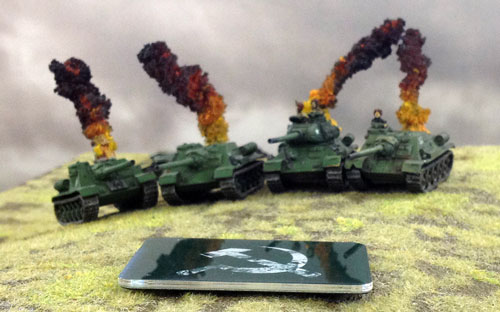
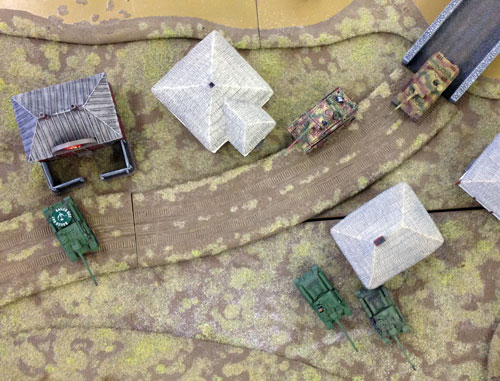
Utilising the long-range firepower of the Königstigers once more, the Soviet Company Commander is destroyed despite nestling amongst the burning wrecks on his fallen comrades.
Right: The Soviet Company Commander meets the same fate as his comrades on the hilltop, courtesy of the Königstigers.
|
|
 |
Flank’em!
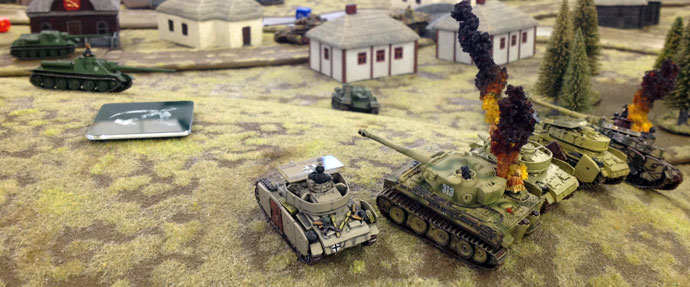
With the threat on the hilltop neutralised, the Panthers move further into the village to help relieve the pressure on the Panzer IIIs. The Soviets counter but spread out in an attempt to cover both the objective and the threat posed by the approaching Panthers.
Left: The Panthers attempt to flank the remaining SU-100 company. |
Below: The remaining SU-100 company is forced to spread out to counter the threat posed by the flanking Panthers and the Panzer IIIs on the hilltop.
|
 |
Not So Fast
A poor round of shooting can only bail out a single SU-100, which then takes matters into its own hands, destroying another Panther. However, thanks to the Enjoy The War special rule, the lone survivor stays in the fight.
|
| Below: Another Panther bites the dust. |
 |
Death For Afar
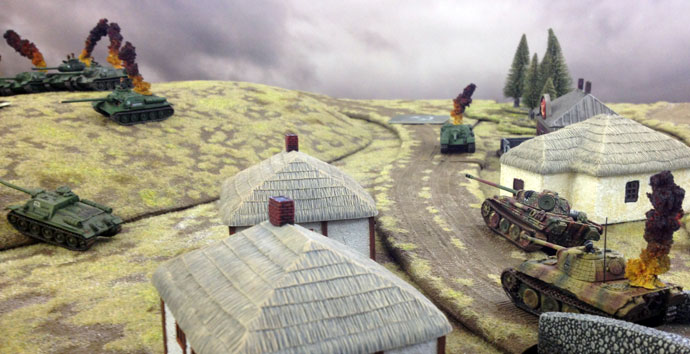
With the Command SU-100 exposed on the hilltop, the Königstigers strike once more. Four shots prove more than adequate in vanquishing this foe. A second SU-100 is claimed by the lone Panther, leaving the remaining vehicle stranded at the bottom of the hill.
|
Below: The Königstigers eye up their next victim.
|
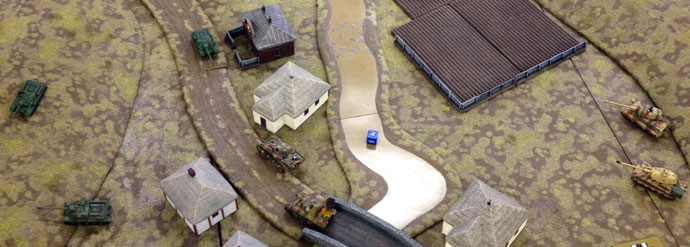 |
| Below: With the Command SU-100 knocked out, the last SU-100 is left stranded at the bottom of the hill and unable to contest the objective. |
 |
In The Nick Of Time
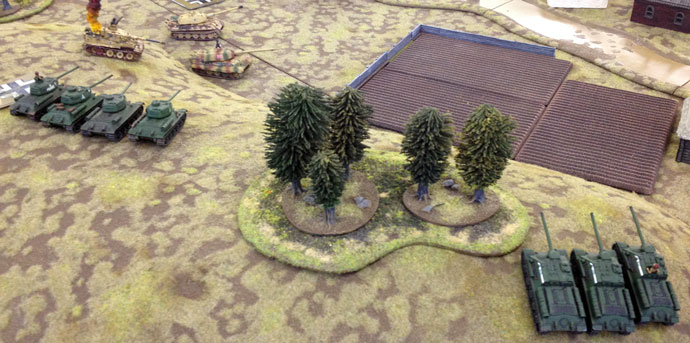
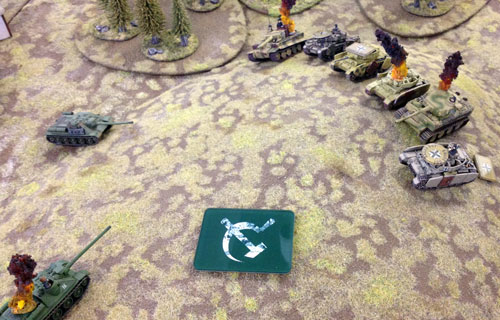
Just as it looked like this was the end for the Soviets, their reserves finally arrive as the T-34/85 obr 1944 and SU-85 platoons race onto the table and attempt to capture an objective of their own. Immediate fire bails out one of the Königstigers, leaving just one vehicle active. The final Panther is also knocked out with a long-range flank shot. |
Below: The Soviet reserves arrive just in the nick of time.
|
 |
 |
Pulling Defeat From The Jaws Of Victory
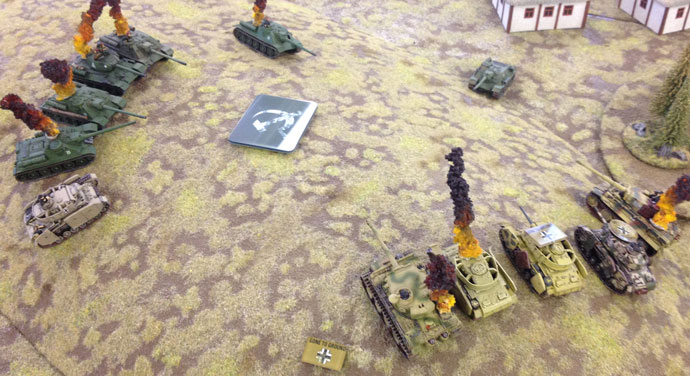
With the Panzer III contesting the objective currently bailed out, it is left to the active Königstiger to buy some time till the hilltop objective can be safely secured. Luckily, the Panzer III re-mounts and manoeuvres into a position where it can contest the objective and remain out of line of sight of the SU-100 lurking at the bottom of the hill.
It's now up to the Königtiger to sacrifice itself for the greater good.
Left: The situation on the hilltop. |
Below: The Panzer III holds the objective from the safety of the opposing hillside.
|
 |
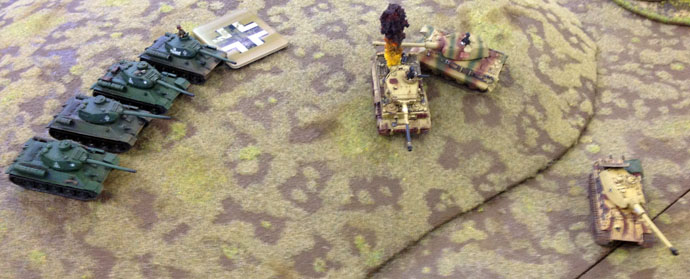
| Below: The lone Königstiger takes cover behind the wreck of the Company Commander's Tiger I E in an attempt to hold the off the T-34/85 obr 1944s while still contesting the objective.
|
 |
Desperate Times Call For Desperate Measures
The efforts of the Königstiger are rewarded with a 4-3 German victory. Despite being destroyed, it was able to contest the objective long enough for the Panzer III on the hilltop to capture the high ground. All in all a very close and enjoyable game that could have swung either way if a few dice rolls had been different.
|
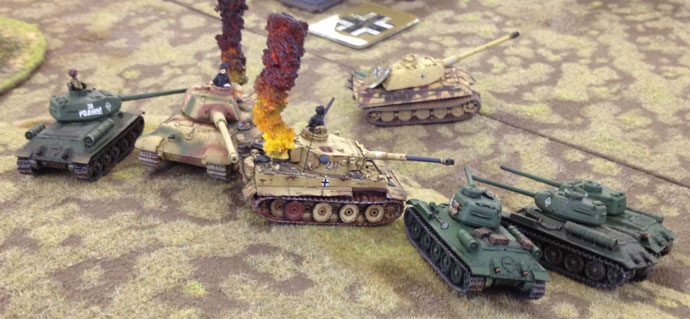 |
The Hero SU-100s were very tough and I will have to make sure I get
myself a few of the new plastic box sets for myself so I can build a force of my own. I was quite surprised by the
performance of the Panzer III platoon; at the beginning of the game I
didn’t think they were much chop, but of the three tanks that survived
the battle two of them were Panzer IIIs (the other being a Königstiger).
|
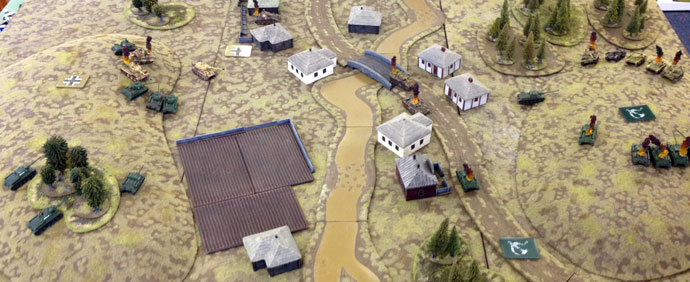
Below: The aftermath of the battle.
|
 |
Survivors
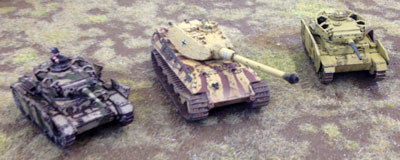
Of the twelve tanks total in the Studio Panzer Ausbildungs Abteilung 500, only three managed to surviv: Andrew’s and Steven’s Panzer IIIs and Casey’s Königstiger. Ironically, my Panther was the first to be destroyed - but I always believe in leading from the front.
~ Blake & Steven.
|
|
Last Updated On Thursday, January 30, 2014 by Blake at Battlefront
|
|
|