|
|
 |
The Cavalry Annihilate!
with Phil Yates
My Cavalry Squadron’s light tank company took the field again. This time their spearhead seems to have taken them a little far eastward — all the way to the Russian Front to face Cameron’s Soviet Hero T-34 Tank Battalion.
For this battle, even though we were playing with just 50 points, I swapped out some of my first 50 points for the next batch on the painting table. I thought that my M5 Stuarts would find it a bit difficult to hurt anything he had other than the T70s, so I brought along a platoon of M10 tank destroyers, and one of M8 cavalry recon in place of a platoon of M5 Stuarts and the M8 assault guns.
|
|
When Andrew, who’s running our Bloody Omaha event in coordination with the Hobby League, informed me that the mission was going to be annihilation, I thought things might not look too rosy for my Americans. It was to be a knockdown, drag out fight to the death. No missions, no sudden ending, just a brawl to the end. Once my M10s went down, I’d have nothing to touch his KV-1s, and expected not to be able to do more than scrape the paintwork on his T-34s. Still, nothing ventured, nothing gained, so we had at it.
|
|

|
|
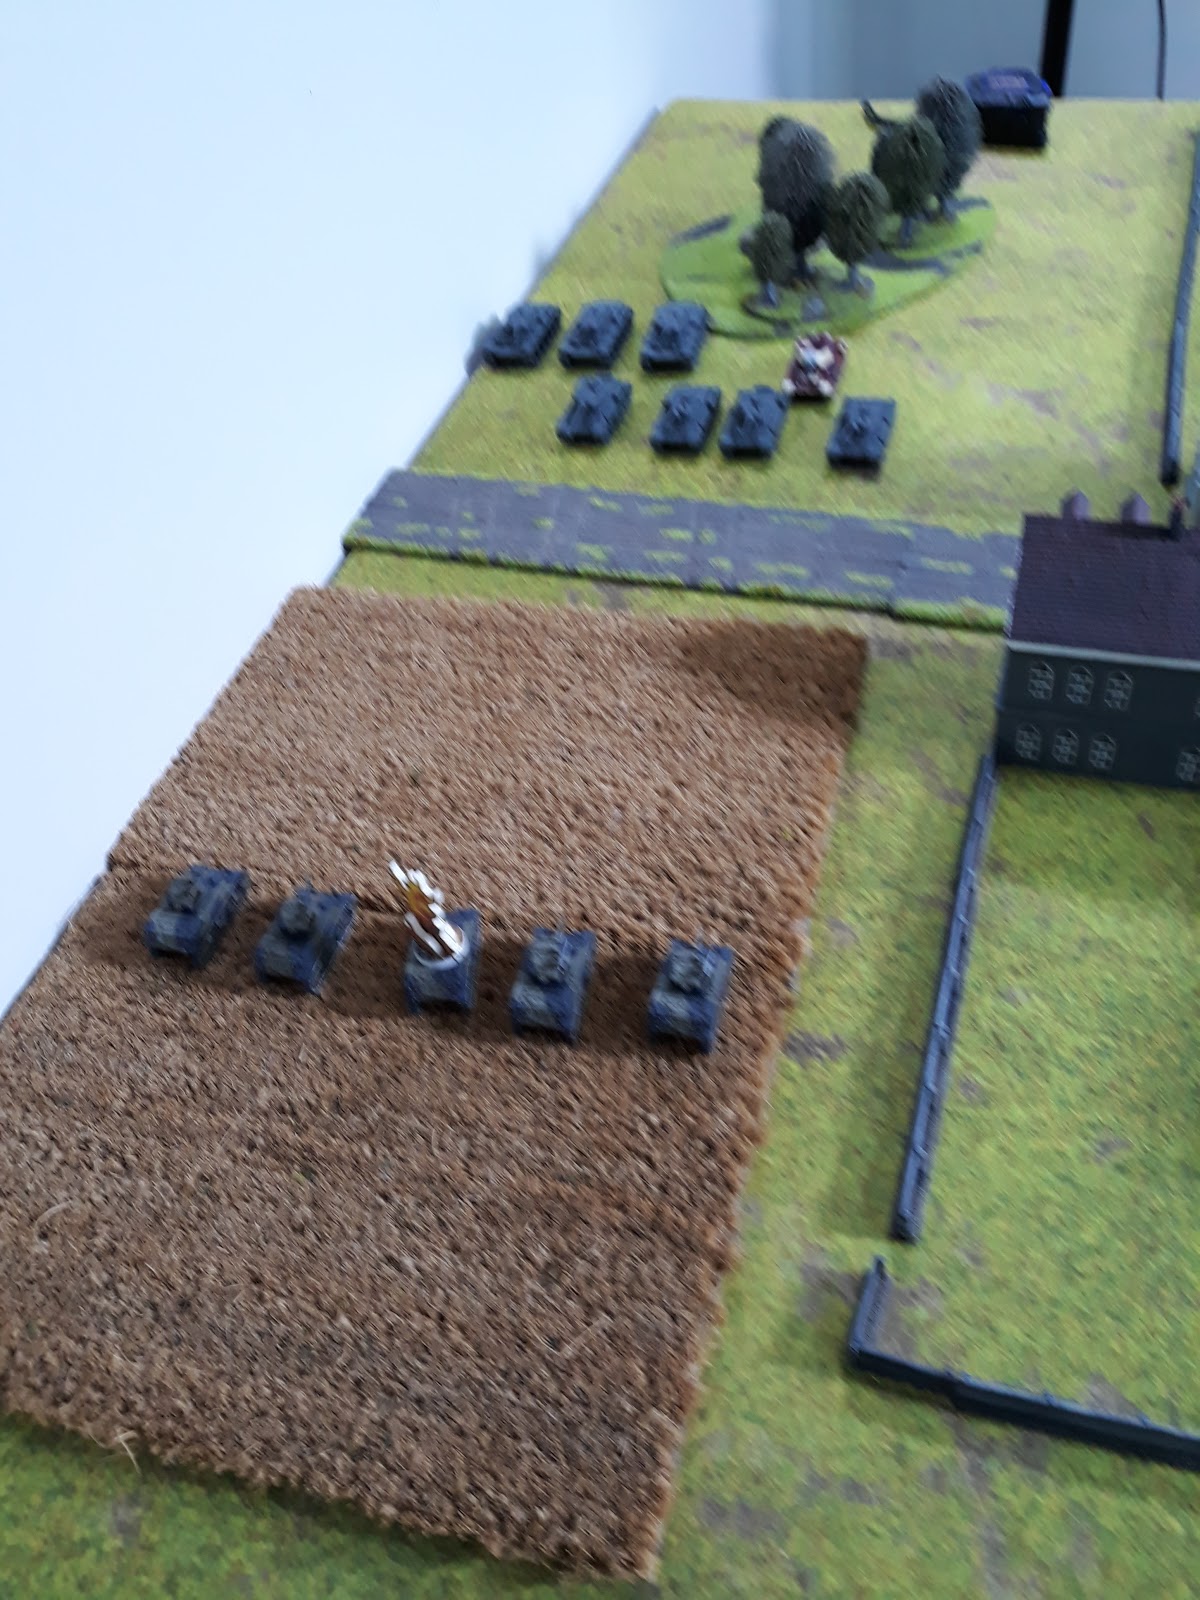
The first part of the battle took the form of a wheel spinning clockwise. My left flank of one platoon of five M5 Stuart light tanks found itself facing five T-34s and three KV-1s. It promptly scarpered behind the town in the centre racing for my right flank, losing two tanks in the process.
|
|
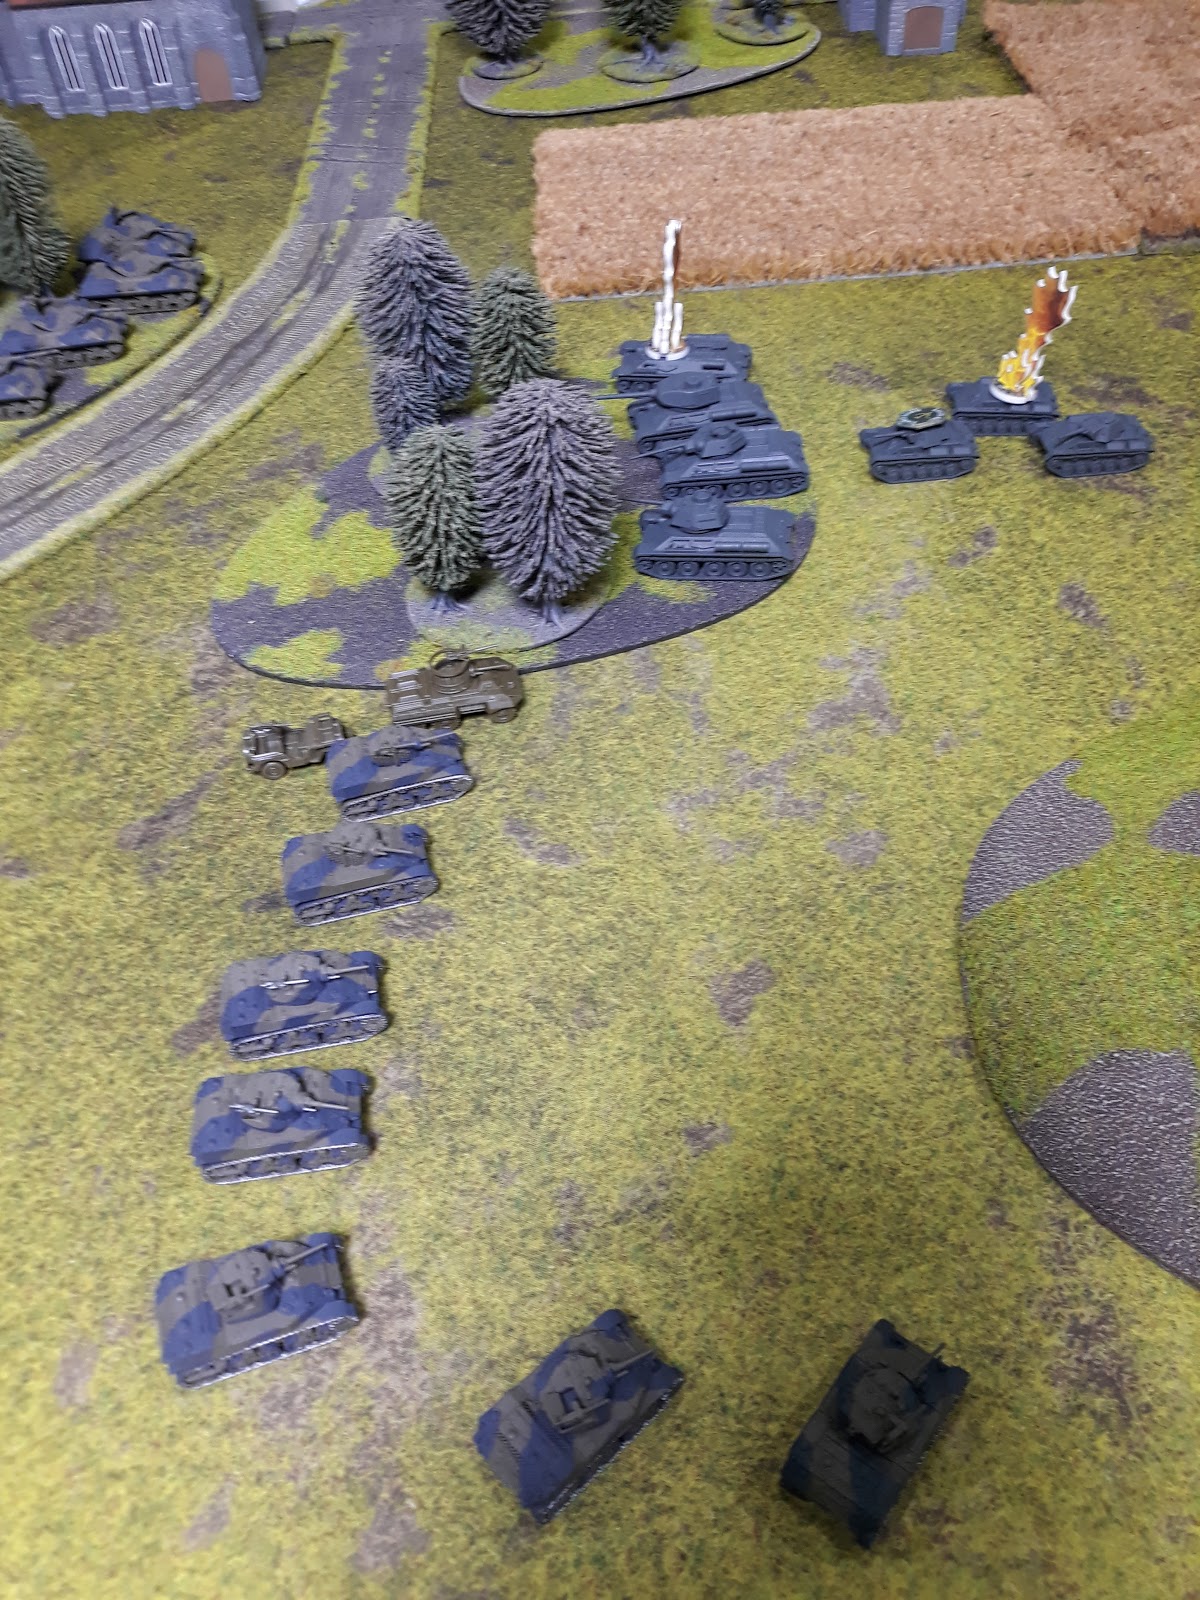
Meanwhile, the rest of my M5 light tanks charged on my right flank, using their impressive speed to round the woods into which another T-34 platoon had advanced, then promptly wiped out Cameron’s T-70 light tank platoon hiding behind the wood. So far, so good, I thought. My one easy kill done. Now on to the heavy slogging.
|
|

|
 |
|
That began with my M10 platoon, which had used the cavalry’s spearhead rule to deploy in the wood opposite the one the T-34s had occupied, knocking out the T-34 that had unwisely left itself exposed to take a potshot at them.
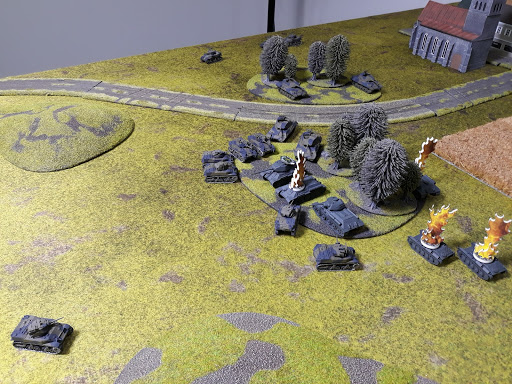
Then my M5 Stuarts began to demonstrate their, now customary, luck. For several turns Cameron’s T-34s and KV-1s attempted to knock out my light tanks and tank destroyers — with absolutely no success. My light tanks even bounced an armour piercing shot completely, and the few rounds that hit and penetrated, just bailed a few out. In return, the M5s were pounding them with dozens of flank shots, and an oddly large proportion were hitting and penetrating and killing his T-34s (rounds with 9 out of 10 hits and one dead despite the odds).
|
|
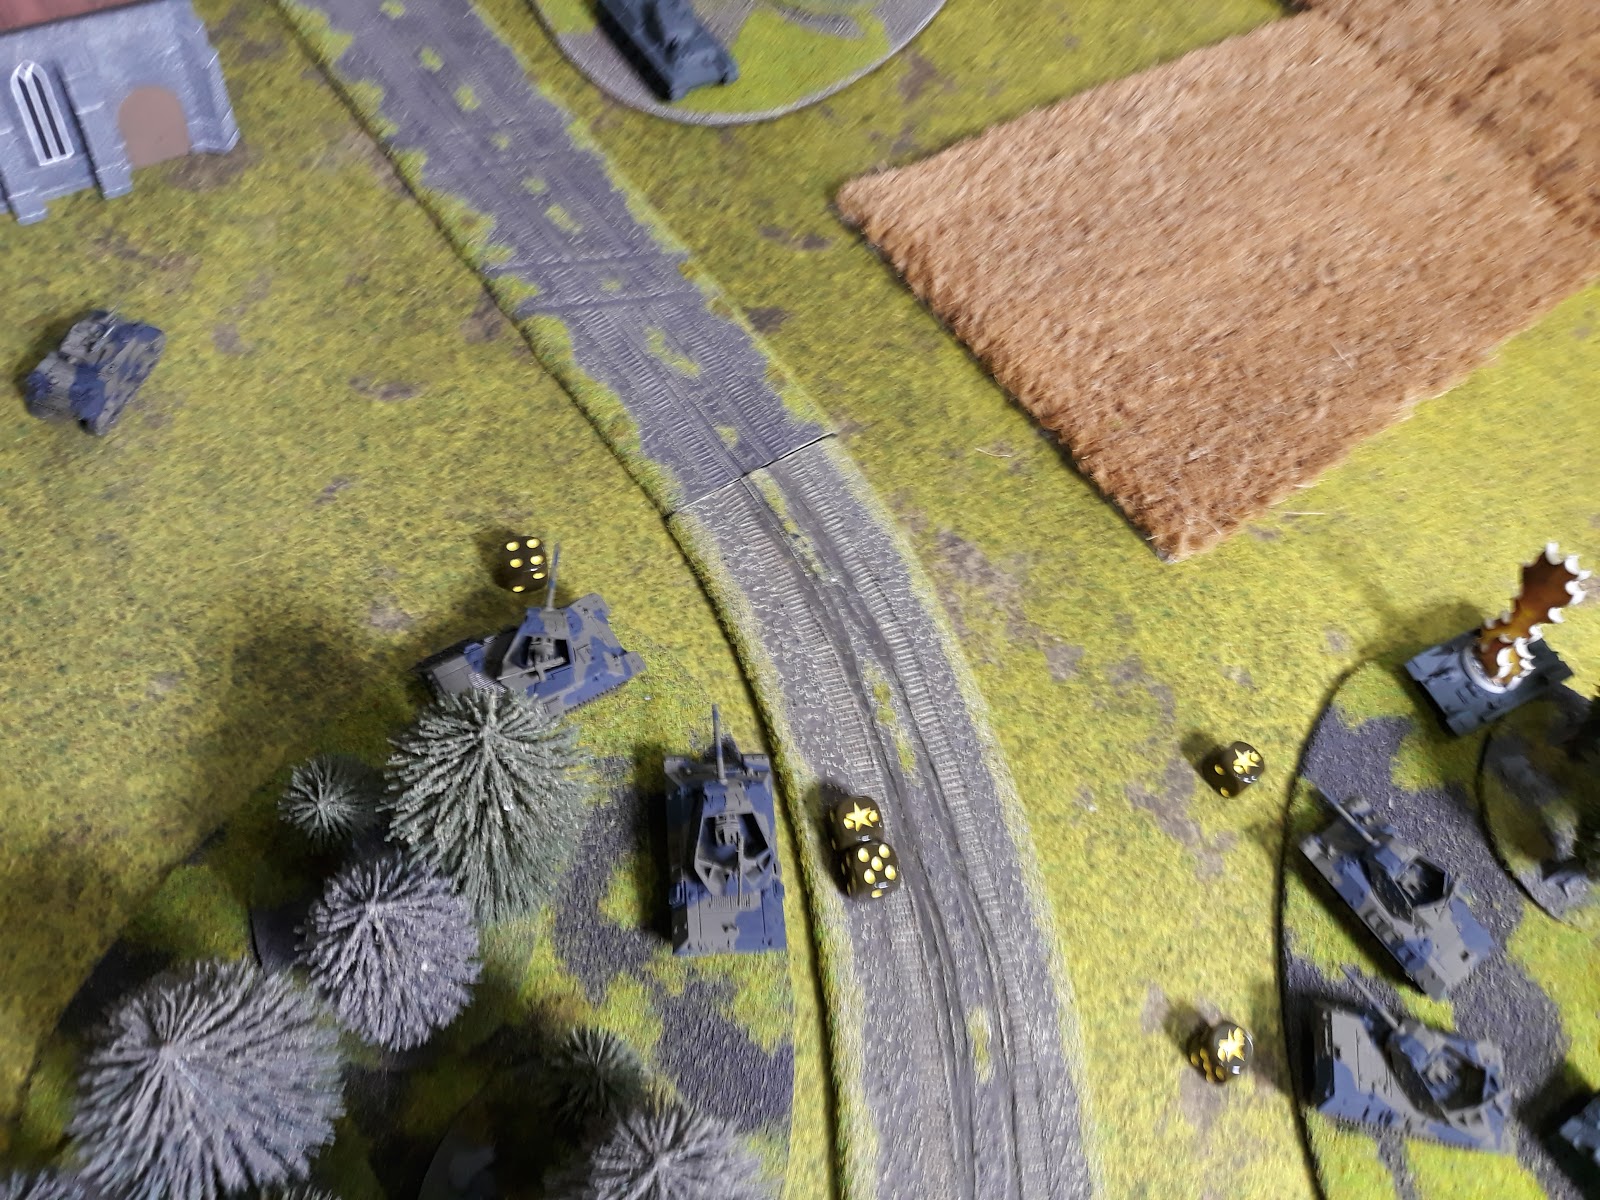
By the time the wheel had turned so that Cameron had moved through and around the town, facing me at right angles to our initial deployment, his flank was gone, and I swung back to face the new threat. This time it was my M10s that demonstrated what luck is, knocking out most of his KV-1s as they deployed.
|
|

|
 |
|
The M5 Stuarts launched a charge back the way the first platoon had retreated, and with the help of the M10s, cleaned up the remaining T-34s and KV-1. Cam’s troops fought to the last, but against luck of that magnitude, just could not prevail.
|
|
Despite the outcome, I still don’t think I’d back a pack of M5 Stuart light tanks against T-34s. I don’t think I could find that sort of luck again. It was a fun and challenging battle, even though the results appeared one-sided in the end.
|
|
Phil’s M5 Stuart Light Tank Company
- M5 Stuart Tank Company HQ: 2x M5 Stuart
- 2x M5 Stuart Tank Platoon: 5x M5 Stuart
- 1x M10 Tank Destroyer Platoon: 4x M10
- 1x M8 Cavalry Recon Patrol: 1x M8 + 2x Jeep
Cameron’s T-34 Hero Tank Battalion
- T-34 Tank Battalion HQ: 1x T-34/85
- T-34 Tank Company: 2x T-34/85, 2x T-34
- T-34 Tank Company: 1x T-34/85, 3x T-34
- T-70 Tank Company: 3x T-70
- KV-1 Tank Company: 3x KV-1s
|
Last Updated On Friday, September 13, 2019
|
|