
|
| |
|
|
|
|
|
|
Products mentioned in this Article
--None--
|
|
|
|
|
|
|
|
|
 |
|
|
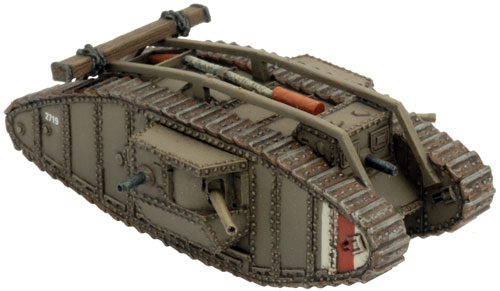
Mark IV (GBR090)
 |
Mark IV (GBR090)
includes one Mark IV tank with Male or Female options & one British World War One Tank Decal sheet.
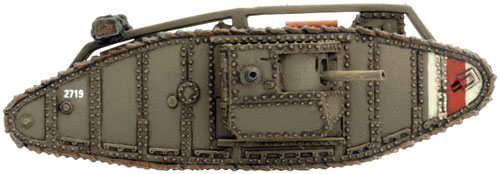
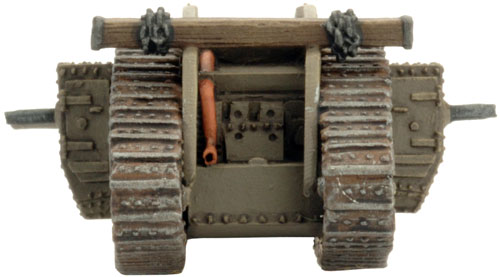
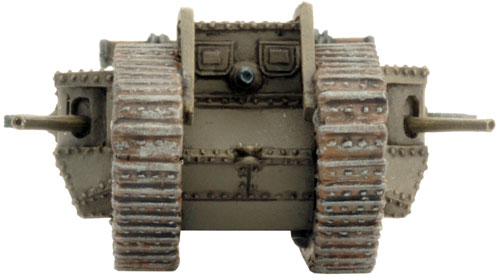
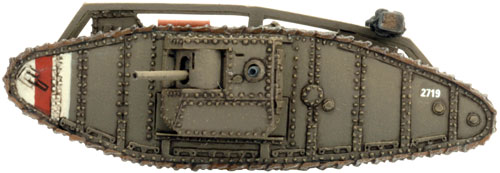
The Mark IV tank incorporated several automotive and structural improvements over earlier designs. One of the key characteristics of the British rhomboidal tanks was the primary armament being carried in external sponsons on both sides of the tank.
In previous marks, these sponsons were fixed and had to be removed to transport the vehicle by rail. Given that each sponson weighed over a ton, removal and reattachment were arduous tasks. The Mark IV’s sponsons were, however, retractable saving a great deal of time.
Check out this product in the online store here...
|
Great War
The Great War of 1914-18 was global in its reach. Yet this global conflict would be decided by the mighty clashes upon the battlefields of Europe.
Learn more about Great War here... |
 |
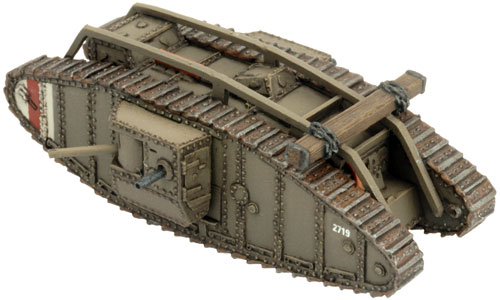 |
To ensure the vehicle wouldn’t stall at steep angles of attack, the gravity fuel feed of the Mark I was replaced with a vacuum system. The final drive was also enclosed based on experience with the Mark I.
Its six-cylinder Daimler engine provided 105hp giving the 28-ton vehicle a top speed of about 4mph. The vehicle required a very large crew of eight to man the various armaments and control the vehicle. Simply steering the vehicle required the coordinated effort of four crewmen: the driver, two gearsmen, and the commander. The driver controlled the primary gearbox, the gearsmen controlled the high/low gear ratios separately on each track, and the commander controlled the brakes. Reverse gear was controlled by the driver, but the gear ratio was set fairly high resulting in poor reverse performance for the vehicle, making it difficult for the Mark IV to un-ditch itself. |
 |
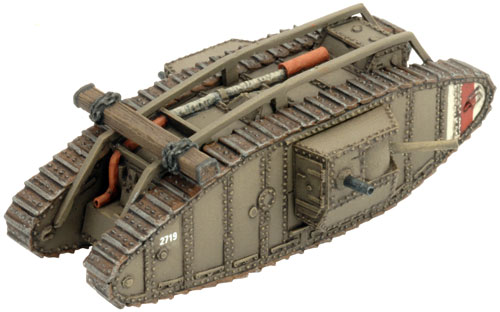 |
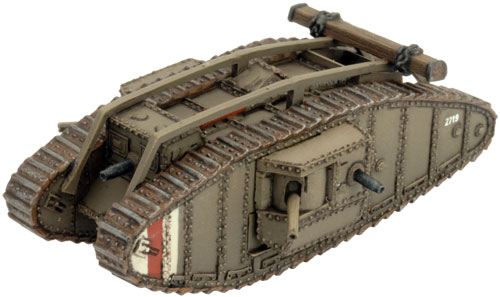
| The Mark IV was produced in two major variants, 420 ‘male’ tanks which carried two six-pounder guns and three Lewis .303 machine guns, and 595 ‘female’ tanks, in which the six-pounder guns were replaced with two additional Lewis machine guns. |
 |
 |
| Later in the war, as a result of combat experience in tank versus tank combat, some Mark IV female tanks had one of their machine gun sponsons replaced with a six-pounder sponson creating a Mark IV ‘hermaphrodite’. |
 |
 |
In addition to the combat tanks, over 200 tank tenders with boosted engines were built to carry tank supplies. These tenders had square mild steel sponsons which easily distinguished them from the combat tanks.
Designed by Evan Allen
Painted by Victor Pesch |
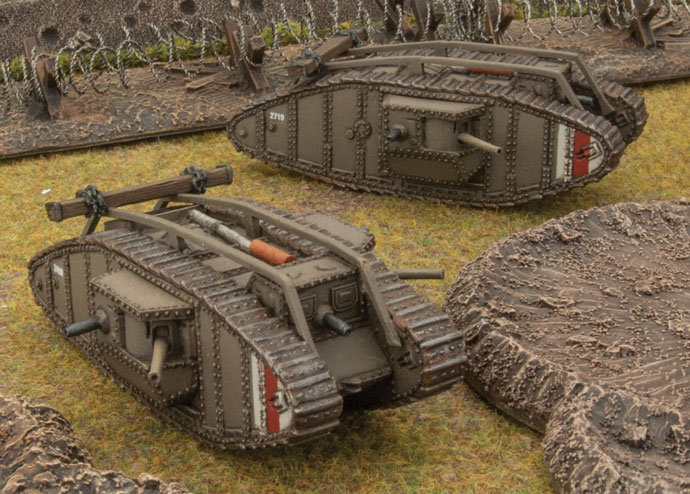
| The Mark IV Male Cross The Battlefield |
 |
Contents & Assembly Guide for the Mark IV Box Set
Contact the customer service team at [email protected] if you have any issues with any of the components. |
| The Mark IV Male & Female Tank |
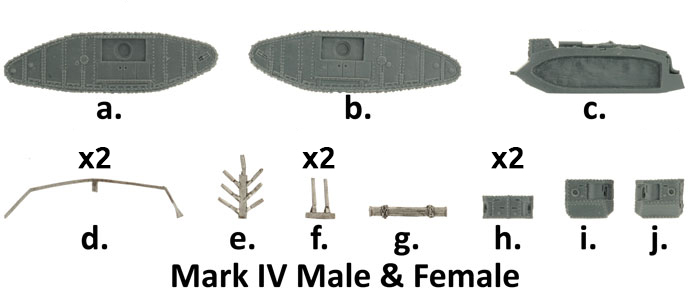 |
| Description of Components |
a. 2x Right-hand side tracks.
b. 2x Left-hand side tracks.
c. 2x Mark IV hulls.
d. 4x Stowage brackets.
e. 2x MG sprues. |
f. 2x 6 pdr gun spures.
g. 2x Wooden sleepers.
h. 4x Mark IV Female sponsons.
i. 2x Mark IV Male sponsons.
j. 2x Mark IV Male sponsons. |
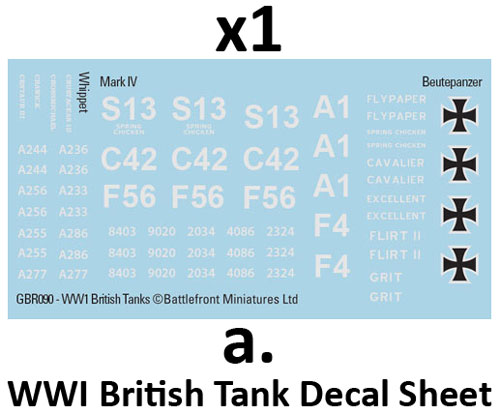 |
WWI British Tank Decal Sheet
Description of Components
a. 1x WWI British Tank Decal sheet. |
Assembling The Basic Mark IV
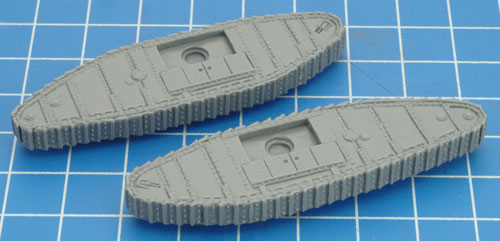
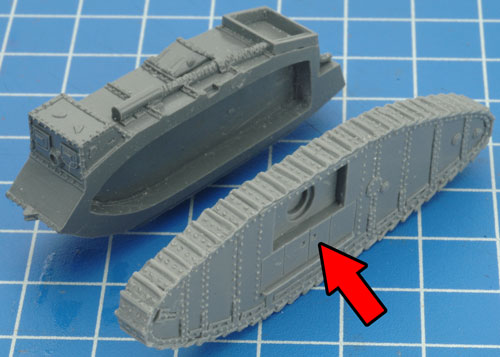
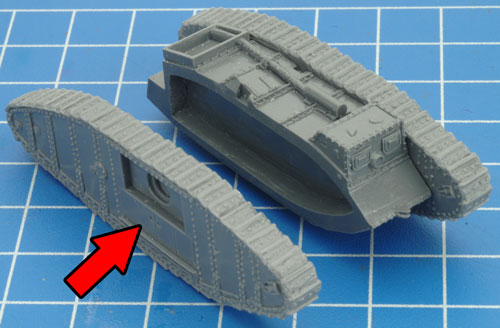
Step 1. Begin assembling the Mark IV by attaching the tracks to the resin hull.
|
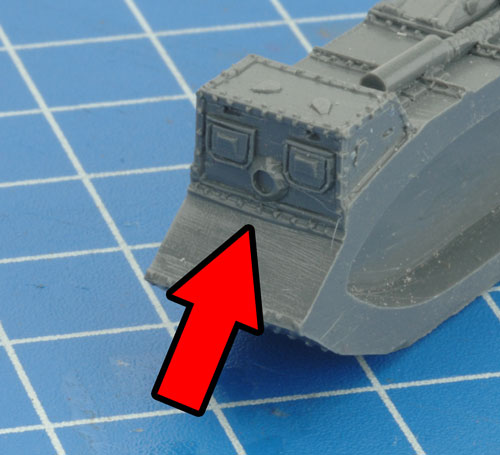
Which end is the front of the Mark IV you may ask? Where the MG goes. |
Below: Attaching to the left-hand side of the hull. |
 |
 |
 |
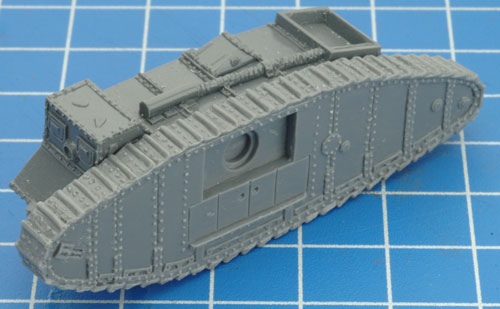
| Below: The left-hand side track attached to the left-hand side of the hull. |
Below: Attaching to the right-hand side of the hull. |
Below: Both tracks attached to the hull of the Mark IV. |
 |
 |
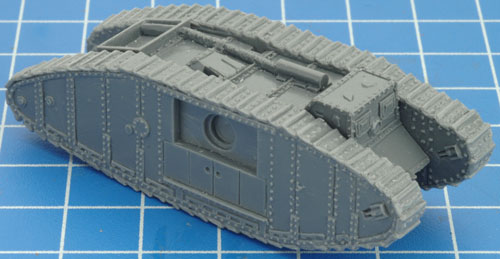 |
| Tip: When referring to the left or right-hand side in regards to a Flames Of War miniature, the orientation is determined as if looking at the vehicle from the rear. |
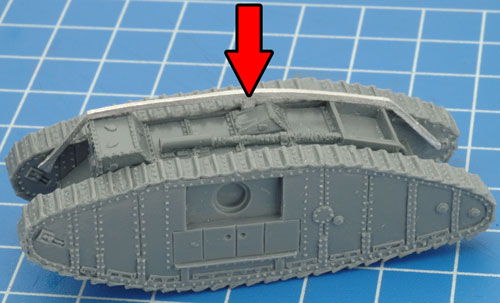
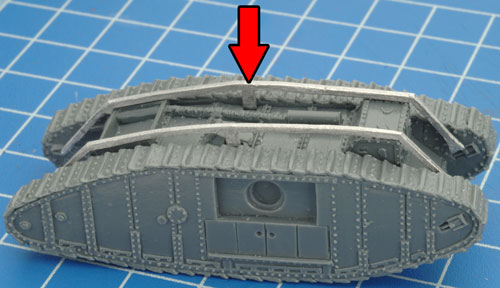
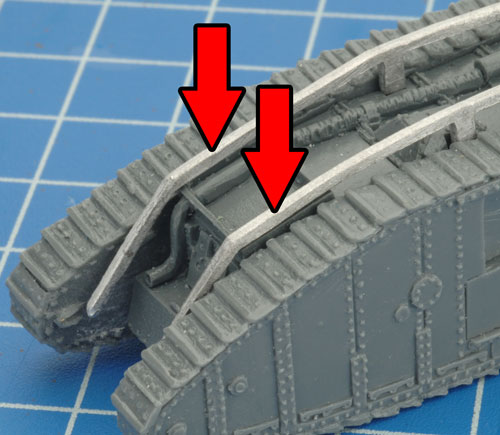
| Step 2. Next, attach the stowage brackets to the top of the Mark IV. These may require some gently bending in order to align with the contours of the Mark IV hull. |
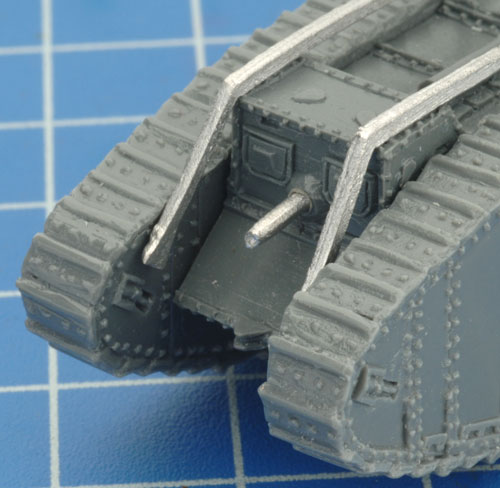
Step 3. Attach the MG to the front of the hull. |
 |
 |
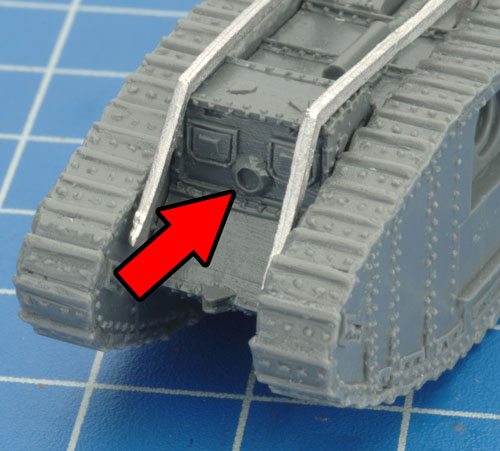 |
| Below: The MG attached to the front of the hull. |
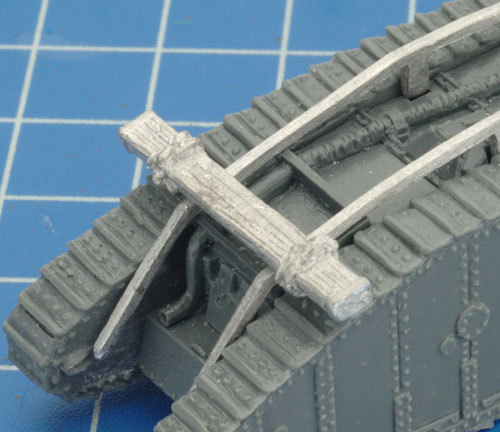
Step 4. Attach the wooden sleeper to the stowage brackets towards the rear of the vehicle. |
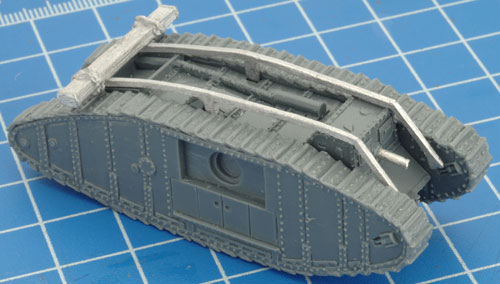
Below: The basic Mark IV tank fully assembled. |
 |
 |
 |
 |
| Assembling The Mark IV Female Sponsons |
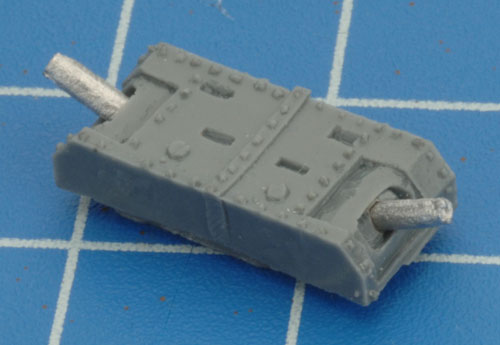
| Each Mark IV Female uses two female sponsons. These sponsons are identical and therefore can be used on both sides of the vehicle. |
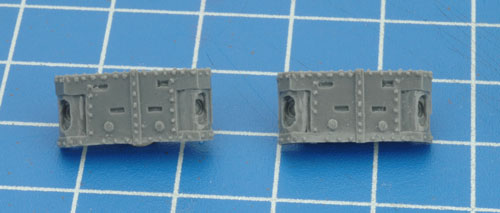
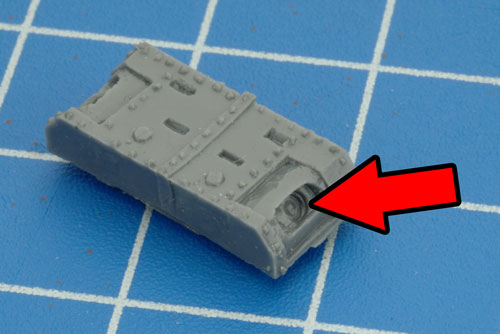
Step 1. Add the machine-guns to the sponsons. |
 |
 |
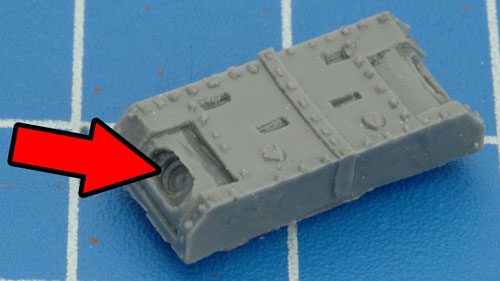 |
| Below: The machine-guns added to the sponsons. |
Below: On the back of the sponson there is an arrow indicating which way is up. |
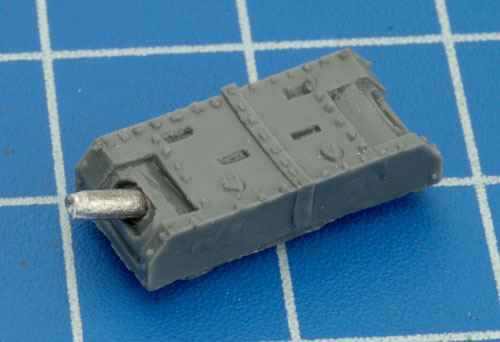
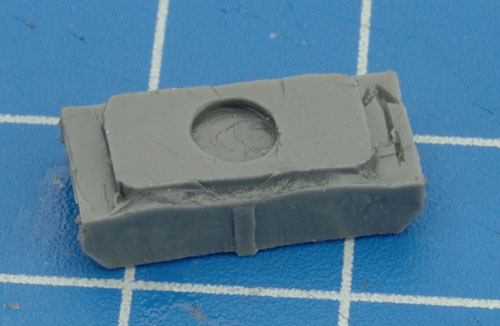
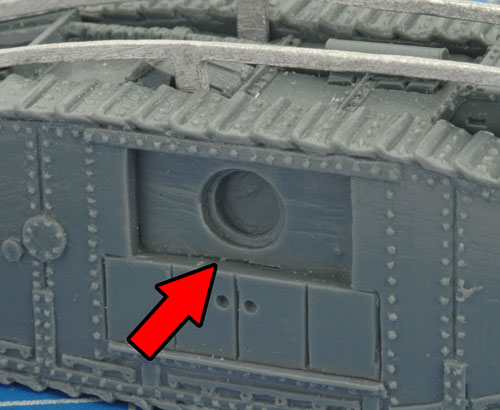
Step 2. Next, attach the sponsons to each side of the hull. |
 |
 |
 |
 |
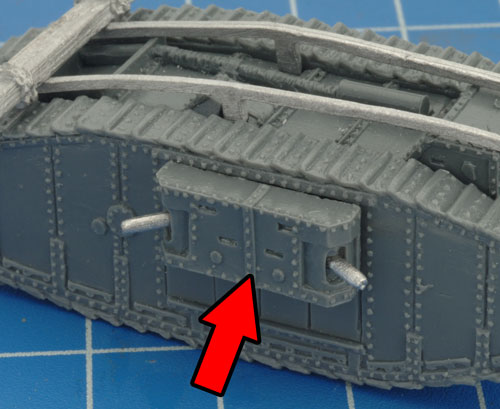
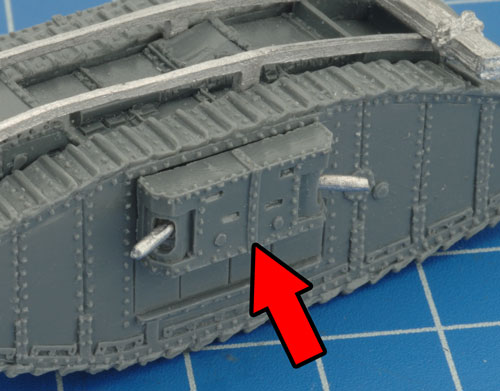
| Below: The female sponsons attached to the Mark IV hull. |
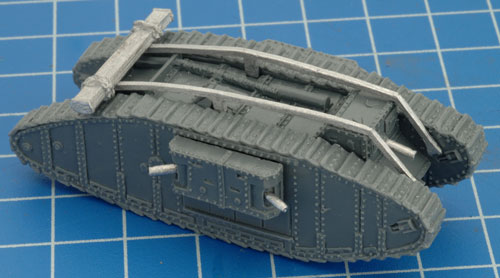
Below: The fully assembled Mark IV Female. |
 |
 |
 |
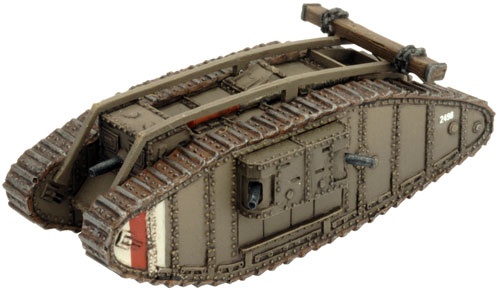
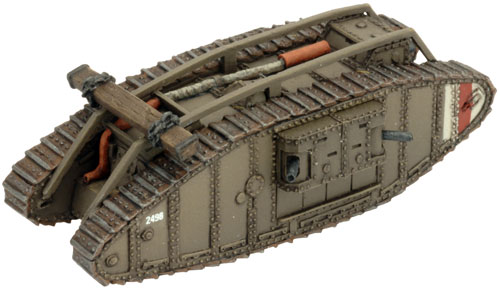
| Below: An example of a fully painted Mark IV Female tank. |
 |
 |
| Assembling The Mark IV Male Sponsons |
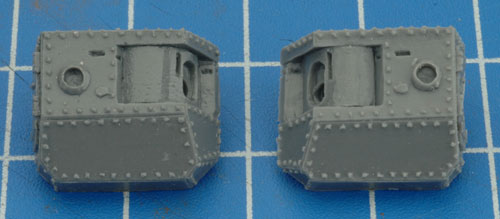
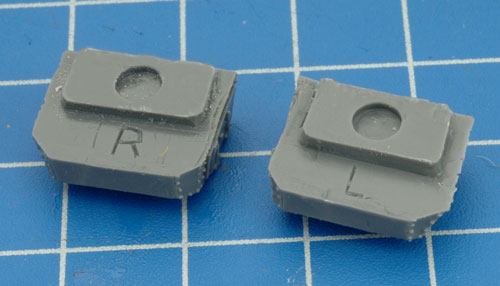
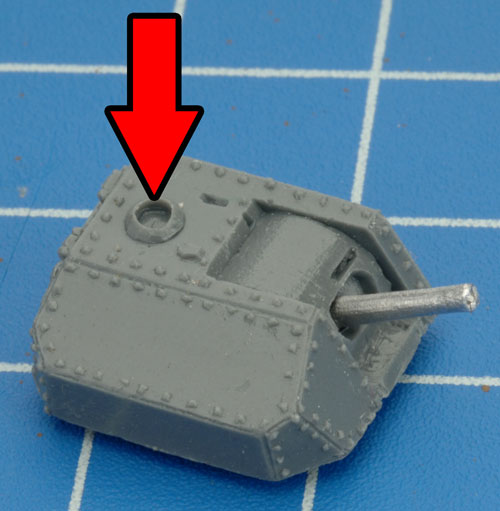
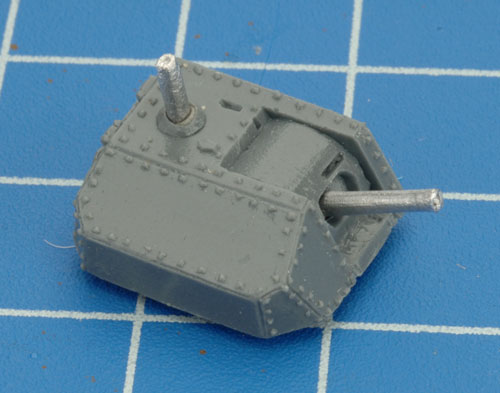
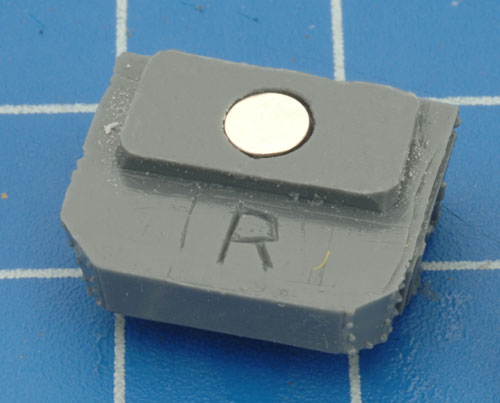
| Unlike the female sponsons, male sponsons are side-specific to the vehicle. On the back of each sponson is a letter 'R' or 'L' indicating which side of the vehicle it attaches. |
Step 1. Attach the 6 pdr guns to each of the sponsons. |
 |
 |
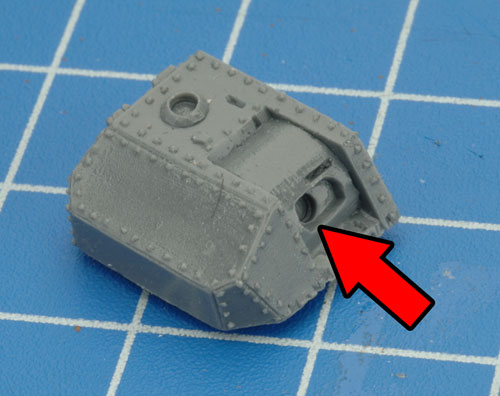 |
| Below: The 6 pdr gun attached to the sponson. |
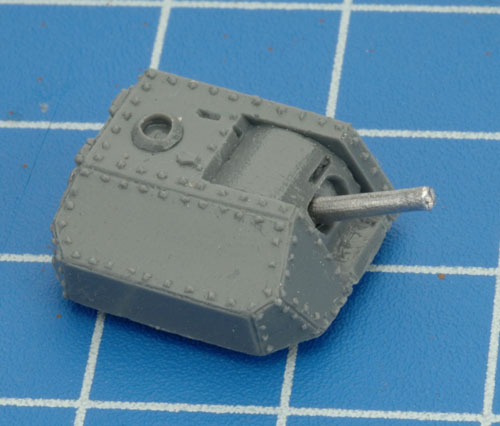
Step 2. Next, attach the machine-guns to each of the sponsons. |
Step 3. Attach the sponsons to each side of the hull. |
 |
 |
 |
 |
| Below: Both sponsons attached to the hull of the Mark IV. |
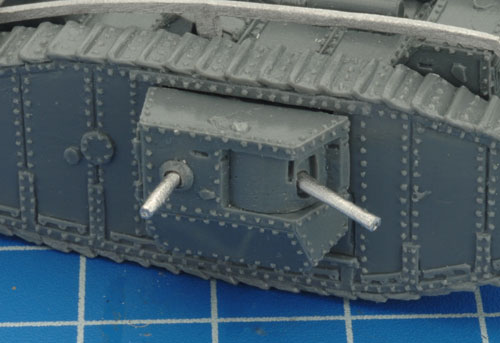
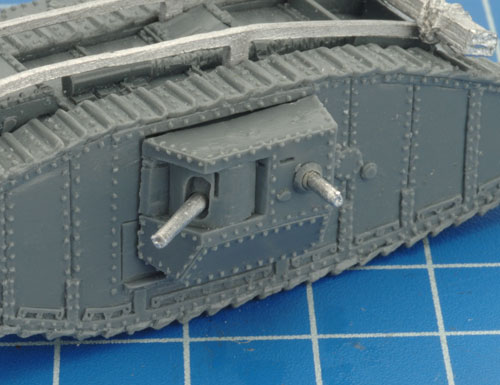
Below: The fully assembled Mark IV Male. |
 |
 |
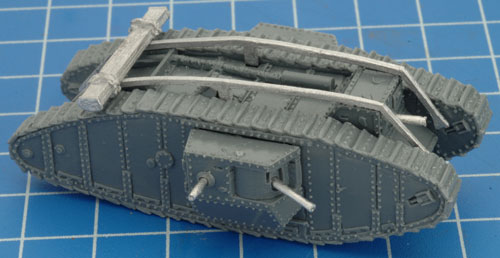 |
| Below: An example of a fully painted Mark IV Male tank. |
| Using Rare Earth Magnets To Attach The Sponsons |
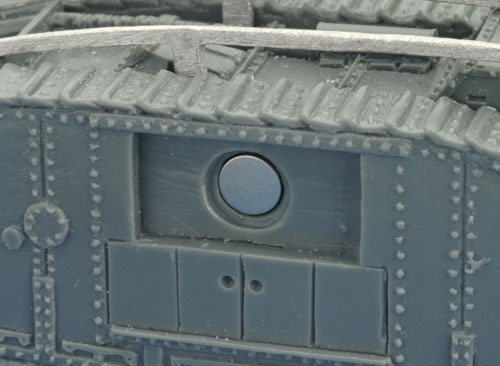
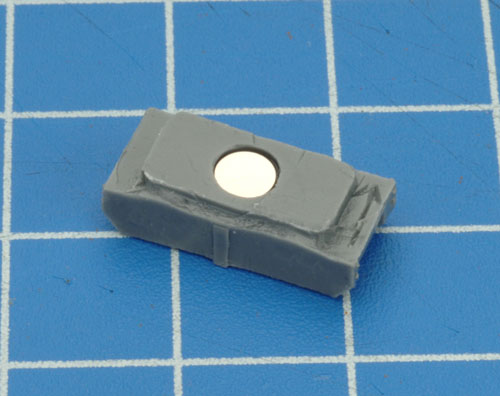
If you don't want to permanently attach the sponsons to the hull, you can use rare earth magnets in order to swap them out to create any combination of Mark IV Male and Female tanks.
Learn more tricks and tips on using Rare Earth Magnets here... |
| Step 1. Attach a rare earth magnet into the sponson recess. |
Step 2. Attach a rare earth magnet into the back of the sponsons. |
 |
 |
 |
 |
Last Updated On Friday, December 1, 2023
|
|
|