
|
| |
|
|
|
|
|
|
Products mentioned in this Article
--None--
|
|
|
|
|
|
|
|
|
 |
|
|
75mm mle 1897 Gun (GUS570)
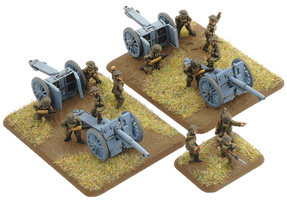 |
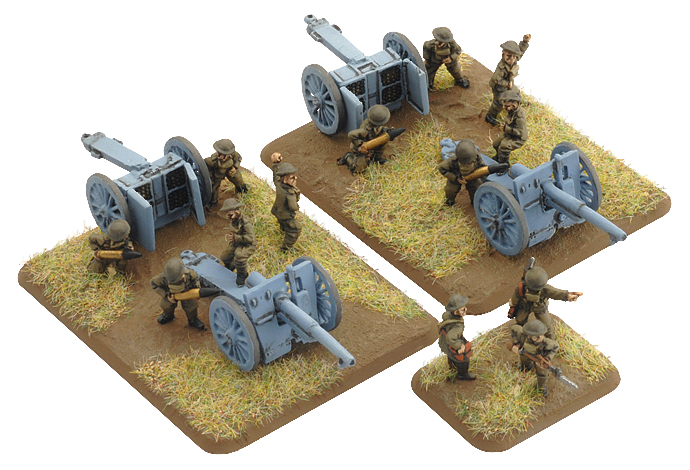
75mm mle 1897 gun (GUS570)
Includes Command Pistol team, two 75mm mle 1897 guns, one small three-hole base, two large artillery bases and three plastic base-plug sprues.
Despite its age, our 75mm mle 1897 guns are one of the best support weapons around. Known affectionately as the soixante-quinze, this ground breaking design of the 19th Century can provide rapid fire support for our doughboys and take on any German armour we may run up against.
Check out the 75mm mle 1897 in the online store here...
|
1918 saw great changes in the warfare of the Western Front. Russia pulled out of the war, freeing thousands more German troops to push the Allies back huge distances. The Allied counteroffensives, with the new tanks, evolving tactics, and the arrival of the Americans, forced the Germans back towards their own borders and defeat.
Learn more about Great War here... |
 |
 |
|
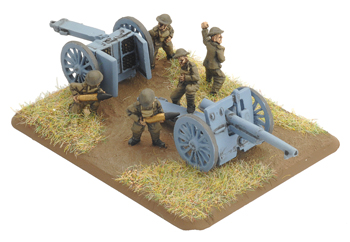
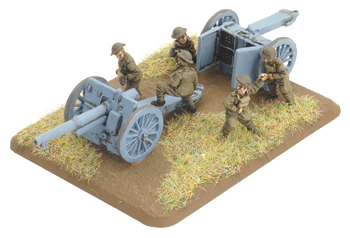
The high rate of fire of the soixante-quinze sets it apart from the guns used by the British and the Huns across no-man’s land, making it a devastating weapon, particularly when used against infantry in the open.
Gun designed by Karl Cederman
Crew designed by Evan Allen
Painted by Aaron Mathie
|
 |
 |
|
Quick Fire
The canon de 75mm mle 1897 is a superb piece of French engineering. It was the first gun in the world to combine a breech-loading weapon with an effective recoil system. This quick-firing weapon made every other artillery piece obsolete.
Re-roll all failed To Hit rolls from Artillery Bombardments with at least four 75mm mle 1897 guns in total. Batteries with one to three 75mm mle 1897 guns do not need to re-roll successful To Hit rolls.
|
| The 75mm mle 1897 in Great War |
| Team |
Mobility |
Range
|
ROF
|
Anti-tank
|
Firepower
|
Notes |
|
75mm mle 1897 gun
|
Heavy |
24"/60cm
|
2
|
8
|
3+
|
Gun shield, Quick fire. |
| Firing bombardments |
|
64"/160cm
|
-
|
3 |
6
|
|
|
Contents & Assembly Guide for the 75mm mle 1897
Contact the customer service team at [email protected] if you have issues with any components. |
 |
|
Contents
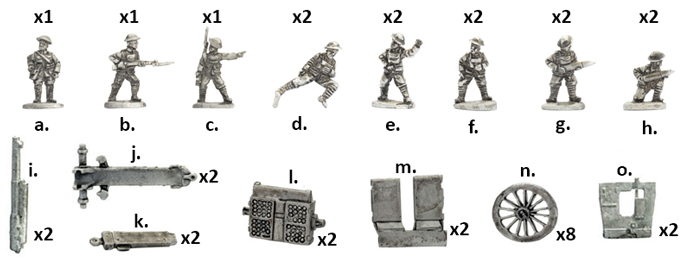
a. 1x Standing officer figure.
b. 1x Standing rifleman.
c. 1x NCO pointing.
d. 2x Gunners with foot on trail.
e. 2x NCOs gesturing.
|
f. 2x Standing gun crewmen.
g. 2x Standing crewmen holding shell.
h. 2x Kneeling crewmen holding shell.
i. 2x 75mm gun barrels.
j. 2x Gun trails.
|
k. 2x Limber tow bars.
l. 2x Limber ammunition chests.
m. 2x Limber door sprues.
n. 8x Wheels.
o. 2x Gun shields.
|
|
Assembling the Command Pistol Team
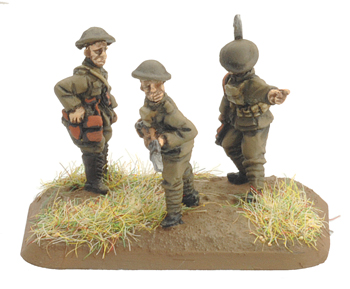
To assemble the Command Pistol team, simply arrange the standing officer figure, the pointing NCO figure and the standing rifleman figure on the small three-hole base.
|
 |
| Assembling the 75mm mle 1897 gun |
 |
Assembling the Gun Teams
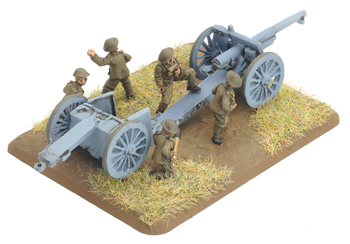
Each gun team has a gun, a limber, and one of each gun crewman (d. to h. above) on a large artillery base. Use plastic base plugs to fill the unneeded holes in the base.
For convenience, many people prefer to paint the gun and limber separately from the crew, then glue to the base after painting.
|
Last Updated On Thursday, November 5, 2015 by James at Battlefront
|
|
|