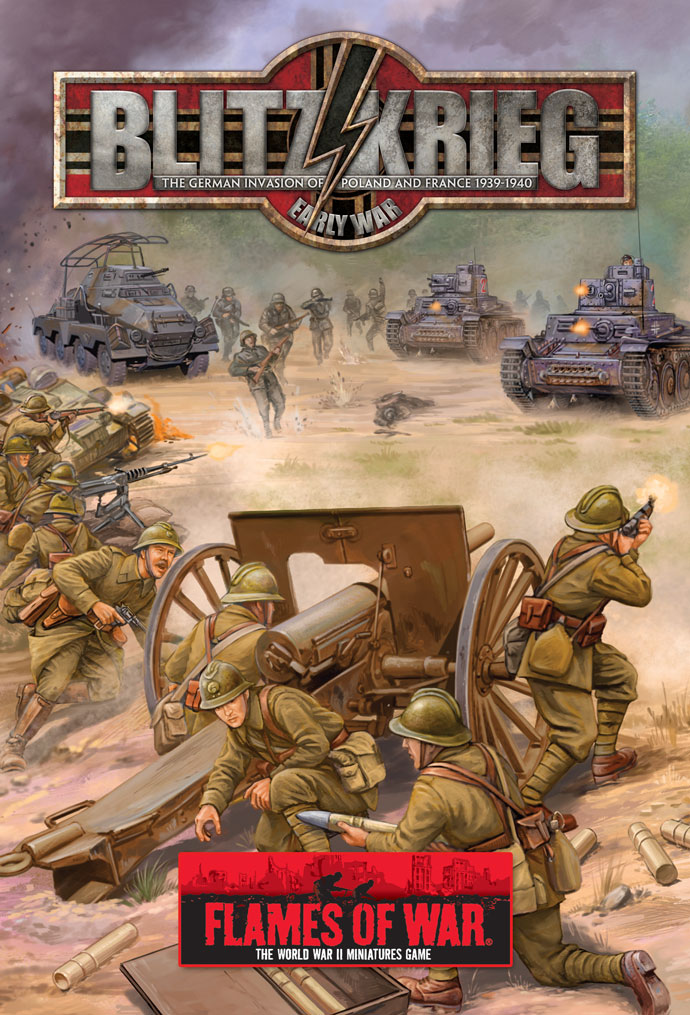
|
|
 |
|
|
The Battle of Hannut, May 1940
 |
The Battle of Hannut, May 1940:
An Early-war After Action Report
with G. Jökull Gíslason
The Battle of Hannut was fought during the opening stages of Fall Gelb; the German invasion of France and the Low countries. The French and British Allies expected the main German attack to come through the Gembloux Gap in Belgium and the 1st French Army moved quickly to counter this attack.
The Germans opposed them with Army Group B with a strong show of force
to draw the Allies attention to what they expected to be the main attack
while the main thrust of would be far further south, through the
Ardennes and over the Meuse river at Sedan.
|
From time to time I really enjoy bringing Flames
Of War into historical settings. This would be my first run with
Early-war but I built two opposing armies based on the Battle of Hannut.
These forces are historical in the way that I designed them with that
specific engagement in mind, rather than a tournament setting. I also
wanted them to be evenly matched. For this battle I invited two other players Tryggvi and Guðmundur (of www.uboat.net
fame) and placed them in opposing armies. Guðmundur was running a
little late so I deployed and retained control over half the French
force.
For another historical set up check the Charge of the 9th Brigade, 2nd El Alamein on the forums: Charge of the 9th Brigade.
|
The German Force
|
 |
Leichte Panzerkompanie
4. Panzerdivision
Company HQ
■ One Panzerbefehlswagen & 2iC Panzer II C (early) + Panzer II C (early).
Combat Platoons
■ Leichte Panzer Platoon with three Panzer II C (early) & two Panzer I.
|
■ Leichte Panzer Platoon with three Panzer II C (early) & two Panzer I.
■ Panzer III platoon with Panzer III E.
|
■ Mittlere Panzer Platoon with three Panzer IV D.
Divisional Support Platoon
■ Schützen Platoon with three Schützen squads.
|
| Below: The Leichte Panzerkompanie representing 4. Panzerdivison. |
 |
Escadron de Combat
2e Division Légère Mécanique (2nd Light Mechanised Division)
Company HQ
■ One Somua S-35
Combat Platoons
■ Medium Combat Platoon with four Somua S-35.
■ Medium Combat Platoon with four Somua S-35.
|
 |
■ Light Combat Platoon with one Hotchkiss H-35 or H-39 (long gun) & two Hotchkiss H-35 or H-39 (short gun).
■ Light Combat Platoon with one Hotchkiss H-35 or H-39 (long gun) & two Hotchkiss H-35 or H-39 (short gun).
|
Divisional Support Platoon
■ Fusiliers Portés Platoon with three Fusiliers Squads.
■ Deep Reconnissance Platoon with three Panhard AMD-35.
|
| Below: The Escadron de Combat representing the 2e Division Légère Mécanique (2nd Light Mechanised Division). |
 |
At the Battle of Hannut, the French DLM (Division Légère Mécanique or Light Mechanised Division) were sent forward of the French Army to delay the German attack as long as possible to provide time for the main force to set up a defensive position. The Germans attacked in force as a show of strength and that they weren’t intimidated by the French forces that had gathered.
For the refight, I chose Free-For-All which I felt best represented the battle and a good mission to use in order to test the armies. Deployment was straight forward and the Tryggvi, the German player setup displaying a very aggressive posture, with a three pronged assault aimed at breaking the French Army. The French planned a delaying action with one Somua platoon and Panhards facing the Panzer IIIs and IVs while the other Somua platoon would lead an attack with the Hotchkiss tanks up the centre with the Fusiliers Portés Platoon securing the rear.
|
The Battlefield
|
 |
Below: The plans of attack.
|
 |
| Below: Deployment on the tabletop. |
 |
Turn One
German
Germans won the roll off and went on the offensive. Only the Panzer IIIs and IVs managed to move into range and they had good line of sight to the Panhards. The Panzer IIIs opened fire and the Panhards failed to disengage but the incoming fire was ineffective. But the Panzer IVs destroyed two and the last one fled leaving the French down one platoon before their first turn!
|
Below: The Panzer IIIs & IVs advance.
|
Below: The destroyed Panhard AMD-35 armoured cars. |
 |
 |
 |
French
After a bad start, the French move cautiously and a majority of the Somua S-35s chose to remain stationary to maximise their rate of fire against the incoming German armour. However, against concealed Veterans at long range their efforts were fruitless.
Left: Long range fire from the French proves ineffective.
|
Turns Two through Five
The Germans were able to enter the village and engage the Hotchkiss’ but once the Somua S-35s joined the fight, German tank losses climbed at an alarming rate. The causalities included the two platoons in the centre; the Company Commander and 2iC.
On the German right flank, fire from the Medium
tanks proves ineffectively with most shots either failing to penetrate
or at best forcing the crew to bail out.
Right: The gun duel proves very one-side. |
 |
| The Germans continued their
efforts to push forwards but were delayed when two vehicles bogged down
in woods. Things were progressing unexpectedly well on the left flank
as the Leichte Panzer platoon had manoeuvred into a position to threaten
one of the objective. |
| Below: The Panzer advance is slowed by rough terrain. |
Below: The Leichte Panzers threaten the objective. |
 |
 |
 |
Turn Six
German
In an attempt to capture the objective, the Leichte Panzer platoon assaulted the French infantry and destroyed several teams. However, the infantry managed a few hits of their own during a counterattack although ineffective, they manage chase the Leichte Panzers off. Meanwhile the Panzer IIIs and IVs on the French left flank go into full attack mode.
Left: The Panzer IIIs & IVs launch an all-out attack.
|
French
The
German advance on the left flank meant the French could take advantage
of the enemy coming to them and remain stationary. Utilising full ROF,
the French blast away at the Panzer IVs with every gun available only to
see every shot bounce off the frontal armour. But an unexpected attack
by a Hotchkiss platoon catches the German infantry off guard; destroying
five team in the ensuring machine-gun fire and follow-up assault.
Right: The Hotchkiss platoon catch the German infantry off-guard.
|
 |
 |
Turn Seven
German
The Germans pushed their attack harder and with the Panzer IIIs now threatened their objective, the Panzer IVs got on the task of exterminating the French armoured; forcing a platoon morale check by destroying a Somoa S-35 and bailing out two others. With only the HQ tank active, the platoon passes and courageously fights on.
Left: The Leichte Panzer Platoon attempt to dislodge the stubborn French infantry.
|
| On the opposite objective the Leichte Panzer Platoon launches repeated attacks
in an attempt to push the stubborn French infantry off the objective.
Down to a mere two infantry team, the Fusiliers Portés Platoon valiantly
stood their ground. |
French
At this point both armies resembled a couple of heavyweight boxers in the closing stages of a particularly punishing bout; both weary and looking for that desperate knocked-out blow. The French general scrambles to plug the gaps in the line; sending a pair of Hotchkiss’ to support the hard-pressed infantry and directs the Somua S-35 platoon to the centre to reinforce the left flank. The remaining Hotchkiss platoon continues to chip away German.
Right: The French scramble to plug the gaps in the line.
|
 |
 |
Turn Eight
German
With the end near and both sides knew that just one more push could mean the winning or losing of the battle. The Panzer IVs complete their assignment; destroying the remaining Somua S-35s of the Medium Combat Platoon in addition to the Company Commander. However, the Panzer IIIs fail to make any impression on the second Medium Combat Platoon.
Left: Both sides rally for one final push.
|
| Meanwhile, the epic mêlée between the Leichte Panzer Platoon and
Fusiliers Portés Platoon finally comes to an end with the Germans
finally breaking the fighting spirit of the gallant Frenchmen but at the
cost of all but one Panzer. |
French
Once more into the breach! Vive la France! The French were down to three platoons but still had plenty of fight left in them. The Somua S-35s continues their ineffective fire versus the Panzers while two Hotchkiss’ moved to contest the other objective and fired at the last Panzer with little effect. But in a moment of glory, the other Hotchkiss platoon assaulted the Schützen platoon and this time destroyed it. The French had now captured an objective and no Germans units anywhere in range to contest it.
Right: The Light Combat Platoon capture the objective.
|
 |
 |
Turn Nine
German
The Germans had only one option to push victory from the jaws of defeat and was to break the French by destroying one more platoon. With the fire from the last Panzer II proving ineffective, the fate of the Germans lay in the hands of the Panzer IIIs and IVs.
Left: The Germans attempt to pull victory from the jaws of defeat. |
Firing at full ROF, the Panzer IIIs managed to destroy three of the Souma S-35s leaving just one for the Panzer IVs. The Panzer IVs which had done much of the heavy lift throughout the
course of the battle now had a chance to be the hero of the day and
apply the coup de grâce. But it was not to be as the over-excited
gunners failed to hit their mark! However, despite this misfortune the
Germans had inflected enough casualties to force on final platoon morale
test. This brilliant and exciting game would now be resolved on a
single die roll. Would the French bravely pass and claim victory or
would it slip from them in their hour of triumph. As the die skidded
across the table to reveal a 3, the Germans had carried the day while
the French fell on pip short of the score needed for the Confident
platoon to pass morale.
French
Check company morale, four platoons lost with two remaining. No Company Commander to take Company Morale test results in an auto fail and a German 4-3 victory having lost three of their six platoons.
Conclusions
What a game! The ones that go down to the wire are always the best. The match up was perfect, these armies are well suited to each other. There were a lot more armour saves passed in this game than what I am used to seeing in Late-war. Losing the Panhards at the very start of the game put the French on the back foot but they did well to recover. The German attack was bold and ended in a disaster in the centre. Sending the Leichte Panzer Platoon unsupported proved a mistake especially since the attack of the medium tanks was delayed due to terrain. But the Somua S-35s simply failed to make an impression on them and they won the day for the Germans
.
But French players do not despair; the Panzer IVs where lucky with their saves. They were hit time and time again but Anti-tank 6 versus Frontal armour 3 requires a little luck and the fortune favoured the Germans this day.
Playing a historical match-up is great fun and in the spirit of recently deceased Donald Featherstone, quote Wikipedia:
"Don had a eureka moment when he came to realise that the hobby of wargaming could considerably aid understanding of military history."
I agree.
For this battle I was careful to have more Panzer IIs than any other tank for the Germans and a nice mixture for the French. In the historical battle the French DLM divisions managed to delay the Germans long enough for the rest of the army to take up careful positions but this attack was always a faint with the Germans winning on both operational and strategic levels and the French having lost their best mobile units that would have been badly needed later elsewhere.
~ Jökull.
|
Tale Of The Tape:
Somua S-35 vs. Panzer III E
The Somua S-35 and Panzer III E go head-to-head in a comparison of the two main combatants from this heavyweight title fight.
|
 |
The Somua S-35 in Flames Of War
|
| |
|
|
Armour
|
|
|
Name
|
Mobility
|
Front
|
Side
|
Top
|
Equipment and Notes
|
Weapon
|
Range
|
ROF
|
Anti-tank
|
Firepower
|
|
Somua S-35
|
Standard Tank
|
4
|
3 |
1
|
Co-ax MG. |
47mm SA-35 gun
|
24"/60cm
|
2
|
6
|
4+
|
One-man turret.
|
|
The Panzer III E
|
 |
| The Panzer III E in Flames Of War |
| |
|
|
Armour
|
|
|
Name
|
Mobility
|
Front
|
Side
|
Top
|
Equipment and Notes
|
Weapon
|
Range
|
ROF
|
Anti-tank
|
Firepower
|
|
Panzer III E
|
Standard Tank
|
3
|
3 |
1
|
Twin co-ax MG, Hull MG, Protected ammo. |
3.7cm KwK gun
|
24"/60cm
|
3
|
6
|
4+
|
|
|
The one higher of the frontal armour (4 vs. 3) of the Somua S-35 is more profound at long range, giving the Panzer III E only a 1 in 6 chance of causing a bailed out result on a successful Firepower test (in effect a 1 in 12 chance). However, the Somua S-35 is at a disadvantage in a mobile battle due to its One-man turret rule (+1 to hit if moving). The Panzer III E is at an advantage in a gun duel in terms of ROF (ROF 3 vs. ROF 2) and in since it is rated as Veteran versus the Trained status of the Somua S-35 making it harder to hit especially at long range and when concealed. The Panzer III E in this regard comes out on top. But as you can see in this game, the 9x Somua S-35 can be fielded in greater numbers (nine Somua S-35 vs. three Panzer III E and three Panzer IV D.)
|
Last Updated On Thursday, September 19, 2013 by Blake at Battlefront
|
|
|