
|
| |
|
|
|
|
 |
|
|
François Lefebvre Reporting For Duty Sir!
 |
François Lefebvre Reporting For Duty Sir!
with Chris Townley.
A couple of years ago I watched the French movie Indigènes (otherwise known as Days of Glory) which follows a group of French Algerian Tirailleurs (and to a lesser extent some Moroccan Goumiers) who have been recruited into the French First Army of the Free French Forces, formed to liberate France. It shows their involvement in the Italian Campaign, then on to Operation Dragoon and the liberation of the south of France, and then up to Alsace for the conclusion of the movie. The combination of this movie and the battlefield prowess of the Goums meant I was keen to volunteer to lead these brave men into the guns of the enemy hiding in and around Cassino.
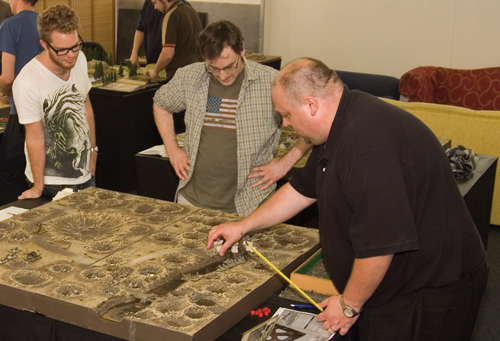
Left: Chris checks the rules.
|
Building A Hero
François spent a number of years out in the colonies where he failed to be noticed and therefore promoted, but he was happy with this life and had gained the respect of the tough Moroccan troops he led. With his homeland invaded by the Nazis he was keen to lead his men back to liberate France, but the road to France started with Italy. The Goums were known to have a minimum of logistical requirements, which is a nice way of saying that they managed to live off the land and scavenge what they required to keep moving on, so my choice was clear.
Right: Chris' Goums advance.
|
|
| François would follow the Scavenger archetype to
represent the ability of his men to improvise and acquire whatever they
needed to get the job done. |
 |
Off to War
Despite having played the Goums a lot during the play testing for Cassino, I was a little apprehensive when it came to our Infantry Aces campaign; I had never run such a small force of just Goums. For the first round of games I was scheduled to fight Mike (with FJ) and Casey (HG Panzergrenadierkompanie).
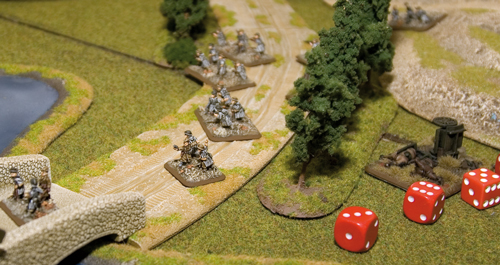
Left: Chris' Goums approach the river.
|
| Coming up against Mike I found myself on part of our Rapido table, with a
massive river dominating the terrain and forcing me to either get
caught in a bottleneck crossing the solitary bridge or try swimming
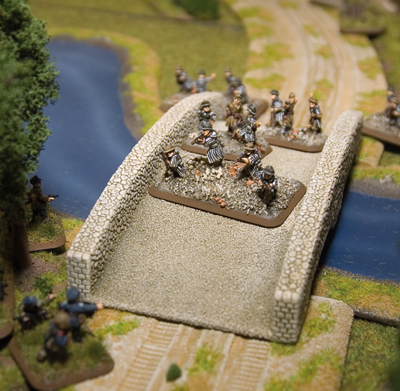
across instead. Mike cunningly placed a platoon in ambush and managed to catch me
crossing the bridge and despite my attached weapons platoon laying down a
wall of fire the dice were with Mike and he managed to easily sweep
aside my assault. My second platoon swam across the river but Mike’s
reserve platoon moved to intercept and under the cover of his mortars
managed to stop my advance cold. The Goum advance had been stopped! |
For my game against Casey I had the luxury of defending this time and whilst the table had another river (a bad sign perhaps?) this time it did not provide the luxury of letting me hide behind it, rather in went down the middle of the table forcing me to divide my defenders on both sides. Casey pushed up one flank whilst I scrambled to re-position my weapons platoon and second infantry platoon. The river once again proved to be my undoing as the moving infantry were caught in the open and suffered serious casualties (despite their Cautious Movement rules). Casey moved in for the assault expecting and easy fight but thanks to the Goums Fearless rating and Colonial Troops rule, I managed to destroy his platoon. However it came at a serious cost to me as well as my platoon could now only be considered reinforcement in name only.
Right: The Goums cross the bridge.
|
 |
Over on the objective his flanking platoon burst
out from behind the tree lines that it was safely advancing up behind
and with a massive volley of fire pinned the defenders and assaulted.
Casey managed to push me back from the objective and despite my efforts I
failed to dislodge him. I was starting to get a bad feeling about any
table with a river!
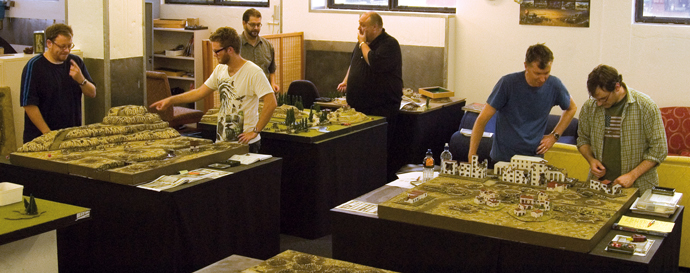
Below: Members of the Battlefront Studio enjoy some time-out to play Infantry Aces.
|
 |
|
For
our first escalation round I found myself facing off against Mark and his FJ
Company. This game went significantly better, although it was entirely due to
Mark's dice choosing to stab him in the back and the resulting game was over
before we knew it. No river equals win.
Up
next were Wayne and his Gebirgsjagers. Despite the fact I would be attacking,
and despite the fact there was a river I was actually feeling confident. My
Goums would be supported by a battery of artillery and the open nature of the
table would restrict Wayne's
ambush options. This game was dominated (at least in my memory) buy two things:
1. the fact that my artillery achieved nothing despite multiple Time on Target
bombardments of dug-in enemy artillery as well as infantry in the open,
and 2. that river! This time I pushed up, successfully assaulted and killed Wayne’s
first platoon, but his waves of reinforcements wore down my attacking infantry
and the river crossing turned into a mass of Goums and Gebirgsjagers fighting
over the objective. Needless to say the game did not end the way I planned, but
we had a great game of punch, counter punch that could have gone either way.
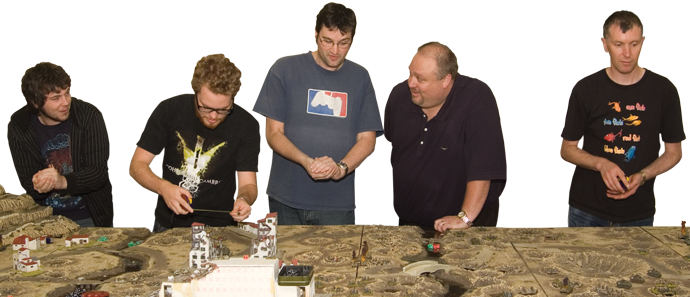
Below: The Last Day in Combat: The Allied Side.
|
 |
|
Last
Day in Combat
For
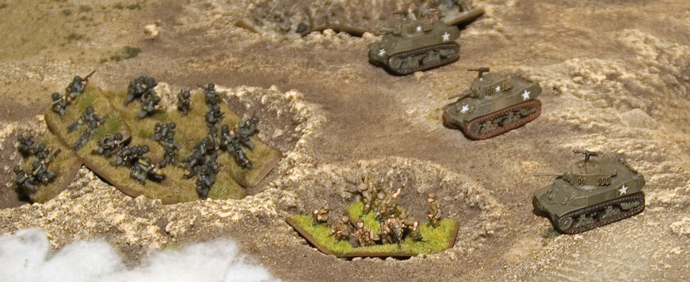
the Last Day in Combat my trusty Goums were reinforced by a small platoon of
three Stuarts and I found myself on the left flank with Phil, facing off
against Blake and Mark (with Casey's troops just across the river.... yep...
another river). This time everything seemed to go according to plan with Phil’s
tanks duelling with Mark’s Panther turret whilst my Stuarts scooted up the
table, dodging craters. Meanwhile my Goums fearlessly advanced from shell hole
to shell hole, holding their fire till the last possible moment. Finally the
Goums were in their element and swept across Blake’s troops (even capturing a
2cm AA gun and turning it on their owners) whilst the Stuarts worked their way
down the line helping Phil's infantry to assault the stubborn FJ. I even
diverted one of my platoons to cross the river to support James' Kiwis, where
they successfully overran his infantry guns before hunkering down and stopping
Casey from helping Blake's now severely depleted troops. It may have been the
Last Day in Combat for my Goums, but it was a great last day!
~ Chris.
Below: Chris' Stuarts advance with Phil's infantry in support.
|
 |
Last Updated On Tuesday, August 9, 2011 by Blake at Battlefront
|
|
|