|
|
 |
|
|
Death on the Murmansk Express
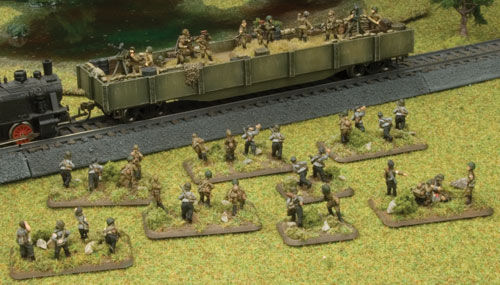 |
Death on the Murmansk Express
by Mike Haught and Blake Coster
For the past few weeks I’ve collected, assembled, and painted my Finnish Kaukopartiojoukot raiding force. No sooner had the matte varnish dried than it was time to put them into action against the Soviet Union’s vital railroad linking Murmansk and Leningrad. Blake generously volunteered to take over the Soviet side so I could test out my new raiding force.
|
Planning the Raid
When a Kaukopartiojoukot attacked a supply train, they would typically disable it by blowing a portion of the rail and forcing the train to come to a stop. Then the raiders launched their assault. This is where the Train Attack mission begins. Before the game I carefully planned my raid. I would split up my forces into three major parts. Two small sections (2nd and 3rd Platoons) under the command of the 2IC would go after the supply wagons while a larger third section (1st Platoon) would keep the enemy escort troops occupied and away from the others. I decided to launch the raid at dawn. This way I can demolish my objectives during the night, and then escape at the double during daylight.
Learn more
about the Train Attack scenario here...
|
The Forces
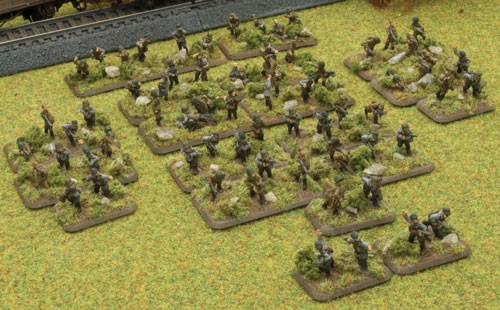
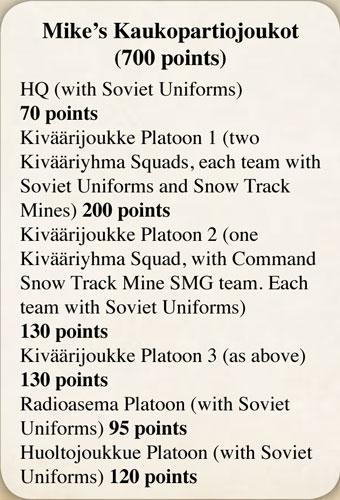
Most raiding missions undertaken by the Finnish troops consisted of a small force of a platoon or two. In keeping with this tradition, I took only eleven submachinegun teams, spread over three platoons. I also brought two support platoons, the Radioasema (radio) platoon and the Huoltojoukkue (maintenance) platoon.
These support platoons would help keep the raiders on task and, hopefully, get them out safely.
Right: Mike’s Kaukopartiojoukot.
|
 |
 |
The Radioasema Platoon helps coordinate the
mission and makes sure that everything goes according to plan. They are
the link with the distant headquarters station and can receive orders to
immediately end the mission if things get too tight. It also can try to warn the nearest friendly
platoon of incoming Soviet reinforcements.
The Huoltojoukkue Platoon consists of two Läälintäryhmä (medical) and
two Kuljetusryhmä (transportation) teams. These teams must be assigned
to my combat platoons before the game begins. The medical teams help
keep troops alive, giving them a 5+ save if they fail their normal
infantry save. The transportation teams give their attached platoons
special stormtrooper moves, allowing them to move an additional 4”/10cm
at the end of the turn.
I assigned the medical teams to the large platoon, to help keep the platoon fighting and the transportation teams to the two small platoons so they could get away quickly.
|
Blake’s security force was based on the Soviet 2nd NKVD Border Guards
Division. The division was stretched from Murmansk to Leningrad to cover
the entire distance of the railroad (over 795 miles or 1280 km).
The best way to stop the Finnish raids was to send an escort company
with the train and then reinforce it from nearby garrisons if attacked.
A weapons wagon or two were added to give extra protection. In this
mission, Blake has an armoured machine-gun wagon to help keep the
raiders at bay.
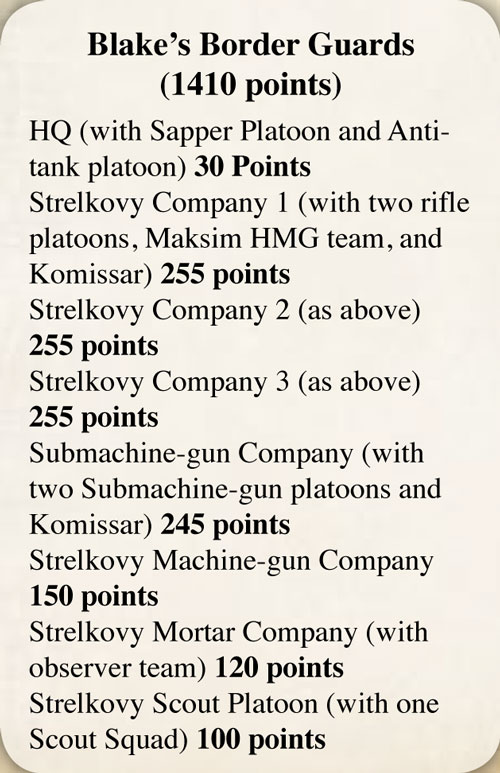
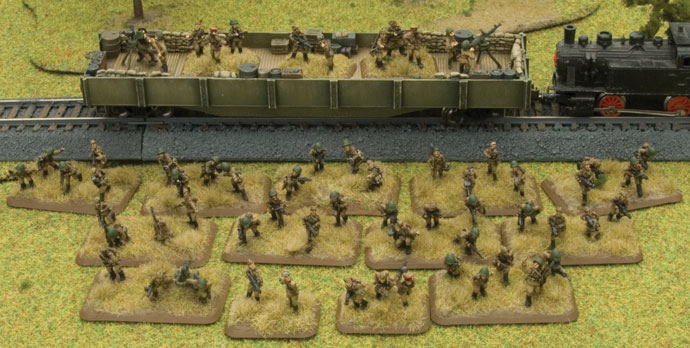
For the Soviet force we used a basic Strelkovy battalion from Fortress
Europe, avoiding equipment they would not likely have had, such as
tanks. Furthermore, To reflect the stretchedout division, Blake took
under strength Strelkovy companies.
Below: Escort Strelkovy Company and Machine-gun Wagon.
|
|
 |
Preparing the Raid
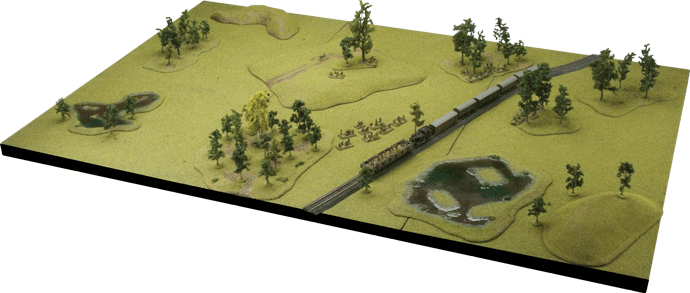
We set up the map according to the mission’s instructions. Typical Soviet trains put the machine-gun wagon in the front of the locomotive so that it could guard the train from frontal assaults. So Blake placed the machine-gun wagon at the head of the train and then loaded one of his Strelkovy companies aboard.
I deployed the two small platoons towards the rear of the train. I assigned the larger platoon to deal with the machine-gun wagon to keep it from interfering with the other two platoons. I then stationed the radio platoon on the hill in the middle of the map so it could see any enemy reinforcements arriving from reserve.
Everyone was in place and each man knew his mission. It was time to begin!
Below: The Battlefield.
|
 |
 |
Turn 1
As the Finnish troops waited in the bushes and trees, the Soviet train came to a sudden halt. The raiders had blown the railway, forcing the train to come to a stop. As the Soviet commanders decided what to do, the signal was given and the Kaukopartiojoukot launched into action.
The two small sections rushed to the rear
of the train and opened up on the supply wagons with their 9mm M/31 Suomi submachine-guns, hoping for a lucky
shot.
|
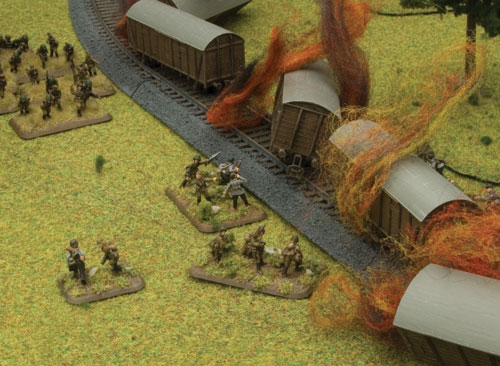
By pure chance, one trooper succeeded and the last supply wagon erupted
into a ball of flame.
Meanwhile, 1st Platoon rushed the machine-gun wagon, hoping to pin down
the defending company. They peppered the armoured wagon with their
submachine-guns. The hail of bullets were too much for the Soviet
machine-gunners, who bailed out to find cover. |
Not wanting to give up the initiative, I pressed 1st Platoon to assault the wagon. The chance to eliminate the defending platoon was too good to pass up. The platoon charged ahead before the enemy could conduct defensive fire.
The platoon hit the wagon hard, throwing explosives and snow track mines in amongst the Soviet troops inside. The wagon erupted into flame and chaos as the Soviet troops did everything they could to bail out of the death trap. Only five teams survived the carnage.
A desperate fight between the Soviets and Finns resulted in the complete annihilation of the Russian company but not before they destroyed two of the Finnish teams.
The alarm was raised and the rest of Blake’s Strelkovy were called into action. After the elimination of the first company, Blake’s second company arrived from reserve at the end of the train, right next to the Finnish 3rd Platoon. The company arrived behind a forest, preventing the Finnish radio platoon from warning their comrades.
|
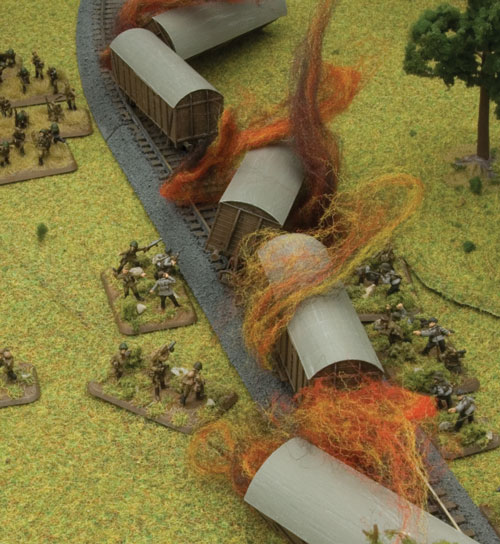 |
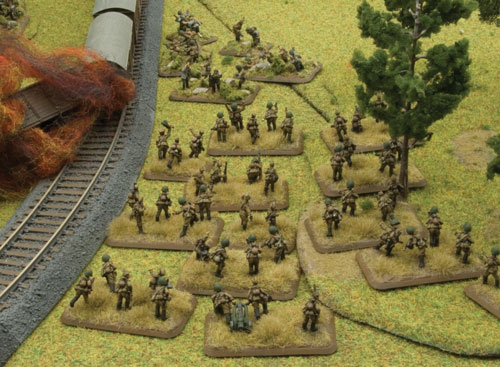
The reinforcements quickly went to work pushing
the Finnish raiders away from the end of the train. The darkness of the
night concealed the Finnish troops, but the Soviets still managed to
launch their an assault without casualties.
The Finns responded with submachinegun fire, but failed to pin down the
assaulting Russians. The Soviets inflicted two hits on the small Finnish
platoon, which immediately broke off to get away from the threatening
Soviet company. |
 |
Turn 2
The Finnish 3rd Platoon rallied from being pinned down by the enemy assault. However, 1st Platoon failed to do the same, despite the company commander demanding they pull themselves together.
While 1st Platoon stayed put, the other two platoons went to work setting demolition charges on the supply wagons. They successfully planted explosives on three of the remaining four objectives.
I had to surrender any hopes of destroying the last supply wagon, as Blake had it well secured with his reinforcements.
|
At the top of Blake’s turn, he managed to call in another Strelkovy
company. This time the platoon came on at the back of the battlefield
and threatened to cut off the Finnish escape route.
The Finnish radio platoon could see the reserves arrive, but failed to warn the nearest Finnish platoon (1st Platoon).
Blake kept the pressure on 3rd Platoon. The Strelkovy moved up to
assault the Finns once again. This time, the defender’s submachine-guns
tore into the Soviets with devastating effect. Blake’s troops suffered
six hits. This failed to pin them down thanks to the Quality of Quantity
special rule (need ten hits to pin down a Soviet company if it has ten or more teams), however four teams
were destroyed in the charge.
Blake had two teams in assault range, but failed to hit the elusive
Finnish troops. I hesitated for a moment, trying to decide what to do. I
elected to stand and fight, causing three hits on Blake’s dwindling
Strelkovy company.
The Soviets returned and knocked out all but one team from 3rd Platoon,
which failed its morale and eventually fled from the field.
|
Turn 3
With the loss of 3rd Platoon, I knew that things would only get worse if I tried to stay much longer. Blake had been wickedly lucky with his reserve rolls and I just couldn’t risk it. I tried to have the radio platoon call back to HQ to ask for orders to disperse. But, alas, no such luck.
I moved the platoons away from the Soviets as quickly as possible, but night time prevented me from moving fast through the woods and onto safety.
At the beginning of Blake’s turn, he rolled to see if daylight broke, but chance still favoured the night and the game continued in the dark.
|
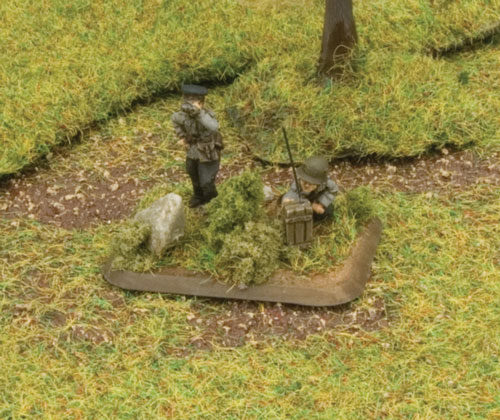 |
Blake called in his last large unit, the
Submachine-gun Company. They appeared near 2nd Platoon, and moved up,
nearly catching up with the Finns.
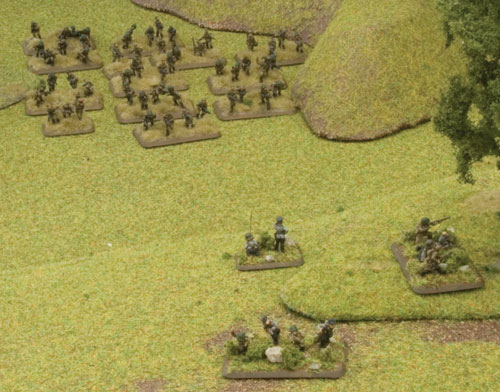
The Soviet companies continued to tighten the net, cutting off half of
the Finnish troops’ escape route. My window to get my troops out was
closing fast. |
 |
Turn 4
At this point my priority was to get my raiders out of the closing net of Soviet troops. I once again radioed back to HQ to try once again to get permission to disperse. This time I succeeded and got the OK to withdraw from the battlefield.
With that, the game ended, but I still needed to safely withdraw my troops. Platoons that are more than 8”/20cm away from Blake’s platoons automatically withdrew safely, which included 1st Platoon and the Radio Platoon. However, 2nd Platoon was within range of Blake’s Submachine-gun Company. To successfully withdraw the platoon needed to pass a skill check (result of three or better on a D6 dice). |
As 2nd Platoon attempted to withdraw, it failed its skill check and they
were caught and destroyed by the Soviet troops.
The raid was harsh on both sides. I had managed to destroy four of the
five supply wagons, securing a major victory.So, in that respect the
Kaukopartiojoukot could be proud of a job well done. However, the patrol
had suffered 50% casualties in the effort. Blake’s troops had inflicted
terrible losses on my light force. His reserves played a critical role,
arriving just where they were needed to close off my avenues of escape. |
|
The Wrap Up
The mission was short, brutal and exciting. The Finnish raiders managed to secure a major victory, but Blake’s troops made sure they paid dearly for it and quite nearly eradicated the whole patrol.
Vital supplies had been destroyed, preventing them from reaching the front. I’ll have to find some new missions for my Kaukopartiojoukot to further help keep Finland free of Soviet oppression!
Download a PDF version of this article here...
|
Last Updated On Monday, October 4, 2010 by Blake at Battlefront
|
|
|