|
|
 |
|
|
Taurus Pursuant: The 11th Armoured Division During Operation Market Garden
 |
Taurus Pursuant:
The 11th Armoured Division During Operation Market Garden
by Mike Haught, Jason Davis & Tom McBride.
The 11th Armoured Division was widely recognised as one of the best British armoured divisions in the Second World War. Commanded by the desert legend Pip Roberts, 11th Armoured was a flashing rapier that cut into the heart of German defences in many battles including Goodwood, Epsom, Market Garden, the Battle of the Bulge, and more.
Learn more of the history of the 11th Armoured Division here... |
Formation and Training
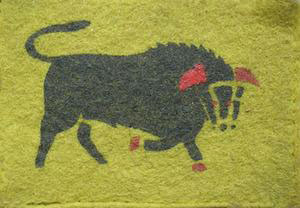
The 11th Armoured was formed in 1941 under the command of Major General Hobart, who had been recalled from the Middle East where he had formed and trained the famous 7th Armoured Division. General Hobart had led the first battalion of tanks ever raised and was known to be an expert in armoured warfare, with a particular skill in training in combined arms cooperation. He chose the 11th Armoured’s famous emblem of a charging bull from his own family crest. |
The 11th was among those created in response to the success and near mythical prowess of the German Panzer divisions. The British High Command had resolved to create their own armoured forces that contained enough supporting arms that they were capable of near self-sufficiency on the battlefield, but also capable of the type of rapid advances that had won the Germans such success in their conquest of Europe.
In December 1943, Major General ‘Pip’ Roberts was appointed as the 11th Armoured’s commanding officer. A Captain at the start of the war, Roberts had ascended the ranks to become the youngest Major General in the British Army and, like Hobart, he was an expert in armoured warfare. |
 |
Organisation
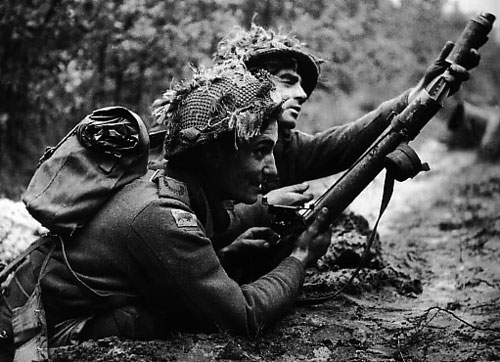
The armoured divisions, though still training in England, regularly changed their organisation and equipment as battlefield lessons were learnt and as technology improved. The 11th Armoured’s organisation evolved into one Infantry Brigade (the 159th, consisting of three infantry battalions) and one Armoured Brigade (the 29th, consisting of three armoured battalions and a motorised infantry battalion). In 1943, the division’s armoured car regiment was removed and placed directly under corps control. In their place, the division was given an armoured reconnaissance regiment, the 2nd Northamptonshire Yeomanry, which was organised on practically identical lines to the armoured regiments, but equipped with British Cromwell tanks rather than American-made Shermans. |
 |
The infantry brigade was also strengthened by the addition of a sub-unit designed to support their battalions and increase their firepower. This was the 2nd Independent Machine-gun Company of the Royal Northumberland Fusiliers, armed with Vickers machine-guns and 4.2” heavy mortars.
Changes were also regularly made to the division’s equipment. Tanks and other vehicles received regular upgrades but significant advances were made with the addition of motorised anti-tank guns (M10s) and self-propelled artillery (Sextons), which greatly increased the division’s mobility and striking power. |
Normandy
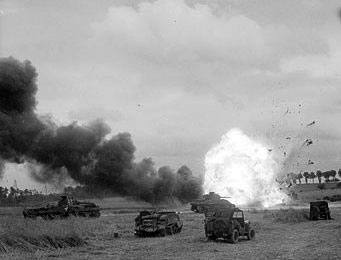
During Normandy, the 11th Armoured participated in three major offensive operations in which it demonstrated the strength of its training and its versatility, but only when allowed to effectively use its combined arms. The division’s first real blooding occurred in Operation Epsom in late June, a disorganised thrust south of Caen intended to unseat the Germans in the important city. Although it did not achieve this goal, the division gave a good account of itself.
The division’s next major battle was Operation Goodwood, a massive armoured advance intended to break the back of the German defensives to the north of Caen. |
This goal was not achieved, and the 29th Brigade suffered heavy losses of tanks during the battle, particularly to well-sited German anti-tank guns. However, the advance cost the Germans significantly and it created opportunities for the subsequent breakouts.
Goodwood was followed by Operation Bluecoat, which was designed to support the American breakout at Saint-Lô. Operating in combined arms battle groups for the first time, the division out-paced the supporting Guards and 7th Armoured Divisions, and drove a significant salient into the German defences near Vire. However, the 2nd Northamptonshire Yeomanry suffered critical losses and were replaced by the 15th/19th King’s Royal Hussars in mid-August. |
 |
Amiens and Antwerp
Following the collapse of the German army around Falaise, 11th Armoured Division was transferred to XXX Corps, under General Horrocks, who was an old desert campaigner like Pip Roberts. |
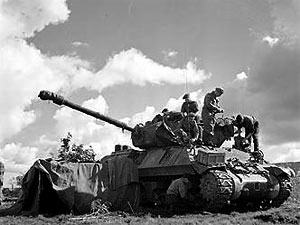 |
Together they formed a plan for the division, supported by armoured cars of the Inns of Court Regiment, to advance upon the retreating German army with all possible speed. The advance covered a stunning 230 miles in six days, from the River Seine at Vernon to Antwerp.
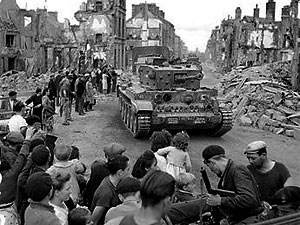
Following the capture of Amiens, the division captured the city of Antwerp in a textbook operation which is regarded as one of its greatest successes. However the failure to immediately press on and secure the nearby port was to prove extremely costly to the Allies in the coming months. |
Market Garden
Operation Market Garden was a combined operation to capture a narrow corridor into Germany by seizing strategic Dutch bridges using airborne troops and securing a land route into Germany with armoured troops. The ambitious plan was to force the Allies through a narrow corridor almost 60 miles (96km) deep with exposed flanks on both sides of the corridor. The corridor would be extremely vulnerable to attack from both sides. The right flank was the most dangerous, as the Germans could quickly bring reinforcements on the railway line directly from Germany. General Montgomery ordered the VIII Corps to guard the right flank and spearheading that mission was the corps’ own 11th Armoured Division. The 3rd Division would follow to secure the ground with its infantry behind the 11th Armoured’s advance. |
A Delayed Start
The 11th Armoured Division, minus the 15th/19th King’s Royal Hussars who were supporting XXX Corps, commenced its advance across the Escaut Canal at Lille-St-Hubert. It had orders to clear the enemy forces east of Eindhoven and Grave, but due to some delays they were too late to offer any immediate protection to the Airborne corridor.
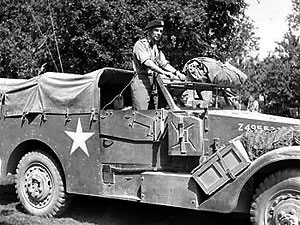
Meanwhile as the 11th waited impatiently for the bridge to be completed, the German 107. Panzerbrigade (107th Panzer Brigade) had unloaded 36 Panther tanks at Venlo station, and advanced west to Helmond. The following day, their first Panzer battalion was fully operational and set out from Helmond on its mission to destroy the bridge at Son just north of Eindhoven. |
 |
 |
First Brush with the 107th
On 21 September, the 29 Armoured Brigade continued their advance north. At 1600 hrs their advance elements were able to make contact with the American 101st Airborne Division at Nuenen where the 23 Hussars intercepted eight Panthers from the 107th Panzer Brigade. The Germans had been on their way to launch another attack on the battered 101st Airborne forces defending the narrow corridor. The 23 Hussars’ Shermans managed to destroy three Panthers and forced the Germans to withdraw to Helmond. |
| Although the first skirmish between the 11th Armoured Division and 107th Panzer Brigade was a limited engagement, the right flank of Operation Market Garden was now in operation, and that the Germans would have to deal with another advance from the south, which significantly curtailed their attacks against the highway in the area. |
Zuid-Willems Canal
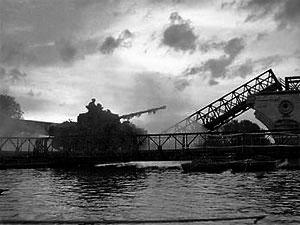
The Zuid-Willems Canal was a formidable obstacle which ran diagonally across the line of the 11th Armoured’s advance. After the Inns of Court reported that the Germans had blown all bridges across it, Major-General Roberts decided to use 159 Brigade to force a crossing at Someren Lock, located between the towns of Someren and Asten.
At 1930 hrs on 23 September, two infantry companies crossed the canal on assault boats. By 2100 hrs, all three of the companies were across and they had established a bridgehead in the darkness, supported by 25 pdr artillery of the Ayreshire Yeomanry. The Royal Engineers commenced building a Bailey bridge across the canal, aided by a searchlight battery. |
 |
At 0200 hrs, the Germans launched a fierce counter attack. In darkness, small parties of the Herefordshire Regiment engaged in hand-to-hand fighting with probing German patrols. They took heavy losses and were slowly forced back to the bridge itself. A stream of casualties started to flow back across the canal and past the waiting tanks of 11th. It seemed the bridge might not be completed before the infantry was completely overrun.
Lieutenant R. S. Jackson, of The King’s Shropshire Light Infantry saw the unfolding crisis and acting on his initiative, gathered up scattered groups of the surviving men of the Herefordshire Regiment and mounted a strong defence. Although the Hereford’s casualties were high, by daylight the small bridgehead was still intact and General Roberts pressed home his attack. |
 |
The Attack on Asten
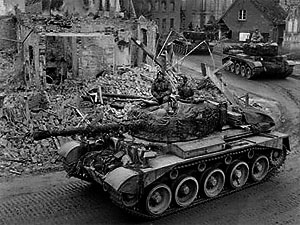
Following an initial barrage of artillery, the tanks of the 2nd Fife and Forfar Yeomanry led a charge over the bridge in a desperate rush for Asten. The first troop across was knocked out and the crews machine gunned down as they fled their burning tanks, but the follow up Sherman tanks, together with infantry and universal carriers of the King’s Shropshire Light Infantry, pressed forwards toward the town. Under heavy fire they slowly forced the Germans back and entered the town, going through each building from the rear and driving the enemy into the streets where they met the merciless supporting tanks. 159 Infantry Brigade had finally secured a vital crossing point over the Zuid-Willems Canal. |
Deurne and Helmond
On 23 September, the 159 Infantry Brigade was forced to defend Asten against a series of determined counter attacks. Meanwhile, on the other side of the canal, the 29 Armoured Brigade cleared the western approaches to Helmond. The following day, the 3rd Royal Tank Regiment cut the Venlo-Helmond railway line near Liesel and Deurne, despite resistance from a few remaining Panthers of 107th Brigade which was forced to withdraw from Helmond back to the Maas river.
On 25 September, the 159 Infantry Brigade reached Gemert, where the men of the King’s Shropshire Light Infantry discovered four hastily abandoned Panthers. The town of Helmond had been almost completely outflanked by 11th Armoured and it was taken with little resistance. |
After Market Garden
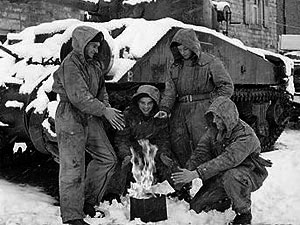
The division spent a further two long months securing the front along the Maas River, to the onset of a bitterly cold winter. While the 159 Infantry Brigade held the line, 29 Armoured Brigade withdrew to rearm with the new Comet tank. However, their training was interrupted by the German attack on the Ardennes Forest, forcing them to charge back to the front in barely serviceable Shermans to secure Brussels and Antwerp. |
 |
| By spring, the division completed their transition to Comets. Using the new tanks’ combination of firepower and mobility, the division thrust in to the German frontier, breaching the Teutobergerwald, liberating the Bergen-Belsen concentration camp, and ending up capturing Admiral Donitz and the Flensberg Government on 23 May 1945. |
 |
The 11th Armoured in Flames Of War
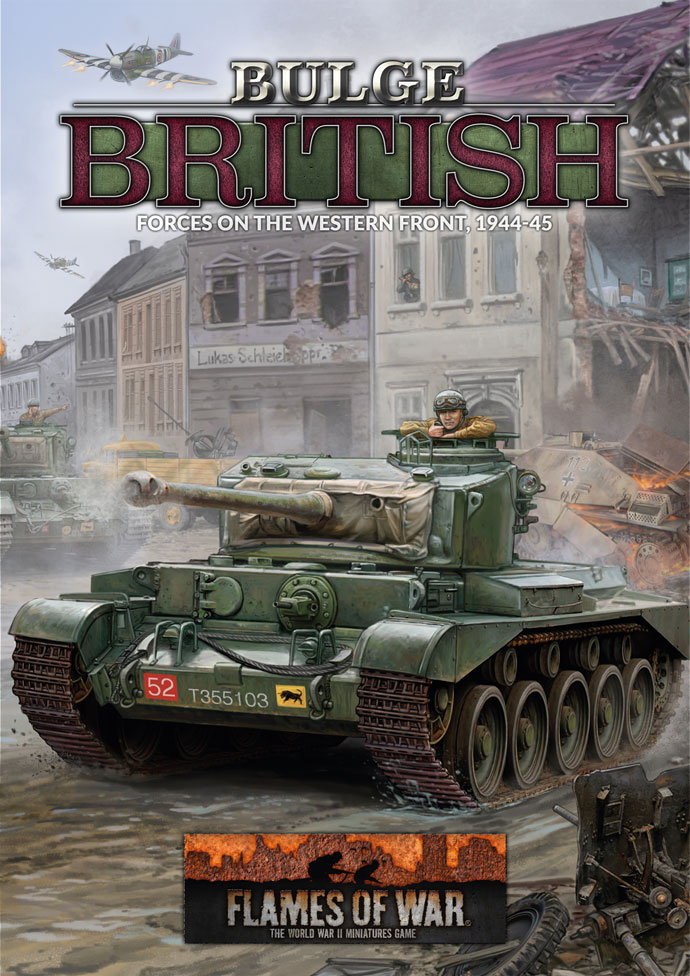
The 11th Armoured Division set the benchmark for all British armoured divisions in northwest Europe. You can field the 11th Armoured Division after their refit with Comets with Bulge: British.
|
Last Updated On Thursday, October 20, 2022
|
|
|