
|
| |
|
|
|
|
 |
|
|
Assembling the Comet
Assembling The Plastic Comet |
| Let's begin by ensuring the contents of the Comet Platoon box match the box contents image above. If you have any problems or issues with the contents of your box set, please feel free to contact our Customer Service team at: [email protected]. When you've checked that you have everything, you can begin assembling the Comet, starting with the hull. |
Components Required For The Comet Hull
The components required to assemble the hull of the Comet can be seen below highlighted in green on the appropriate frames. |
| Assembling The Comet Hull |
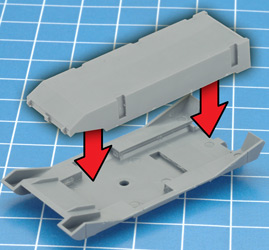
| Begin assembly by attaching the upper and lower hull sections. |
 |
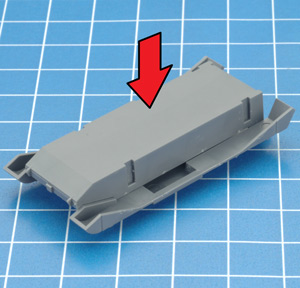 |
Tip: Although regular Hobby Glue can be used to assemble plastic vehicles, we recommend that you use plastic cement instead. It gives the strongest bond when gluing plastic to plastic. |
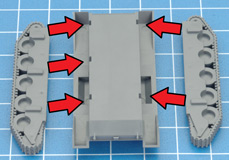
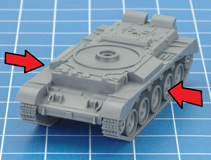
| Next, attach the tracks to the hull. (Unless you prefer to paint the tracks separately and attach them after painting.) |
 |
 |
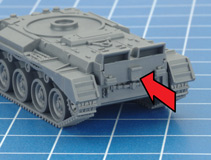 |
| Note: Each track has keys to correspond with a particular side of the lower hull - two on the right and three on the left. This aids in ensuring the correct orientation of the tracks when assembling the miniature. |
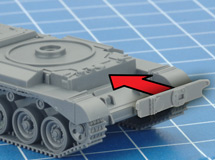
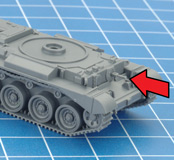
Now attach the rear hull plate. |
 |
 |
 |
| Next, attach the front armour plate. |
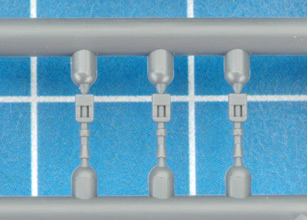
Glue the hull machine-gun into the rectangular slot in the front armour plate. |
Tip: Take extra care when clipping the machine-guns from the sprue, as they are quite fragile. You'll need two per tank, but there are three on the sprue so you will have a spare in case you break one. |
Components Required For The Comet Turret
The components required to assemble the turret of the Comet are highlighted below in green. |
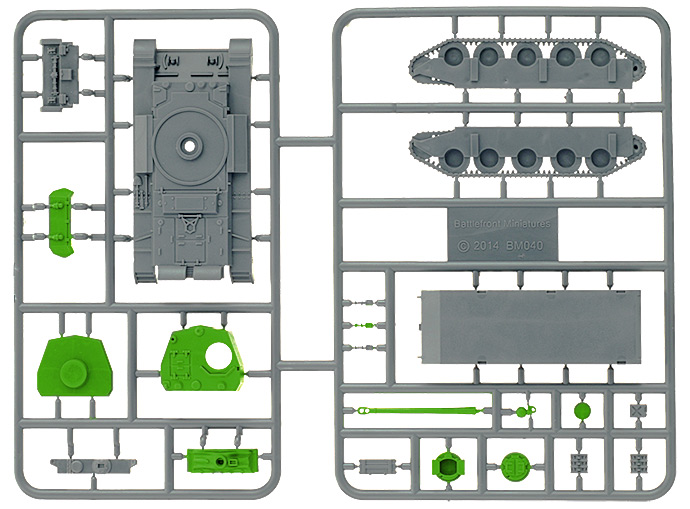 |
| Assembling The Comet Turret |
 |
 |
 |
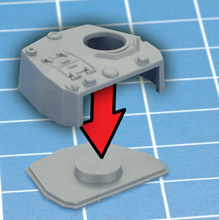
| Glue the upper and lower turret pieces together. |
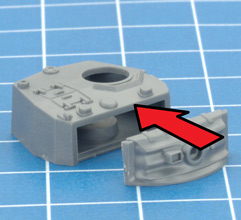
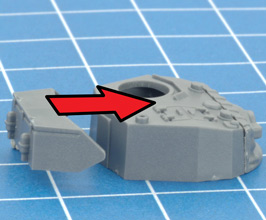
Attach the mantlet to the front of the turret... |
...and the storage bin to the rear. |
 |
 |
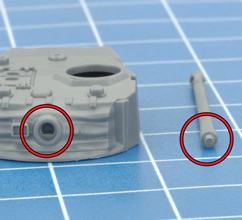
The main gun has a semi-circular key
to ensure correct orientation. |
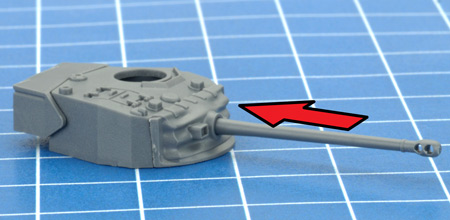
Glue the 76mm main gun into the hole in the mantlet, taking care to ensure it is straight. |
 |
 |
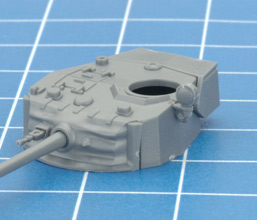 |
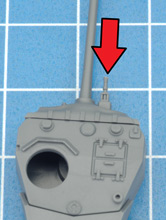
| Glue the co-axial machine-gun into the rectangular slot to the right of the main gun. |
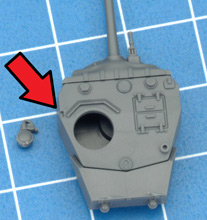
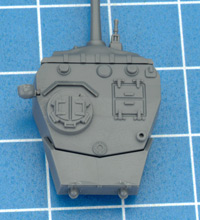
Next, attach the searchlight. For correct placement, align the small tab on the searchlight with the notch on the left-hand side of the turret. Like the machine-guns, this piece is fairly fragile, so take care when clipping it from the sprue. |
 |
 |
 |
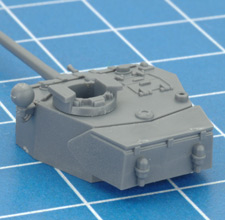
| Attach a cupola. To show the tank 'buttoned up', use the closed-hatch piece. Note the alignment of the hatches. |
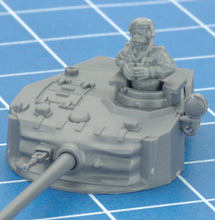
If you want to add a tank commander - either to mark the tank as a command vehicle, or perhaps just for some variety - use the open-hatch cuploa piece. Choose a figure from the tank commander sprue and glue him in place. Alternatively, you may prefer to paint the tank and commander separately first. |
 |
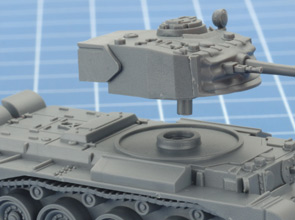 |
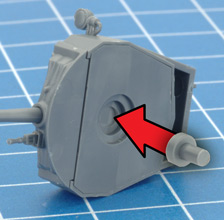
| Finally, glue the turret peg into the hole in the bottom of your turret. It fits into the hole in the tank's turret ring (don't glue this!) allowing the turret to rotate to shoot at targets in any direction. |
|
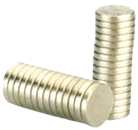
Alternatively, you may prefer to glue rare earth magnets into the recess in the hull and to the bottom of the turret. Magnets are a quick and secure way of fixing your turrets to the hulls, but they are a small added expense, which is why the turret peg is provided, leaving the choice up to you.
Rare Earth Magnets (XX105) are available through the online store here...
These 1mm x 5mm magnets fit perfectly into the round spaces in the hull and turret.
|
 |
Included on the plastic sprue are two sections of spare track links, a fuel can and an ammunition case.
These are optional but can help add some modelling variety to your miniatures. |
We hope you find this assembly guide useful when it comes time to assemble your own plastic Comet.
Happy modelling! |
|
|
|