
|
| |
|
|
|
|
 |
|
|
Assembling the 8.8cm FlaK36 gun
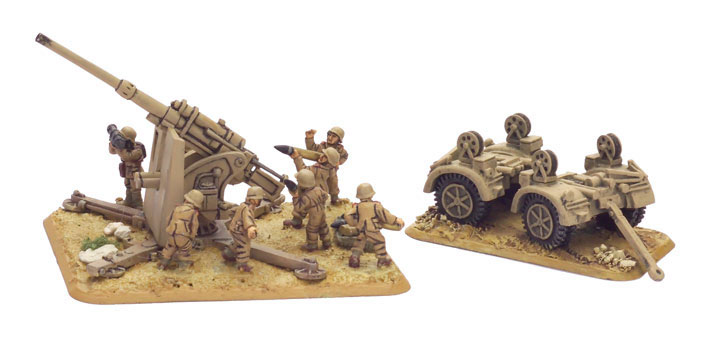 |
Assembling the GE550
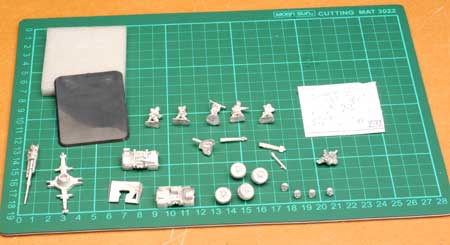
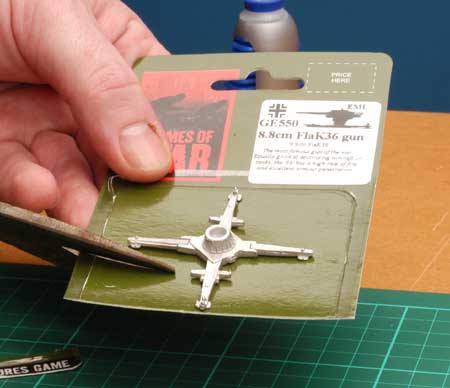
Once you have your nice new "88" pack the first task is to open it. Once open arrange all your parts out on your work area ready to begin cleaning them up.
Preparing a miniatures…
|
Step 1.
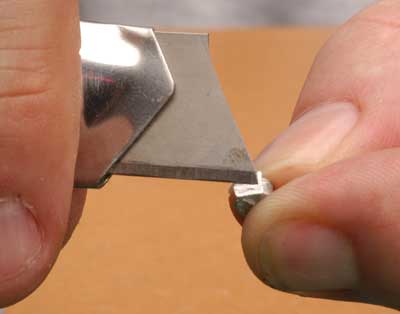
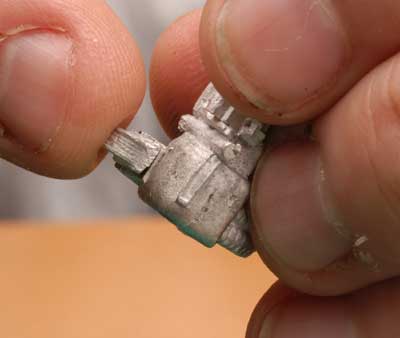
First off I’m going to assemble the trail wheel units, there are two and each consists of 2 wheels and body with guards or fenders.
Glue the wheels to the body; the spring section on the wheels aligns with the flat bottom of the body.
|
 |
 |
 |
Next the cable pulleys need to be added. Sometimes the pulleys need a
little trimming so they sit flush on their mounts on the guards.
|
 |
Step 2.
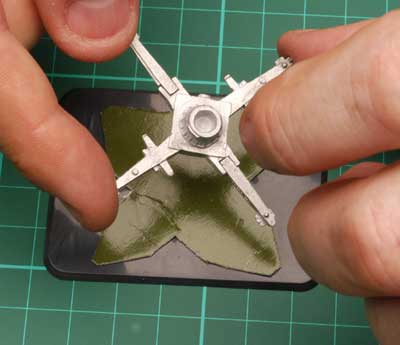
The next part to assemble is the cruciform trail that the gun sits on. It comes in three pieces, the turntable with two arms cast on and two separate arms to be glued on.
But first (like the 40mm Bofors ) we will cut ourselves out a card spacer from the backing card, this is used to give a little more height to the gun to make up for the metal bases on the crew. It also helps if you texture your bases, it stops the gun trail being covered by filler. Glue this to your large plastic base.
|
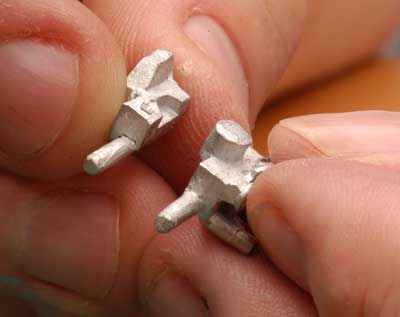
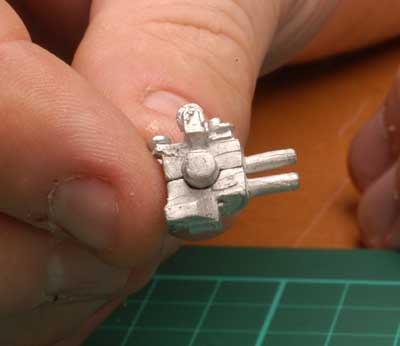
The first part to put together is the mount with the recoil mechanism. This comes in two halves.
Simply glue the two halves together, making sure they align.
|
 |
 |
 |
Step 3.
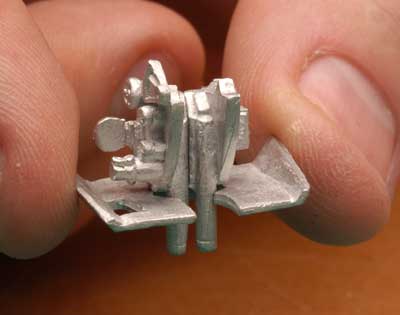
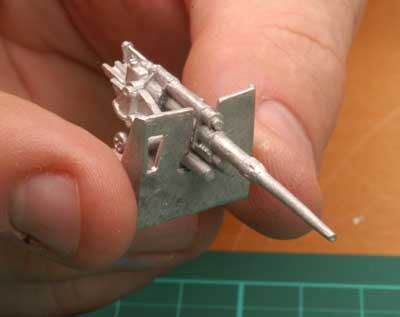
Next we are going to assemble the upper half of the gun.
|
 |
 |
Step 4.
Next glue the shield to the mounting, the recoil pistons fit through the rounded part of the slot in the shield.
|
Step 5.
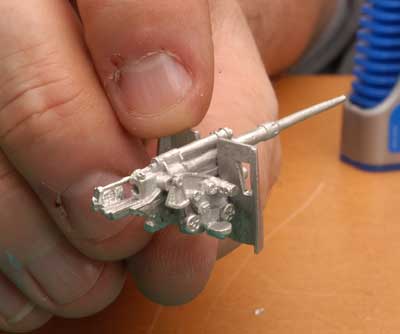
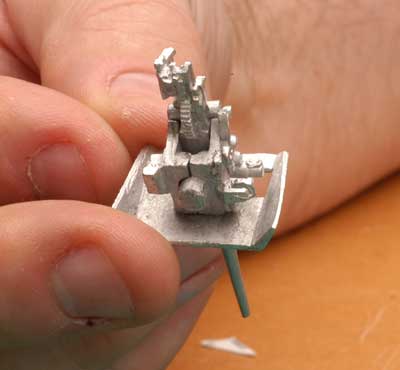
Now glue the gun to the mounting, the gun fits into the two indentations on either side of the slot down the middle of the mounting.
Two pins on either side of the breach end of the gun fit the indentations. The pins are called the Trunnions.
|
 |
 |
 |
 |
Step 6.
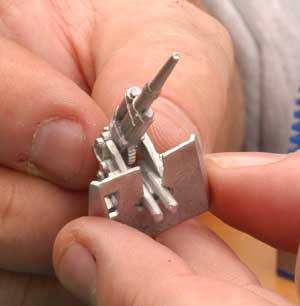
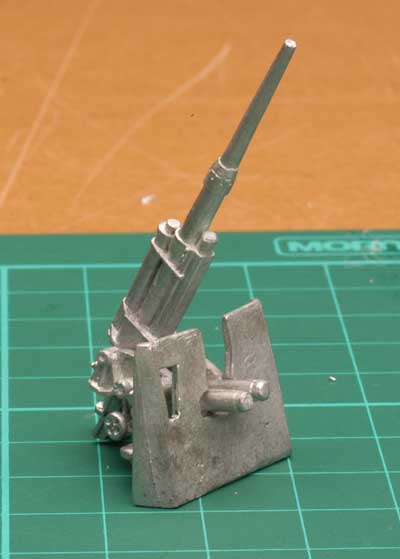
Or you can glue your "88" together in its anti-aircraft role, simply point the gun up when you are gluing it together.
|
Step 7.
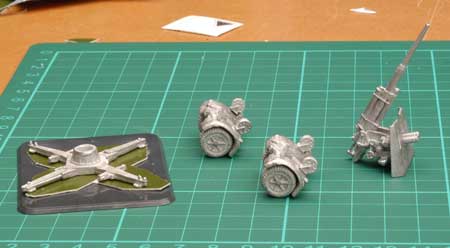
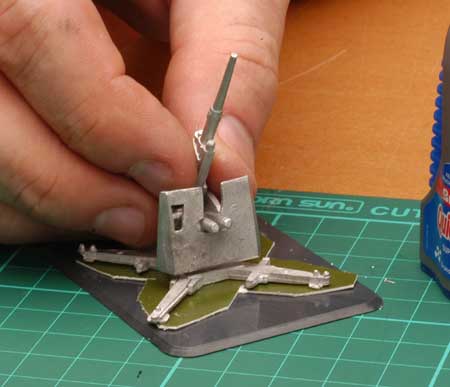
This is what you should have so far.
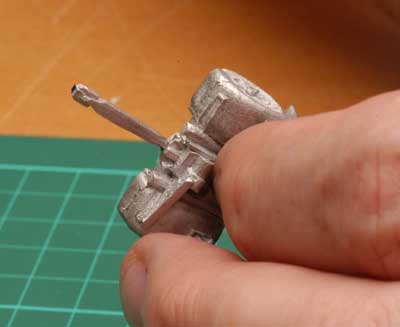
The last part to glue to the trailer wheels is the tow bar; this can be glued to either set of wheels. Sometimes a little trimming is required to fit the tow bar to the wheel unit.
|
 |
 |
 |
Step 8.
The final stage in assembling the "88" is to glue the two halves together, but you may like to do this latter.
|
|
The "88" is quite angular and I often find it easier to paint the two halves separately and do the final assembly once painted.
Step 10.
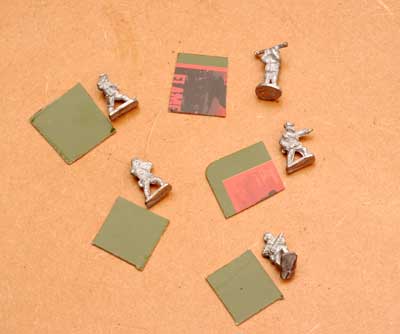
Of course there is still the crew, simply clean them of flash and tack them to some card with a little spot of glue and they are ready for undercoating.
And your model’s ready for painting.
Colin
|
 |
|
|
|