
|
| |
|
|
|
|
 |
|
|
Assembling the City Ruins (BB300)
|
Chris's Ultimate City Ruins Guide
|
|
|
- These ruins can be assembled using either plastic cement or super glue.
- Before starting the assembly, plan out your building by dry fitting the pieces together, this will help you to ensure you use as many of the pieces as possible.
- The walls are double sided. You can have either the brick or plaster as the building exterior. This means you can build the same building twice, but still have them look different.
- You may find it easier to paint the pieces before assembly, as it can be difficult to hold some of the larger sections whilst painting.
- Keep any unused pieces as you may find them useful when building future ruins.
The contents of this box are easy to put together and with a little planning you can create a wide variety of interesting looking buildings. If you want to create a larger, or centrepiece building for your forces to fight over, try combining two or more sets together for even more possibilities.
Below you will find instructions on how to put the different pieces together. There is no correct way to build a City Ruin but instead you can let your imagination run as wild as you can combine different parts in different ways.
|
| There are two types of connectors in the City Ruins box. These are the straight connectors and the corner connectors. You can combine these with the different types of walls to produce different ruins. |
|
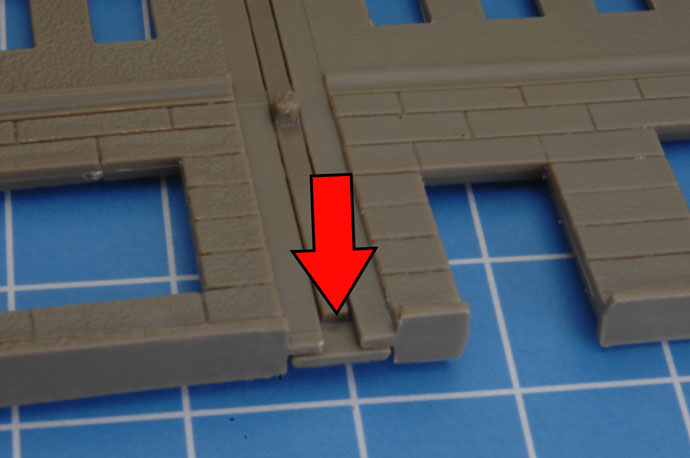
We will start with the straight connectors. Start by selecting two wall pieces and match them up with the straight connector. Make sure that the grooves above each window line up and note the gap at the bottom of the connector which will be used later in conjunction with the room dividers.
|
|
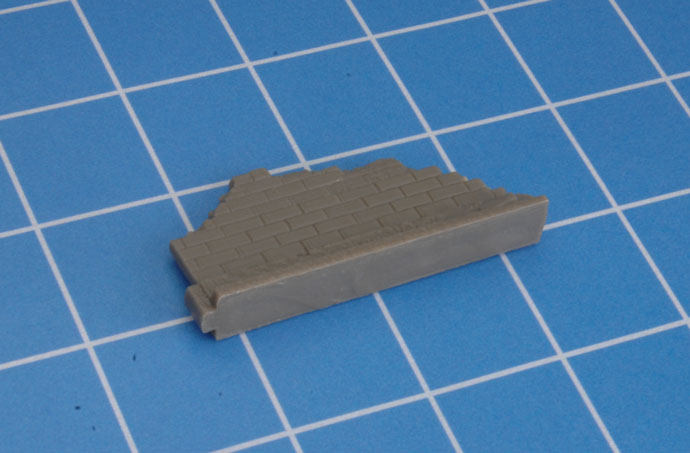
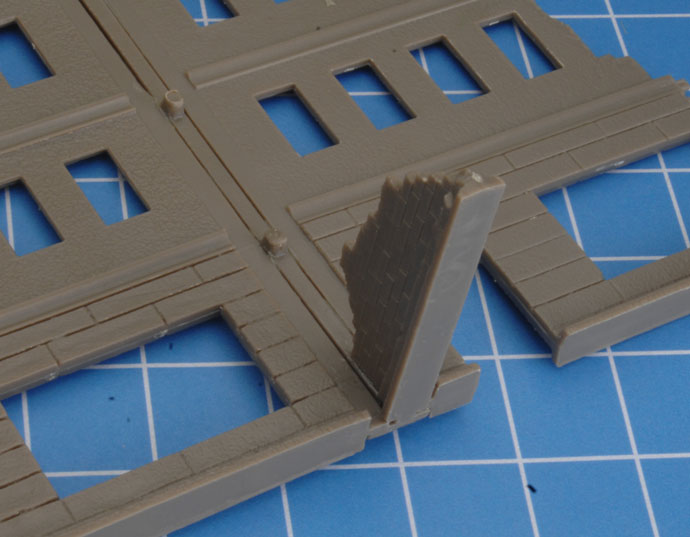
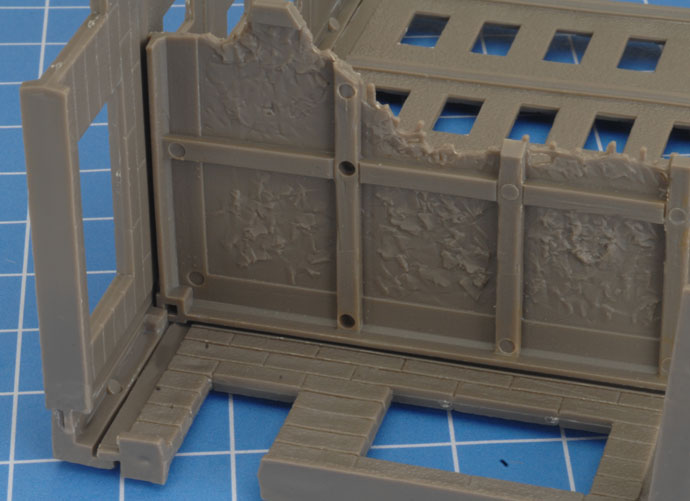
With the two wall sections combined you can now add the small room divder piece which fits into the slot at the bottom of the connector. This wall section will also add stablity to the finished ruin.
|
|
|
 |
 |
| On the interior face of the straight connectors are some small squares that can be useful if you are planning on adding some home-made additional floor sections. If you are not planning on making these you can just clip them off. |
|
|
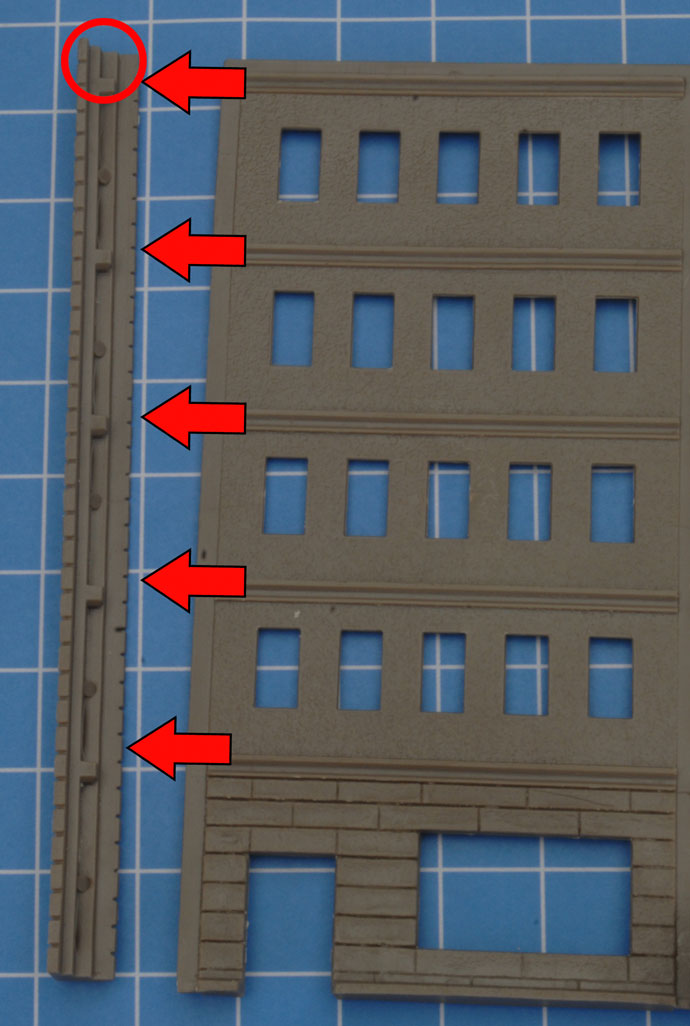
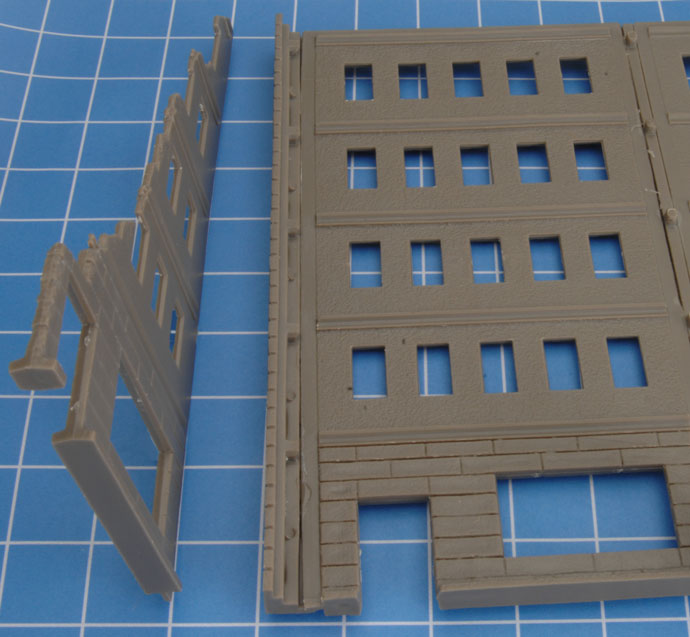
Attaching a corner connector is just as easy as the straight connector. Make sure that the small squares all match up to the grooves on the walls - they should sit slightly lower than the grooves. These small squares and grooves will help support your corner floor pieces once added.
|
|
|
 |
|
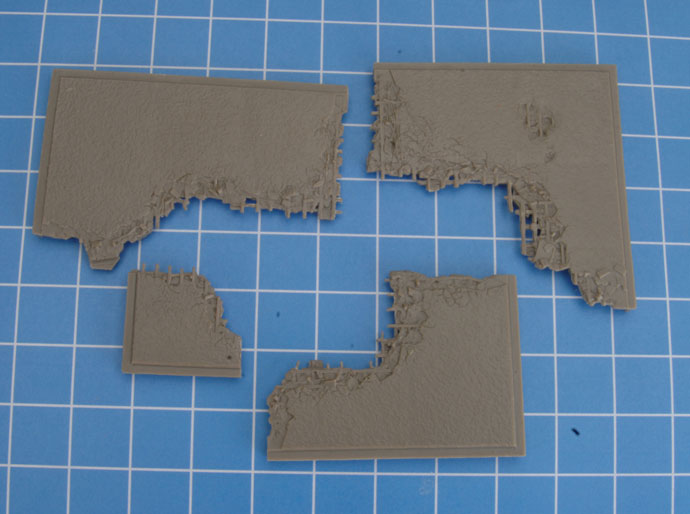
In each box you will get a variety of floors which can be attached to the interior of the ruins to create ruins with multiple levels. Simply match the ruined floor with the grooves on interrior walls
|
|
|
 |
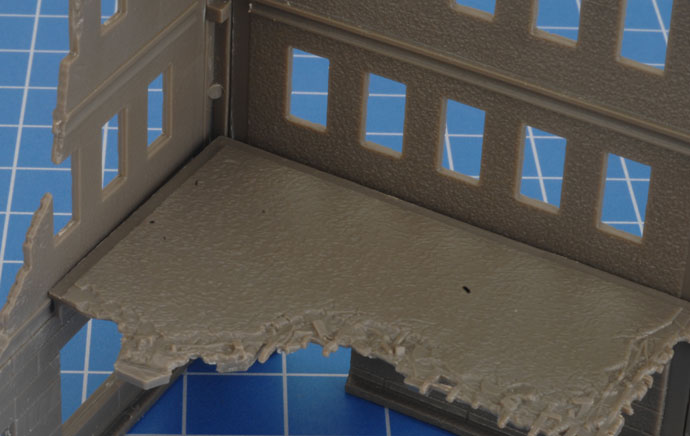
| Below you can see how the floor is attached from both the top and bottom. Note the notch on the corner of the ruin floor slotted into the corner |
|
|
 |
|
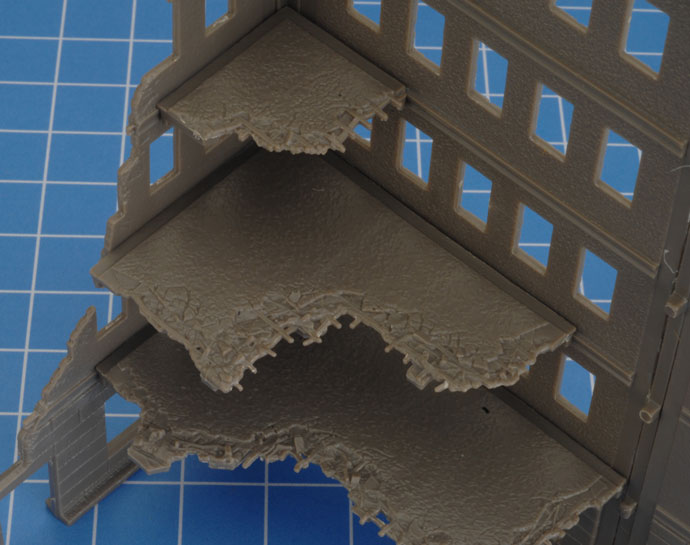
You can add more ruined floors to each ruin you build using different floor peices by simply repeating the steps.
To the right you can see an example of how you can place the different floors in a corner of your ruins.
Right side Image: A ruin with three different floors.
|
 |
|
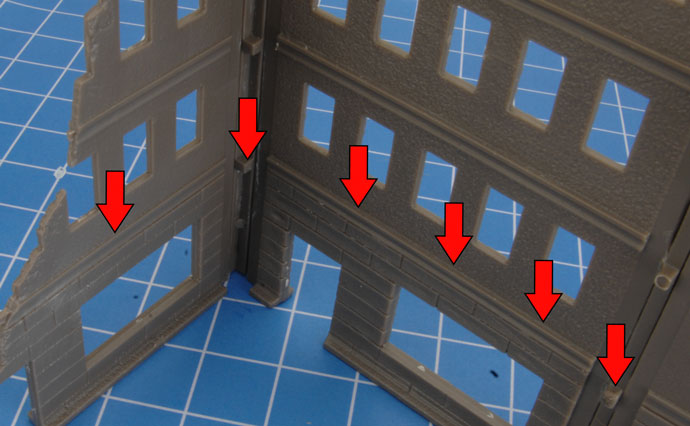
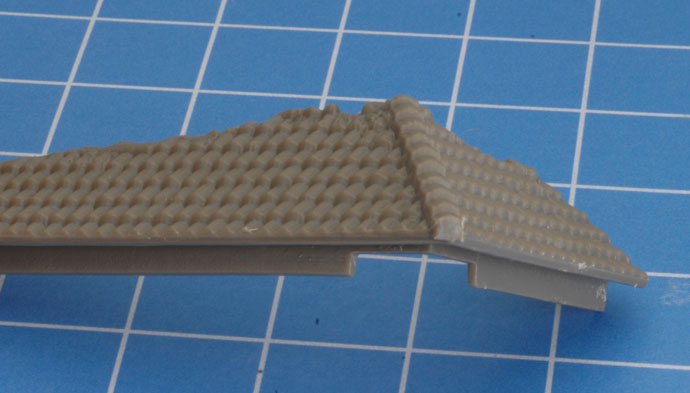
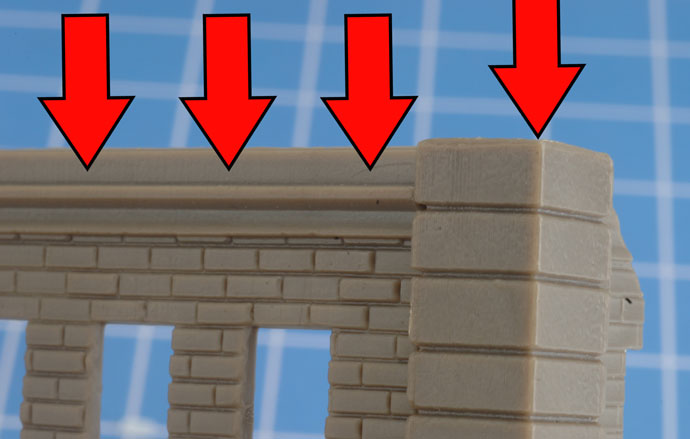
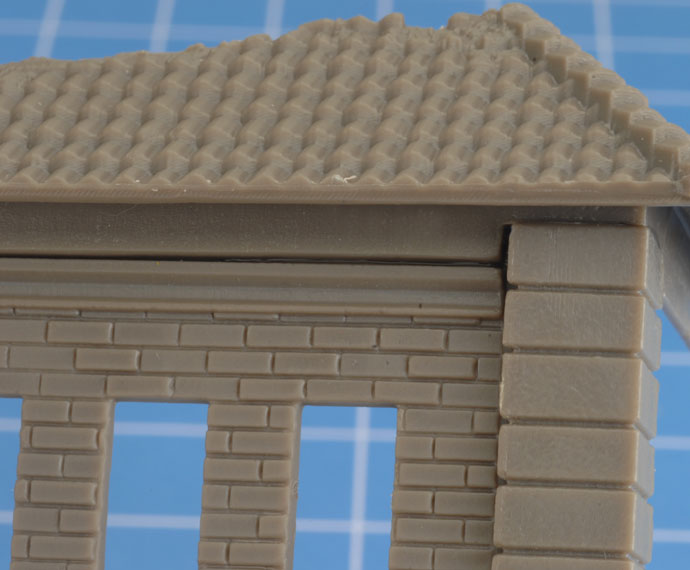
You can add the vestiges of collapsed roofs to the corners of your ruins. Glue the roof of your choice to top of the corner. Below you will see how the roof peices tabs sit on the exterior of the assembled building. The arrows show where the roof should sit.
|
 |
 |
|
There are a number of different types of roof peices. This image shows the roof sitting in the correct position on the building. Be sure to dry fit and experiment with the different peices to ensure the best looking building you can make.
Right side Image: The roof attached to the city ruin. Note the placement of the tabs on the exterior of the assembled building.
|
 |
|
|
Architects Get Paid For A Reason
We've said it before, but it is worth repeating at this stage because the roof and floor pieces have been designed to be a variety of sizes for maximum variation. By placing all the pieces for your new ruin on a table and planning out your construction you will ensure that you minimise any left-over pieces and create ruins that look great on the table.
Dont Be Afraid To Cut
These buildings are made from a durable hard plastic which means that you can always take to them with a pair of clippers or side cutters if you want to personalise or enhance them further. Got a left over roof piece that is too long for your wall then don't be afraid to clip off the extra section. Once painted people will never know and your building will be that much more unique.
|
|
| Room Divider |
|
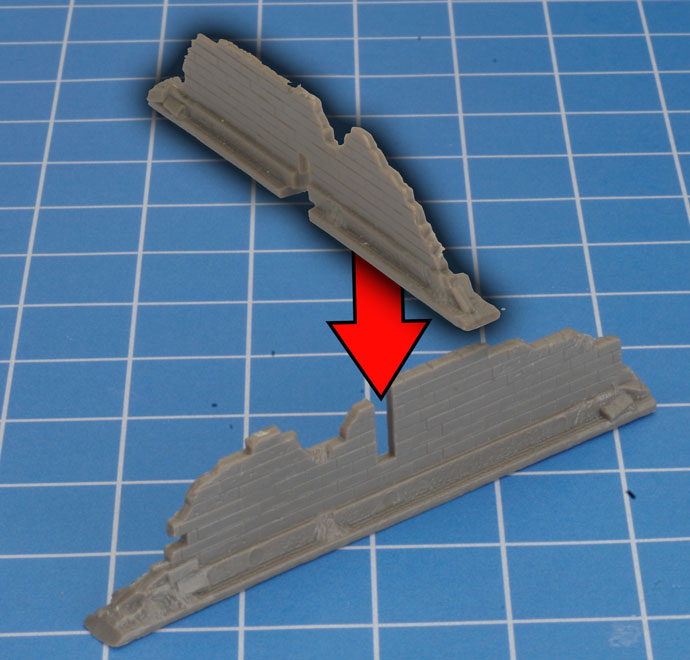
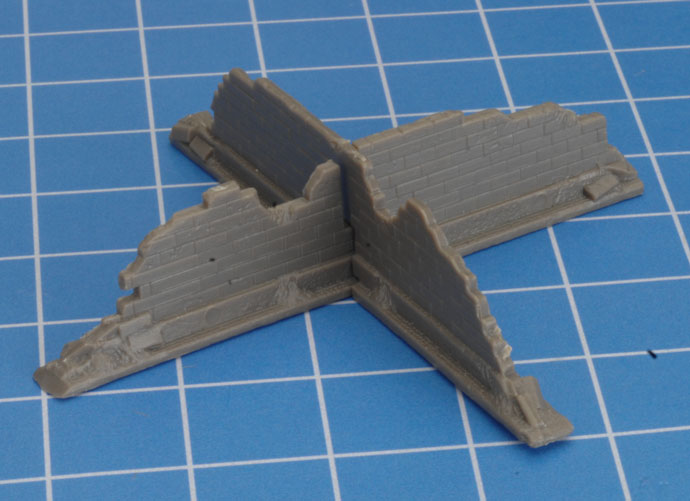
Room dividers help you to section out the inside of your city ruins. The two parts slot together to make an X and stand freely.
|
 |
 |
|
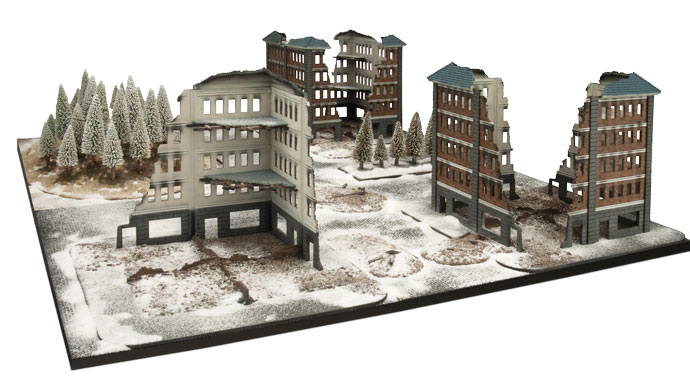
With a little planning, building and painting you can quickly get your City Ruins built and on the tabletop, ready to be fought over...
|
|
|
|
|
|