
|
| |
|
|
|
|
 |
|
|
Ace Of Base: Using The Desert Basing Kit
 |
Ace Of Base:
Using the Desert Basing Kit
with Blake Coster
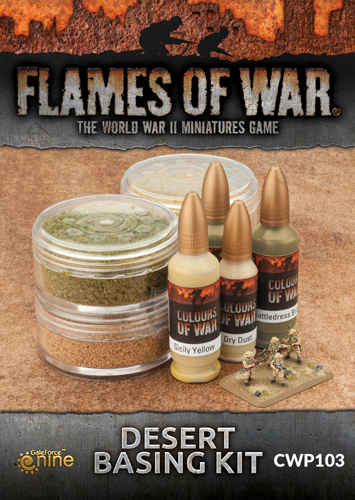
Basing is an important part of the look of any Flames Of War force. With the new Desert Basing Kit, it's easier than ever for you to create your desert bases for your 4th Edition Mid-war British or Germans forces.
In this article, I'll show you the basics of using the Desert Basing Kit to create desert-themed bases.
So let's get started with a few sample bases before moving on to a practical example.
Learn more about the Desert Basing Kit here...
|
| Sample Bases |
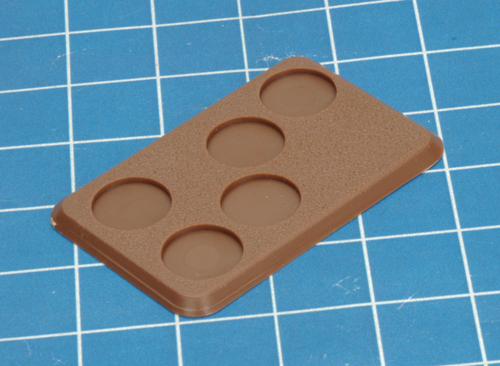
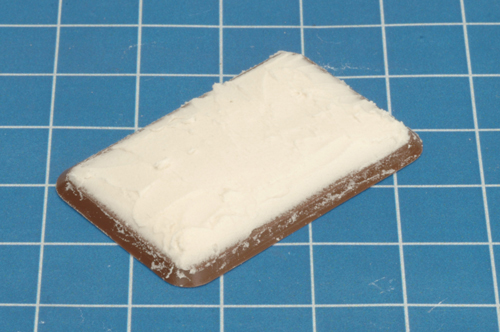
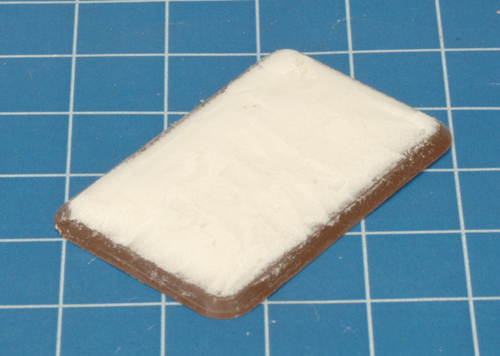
| Step 1. Apply 'spackle' or pre-mixed plaster filler to the base and allow to dry. Next, remove any excess with the back of a hobby knife. |
 |
 |
 |
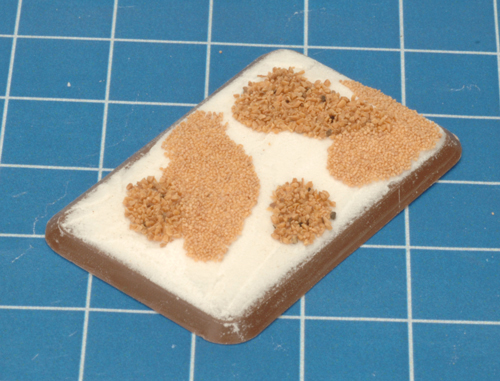
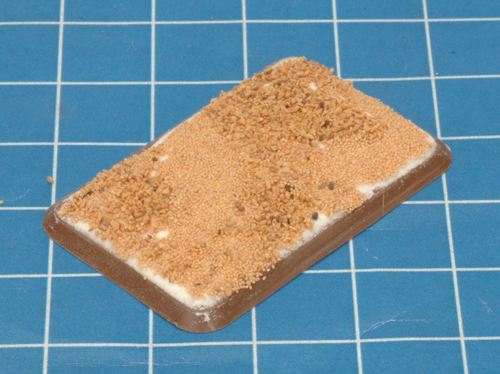
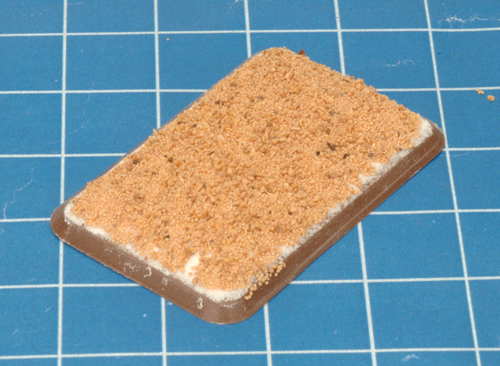
| Step 2. Using PVA glue, apply a combination of the basing grit to the base. Creating different ratios of the two types of basing grits found in the Desert Basing Kit can help create different textures and looks. |
| Below: Separate patches of Fine and Super-fine basing grit applied to the base, followed by a 50/50 mix. |
Below: An all-over 50/50 mix of Fine and Super-fine basing grit. |
 |
 |
 |
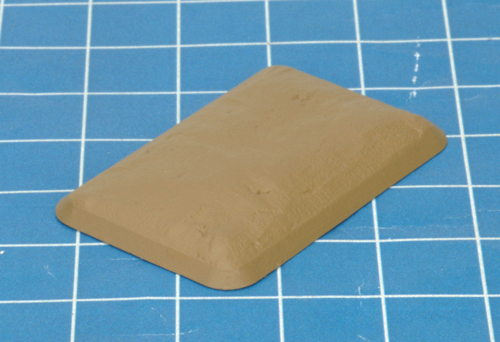
| Step 3. Apply a base colour using Battledress Brown (325). To get a generous covering of colour, this base-coating stage will use the most paint, so two large bottles of Battledress Brown are included. |
 |
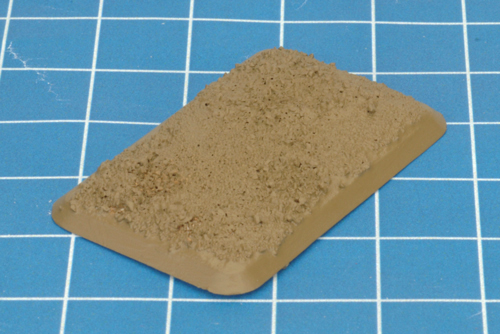 |
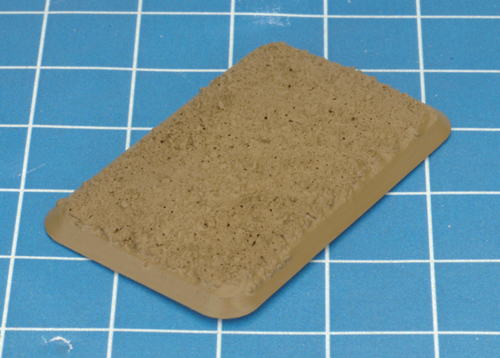 |
| Step 4. Apply a heavy drybrush of Sicily Yellow (362). |
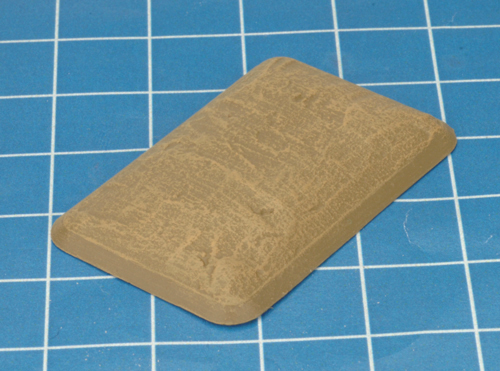 |
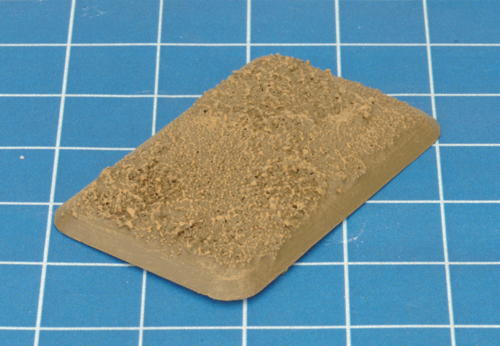 |
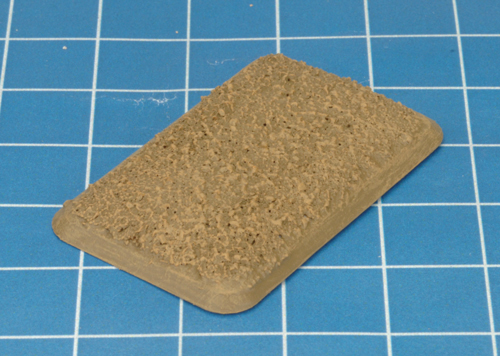 |
| Step 5. Apply a lighter drybrush of Dry Dust (364). |
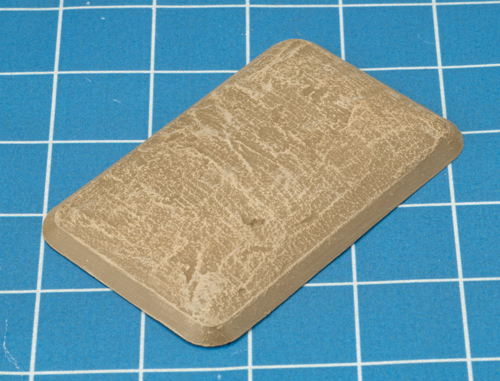 |
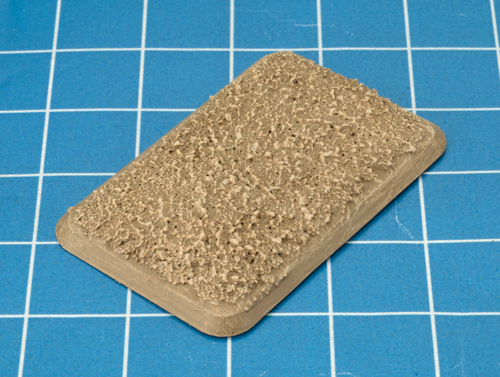 |
 |
| Step 6. Repaint the edges of the base with Battledress Brown (325). |
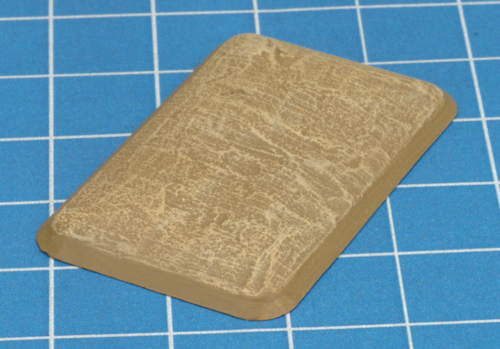 |
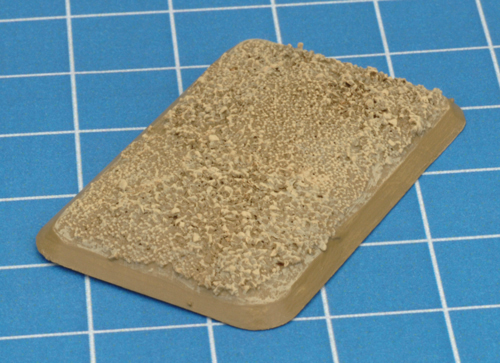 |
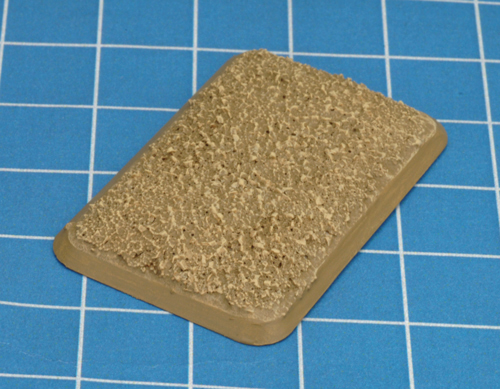 |
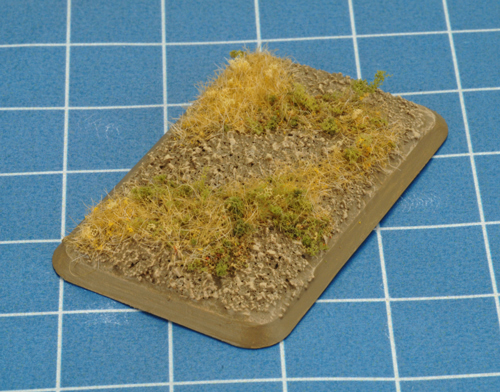
| Step 7. Using PVA glue, apply any combination of the static grasses. Creating different ratios of the two types of static grass found in the Desert Basing Kit can help create different looks (see the examples below). |
| Below: Separate patches of Parched Straw and Spring Undergrowth. |
Below: A 50/50 mix of Parched Straw and Spring Undergrowth. |
Below: Patches of Parched Straw, Spring Undergrowth and a 50/50 mix. |
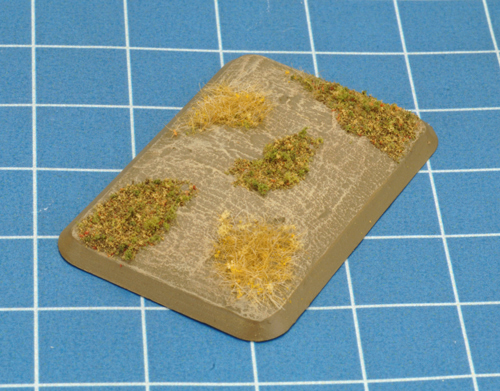 |
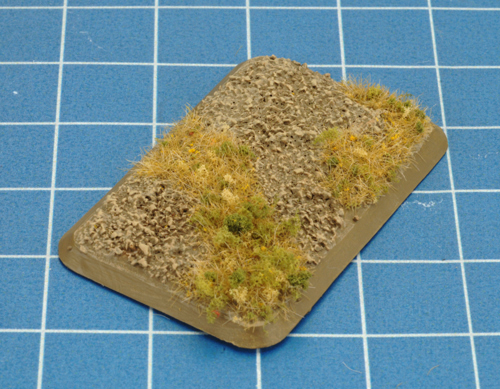 |
 |
A Practical Example
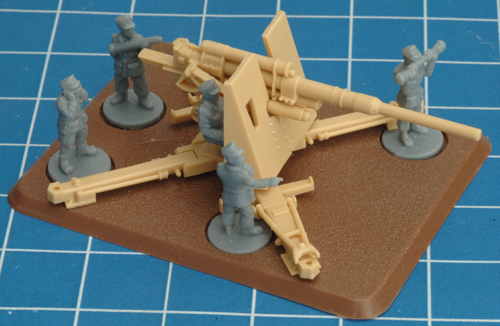
Now we've created a few sample bases, it's time to move on to a practical example. For this example, I'll be basing the German 8.8cm Heavy AA gun. Due to the size of the gun, I want to create a relatively flat surface, so will aim to create a smooth sand-style look with a hint of patchy desert scrub. |
| Below: The 8.8cm Heavy AA gun that will act as our practical example. |
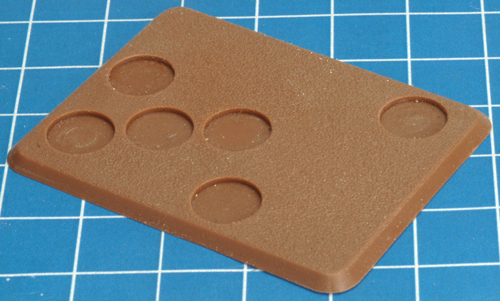
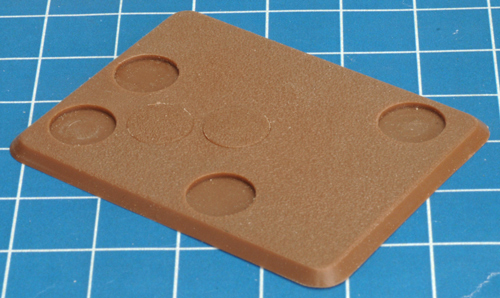
Step 1. First, we need the correct base size. In this case, the 8.8cm Heavy AA gun requires a large six-hole base. |
 |
 |
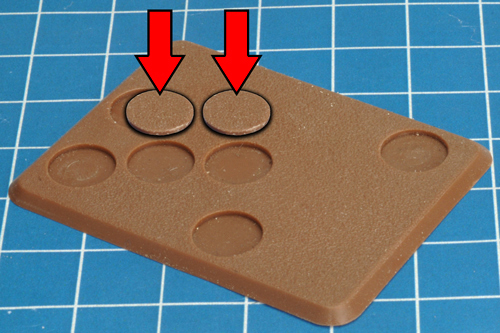
| Step 2. Since the 8.8cm Heavy AA gun has a five-man crew we need to plug two of the holes using the base plugs. The fifth crew member is the seated gunner, who is mounted on the 8.8cm gun itself. |
 |
 |
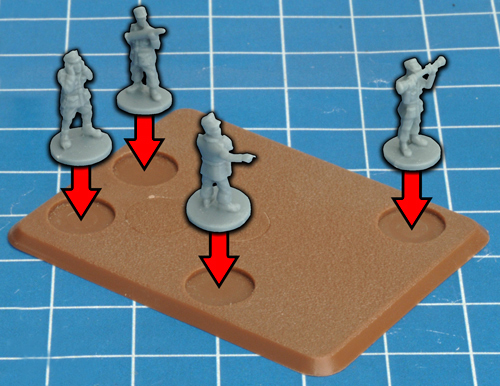
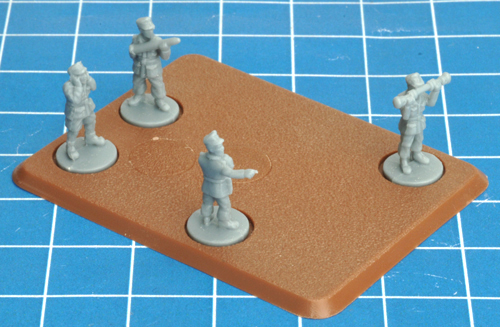
| Step 3. Next, I position the rest of the gun crew on the large base using the leftover base holes. |
 |
 |
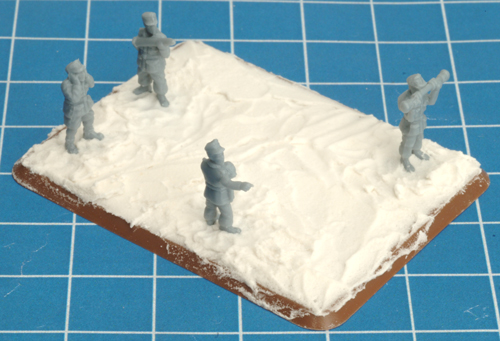
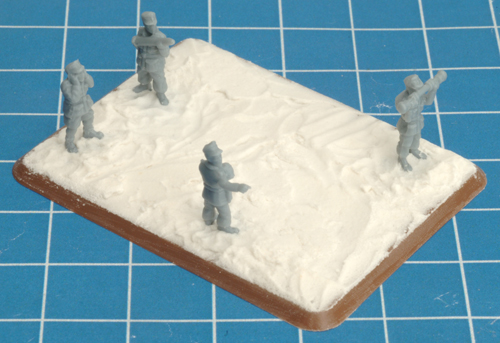
| Step 4. I then apply the filler to the base to help create the ground texture. |
Step 5. Using the reverse side of a hobby knife, I tidy up the edges of the base by removing the excess filler. |
 |
 |
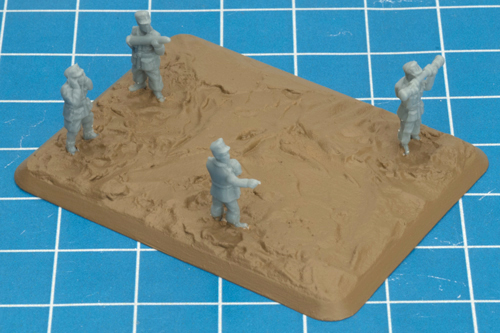
| Step 6. Next, I apply a base coat of Battledress Brown (325). |
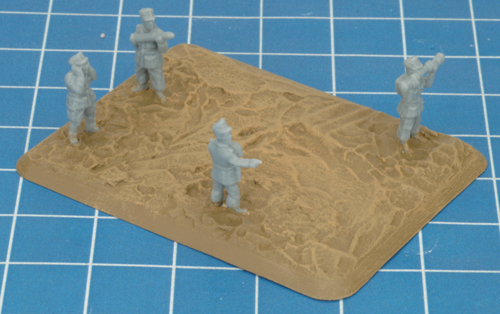
Step 7. Following that, I apply a heavy drybrush of Sicily Yellow (362). |
 |
 |
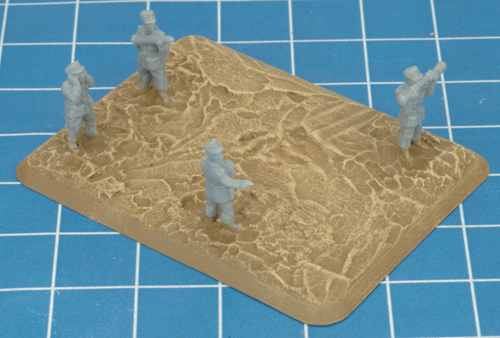
| Step 8. Finally, I apply a light drybrush of Dry Dust (354) as a highlight. |
Step 9. Using PVA glue, apply a combination of straight Parch Straw and a 50/50 mix of Parch Straw and Spring Undergrowth. |
 |
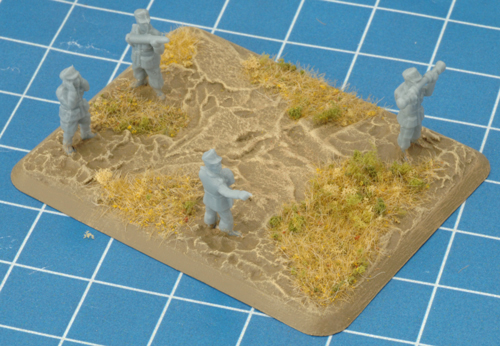 |
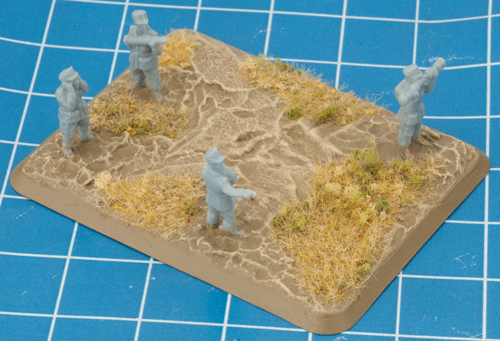
| Step 10. To tidy thing up, I apply an addition coat of Battledress Brown (325) to the edge of the base. |
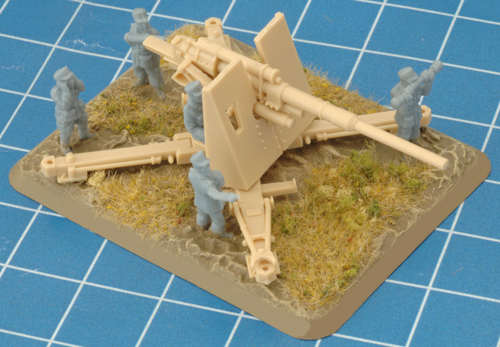
Step 11. With the basing now complete, I can attach the Heavy 8.8cm AA gun. Job done! |
 |
 |
I hope you found this article useful and gives you some ideas in regards to creating your own desert themed bases using the Desert Basing Kit.
Happy basing!
~ Blake. |
|
|
|