|
|
 |
|
|
Using The Rural Bases
 |
 |
Using The Rural Bases
with James Brown
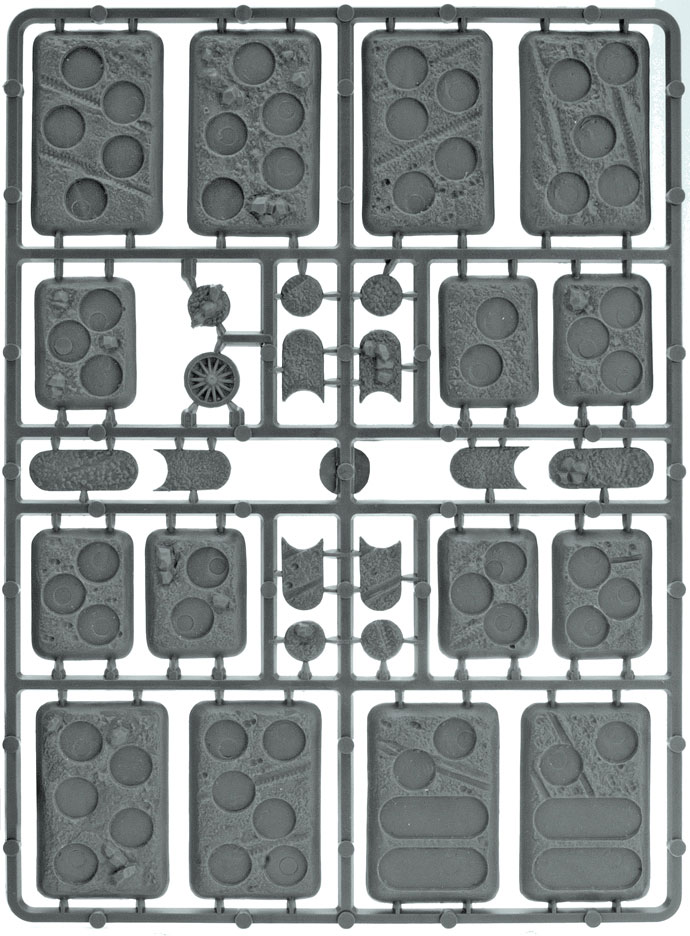
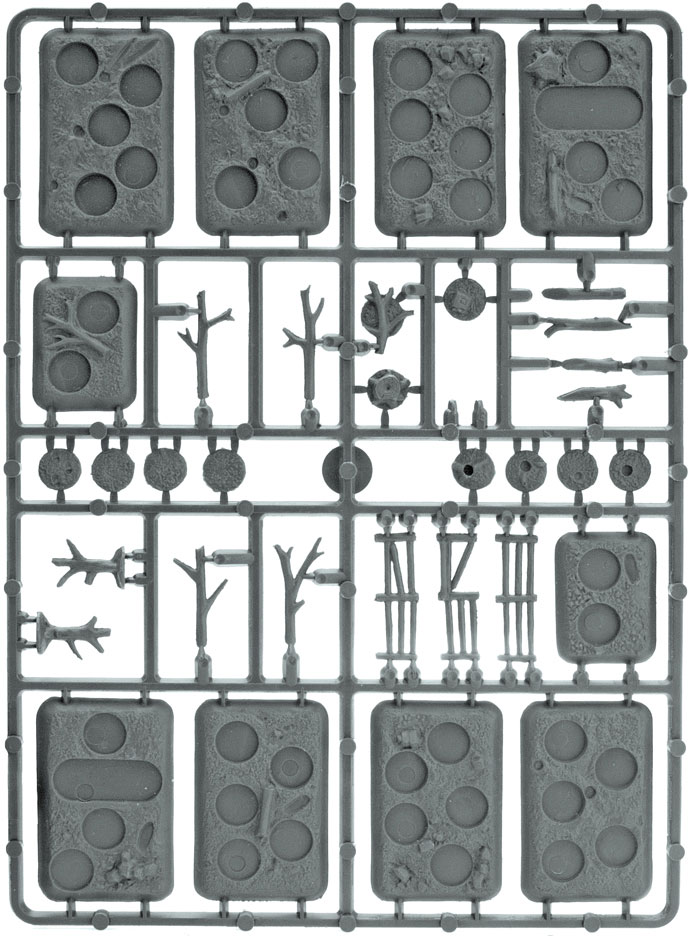
The Plastic Bases: Rubble were the first set of sculpted plastic bases released by Battlefront that allowed players to easily base infantry in an urban environment. The set proved very popular, so Battlefront are pleased to announce the next set, this one designed for rural settings.
Learn more about the Plastic Bases: Rural here... |
| They were originally intended for Eastern Front armies, but they are
equally suitable for countryside locales anywhere in Europe. Designed to
be compatible with the entire Flames Of War range, each base has holes
to plug your figures into. Included with each set is an assortment of
themed inserts, giving you limitless variations with minimal effort. |
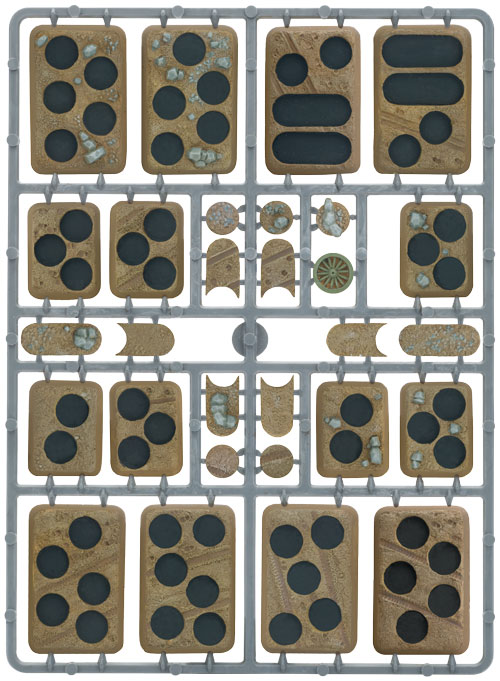
Below: Rural Bases: Frame A.
|
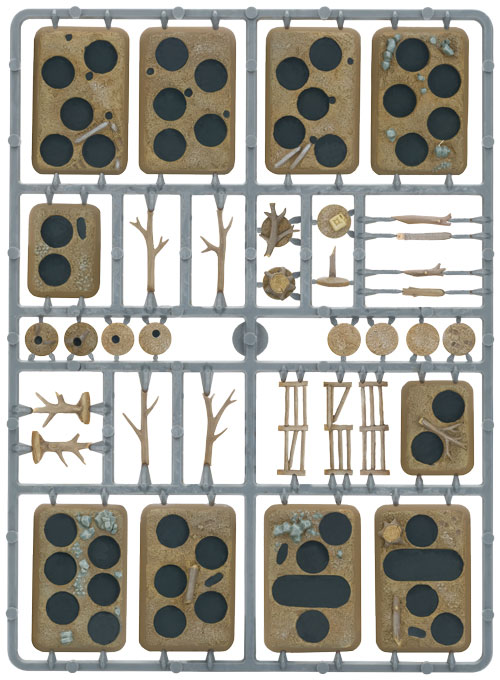
Below: Rural Bases: Frame B. |
 |
 |
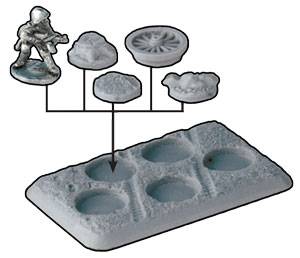
Round Holes
|
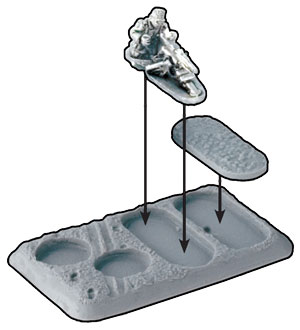
Long Holes
|
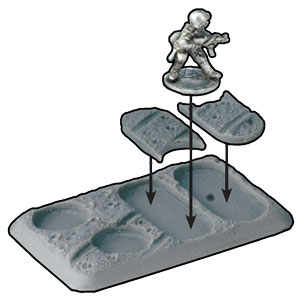
Long Hole Converter
|
 |
 |
 |
| The round holes can be filled by either a figure or a round plug. |
The long, pill-shaped holes are designed to
accommodate oddly shaped figures like HMG teams, or figures lying prone
firing position. Or they can be filled with a long plug. |
For units without HMG teams or prone figures, plugs are included to convert long spaces to round holes. |
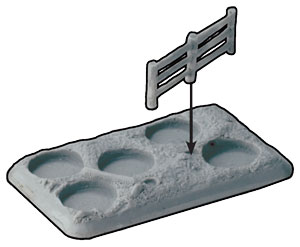
Fences
|
Trees
|
Dead Logs
|
 |
 |
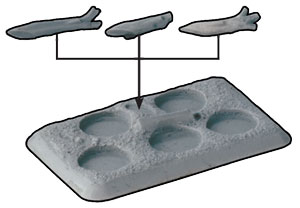 |
| Some bases have indents to fit the fence sections. Three different fence shapes allow for plenty of variation. |
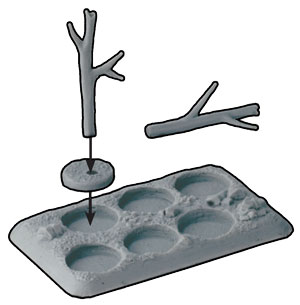
Some round plugs have small holes to place tree
pieces. If you don’t want upright trees on your bases, they can be used
as fallen logs or branches instead. |
The angled tree pieces fit into the small, oval-shaped indents to represent partially buried logs. |
Specialist Teams
When we released the first set, many customers asked why there were no small bases with long holes, for specialist teams like observers, light mortars and other weapon teams. The short answer is that they just don’t fit. The standard pillshaped hole had to be long enough to accommodate all of the prone figures in Battlefront’s existing infantry ranges, and it doesn’t fit width-wise on a small base. In theory, we could carry out an extensive retro-fitting process on our entire figure range, replacing all of the prone figures with more compact poses. But not only would this be wasteful and
expensive, our sculptors would much rather spend their time creating new
miniatures.
|
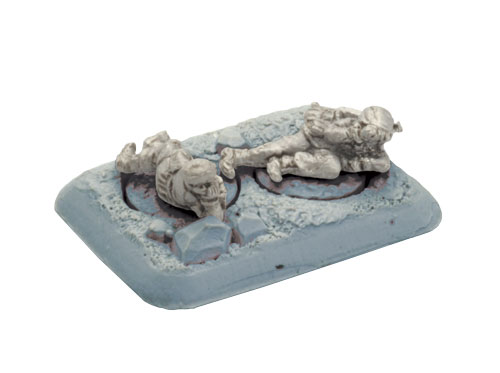 |
| But all is not lost. In the case of older prone figures,
with a cast-on base, you can still base them the traditional way, using
sand or filler. Most newer prone figures are sculpted without a base,
and for these you can use one of the sculpted plastic bases, with the
holes filled with a flat plug, of which we have tried to include plenty
in this set. |
How It's Done
Getting Your Infantry Based & On To The Table
|
Step One
|
Step Two
|
Step Three
|
 |
|
|
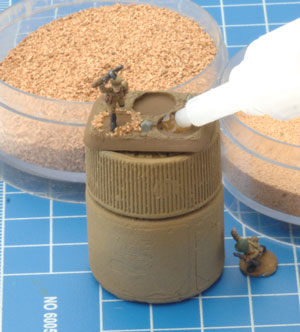
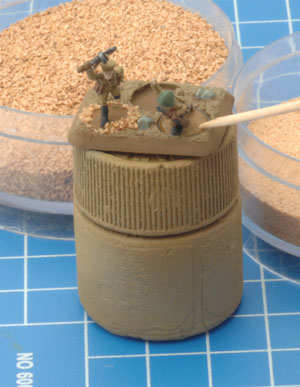
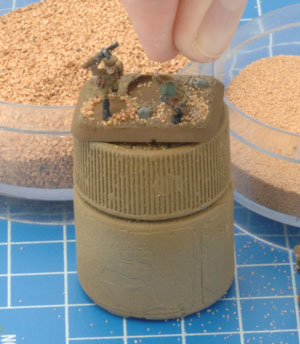
If you are in a hurry, you can simply glue your figures directly into the holes, ignoring the small cracks around the edges. But for the most visually pleasing result, you will want to hide the cracks somehow. The simplest way is the ‘squish and sprinkle’ method. Fill the cavity roughly halfway with cyanoacrylate glue, such as Super Glue (Step One). When you place a figure into the cavity, the excess glue will squeeze out around the edge; you can use a toothpick to adjust the placement of the glue (Step Two). Sprinkle sand or basing grit into the glue to fill the gap (Step Three).
|
| Textured Acrylic Gels & Pastes |
Green Stuff
|
Paint The Edges
|
 |
 |
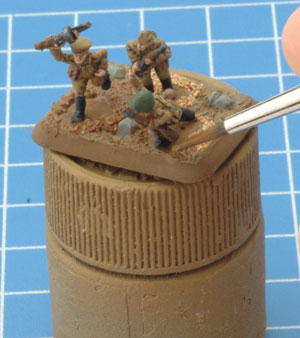 |
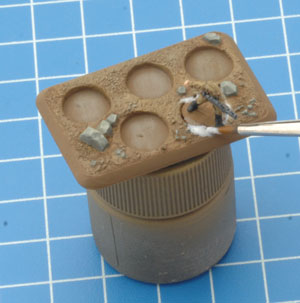
Various textured acrylic gels and pastes, available from art supply stores, can also be used to fill the gaps, after the figures have been glued in place. This takes a bit longer, but gives you more control over the final result.
|
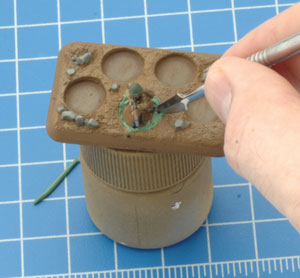
Modelling putty, such as Green Stuff (GFM310) or Grey Stuff (GFM320) can give the smoothest, most refined
finish, if you feel confident using it.
|
Whichever method you use, you will want to carefully paint the edges to match the rest of the base, once everything is dry.
|
| Painting Trees |
Step One
|
Step Two
|
Step Three
|
Step Four
|
 |
 |
 |
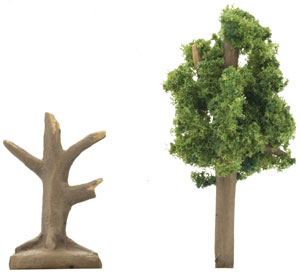 |
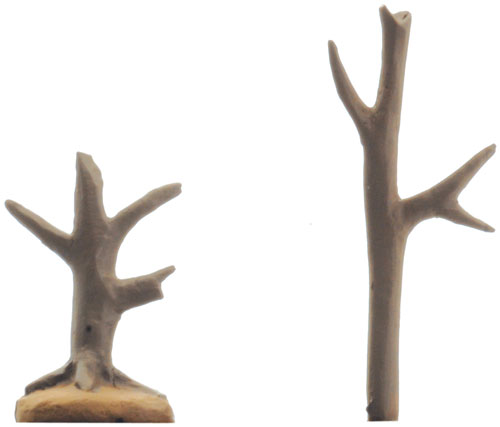
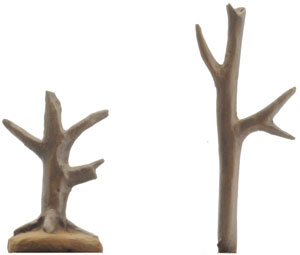
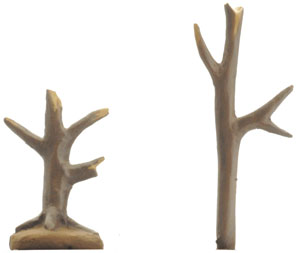
Trees come in a wide variety of colours and textures, so your imagination is your friend, as are reference photos of real trees. But here are some suggested colours to get you started. Begin with a deep brown colour like Boot Brown (FWP323) (Step One). Drybrush with a light, neutral brown such as Wool Brown (FWP328) (Step Two). Emphasise broken ends or areas of peeled bark with Sicily Yellow (FWP362) (Step Three). If you don’t want bare trees, you can use them as a skeleton to attach clump foliage such as Summer 3-Colour Clump Foliage Mix (GFS013), using PVA white glue (Step Four).
|
Painting Fences
|
Painting Rocks
|
 |
 |
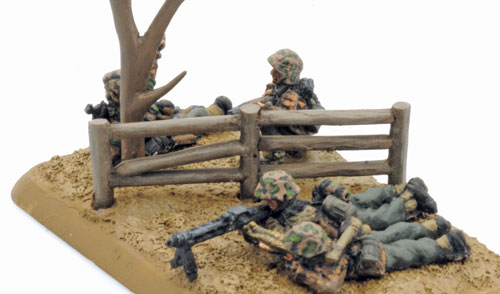
If you like, you can paint fences using exactly the same method as trees. But I recommend adding a drybrush of a warm neutral grey, such as Greatcoat Grey (FWP305), to simulate dry old wood, aged and weathered by the elements.
|
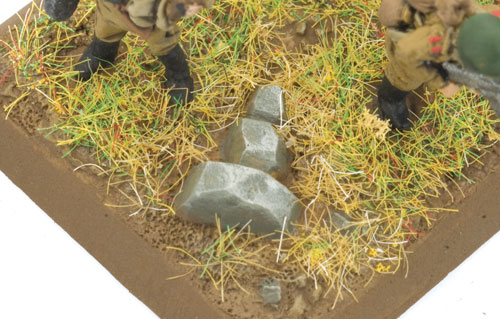
Painting rocks is very easy – just select an appropriately neutral grey colour. Here I used Grenadier Green (FWP349), highlighted with Worn Canvas (FWP306). Of course, like trees, rocks exist in a variety of colours, so feel free to use whatever colours look natural to you.
|
Ground Cover
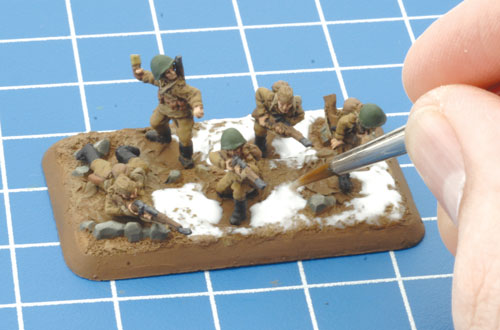
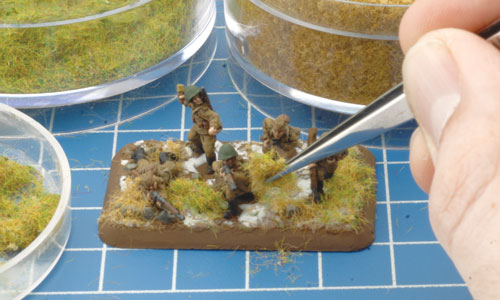
The final step is to add some ground cover, such as flock or static grass. Without some sort of greenery, your bases will look very bleak and barren. Paint watered-down PVA white glue wherever you want your ground cover to stick (Step One). Sprinkle or gentle press your selected ground cover on to the wet glue (Step Two). You can use a single colour, or mix and match to get the desired effect.
|
Step One
|
Step Two
|
 |
 |
Use a little common sense about where you place your chosen ground cover; it might look a bit odd if you have grass growing out of a rock, or in the middle of a fresh wheel rut.
|
A Base For Every Season
The Flames Of War
Rural Bases are designed to depict a generic battlefield. With small
changes in colour and materials, they can be used to represent any
theatre of war, in any season. The only limit is your imagination. And
of course, if you want even more variety, you can mix and match pieces
from this set with the Rubble set. Happy basing!
~ James.
|
Summer
Suggested Palette
Battlefield Brown (FWP324); Comrade Khaki (FWP326); Green Static Grass (GFS001); Summer 3-Colour Clump Foliage Mix (GFS013).
|
 |
Autumn
Suggested Palette
Battledress Brown (FWP325); Sicily Yellow (FWP362); Winter/Dead Static Grass (GFS003); Autumn Flock Blend (GFS009).
|
Winter
Suggested Palette
Whitewash (FWP307); White (FWP301); Snow (GFS027).
|
|
|
|