|
|
 |
|
|
Winter Table: Battle of the Bulge
 |
Winter Table: Battle of the Bulge
with Jason Buyaki
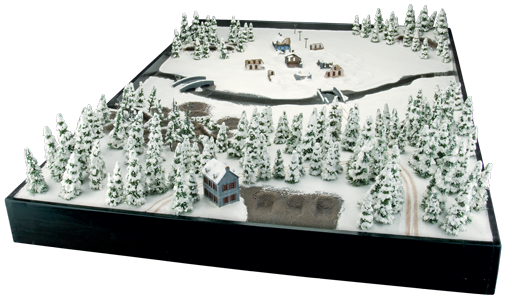
I was asked to create a Battle of the Bulge themed gaming table to show off the disctinctive winter terrain which characterised the famous campaign. Browsing through numerous images from the various locations taken during the Bulge campaign, there were a few key elements that I wanted to include - heavy, fresh snowfall, vast thick forests, a bombarded town, foxholes, and some water elements - all of which were a challenge in some way or another for the combatants.
|
The Battle of the Bulge
In December 1944 the German forces were supposed to be on the back foot, so their desperate push in the Ardennes took the Allies by surprise. Desperate defence by the American and British Commonwealth forces gradually turned to counterattack as they fought to erase the 'Bulge'.
Learn more about The Battle of the Bulge here...
|
 |
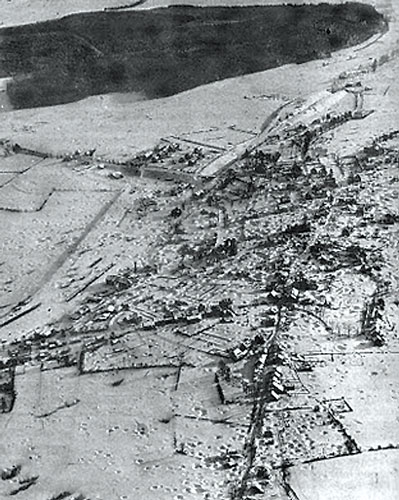
Below: This aerial view of the bombardment aftermath of St. Vith was one of the inspirational photographs that drove our table design forward.
|
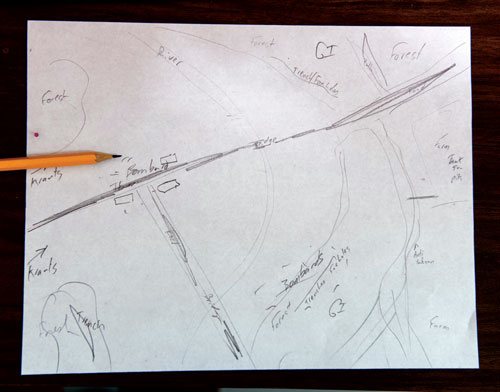
Below: A rough sketch pulling all the features together was my guideline during the construction process.
|
 |
|
| Once the table layout was set, a large sheet of ½" foam was cut to fit inside our table frame. This would serve as a base level that the river would be cut into. Construction adhesive was applied to the entire baseboard and the foam sheet was placed inside the frame. Cans of paint were placed along the edges to weight them down until the construction adhesive set overnight.
|
Blocks of 2" foam were roughly cut to establish our contours and then shaped with a variety of tools - box cutter, saw, orbital sander, foam sanding block.
|
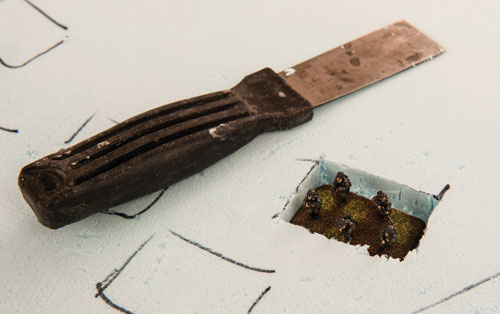
Once each hill was shaped, it was glued into place and again held down by paint cans. Then a number of details were drawn in with a marker to serve as a guide for our more detailed landscaping.
|
 |
 |
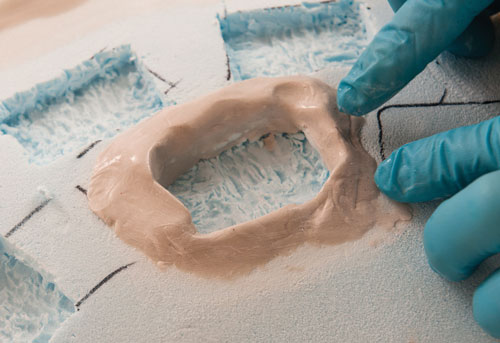 |
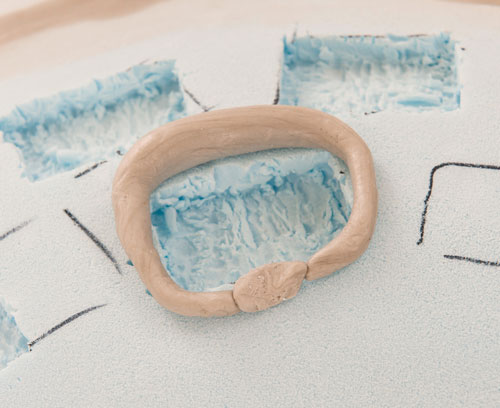
| I used Aves Apoxie Sculpt to build up the edges of the foxholes, trenches, and craters, and blend in the edges of the hills and river bottom. The final photo here shows the entire table ready for gritting. |
Texture Time: Gluing and Gritting
|
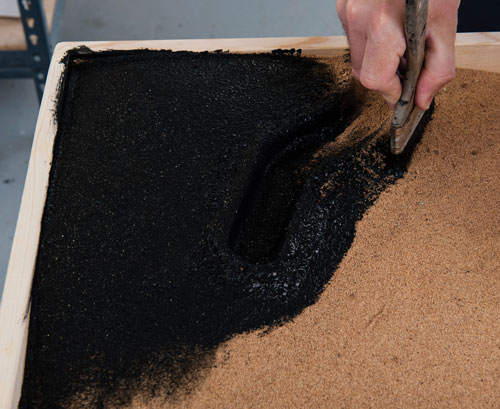
I used wood glue to adhere all the varieties of GF9 Basing Grit: Super Fine (GFS018), Fine (GFS019), Medium (GFS021), and Rocky (GFS023). I worked on small section at a time to give myself ample time to sprinkle on the grit and completed one side of the river before starting on the other. I was aiming for thin, even coverage without creating puddles or streaks and when I had it just right I would sprinkle on Fine Grit as the primary texture. On the edges of the craters, foxholes, and trenches, I applied glue, and then sprinkled on a random mix of Medium and Rocky Grit to create the churned earth effect.
|
The give the roads a different texture, Fine Grit was carefully sprinkled on. The river bottom got a dose of Rocky Grit to represent river rocks. Once the table was gritted, it was left to dry overnight, and then the excess grit was poured off the following day.
|
 |
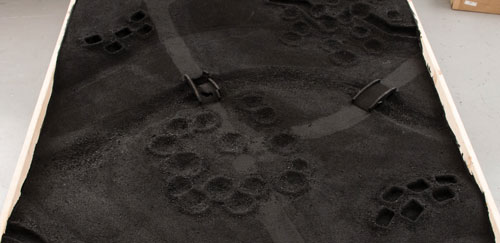 |
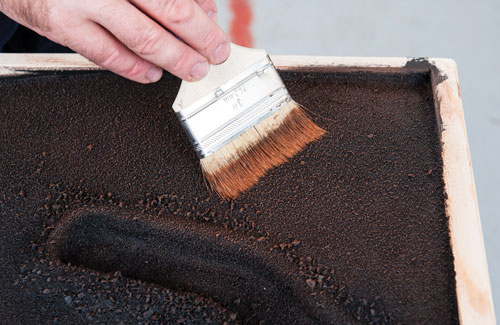
| The entire table was painted with flat black. |
 |
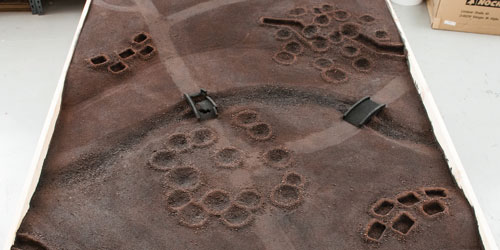 |
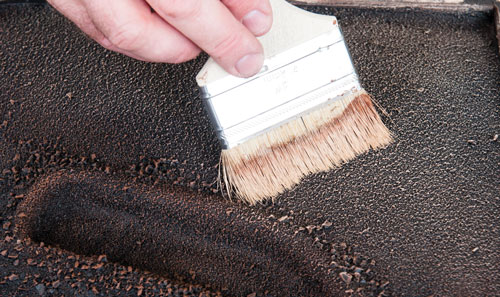
When the black coat was dry, a 3" brush was used to drybrush the majority of the table with Oxide Red (FWP382).
|
 |
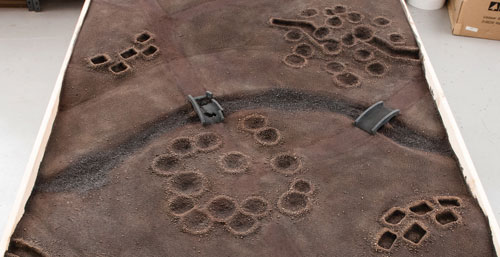 |
Dry Dust (FWP364) was applied over the brown with additional heavier drybrushing on the edges of the craters, foxholes, and trenches.
|
The river and bridges were drybrushed with Cold Steel (FWP481) followed by Whitewash (FWP307) taking care to lightly drybrush the river bottom so as to be darker than the edges. This effect would create a sense of depth to the river after the water was poured.
|
 |
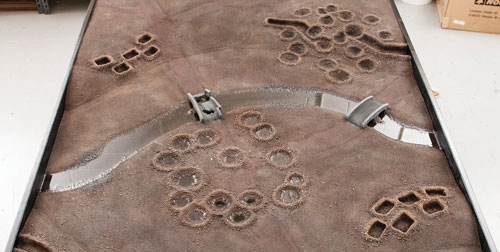 |
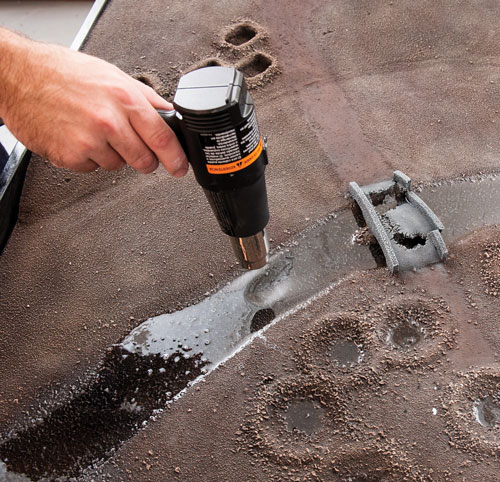
A clear two-part resin was thoroughly mixed and tinted with a small amount of black and blue, then carefully poured into the river bottom and a few craters. The edges were feathered in with a cheap disposable brush and a heat gun was waved back and forth on the river to hasten the elimination of air bubbles. The river was left to cure overnight.
|
 |
 |
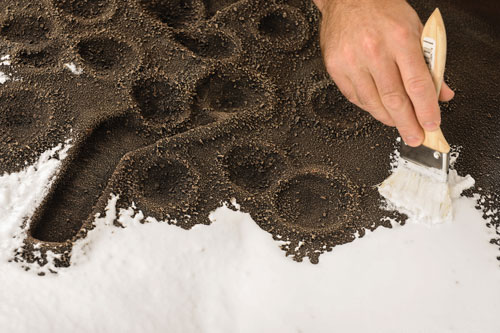 |
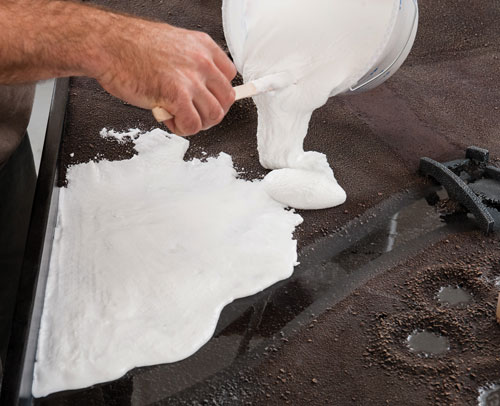
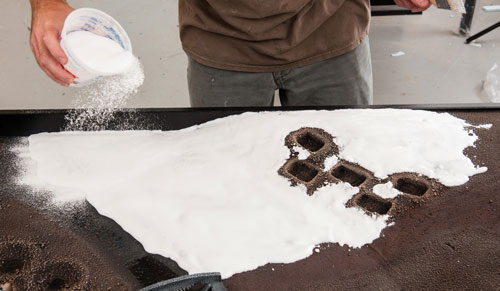
| A large bucket of snow was mixed using four parts GF9 Snow (027), one part white glue, and one part water. This batch was spread out using a new, clean 3" brush (old brushes may release paint residue into the snow producing and undesirable colouring), taking care to leave areas around the crater free from snow representing a fresh bombardment after snow had fallen. While the snow was still wet, GF9 Snow was sprinkled onto the entire area to enhance the final result. |
| GF9 Photographer Aaron Dill painted up some of the older Battlefront European building and set them in place with Apoxie Sculpt with some added Apoxie Sculpt drifts. We impressed some tank tracks in the snow that we would muddy up with some very thin brown paint. |
Bring A Frozen Battlefield To Life
|
|
To create the look of the bombardment
positions, we took a few Woodland Scenics 2½" - 4" pine tree
armatures and cut them apart and glued them together with Battlefield in a Box
Small Pine Wood (BB510), gluing on additional tree flocked branches as necessary
with GF9 Hobby Glue.
|
 |
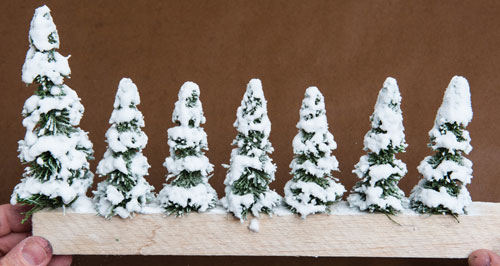 |
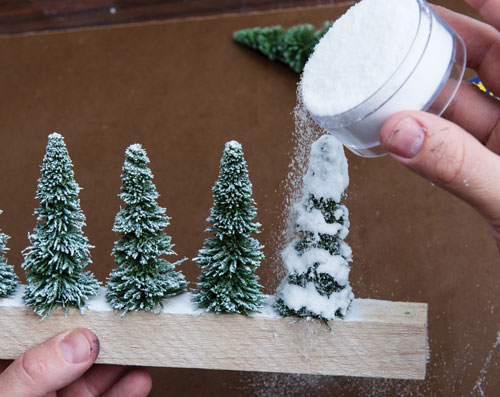
The trees were mounted on scrap boards with double-sided sticky tape and sprayed with white spray paint from the top. Then the snow mix used previously was applied using a GF9 Sculpting tool (GFT020) on the outer points of the pine trees, leaving a fair amount of green showing through, then a dusting of snow again.
|
Holes were drilled into the table with the GF9 Model Pinning System (GFT030) using the large drill bit and the trees were secured with a small bead of hot glue on the wire stem and pushing into the hole. I aimed for a heavy coverage with a few trails that would allow models to move through.
|
Bulge pictures can be a helpful reference to getting the look right.
|
|
NUTS! While I didn't get the chance to push
my US 4th Armored across the table to stem the German onslaught, this table is
a great representation of a Battle of the Bulge table and has inspired a number
of Bulge armies.
~ Jason.
|
The Completed Battle of the Bulge Table
Click on the magnifying glass icon to see a larger photo of the completed Battle of the Bulge table.
|

|
|
|
|