
|
| |
|
|
|
|
 |
|
|
No Business Like Snow Business
 |
No Business Like Snow Business:
Creating Snow Bases in Six Easy Steps
with James Brown and Blake Coster
Everybody enjoys a change in seasons. But instead of looking forward to lazing about in the backyard with your beverage of choice on a hot summer’s day, in Flames Of War a change in seasons can offer new and exciting modelling possibilities especially when it comes to basing.
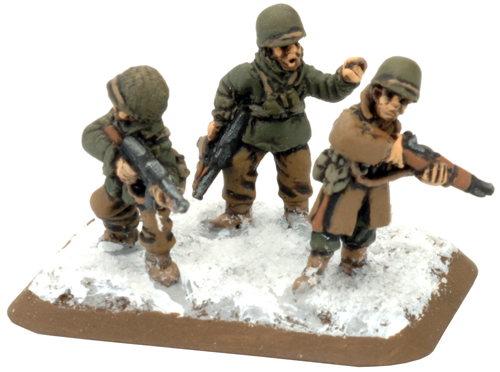
Left: An American Command team on a Winter-themed snow base.
|
During the Second World War most nations saw winter as a time to go on the defensive. Extreme weather conditions often made troop movement and resupply difficult. However, some nations like the Soviet Union chose to go on the offensive during the winter months knowing that the adverse weather conditions would hamper the enemy’s ability to react. The Soviets weren’t the only ones to use this tactic; the Germans of course, launched the Ardennes offensive in December 1944 during the European winter to ensure poor weather kept Allied air power grounded for as long as possible.
In this article, we’ll show you how to create winter-themed snow bases in six easy steps.
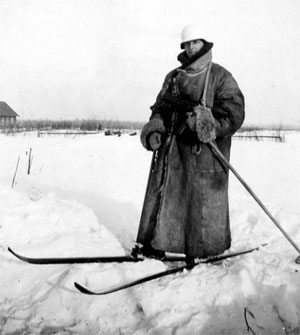
Right: Winter; not everybody's favourite time of year.
|
 |
Creating Winter-Themed Snows Bases in Six Easy Steps
|
Step One
|
Step Two
|
 |
 |
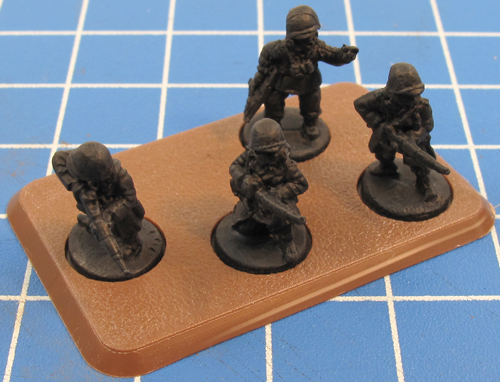
| We begin by gluing some of Evan’s new winter American figures onto a Medium base. In this example, we've created an American Rifle team with the inclusion of an NCO. |
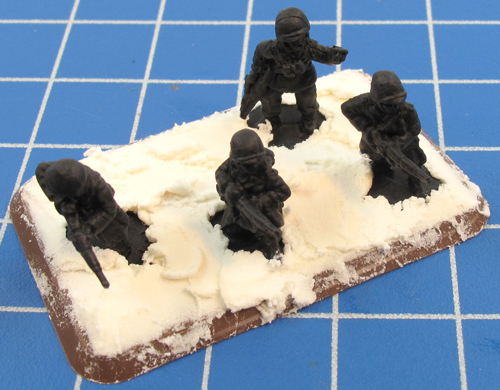
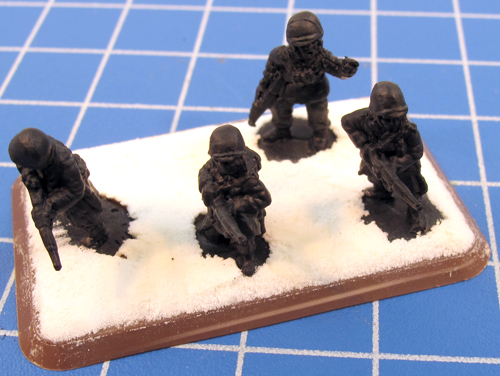
Next, to simulate cross-country terrain we apply a thin layer of pre-mixed filler to the base. This adds a slightly irregular surface to the base making it look more realistic. |
Step Three
|
Step Four |
 |
 |
Once the filler is completely dry, use a hobby knife to tidy up the edges of the base and remove any excess filler near or around the figures.
Tip: There is a popular brand of pre-mixed filler available that is pink in colour as it is applied but slowly changes colour as it dries turning white once fully set.
|
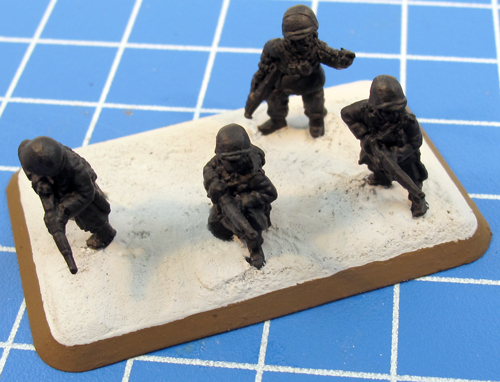
Next, painted the areas of the base that are intended to be snow-covered using Whitewash (FWP307).
Tip: In this example, the edges of the base have been painted Battlefield Brown (FWP324); this keeps everything nice and tidy. Some Flames Of War enthusiasts painted the edges of their bases different colours to help remind them and their opponents which bases belong to which platoons.
|
| Step Five |
Step Six |
 |
 |
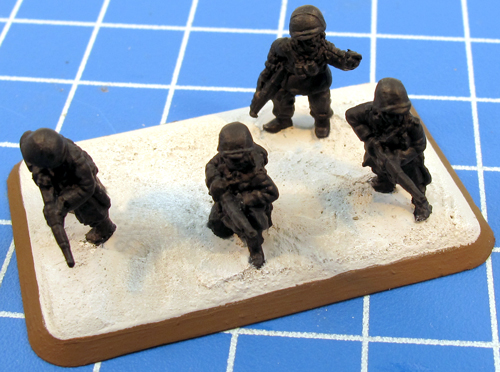
Highlight the Whitewash (FWP307) by selectively dry brushing different areas on the base with White (FWP301).
Tip: Using a selective dry brushing technique, that is apply a heavier dry brush to more pronounced areas will help to provide better contrast to raised areas.
|
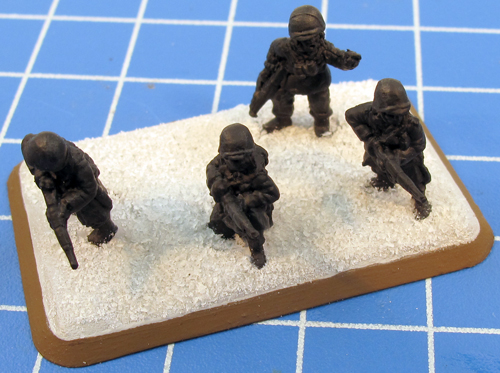
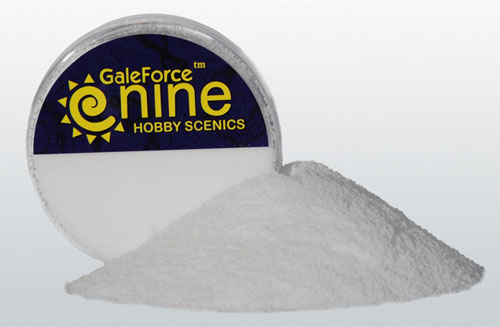
Finally, apply a thin coat of thinned down (with water) PVA glue to the base and sprinkle with GF9 Snow (GFS027).
|
 |
There you have it, how to create basic winter-themed snow bases in six quick and easy steps. While this has been a basic guide to how to achieve a snowy look on your bases, feel free to experiment by adding other common basing terrain features such as rocks, logs, tree stumps etc.
Until next time; happy modelling.
~ James & Blake
Left: The GF9 Snow Hobby Round.
|
|
|
|