
|
| |
|
|
|
|
 |
|
|
Stalingrad Apartment Blocks
 |
Stalingrad Apartment Block
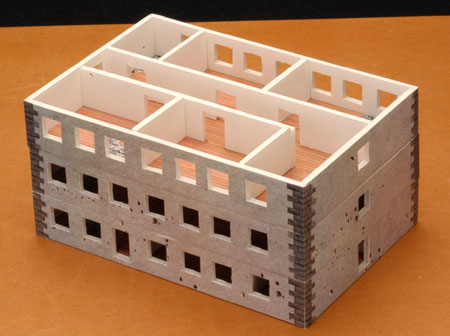
Creating a large amount of cityscape scenery is a lot of hard work. After watching and helping Colin (but mostly watching) build the vast array of City fighting terrain for Stalingrad we decided to make it easier to create a battlefield full of impressive city terrain by providing a template for buildings to fight through, so you can start battling through the streets and buildings of Stalingrad quicker.
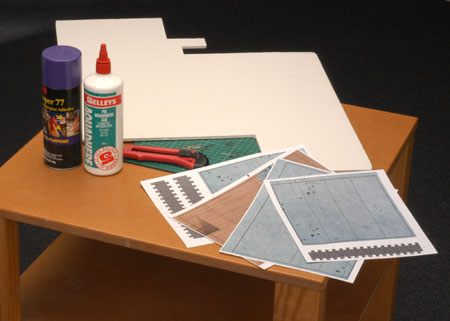
To create a Flames Of War apartment building you will need:
2 copies of the apartment building printouts
Spray adhesive
5mm thick foamboard
A sharp craft knife
A steel rule
Dress makers pins
PVA glue
|
 |
Step 1
Cut out the walls, floor and corner bricks, making sure that you leave the wall in one piece until after they have been glued to the foamboard. |
Step 2
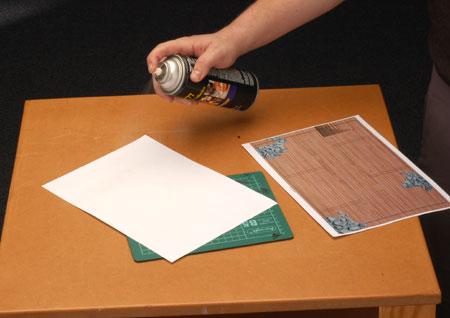
Following the instructions on the can, apply the spray adhesive to the reverse side of all of the apartment printouts except for the corner brick pieces and stick them to the foamboard, being careful to avoid air bubbles between the paper and the foamboard. |
 |
 |
Step 3
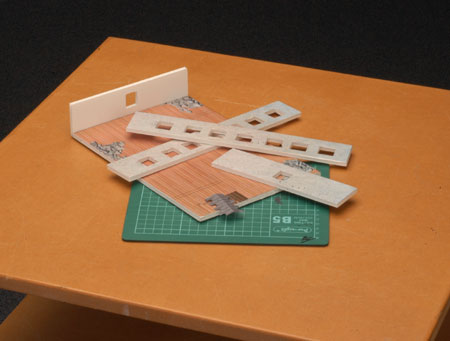
Once the Printouts have been glued to the Foam board, using the craft knife, carefully cut the walls and floors out.of the foam board. Keep all the off cuts to use as rubble later. |
Step 4
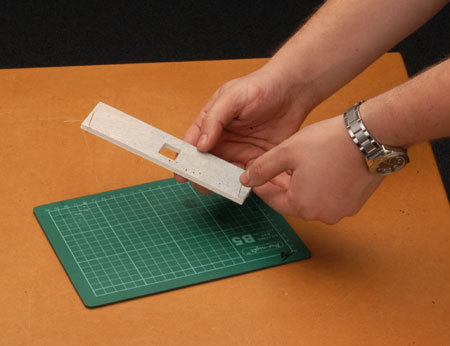
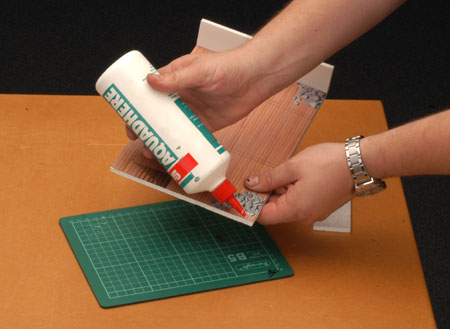
Once the Walls and floors have been trimmed out, cut the windows and doors out of the and cut the walls into their individual floors. |
 |
 |
Step 5
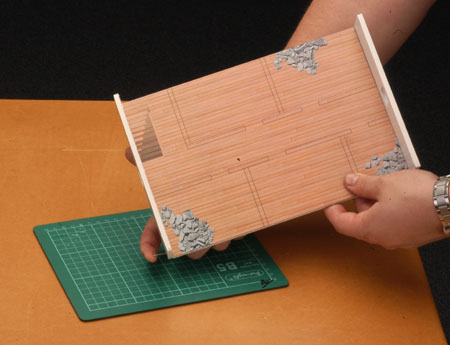
Once all the building parts are cut out you are ready to start gluing your apartment building together. |
| Start by dry fitting all of the walls to the floor plan and making sure that all the pieces fit evenly. |
 |
 |
Step 6
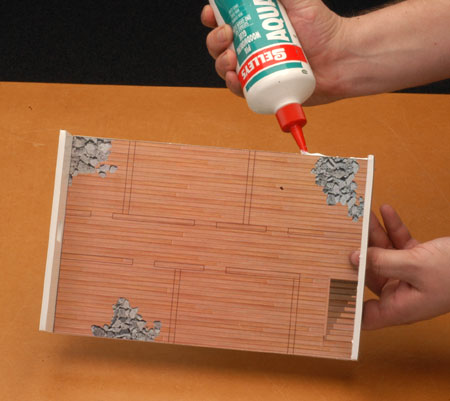
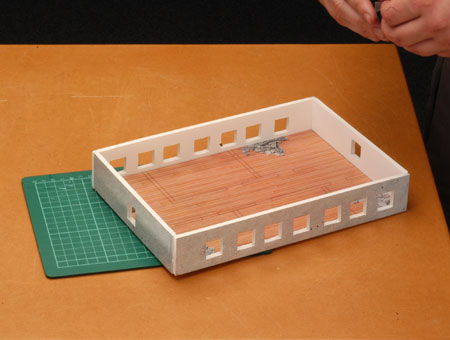
Start assembling and gluing the bottom floor together by running a line of glue down the short edge of the floor and pin the short building edge to the short edge of the floor. |
Step 7
Once the short edges are pinned and glued, run a line of glue down the long edge of the floor and short edges of the walls and pin the long wall to the building. |
 |
 |
Step 8
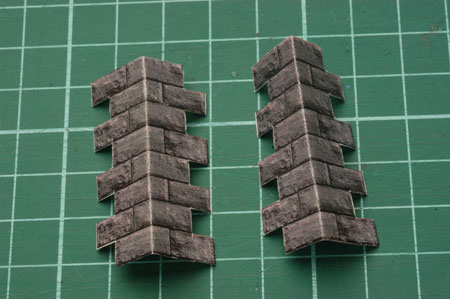
Carefully cut out the dark gray corner bricks and fold them in half along the vertical line indicated on the printout.
|
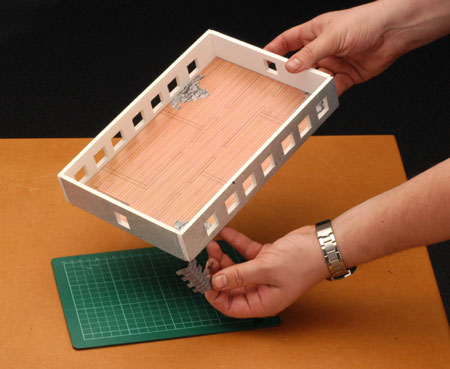
| When the glue is dry and the pins are removed from the building apply spray adhesive to the back of the gray bricks and glue them to the corners of the building to cover the raw edges of the foamboard. |
 |
 |
Step 9
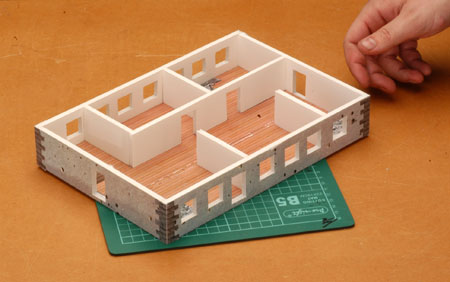
Using the template for the internal walls provided, cut the internal walls out of foam boards and trim them to line up with the markings on the floor.
Once the internal walls fit, glue and pin them in place. |
|
Step 10
Repeat the above for each other floor until all your floors are assembled.
Once your building is complete you can go back and add our battle damage as described in the Stalingrad intelligence briefing.
Your buildings are now ready for your miniatures to fight through.
|
 |
Extra Details
For those of you who wish to put more time and effort into your terrain, try painting, wallpapering or adding texture to all the internal walls of your building. The easiest way to do this is to apply the material to the reverse side of the exterior walls and both sides of the internal walls before cutting them out of the foamboard.
Casey |
|
|
|