|
| |
|
|
|
|
 |
|
|
Making a Swamp or Marsh
|
Making a Swamp or Marsh
By Dale Pepperell
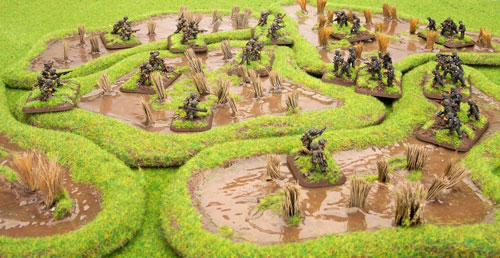
A common feature of battle fields near rivers, lakes and the coast are swamp or marsh land. They offer difficult going to troops and vehicles trying to move through them.
Overview
Keep in mind that you might need to group the swamps together. Make the shapes of the swamp able to be placed up against one another so they can form one big swamp.
|
 |
|
Step 1
Mark out the swamp out-line onto the stiff card, then cut them out. Use the cut outs as a template on the hardboard, then mark the inside line about 10mm in from the edges. Cut the swamps out, then cut the insides out. Trim the edges down (both inside and out) at about a 45-degree angle, then sand smooth. Finally glue down the hardboard swamp edging to the stiff card and leave to dry.
|
 |
Step 2
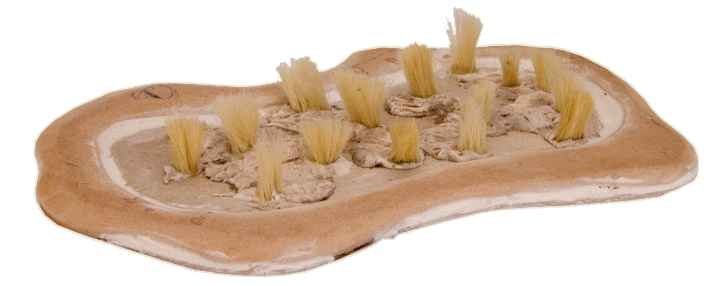
Use the filler to fill the gap around the base, then sand. When done apply filler roughly into the centre of the swamp to form some high rough areas. While still wet cut the field grass down to around the height of an infantryman. It’s easier if you use a small rubber band to hold the field grass together when you cut it, then dip one end of the field grass into the PVA (white wood glue) and set that end into the wet filler. You can use as much or as little of the field grass as you like with it all looking natural. You could also put a jetty and a small boat in, dead soldiers or even a heavily bogged tank.
|
 |
Step 3
Time to texture the base. Now apply your base colour, sprinkle sand lightly all over your swamp, then spackle with more base colour. Wait till dry then dry brush to match the rest of your terrain. With your water effect add some brown and green paint to make it look like swamp water, apply the water effect 1-3mm below the edge of the swamp making sure your base is dead flat when pouring it. You might need to do 2 or 3 pours until it’s full.
|
|
Step 4
When the water is dry you can glue the static grass onto the base. Then the last thing to do is paint the field grass to look like reed, a yellow brown bottom with a dark brown top.

|
|
Materials
Hard board 6-8mm
Water effect (Woodland Scenics)
Jigsaw
Field grass
Sand
|
Premixed Gap/Wall Filler (spackle or dry wall filler or similar)
PVA (white wood) glue
Knife/Paint/Brushes
Sandpaper
Card thick 1-2mm
|
|
|
|
|