
|
| |
|
|
|
|
 |
|
|
Desert Basing
 |
Desert Basing
by Jeremy Painter
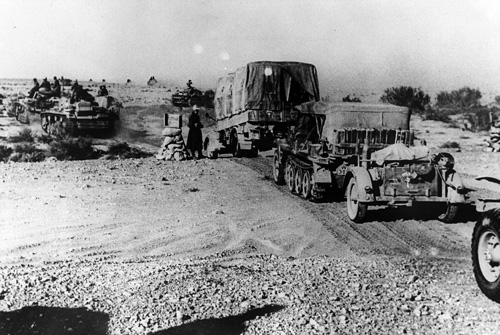
When going about deciding how to base any desert force you are creating, it is always easier to use pictures of actual arid areas as a basis for your research. From the pictures below, I’ve focused on a certain area of each, and created a test base. It’s a good idea to do a test base before embarking on a potentially huge army, considering that basing visually accounts for almost 50% of the look of the force. Needless to say, whilst I have used Flames of War bases for my test pieces, you can use these techniques for any army.
|
|
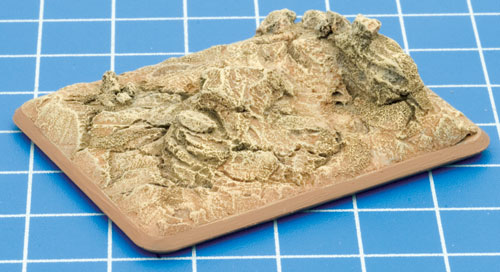
Egypt / Libya-Themed Base
The Western Desert, which included Libya and Egypt, is a harsh, arid environment. The cliché is that this terrain is made up of rolling sand dunes, but this is far from the truth. It is dry, craggy and rough.
Do a search on the web to see what photographs you can find to guide you when creating textures and selecting colours.
|
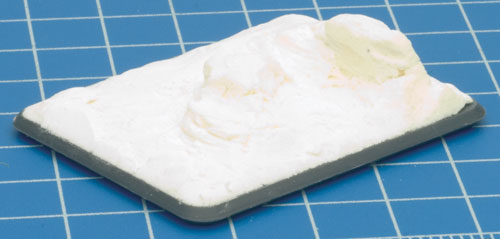 |
Step One
Firstly, build up some tall irregular mounds with Filler/Spackle. Don’t worry if these look a little rounded when the Filler/Spackle is dry, you can carve in fissures and cracks into the walls, and around the base itself when it is dry.
|
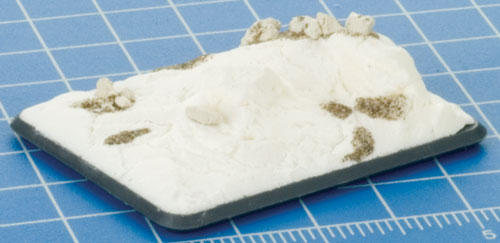
Step Two
I then added some kitty litter and sand. These are scattered around to create more texture. Looking at the real terrain you will often see a build-up of smaller rocks on ledges and other contour changes.
|
 |
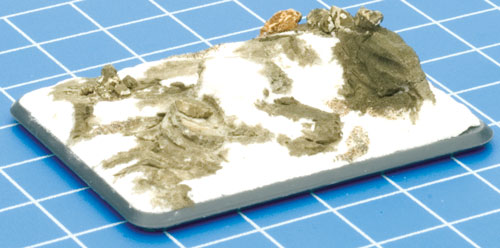 |
Step Three
Now to the first stage of painting. I painted the taller mounds in Sherman Drab (FWP321) and the rocks/sand areas in Battledress Brown (FWP325). Lastly, the lower areas are painted Battlefield brown (FWP324). I then gave the rocks, cracks and other recesses a watered down 201 Black Wash.
|
Step Four
Now for the drybrushing. I carefully drybrushed a 50/50 mix of Battlefield brown (FWP324) and Worn Canvas (FWP306) over the entire base, followed by a further drybrush of Worn Canvas (FWP306), and finally Dry Dust (FWP364).
|
 |
Sahara-Themed Base
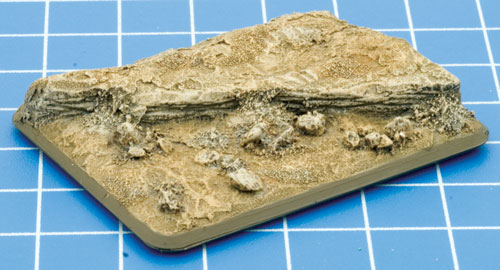
These bases are your more traditional desert bases—sandy ground with light vegetation. Note that it is once again more rocky than you’d expect.
|
Step One
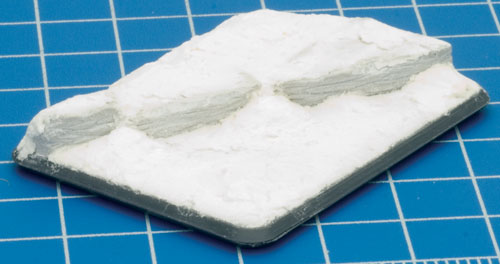
Using some larger pieces from the GF9 Concrete Rubble Mix I created a ridge to represent one side of a wadi. I used Filler/Spackle to fill any gaps and create slippage off the wadi wall. I then carve ridges and lines into the wadi wall for extra detail.
|
|
 |
Step Two
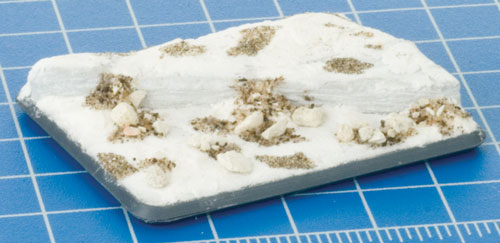
I added kitty litter and sand in slippage areas, and a few areas around the base.
|
Step Three
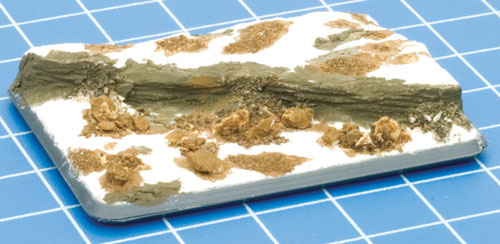
I painted the rocky face of the wadi Sherman Drab (FWP321) and the rocks and sand Battledress Brown (FWP325). I then gave the rocks, cracks and other recesses a watered down 201 Black Wash.
|
 |
 |
Step Four
The first drybrush was Comrade Khaki (FWP326) followed by successively heavier amounts of Sicily Yellow (FWP362). I then drybrushed small patches of the ground with Dry Dust (FWP364), and the edge of the wadi with Dry Dust (FWP364).
|
Mauritania and Tunisia-Themed Bases
Mauritania-Themed Bases
These two regions are more sandy with light vegetation. This will give you generally smoother-looking bases.
|
Base colours are a 50/50 mix of Tan Leather (FWP384) and Battlefield brown (FWP324) followed by a drybrush of Sicily Yellow (FWP362). The last highlight is a dry brush of Dry Dust (FWP364).
|
The final step was to add some tall, dry grass using Woodland Scenics Field Grass Natural Straw. This comes in long strands you clump together, glue down and trim off to your desired height once the glue is dry. I then added some GF9 Spring Undergrowth and GF9 Straw static grass.
|
Base colour is Battlefield Brown (FWP324) followed by a drybrush of Sicily Yellow (FWP362). The last highlight is a drybrush of Sicily Yellow (FWP365). At the end of the drybrushing I added random patches of Dry Dust (FWP364).
|
The final step was to add some shrubbery using Woodland Scenics Fine-leaf Foliage in Army Green. This comes in little bushy clumps each with its own stem. The stems are glued on the surface of the base. I then added a tiny amount of GF9 Spring Undergrowth around the base of the shrubs.
|
Suggested
Colour Palettes
Apply each successive colour by drybrushing. This will enhance the texture of
your basing material. It is a very good idea to make several practice bases to
decide exactly what colour scheme you want to use before you begin basing your
miniatures. This will ensure a consistent look across your whole army. |
|
|
|