|
|
Battle of Seelow Heights
 |
Battle of Seelow Heights
With Jacob Hopkins
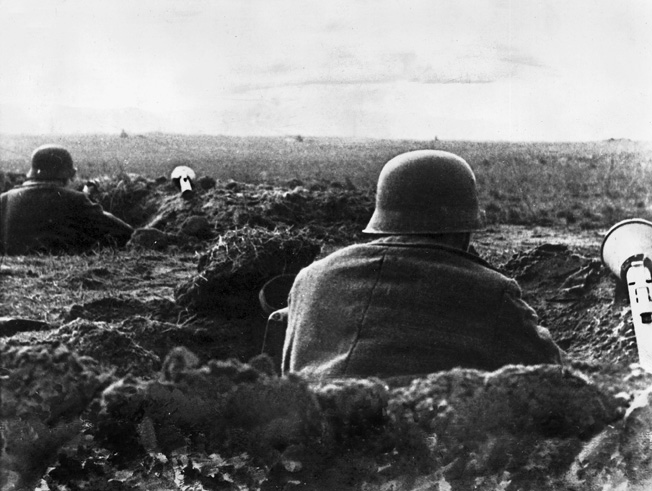
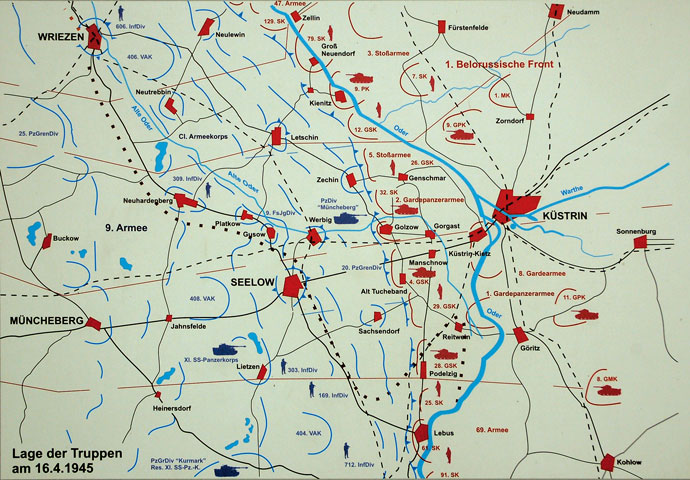
Seelow Heights is the last desperate defence of the German army before the fight for Berlin itself. Featuring the last true large-scale assault on a prepared defensive position of the second world war. Taking place between the 16th and 19th of April, 1945, the fighting for Seelow Heights was a bloody affair as Marshal Zhukov attempted to blitz through the hastily assembled defensive positions protecting the Reichsstraße 1 route to Berlin. Army Group Vistula, commanded then by Generaloberst Gothard Heinrici, was a hastily assembled group comprised of a wide variety of troops left over from various other army groups that had been battered and worn down in the months preceding, yet despite their worn-out state, Heinrici was able to put up a stiff defensive holding of the soviets for almost 3 full days and delaying the inevitable assault on the city itself.
|
|
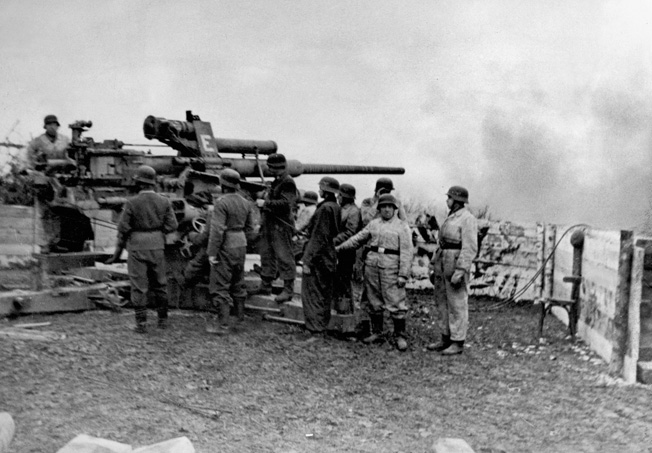
Digging in along the heights overlooking the Oder rivers muddy flood plain gave the defenders a tactical advantage as the Soviet forces would be funnelled along the few roads that would allow their heavy vehicles movement through the plain. This allowed the defenders to mitigate the almost 10-1 advantage the Soviets had against them and make maximum use of their anti-tank and artillery assets in inflicting casualties. Despite their heroic achievement in holding off the Soviets for as long as they did, ultimately it would prove futile as they would become surrounded and thus unable to retreat to Berlin itself to participate in the battle for the capitol.
|
 |
|
So how can we represent this in game? There are quite a few missions that can be used to represent the hard fighting for Seelow, we decided for the fight to defend the Reichsstraße that we would use the Onslaught mission from Bagration Germans with a few tweaks. The core of the scenario forms an excellent starting point to represent the main defence lines at Seelow, however, we restricted the choice of fortifications to only be gun nests and machine gun nests. The option for the lone anti-tank bunker we will replace with an option to take a gun nest and we will not allow the use of tank turret bunkers. Also, the defender cannot choose booby traps, only minefields. The second change we applied was to have the Night Attack and Searchlights cards from the Berlin Soviets command cards in play for free, as these were part of the assault itself it made sense thematically to have them included. Of course, the last real change needed is simply restricting German list construction to the forces available from Berlin Germans only. While Berlin Soviet has most of what is needed for recreating this fight, some formations from Bagration Soviets can be useful, such as the T-34 battalion, but we would highly suggest you keep to the Berlin formation chart for your support units.
|
 |
|
Of course, the last helpful element to recreating the battle is the table itself. You should try and set the board with a central road running down the centre to represent the Reichsstraße, the attacker’s half should be mostly flat, marshy or muddy terrain to represent the flooded lowlands that funnelled the attacker along the MSRs. In the defender’s half, you should elevate the terrain towards their end of the table, representing the ridge of Seelow itself, with the majority of the defenders dug in along the top. Personally, I’d suggest setting the ridge line just in front of the objective zone, but this will make it all the harder for the attacker.
|
|
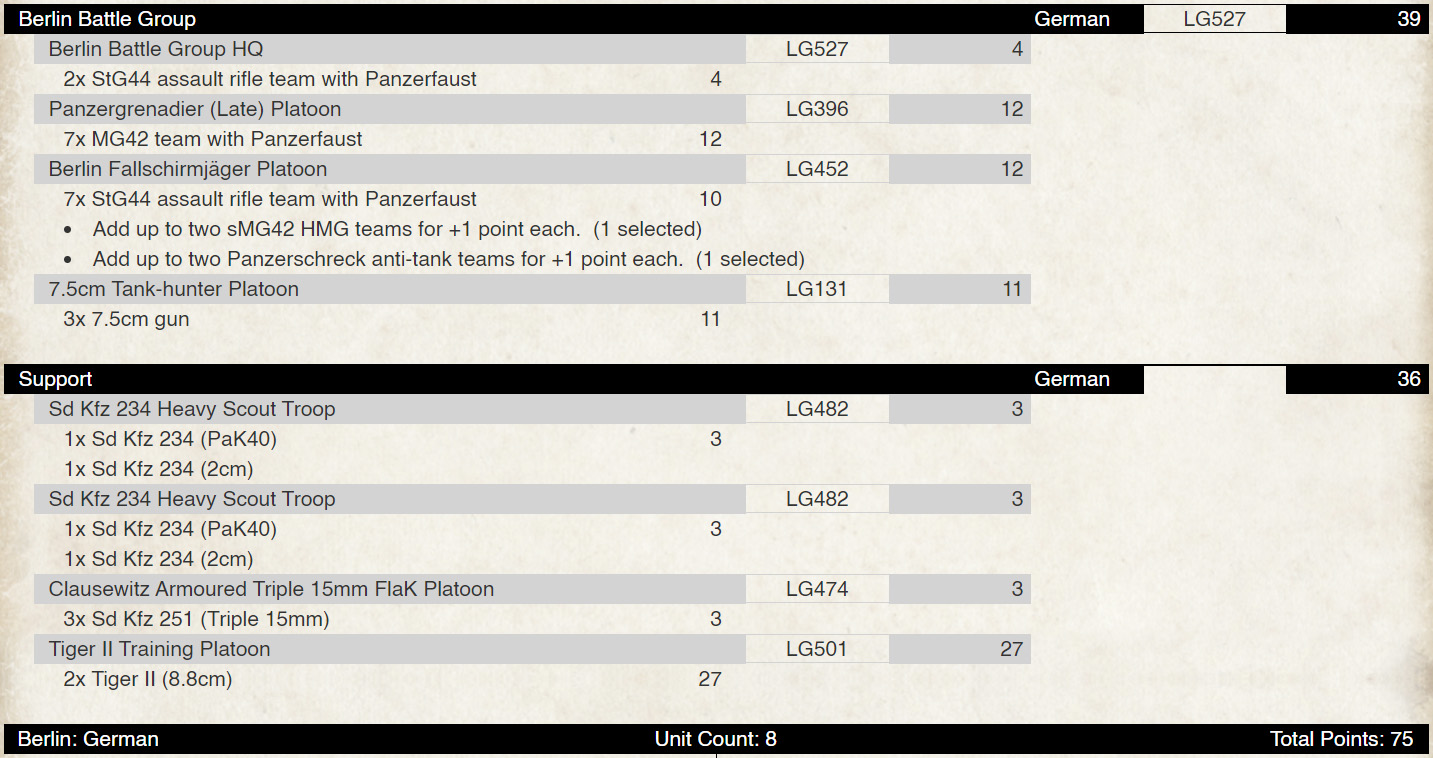
Lastly, the German troops in the area were the remnants of several units. As such the Berlin Battle Group is the best way to represent this, given its highly customizable nature. Support units can be from anything in the book, from Clausewitz to the training tank companies, it will all fit here. Of course, as you are defending, a sold infantry core with good anti-tank should be where you start, backed up by some heavy tanks to form your armoured counter punch. It could look something like this;
|
 |
| With this list, we are planning for 150 points of attackers and expecting lots of Soviet Tanks to be used to force their way down the centre. As such, we have a fair amount of medium anti-tank in the fortifications and a lot of anti-infantry in the form of the MG nests and the 2cm AA guns. For our initial deployment wave, we will bring the 7.5cm Anti-Tank platoon, the HQ, our late Panzergrenadier platoon, and one of the 2 heavy scout troops. Placing the 7.5cms in ambush and deploying the remaining units to support the gun nests in defending the central road and objectives. We will then use our 6 Minefields and 6 Barbed Wire markers to try and shut off as much of the flanks as we can, further promoting the central path as the easiest route of advance. With immediate reserves we will want to bring the Tiger IIs on as quickly as we can to act as our backstop antitank defence, while the assault rifle paratroopers and the triple flak platoon will provide a reserve counterattack force if not being used to further decimate the enemies infantry. |
|
|
|
Well, we look forward to seeing your Seelow Heights games and the fighting surrounding the defence line. And as always, we’re pulling for ya, so keep your sticks on the ice.
~ Jacob Hopkins
(Lack of Foresight Gaming)
|
|
|