|
|
|
|
Products mentioned in this Article
--None--
|
|
|
|
|
|
|
|
|
 |
|
|
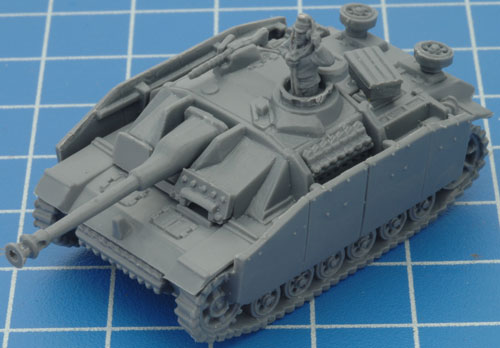 |
Assembling The StuG G Assault Gun (2012)
This assembly guide is only for customers that have bought the older version of Open Fire!
If you have bought the new version of Open Fire! with the redesigned Sherman V tank head back to the new Open Fire Assembly and Painting section.
Open Fire! Assembly and Painting...
|
| An updated version of the Flames Of War starter set will be released in conjunction with 4th edition. |
|
Stay up-to-date with the latest news and information regarding the 4th edition of Flames Of War here...
|
| Begin assembling the plastic StuG G by cutting the pieces off the frame and remove any mould lines and excess plastic using a file or modelling knife. Begin assembly of the plastic StuG G by cutting the pieces off the frame and remove any mould lines and excess plastic using a file or modelling knife. Lay each component of the StuG G i.e. the hull sections, the tracks, the main gun etc in front of you using the assembly instructions included in Open Fire as a reference. Ensure that you have all the components required to fully assemble the StuG G before beginning constructions. Make sure you use Poly Cement or Superglue to glue the pieces together. |
|
Assembling the StuG G Assault Gun
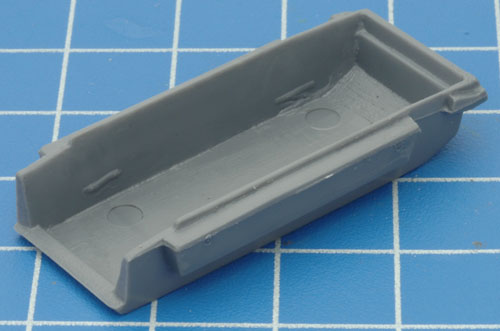
Step 1. Begin the assembly of the StuG G with the hull bottom.
Tip: Always dry fit (Dry Fitting is assembling components of a model without any glue. This ensure that they go fit together correctly before a permanent bond is created and allows for any fine adjustments to be made.) components before final assembly.
|
Step 2. Attach the left-hand side track.
Tip: When referring to left or right-hand side in regards to a Flames Of War miniature, the orientation is determined as if looking at the vehicle from the rear. |
 |
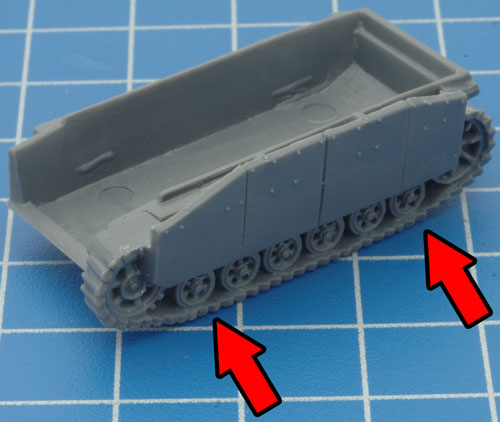 |
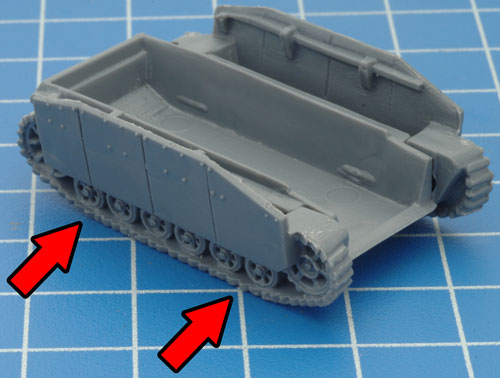
| Step 3. Attach the right-hand side track. |
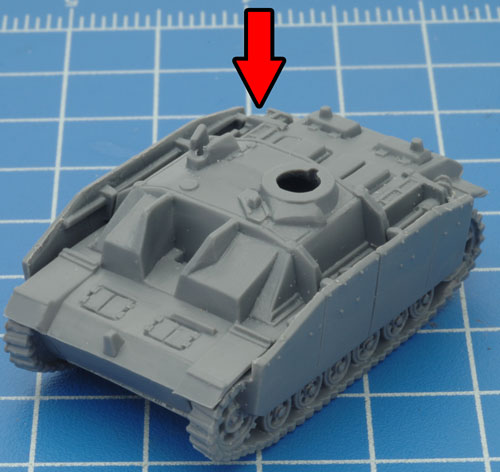
Step 4. Next, attach the hull top to the hull bottom. |
 |
 |
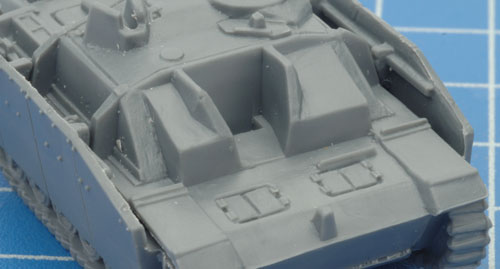
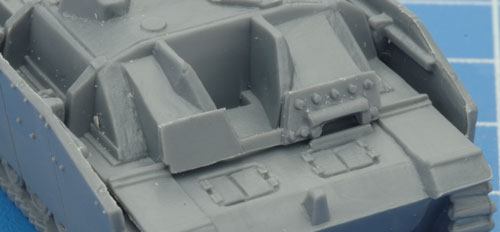
| Step 5. Attach the Driver's plate to the front of the hull as shown in the example below. |
 |
 |
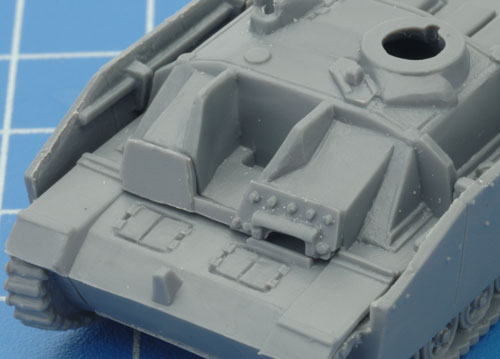
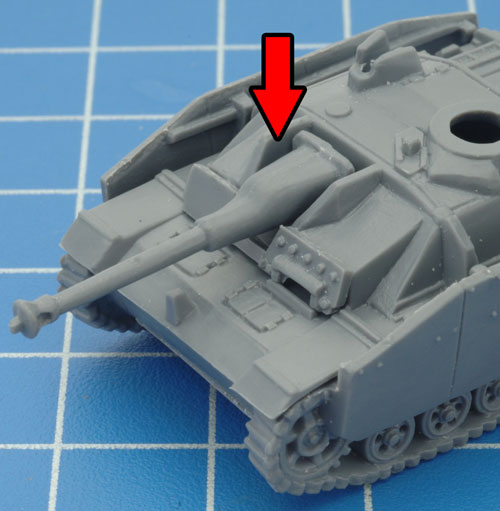
| Step 6. Next, attach the main gun; this slots into the front of the hull. |
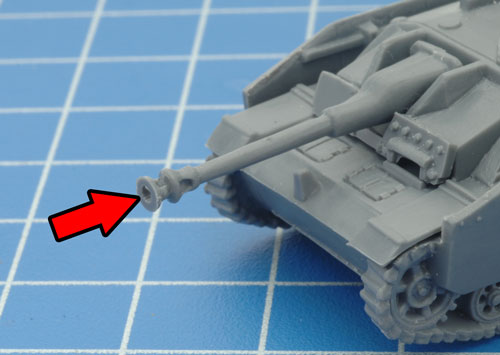
Step 7. Followed by the gun muzzle brake.
Tip: Ensure all excess plastic has been removed from inside the muzzle brake. |
 |
 |
 |
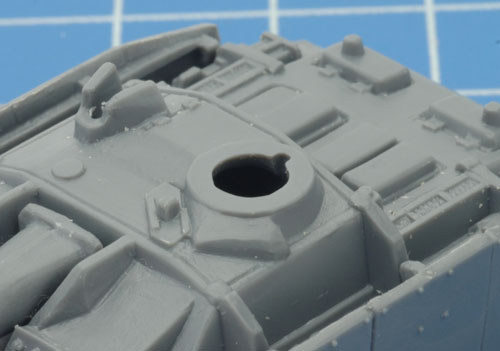
| Step 8. Time to attach the closed hatch. |
 |
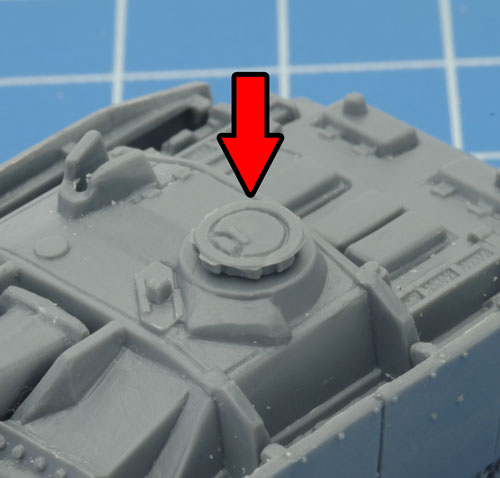 |
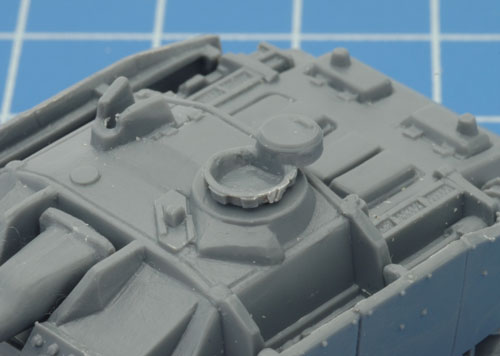
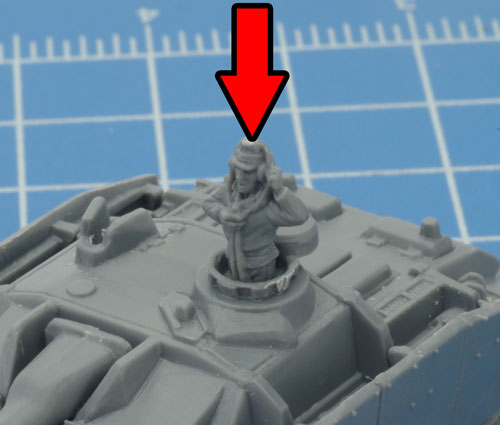
| Below: Adding an open hatch to our StuG G in Flames Of War is used to distinguish the platoon commander from the rest of the platoon. Therefore, when constructing the Panzer Platoon use the open hatch found on the StuG plastic frame and tank commander figure found on Infantry Frame B on one StuG G and the closed hatch to the remaining two vehicles to create to rest of the platoon. |
| Below: Attaching the open hatch to the top of the StuG G. |
Below: Attaching the tank commander into the open hatch. |
 |
 |
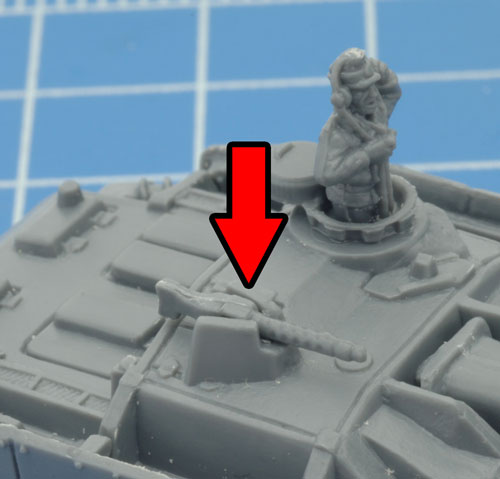
| Step 9. Finally, attach the machine-gun to the gun shield as shown in the example below. |
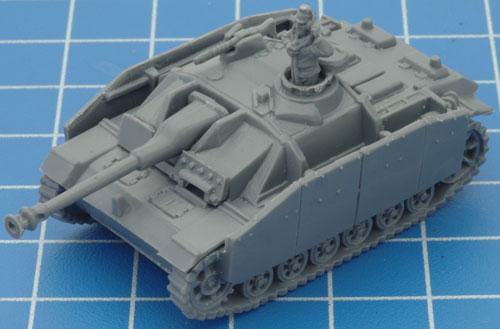
Below: With the machine-gun in place the StuG G is fully assembled. Time to learn how to add the optional stowage. |
 |
 |
Adding the Optional Stowage
You can customise your StuG G Assault Guns to really make them stand out on the battlefield by adding the stowage included on the plastic frame. |
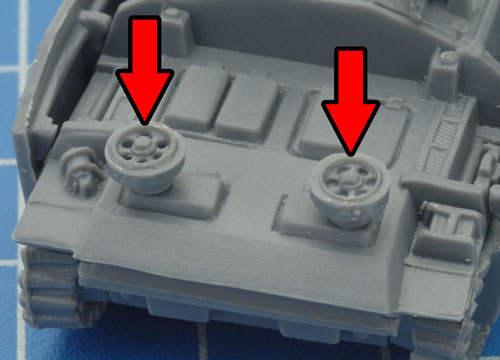
Spare Road Wheels
The spare road wheels attach to the rear of the engine deck.
Tip: There are two small pins on the back of the engine deck to assist in attaching the road wheels. |
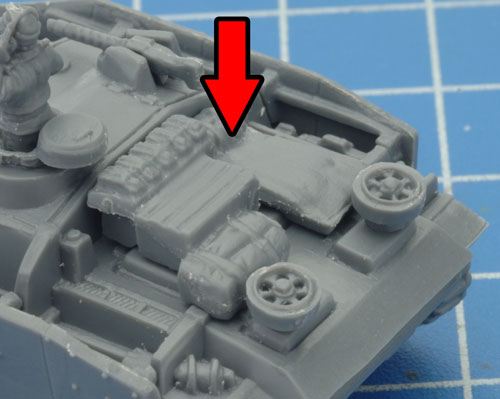
Large Piece of Stowage
The large piece of stowage has been designed specifically to sit on the engine deck as shown in the examples below. |
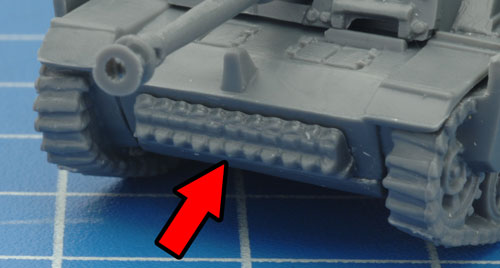
Spare Track Links
The long piece of spare track links are traditionally attached to the front lower half of the hull as shown in the example below. |
 |
 |
 |
Other Stowage
Feel free to customise your StuG G using the other stowage included on the frame. These pieces include extra Jerry cans, an ammunition crate and a short section of spare track links.
Tip: A quick internet image search can often provide inspiration for creative uses for the extra stowage. Try the term "stug g world war two." |
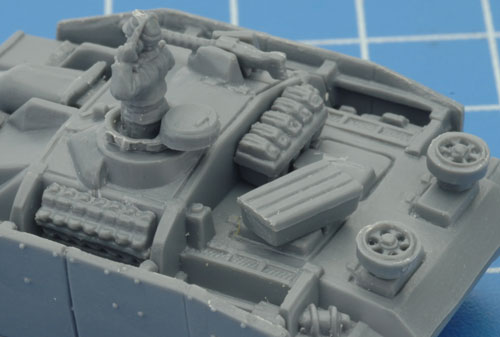
Below: The StuG G fully assembled complete with stowage ready for painting.
Learn how to paint the Sherman V with the Open Fire Painting Guide here...
|
 |
 |
Last Updated On Thursday, December 15, 2016 by Blake at Battlefront
|
|
|