|
|
|
|
Products mentioned in this Article
--None--
|
|
|
|
|
|
|
|
|
 |
|
|
 |
Genesis of an Army:
La Nueve's Heavy Support
By Mike Haught
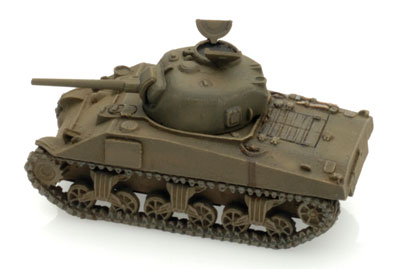
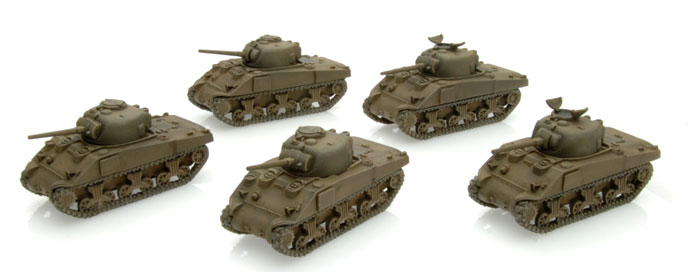
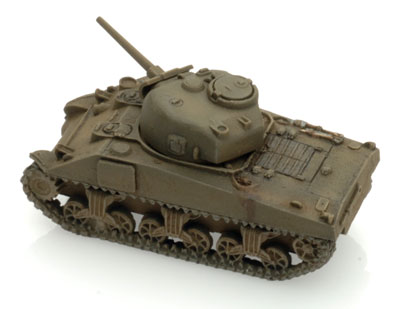
The Shermans were next on the list of things to paint as the time left slips away. I've got a platoon of four tanks with a Sherman OP in the artillery platoon, so I needed five. I figure that I could use five tanks regardless!
Again, Im holding off on the markings until I get closer to the end. This will give me a little more time to decide how I want to go about doing them, as they are a bit complex.
|
|
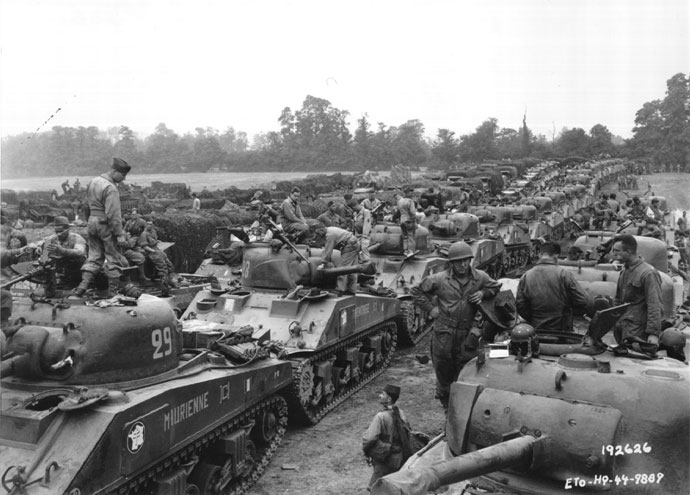
For these vehicles, I had a lot of resource material. The best photo to use for these beasties is the one with all the
2. Division Blindée Sherman tanks at a rally or jump-off point (below). There is a lot of detail in the photo, including a great example of French markings on the sides of the tanks. It is also very inspiring to help arrange stowage.
|
 |
|
Interestingly, the picture shows that the French employed a variety of
gun mantlets on the Shermans. Both narrow and wide mantlets are shown,
so I added these into my army. I had a few plastic sprues hanging around left over from my American 76mm Shermans with 75mm guns. I decided to use these instead of the metal guns supplied in the Sherman blister.
Of all the plastic parts available, I like using the guns for several reasons. They are easy to clean, they don't bend, they glue fast and the paint won't chip off of them as easily as they do on metal barrels. They retain a lot of sharp detail as well. So, I grabbed two of the five guns of them and cut the mantlet back on both sides and used them for my narrow mantlet tanks.
|
 |
 |
The photo also shows us that they used applique armour on the tanks, so I raided my Sherman V box and grabbed all the armour sprues to convert the M4A2 Shermans.
So in the end I used the Sovet M4A2 Sherman, the plastic sprue from the US 76mm Sherman for the guns and hatches, and the applique armour from a Sherman V!
I set to work and assembled, primed and painted them up. I got to use my new shiny airbrush as well. I used Army Green as a base and used Comrade Khaki to apply panel-fading.
I pin-washed the tanks around all the detail and recesses to help bring it out. After a light Vallejo Smoke wash, I lightly dry-brushed it with Dry Dust. Finally, I dusted it with a thinned Military Khaki through the airbrush. It looks like I'll have to dust the turrets once more, as the photos reveal a slight color variation!
|
|
|
I couldn't resist adding a little detail to the Shermans. Adding fuel stains on the side of the hull helps make the tank look a bit more gritty. I used a watered-down Vallejo Smoke and applied it with a wide brush (about 1/8" or 4mm). After that dried, I applied straight Smoke over the band in a streaky lines.
|
|
| If you wanted to add oil stains pooled on the engine deck of the
tank, straight Smoke is the perfect blend of dark-brown and black. The
grit in the paint really emulates the dirt and gunk that collects
all over the vehicle.
|
|
End of Week 5!
With the Shermans and remaining vehicles more-or-less done, I've got to start planning how I want to tackle the infantry and the markings. I've got a few more weeks left to get this project done, getter kick it into high gear!
|
Last Updated On Friday, July 3, 2015
|
|
|