|
|
|
|
Products mentioned in this Article
--None--
|
|
|
|
|
|
|
|
|
 |
|
|
 |
Converting a T-34 into a TT-34
Text and Pictures by Dan Wade
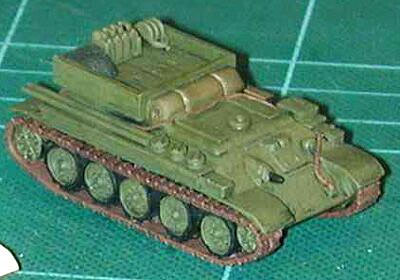
Dan takes us throught the steps involved in constructing your own TT-34 Armoured Recovery Vehicle using Battlefronts T-34 obr. 1941 (SU052).
The hardest part of this conversion was finding any photos of the real thing, I only managed to find a drawing and a photo of a 1/76th scale kit.
|
|
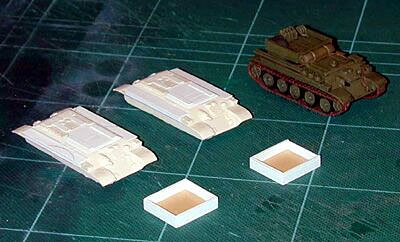
Right: Dan’s completed TT-34 next to the start of his two new ones.
Talking with a few people on the group, Evan and
Phil from memory, I managed to find out that these were mainly factory
conversions and not an official pattern so different types were
possible.
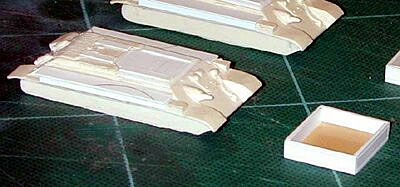
I started with the cargo deck which I guessed the dimensions, I made it 22mm wide x 20mm long x 4.5mm high. I also scored a recess around the top and bottom to give the impression of pressed steel. (Wooden decks were also used). I used various patterns of steel for the deck floor.
|
 |
 |
I next plated over the turret opening and scored a couple of hatches
and bevelled the edges, I then added two runners down each edge and put
a collar on the front of the deck which I presume held the booms for
lifting things.
The most fiddly part was putting the lockers down each side of the body which had the dimensions of 5mm wide x 35mm long and 3mm high. I left the existing front lockers on which were half covered by the new lockers to give the impression of small storage bins.
|
|
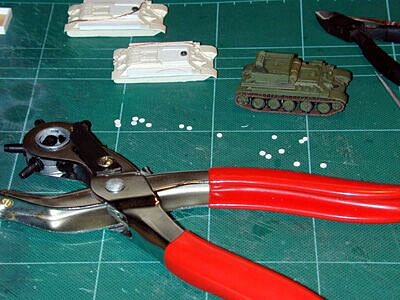
I was then able to assemble the cargo deck to the rear of the hull and put on small details like the booms and any bits and pieces which I had handy, I also made pulleys using a leather punch which can be seen in the photo above. The tarpaulins were made out of green stuff, the tow ropes out of copper wire. I’m now looking for details for the earth anchor so I can finish them but also think that not all TT34’s had them anyway.
I painted the them in Humbrol enamels using black 33 for the undercoat and US green 117 for the top coat with a black wash to bring out the details, I then dry brushed them with 117. The tracks were done with a mix of brown bess 170 and rust 113. Dry brushed with Tamiya steel.
Dan
|
 |
Last Updated On Wednesday, May 21, 2008 by Wayne at Battlefront
|
|
|