|
|
|
|
Products mentioned in this Article
|
|
|
|
|
|
|
|
|
 |
|
|
| Parts Required For The Lower Hull |
Step 1. Begin assembly by attaching the tracks to the lower hull section.
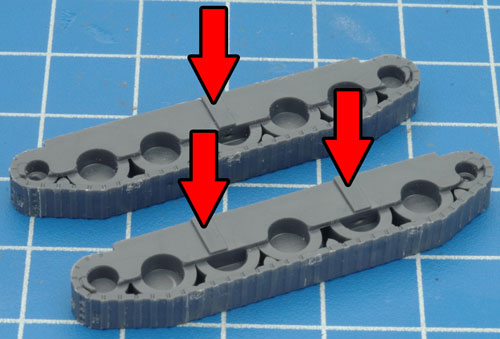
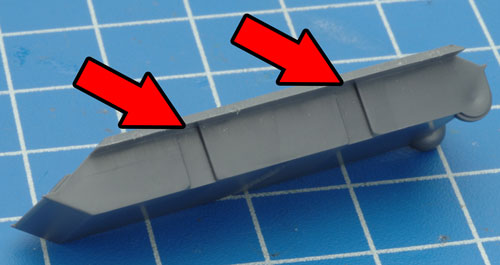
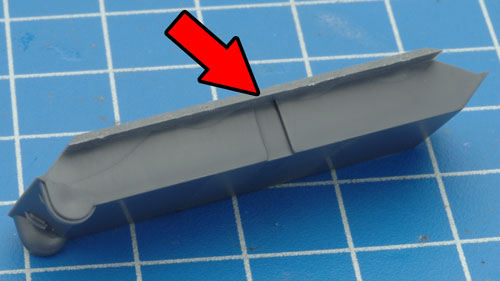
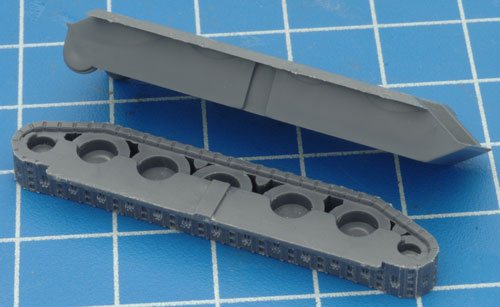
Note: Each track has been keyed to correspond with a particular side of the lower hull; this aids in ensuring the correct orientation of the tracks when assembling the miniature. |
| Below: The orientation keys on the tracks. |
Below: The orientation keys on the lower hull section. |
 |
 |
 |
| Below: The correct alignment for the left-hand side track. |
Below: The correct alignment for the right-hand side track. |
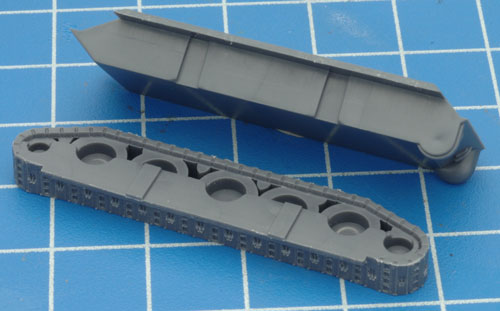
Step 2. Attach the tracks to lower hull section. |
 |
 |
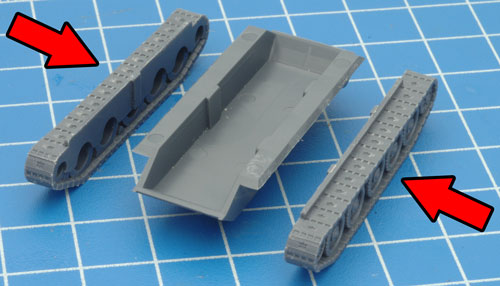 |
| Tip: When referring to left- or right-hand side in regards to a Flames Of War miniature, the orientation is determined as if looking at the vehicle from the rear. |
| Below: The left-hand side track attached to the hull. |
Below: The right-hand side track attached to the hull. |
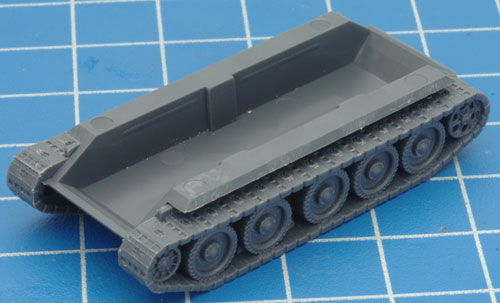
Below: The fully assembled lower hull. |
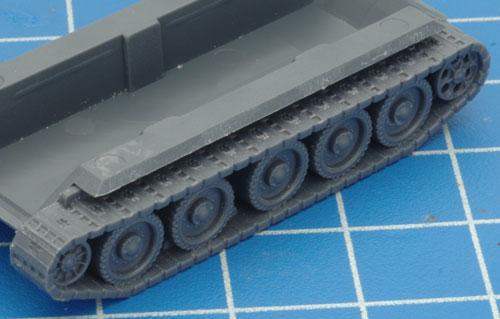 |
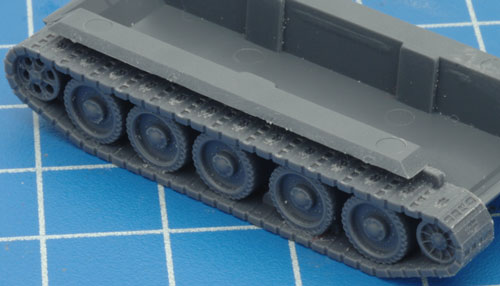 |
 |
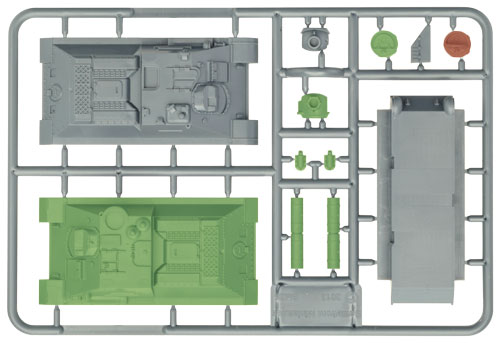
| Below: The required components for the SU-100 on the hull frame. |
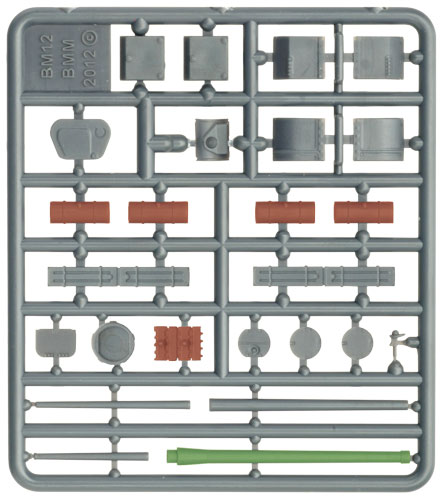
Below: The components for the SU-100 on the accessory frame. |
 |
 |
| Step 1. Begin by attaching the upper hull of the SU-100 to the lower hull section we assembled eariler. |
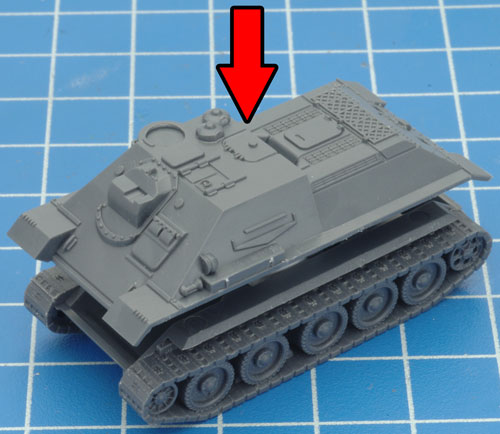
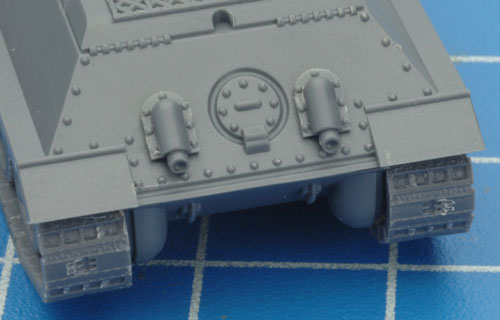
Step 2. Next, attach the exhausts to the rear of the hull using the locations shown in the example below. |
 |
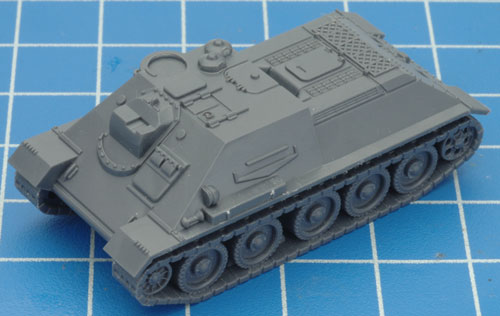 |
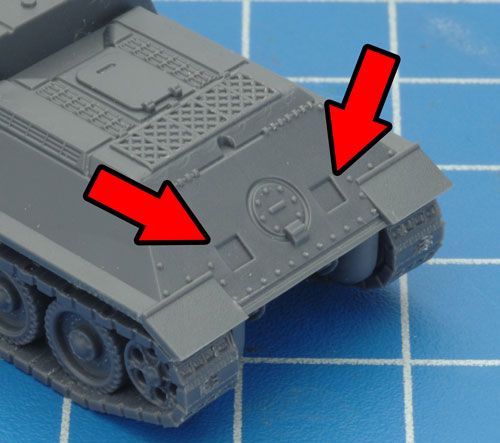 |
| Below: Attaching the exhausts to the rear of the hull. |
Below: The exhausts correctly attached to the rear of the hull. |
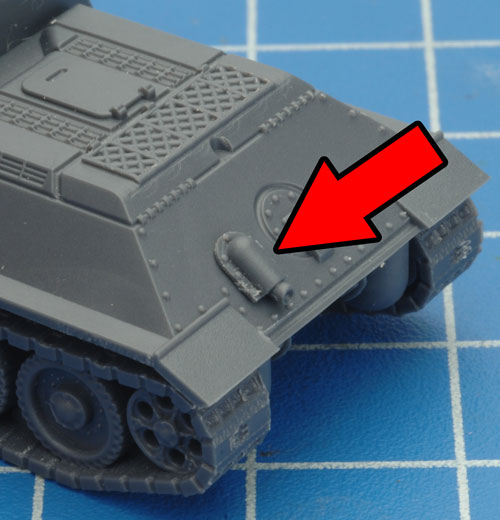 |
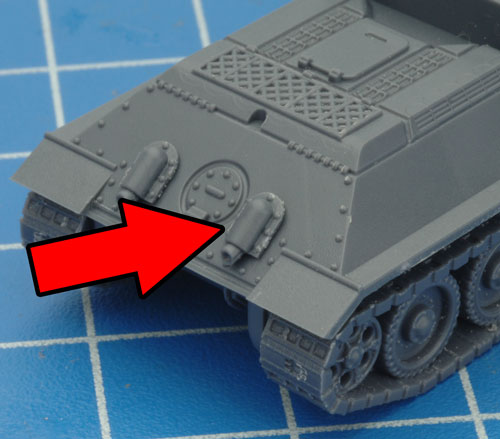 |
 |
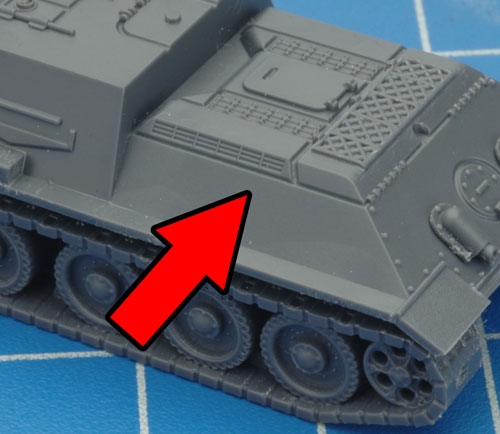
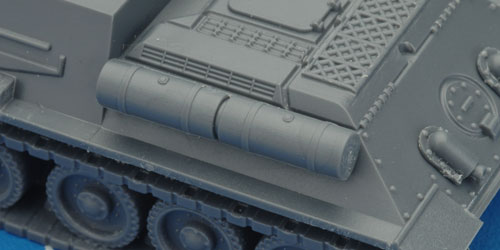
| Step 3. Next, attach the fuel drums to the sides of the hull. Tip: Ensure that the caps on the fuel drums are pointing upwards when you attach them to the hull. |
 |
 |
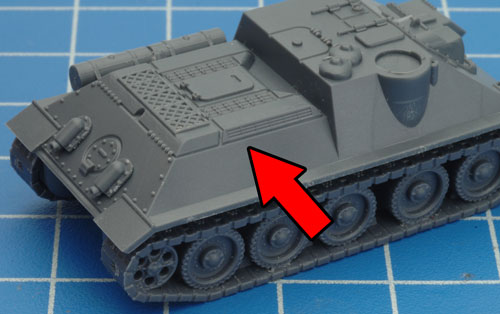 |
| Below: The right-hand side fuel drum attached to the hull correctly. |
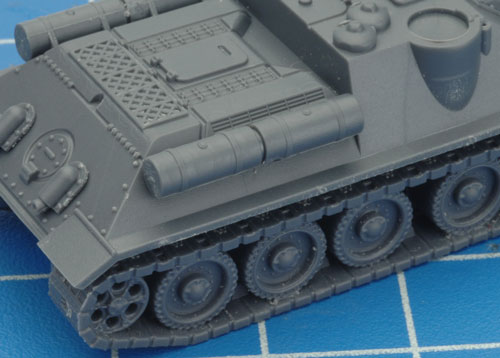
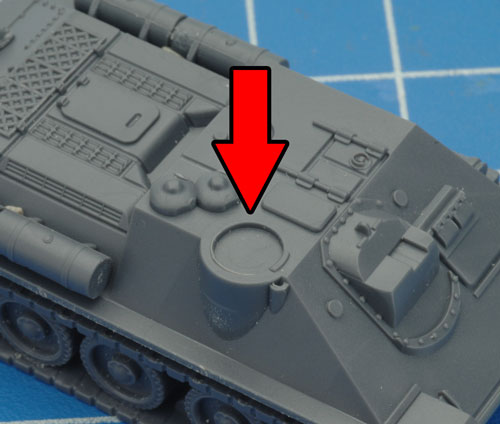
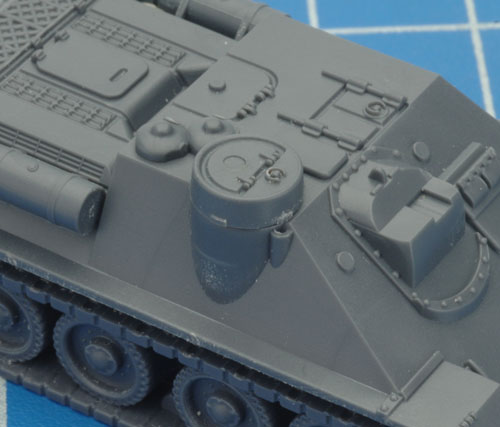
Step 4. Attach the commander's cupola to the top of the hull as shown in the example below. |
 |
 |
 |
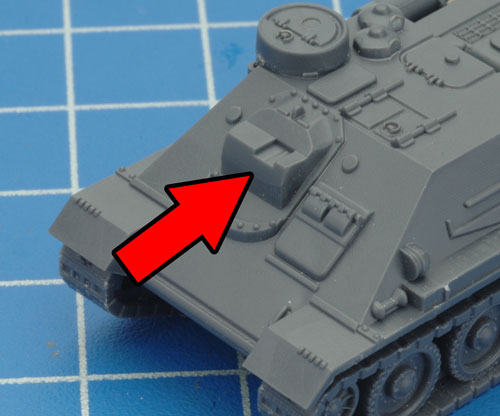
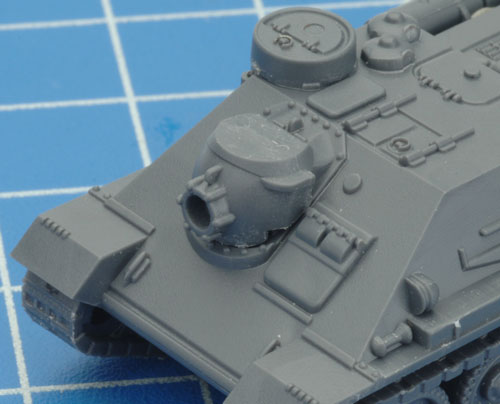
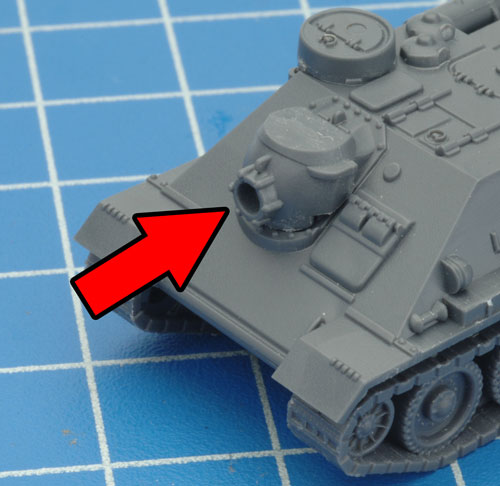
| Step 5. Next, attach the gun mantlet to the front of the hull. |
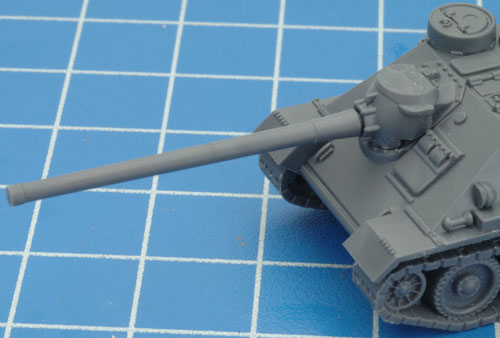
Step 6. With the gun mantlet in place, it's time to add the main gun. |
 |
 |
 |
| Below: The main gun attached to the gun mantlet. |
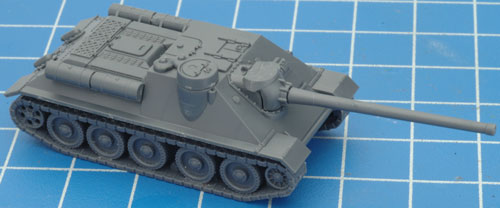
Below: With the main gun in place, the SU-100 is now fully assembled and ready to be painted. |
 |
 |
 |
 |
The SU-85M was a stopgap measure created due to a shortage of 100mm guns. Therefore, vehicles that were destined to become SU-100s were fitted with 85mm guns until production of the 100mm gun could catch up, giving us the SU-85M.
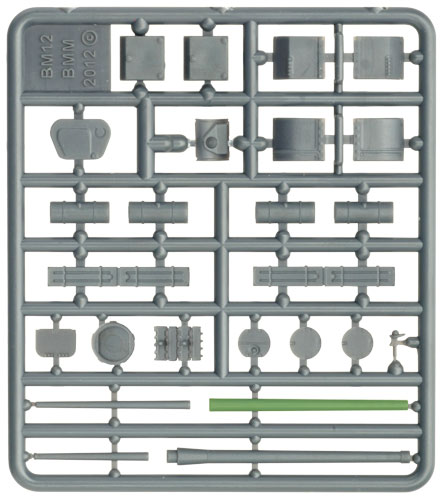
Assembling the SU-85M requires simply replacing the 100mm gun of our already assembled SU-100 with the 85mm version instead. The 85mm gun in question can be seen highlighted in green on the hull frame.
Left: The location of the 85mm gun of the SU-85M on accessory frame. |
| Adding The 85mm Gun |
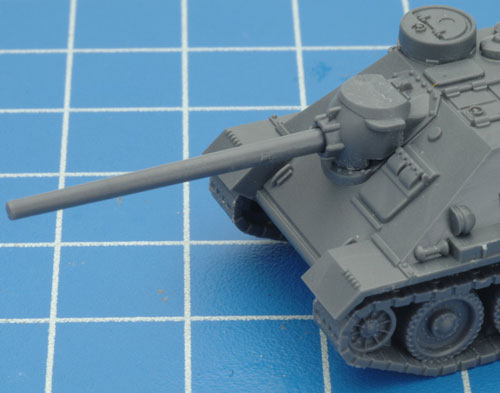
| Step 1. Replace the 100mm gun with the 85mm version. |
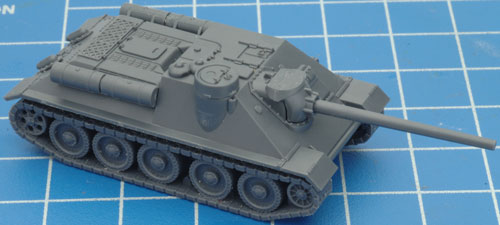
Below: With the 85mm gun now in place the SU-85M is now fully assembled and ready to be painted. |
 |
 |
 |
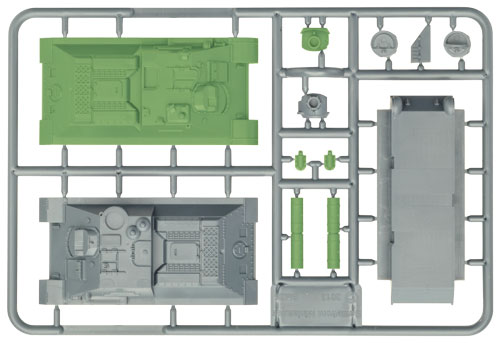
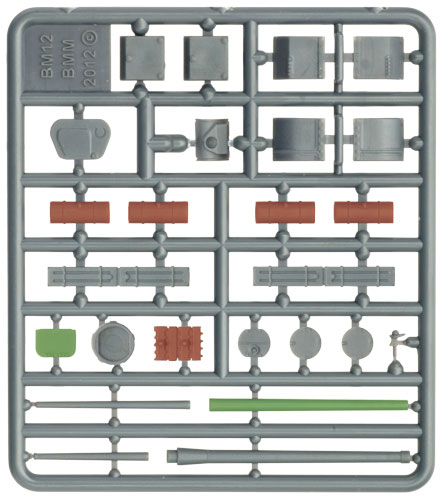
| Below: The required components for the SU-85 on the hull frame. |
Below: The components for the SU-85 on the accessory frame. |
 |
 |
|
| Step 1. Attach the upper hull of the SU-85, the exhausts and the fuel drums as shown in the steps one through three in assembly guide for the SU-100 as seen here. |
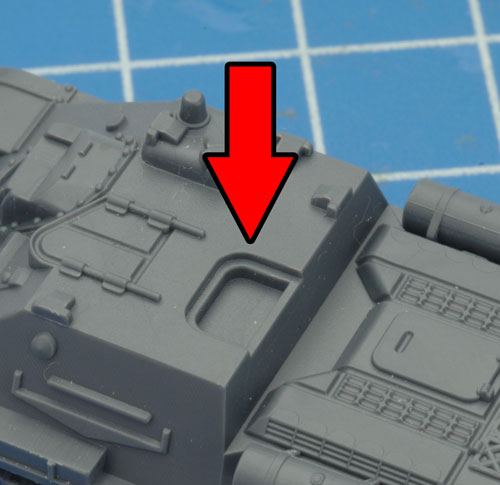
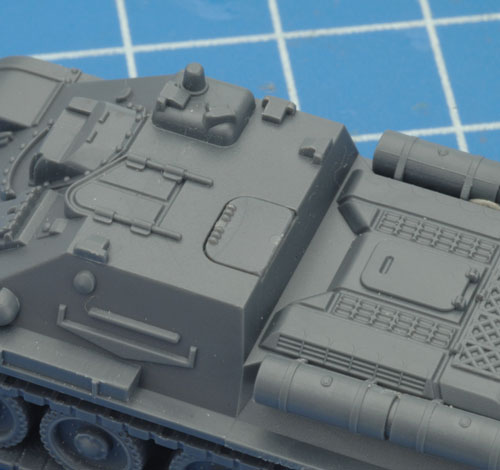
| Step 2. Attach the commander's hatch to the top of the hull as shown in the example below. |
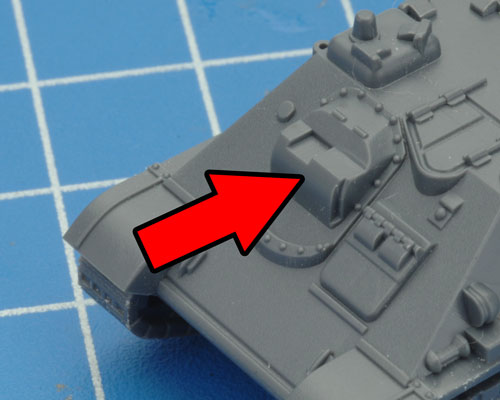
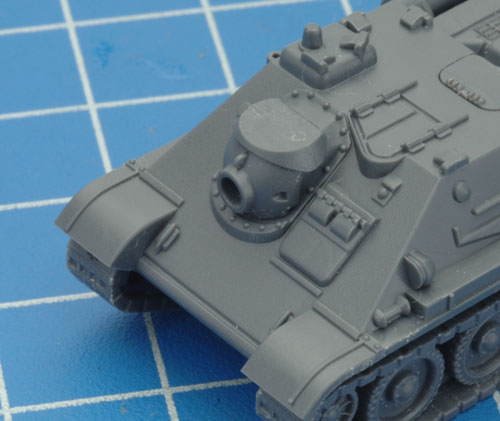
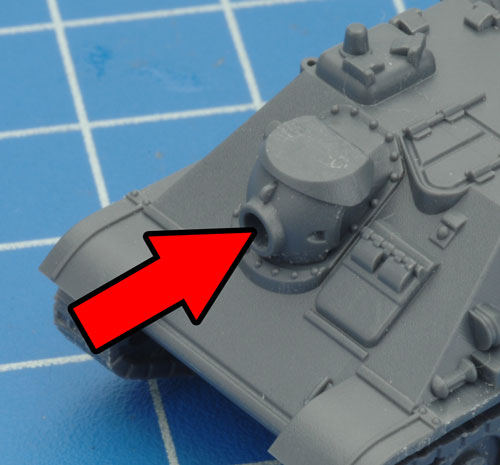
Step 3. Next, attach the gun mantlet to thefront of the hull. |
 |
 |
 |
 |
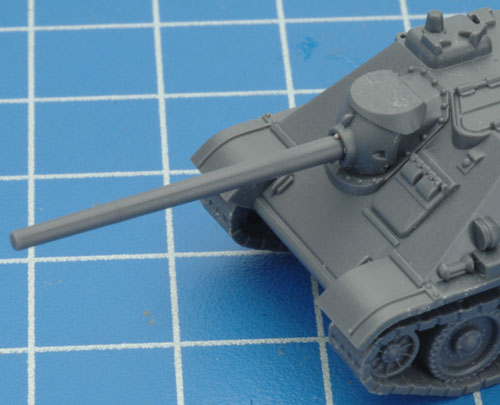
| Step 4. With the gun mantlet in place, it's time to add the main gun. |
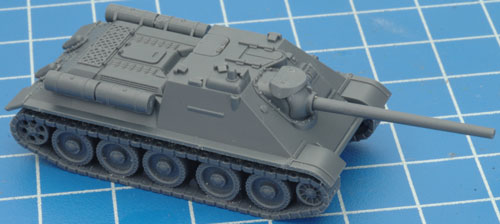
Below: With the main gun in place the SU-85 is now fully assembled and ready to be painted. |
 |
 |
 |
|
Using The Optional Components
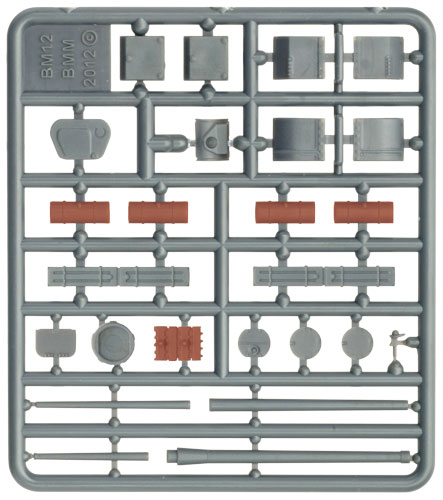
The optional components that can be use on all vehicle variants include the individual fuel drums and a section of spare track, both of which can be found on the accessory frame highlighted in red in the example on the right. Feel free to mix and match the individual fuel drums that are on the accessory frame with the paired version found on the hull frame.
Right:The location of the individual fuel drums and spare track links on the accessory frame.
|
 |
| Examples Of The Optional Extras In Use |
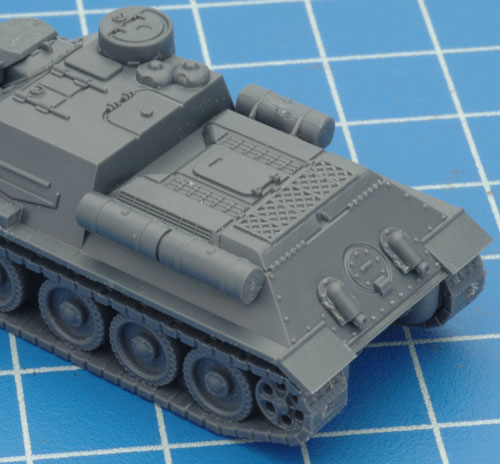
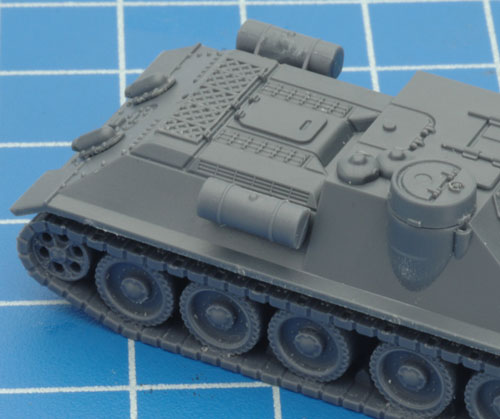
| Below: Feel free to mix and match the paired and individual fuel drums on your vehicles. |
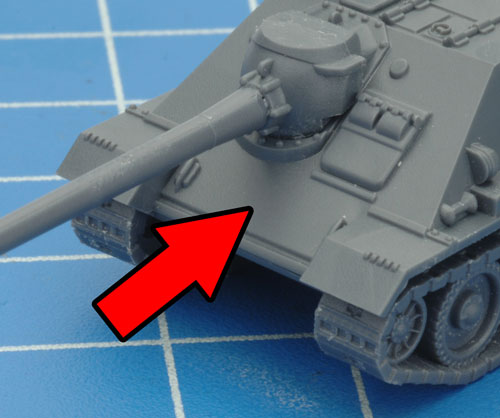
Below: A very common location for the section of spare track was the front of the upper hull. |
 |
 |
 |
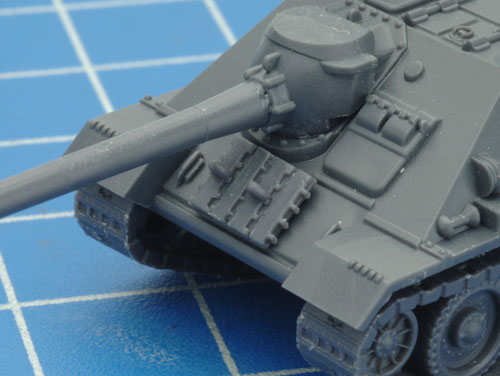
| Below: The spare track attached to the full of a SU-100. |
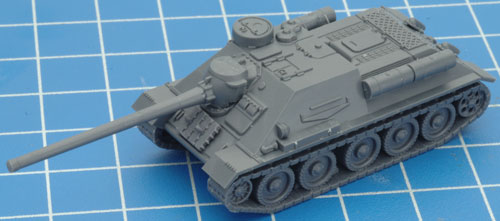
Below: An example of a SU-100 modelled with the optional extras; this is a great way of providing some individuality to each of your vehicles. |
 |
 |
Last Updated On Thursday, October 1, 2020
|
|
|