|
|
|
|
Products mentioned in this Article
|
|
|
|
|
|
|
|
|
 |
|
|
|
| |
|
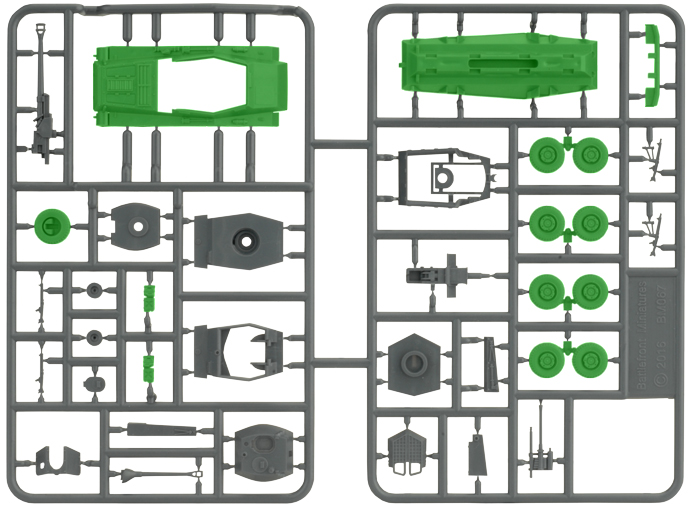
| Each of the four Sd Kfz 234 variants all shares a number of common components. These are highlighted in green on the plastic sprue shown below. These components make up the generic hull that is used as a base for whichever variant of the Sd Kfz 234 you wish. |
 |
| Step 1. Start assembly of the generic hull by joining the top and bottom halves of the hull together. |
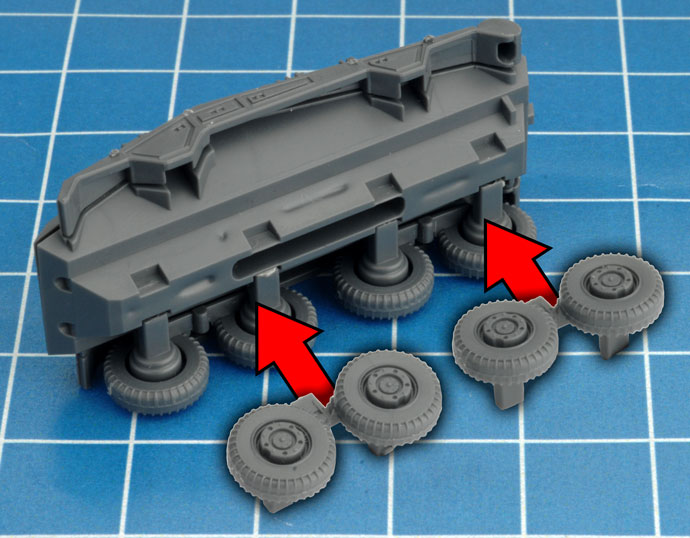
Step 2. Next, attach the right-hand side wheel bogies... |
| Step 3. ...followed by the left-hand-side wheel bogies. |
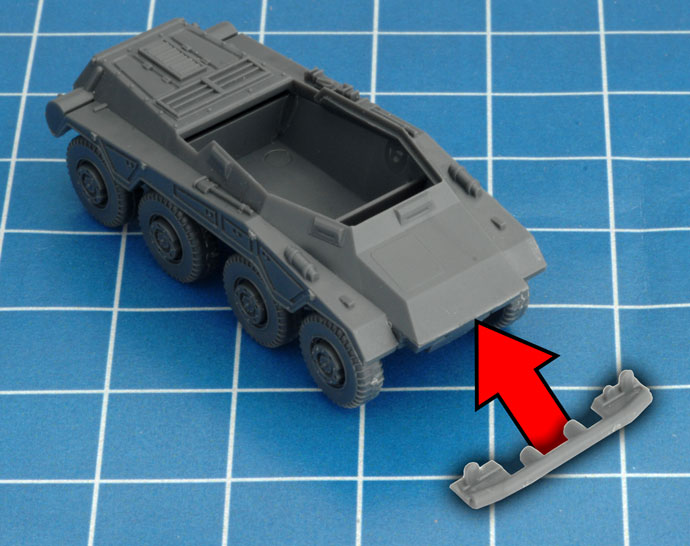
Step 4. Attach the bumper to the front of the hull. |
 |
 |
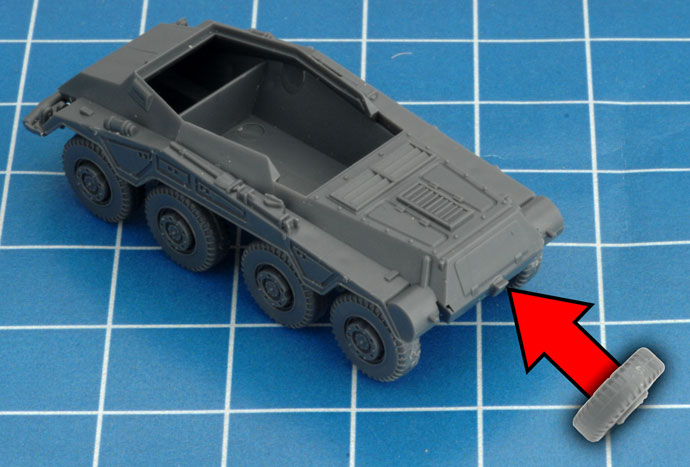
| Step 5. Add the spare tire to the rear of the hull. |
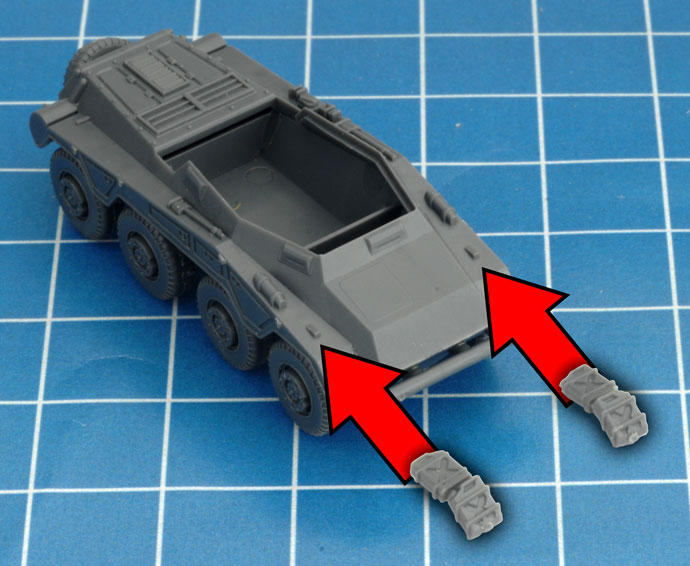
Step 6. To complete assembly of the generic hull, attach the jerry can stowage to each front fender. |
 |
 |
 |
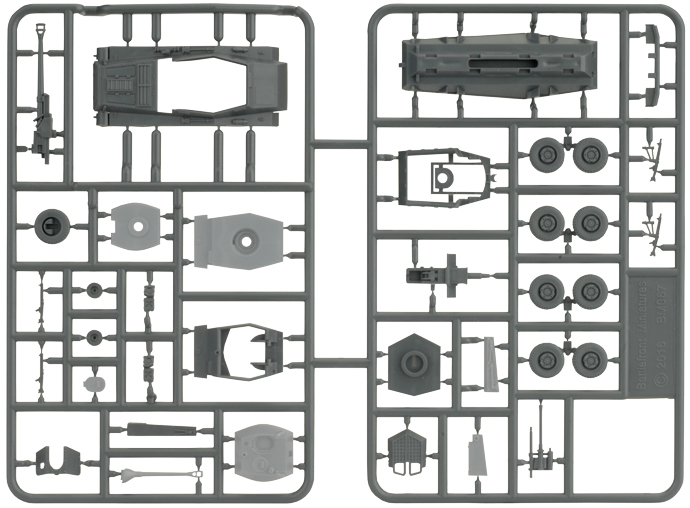
| Along with the generic hull, the components highlighted in grey on the plastic sprue below are used to model the Sd Kfz 234/2 Puma. |
 |
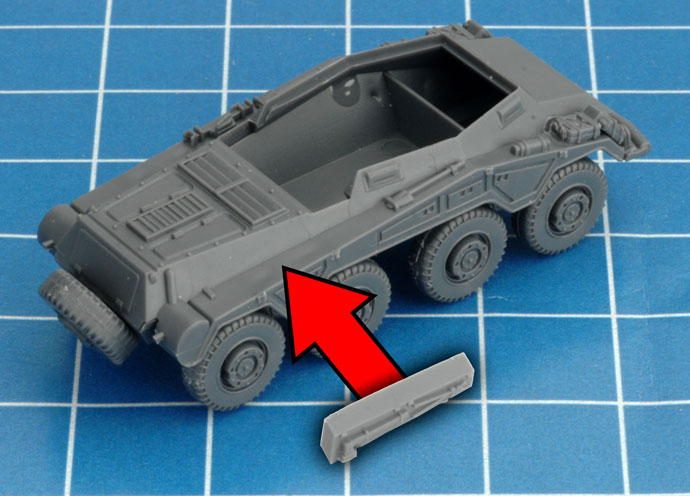
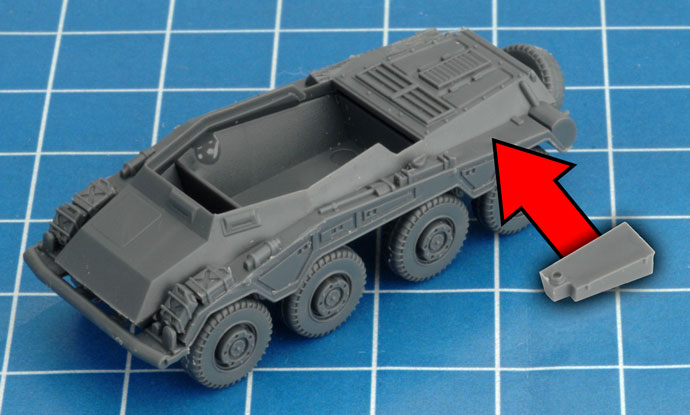
| Step 1. Attach the Sd Kfz 234/2 Puma specific stowage bins to each side of the generic hull. |
 |
 |
| Step 2. Attach the top deck to the top of the hull. |
Step 3. Join the top and bottom sections of the turret. |
Step 4. Attach the main gun to the front of the turret. |
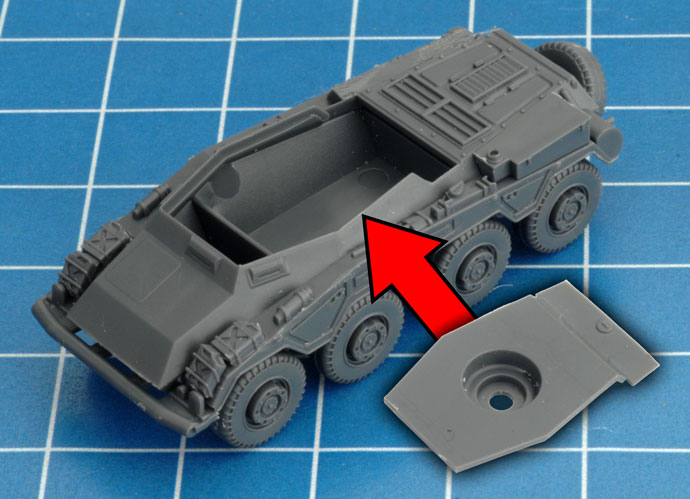 |
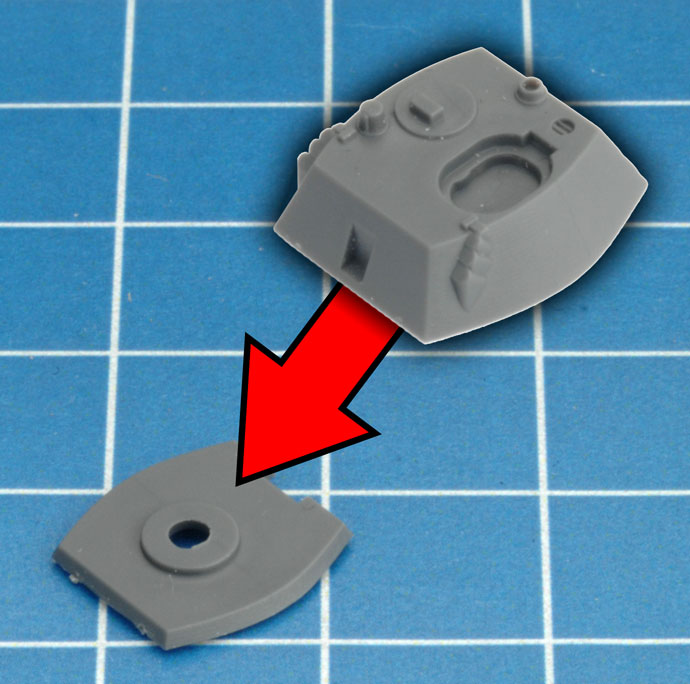 |
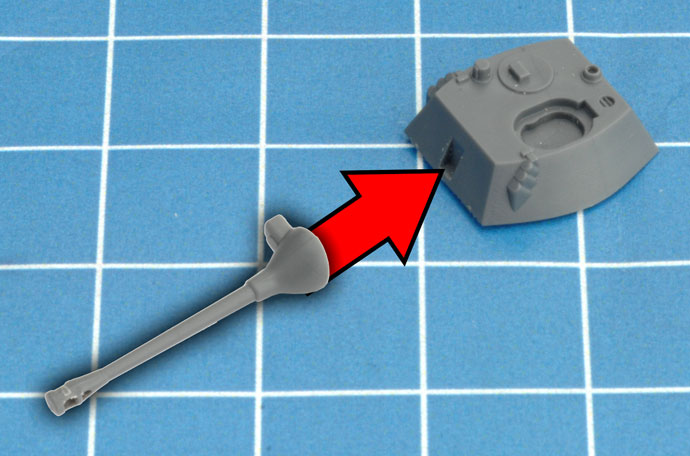 |
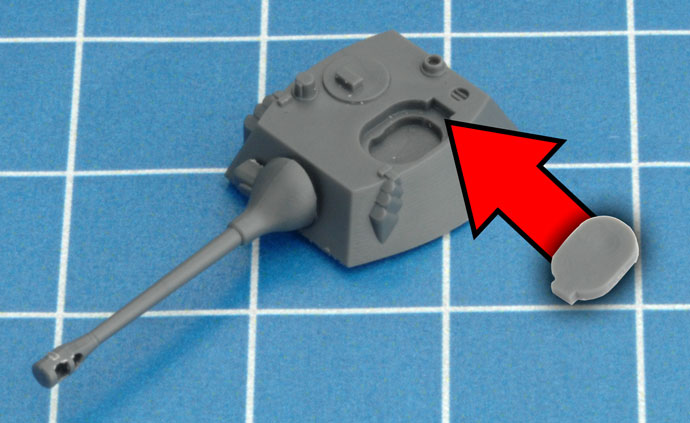
| Below: The turret hatch can be modelled either open or closed. |
Step 5. Attach the hatch to the top of the turret. |
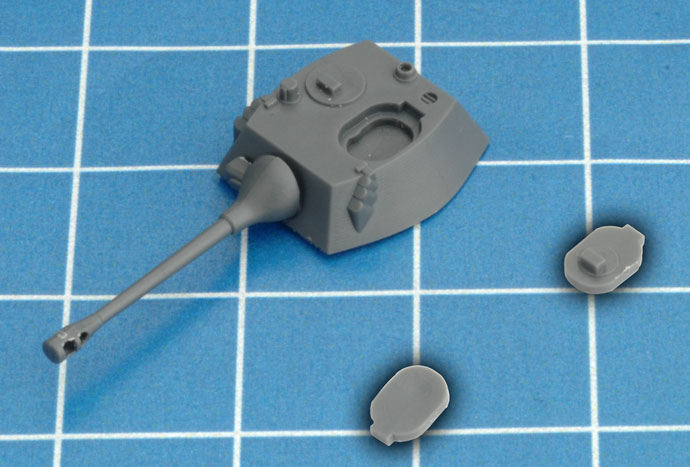 |
 |
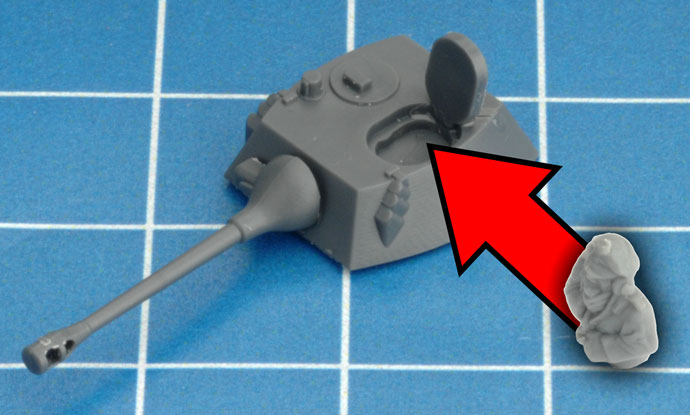
| Step 6. Add a commander figure of choice to the open turret hatch. |
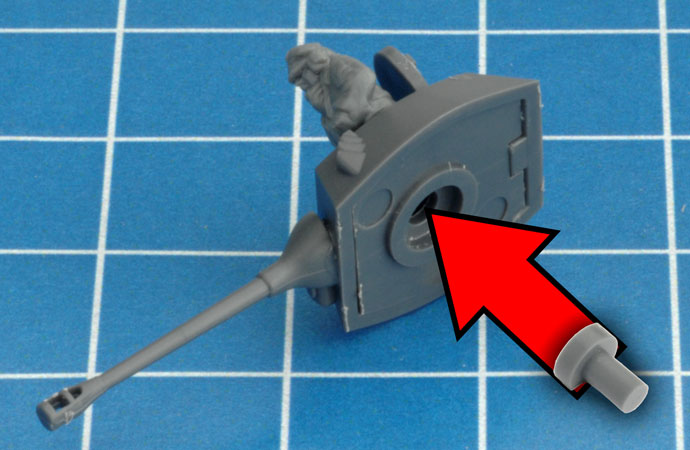
Step 7. Use the turret peg or rare-earth magnets as a quick and easy way of attaching the turret to the hull. |
 |
 |
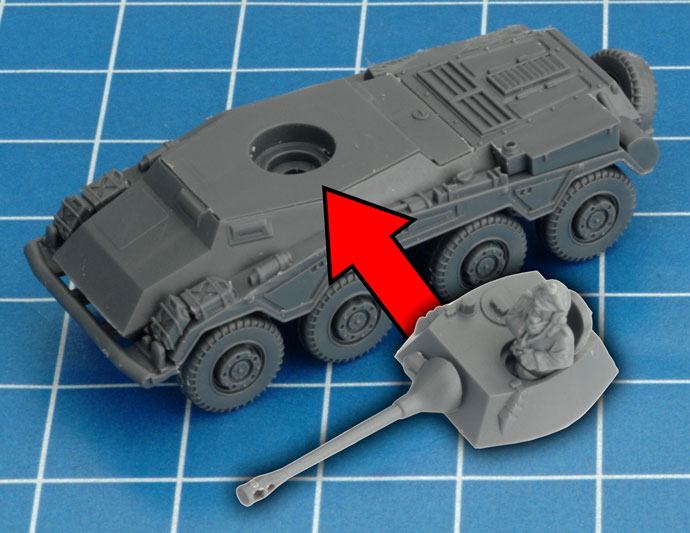
| Step 8. Add the turret to the hull. |
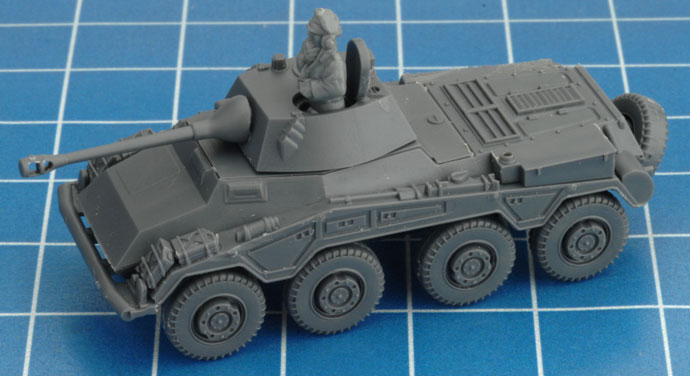
Below: With the turret attached, the Sd Kfz 234/2 Puma is now fully assembled. |
 |
 |
 |
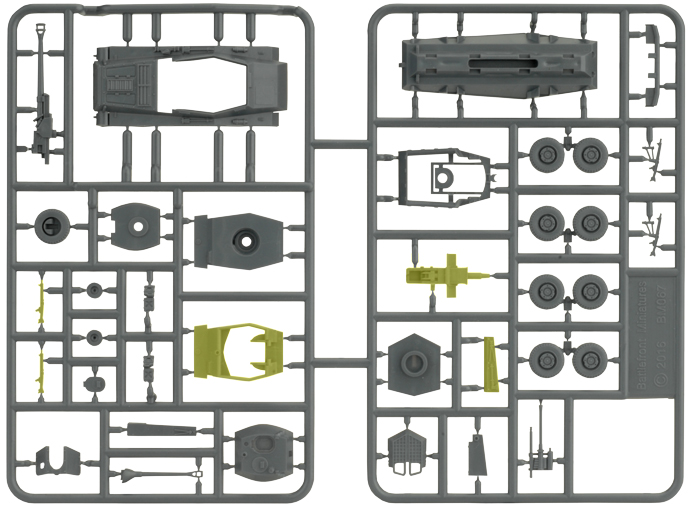
| Along with the generic hull, the components highlighted in yellow on the plastic sprue below are used to model the Sd Kfz 234/3 (7.5cm). |
 |
| Step 1. Attach the Sd Kfz 234/3 specific stowage bin to the side of the generic hull. |
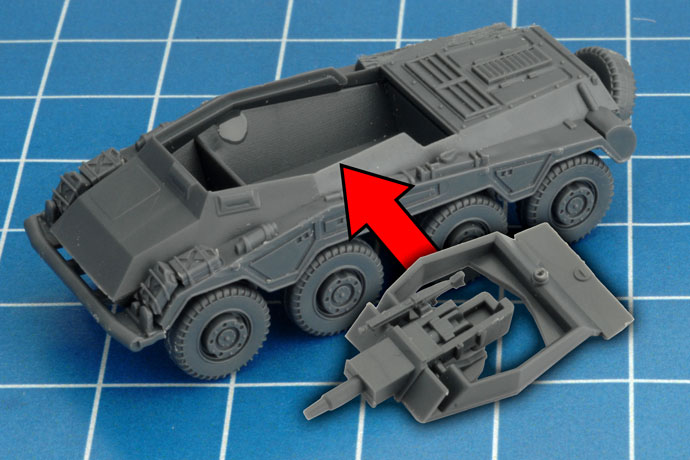
Step 2. Attach the main gun to the hull superstructure. |
 |
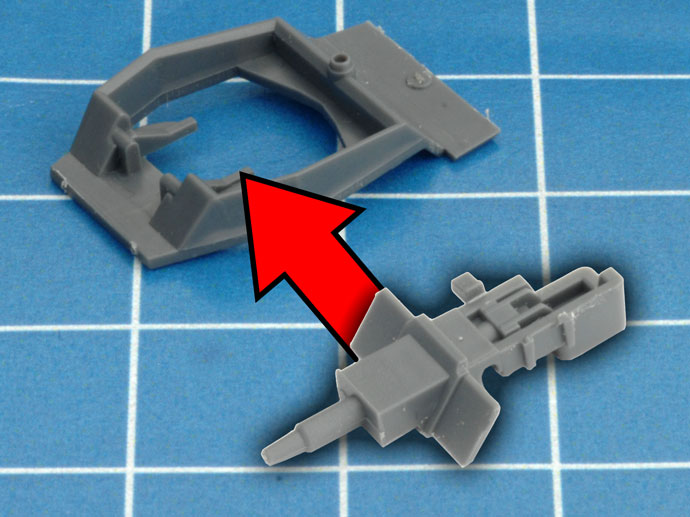 |
| Step 3. Attach the coaxial machine-gun to the side of the main gun. |
Step 4. Add the main gun assembly to the generic hull. |
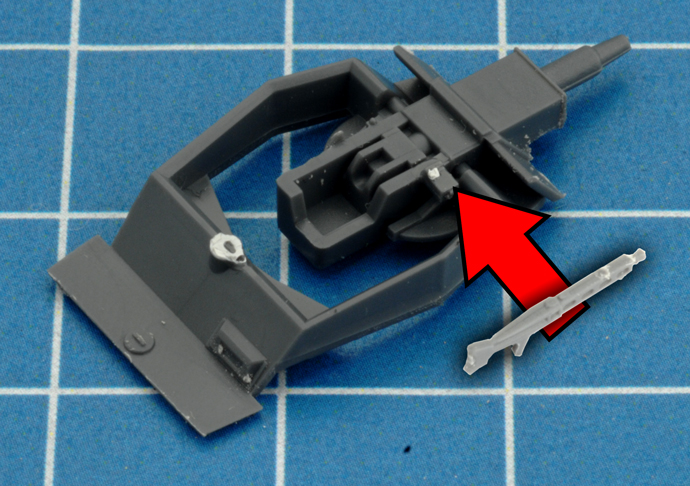
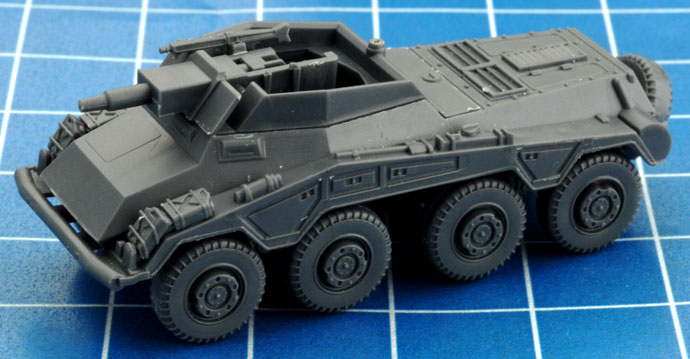
Below: With the main gun assembly in place, the Sd Kfz 234/3 (7.5cm) is now fully assembled. |
 |
 |
 |
| Adding Crew Figures To The Sd Kfz 234/3 (7.5cm) |
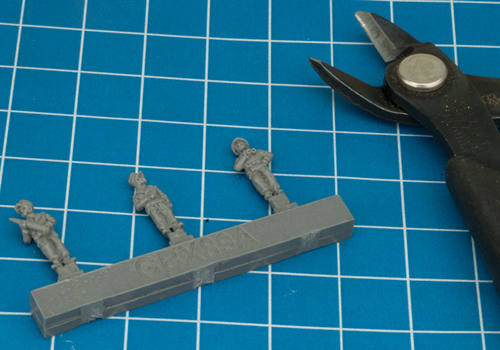
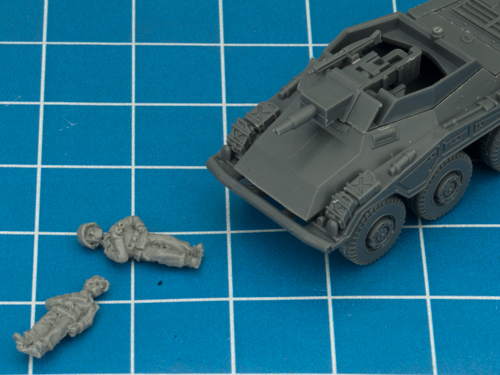
| Step 1. Cut the desired crew figure off the resin sprue with a pair of side cutters. |
 |
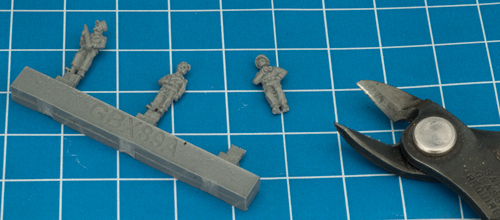 |
| Below: The suggested crew figures to use with the Sd Kfz 234/3 (7.5cm) are the figure wear the helmet holding binoculars and the figure in the field cap without the shell. |
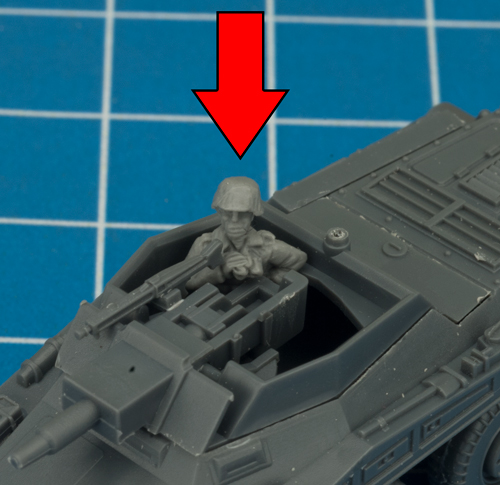
Step 2. Add the crew figure wearing the helmet to the inside of the fighting compartment of the Sd Kfz 234/3 (7.5cm). |
 |
 |
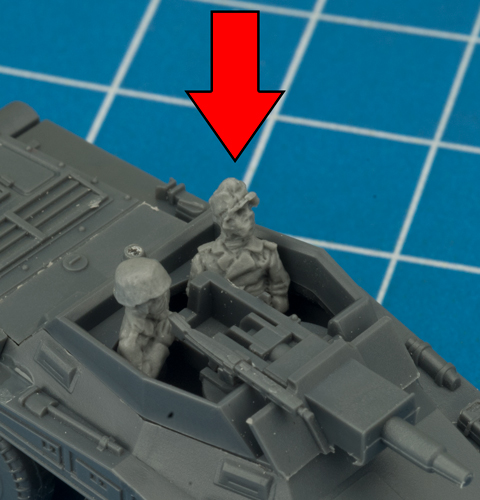
| Step 3. Add the crew figure wearing the field cap to the inside of the fighting compartment of the Sd Kfz 234/3 (7.5cm). |
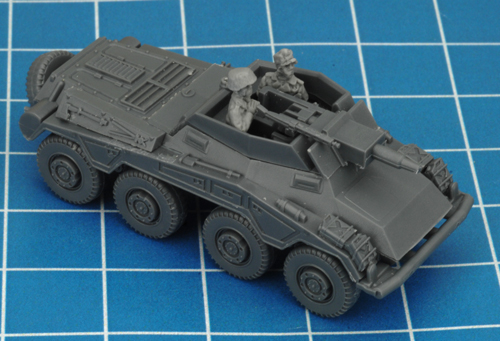
Below: With the crew added to the fighting compartment, the SD Kfz 234/3 (7.5cm) is now fully assembled. |
 |
 |
| Step 3. Attach the Sd Kfz 234/1 (2cm) specific stowage bin to the side of the generic hull. |
Step 4. Attach the top deck to the top of the hull. |
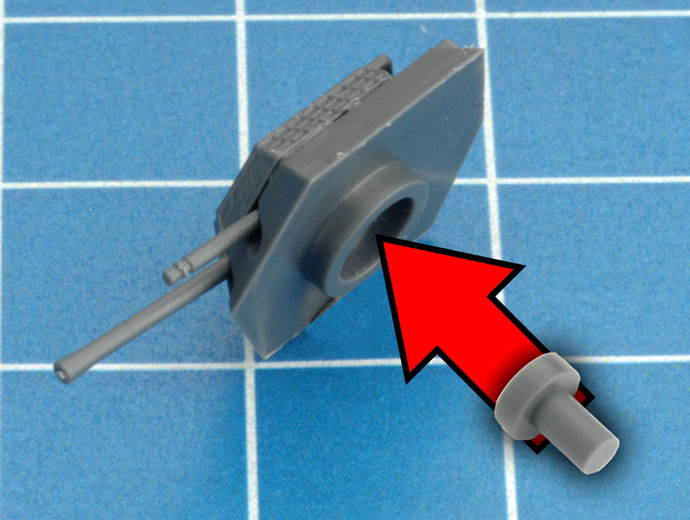
Step 5. Use the turret peg or rare-earth magnets as a quick and easy way of attaching the turret to the hull. |
 |
 |
 |
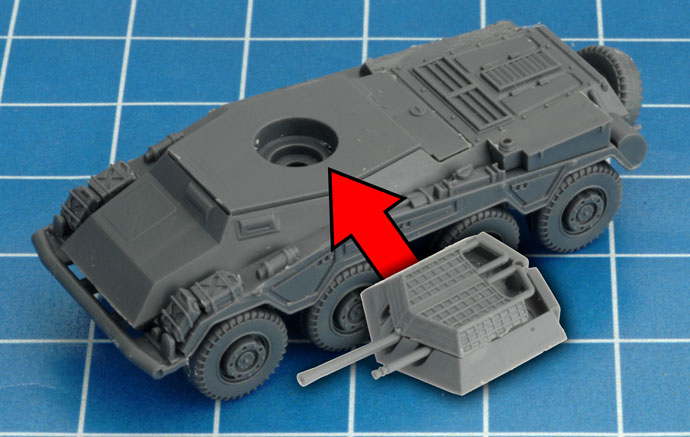
| Step 6. Add the turret to the hull. |
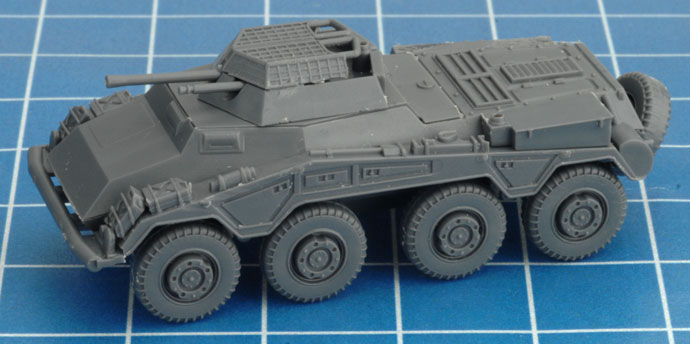
Below: With the turret attached, the Sd Kfz 234/1 (2cm) is now fully assembled.
|
 |
 |
Last Updated On Friday, October 11, 2019
|
|
|