|
|
 |
Free Nations Spotlight
ANZAC Forces
with Wayne Turner
The last force represented in Free Nations is the ANZAC Brigade representing a combined Australian and New Zealand force fighting as part of the British II Corps in the Netherlands after their governments agreed to supply a force from units on exercise. The section start with background, and then follows the exploits of Major Harris’s Australian Mechanised Company.
The force is broken up into two formations; an Australian Leopard AS1 Armoured Squadron and M113 Mechanised Company. The full-time professional ANZACs have good Courage, Skill and Assault (3+), average Morale, Counterattack, Remount, and Rally (4+), except where modified by equipment and special rules.
|
|
The Leopard AS1 Armoured Squadron is built around an HQ with 1 or 2 Leopard AS1, 2 to 4 Leopard AS1 Armoured Troops, one of which can be taken as a M113 Mechanised Platoon instead. The formation can also take two M113 Cavalry Troops.
The Australian Leopard AS1 is identical to the West German Leopard 1A3 with the welded turret, and even retains the MG3 machine-guns. This can be built from the new NATO Leopard 1 plastic kit. It is lightly armoured, relatively manoeuvrable, armed with the excellent 105mm L7 gun, and unlike the West German version uses the Brutal rule because of the Australian use of HESH ammunition.
|
 |
|
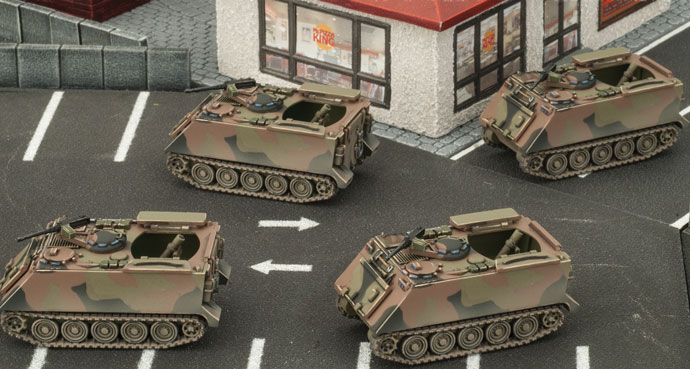
The M113 Cavalry Troops are equipped with M113 LRVs (Light Reconnaissance Vehicles) and M113 MRVs (Medium Reconnaissance Vehicles). The units can be 3 to 4 M113 LRVs only, or 1 M113 MRV and 3 or 4 M113 LRVs. The M113 LRV is the standard Australian M113 fitted with a T-50 turret armed with a .50 cal MG and a 7.62mm MG, while the M113 MRV is fitted with a Scorpion light tank turret armed with a 76mm gun and a 7.62mm MG. These units can use the Spearhead and Scout rules.
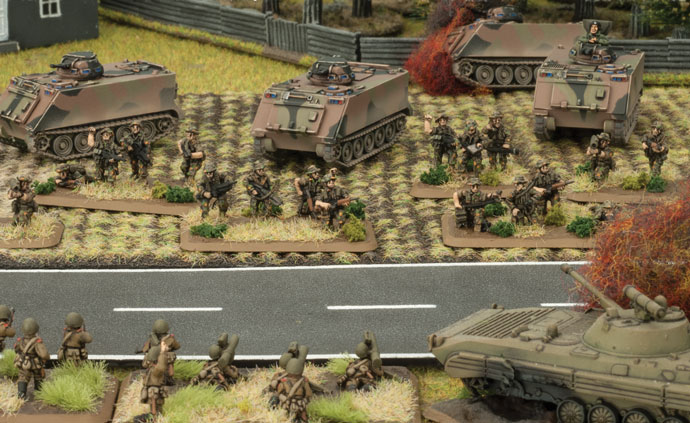
The M113 Mechanised Company is based around a HQ and 2 or 3 M113 Mechanised Platoons, one of which can be a Leopard AS1 Armoured Troop instead, a M125 Mortar Platoon, up to two M113 Cavalry Troops, and up to two Milan Anti-tank Sections.
|
|
The M113 Mechanised Platoons around 4 M60 with LAW anti-tank teams, 3 Carl Gustav teams, transported by 4 M113 (T-50 turret) APCs. The M60 and SLR battle rifles that make up the first team give them a ROF 3/2, AT 2, and FP 5+ (due to M203 grenade launchers). The LAW anti-tank gives them AT 12 against armoured targets. The Carl Gustav anti-tank teams have ROF 1/1, AT 17, FP 3+ for improved anti-tank defence. The M113 (T-50 turret) APC is a standard M113 mounting a T-50 armoured turret mounting a .50cal MG and a 7.62mm MG.
The formations indirect fire support comes from the 81mm mortars of the M125s. These medium mortars can fire bombardments out to 56”/140cm with AT 1, FP 4+, and Smoke Bombardments. They are also additionally armed with a .50cal AA MG.
|
 |
 |
|
Support
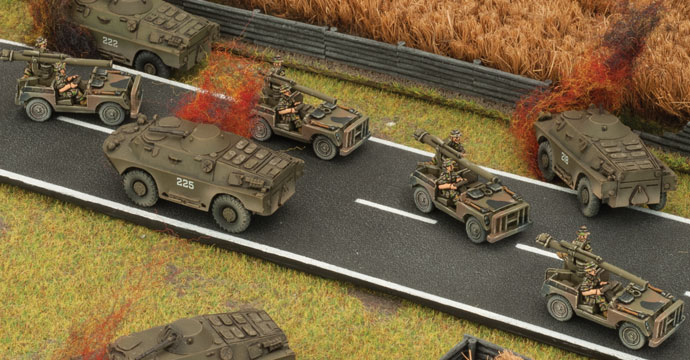
ANZAC support consists of up to two Anti-tank Land Rover Section, each armed with Land Rover light trucks mounting 106mm recoilless rifles with range 24”/60cm, ROF 1/1, AT 17, FP 2+, using the Accurate, Brutal, HEAT, and Slow Firing rules.
|
 |
|
Air Defence is provided by the M113 Redeye SAM Section. The Redeye SAM missiles are fired from the top hatch of the M113, give it a Range 48”/120cm, ROF 2, FP 5+, and Guided AA against air targets. The M113 mounts a .50 cal MG and a 7.62mm MG in a T-50 turret.
|
|
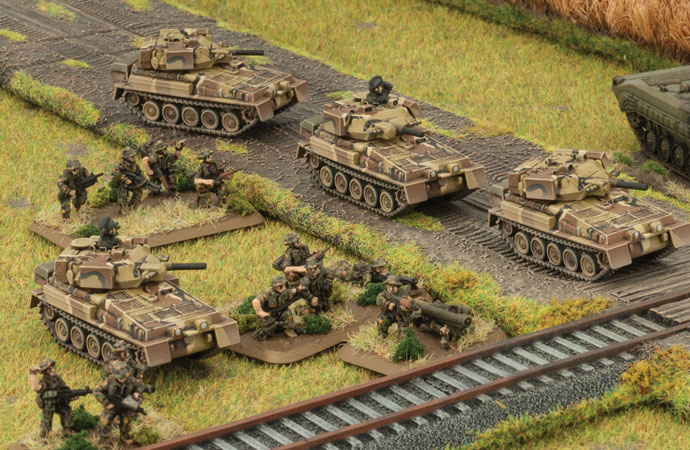
The final support unit you can take is 1 or 2 Scorpion Armoured Troops, representing the New Zealand armoured contribution to the conflict. Though not full recon troops, this unit offers a Spearhead option. The Scorpion is light and fast, when not firing its main weapon.
Finally as part of the British 2nd Corps they can call on British support in the form of Abbot Field Battery or M109 Field Battery, Traced Rapier SAM Section, up to two TOW Lynx HELARM Flights, and Harrier Close Support Flight. They can also take an Allied NATO Formation as part of the force.
|
 |
|
Scenarios
As well as the four new forces, Free Nations also includes three scenarios featuring Canadian, Dutch and French forces. These can be played with the suggested forces, or you can use the suggested points to field alternative forces in the scenarios. The scenarios can be run as a linked campaign, or as individual one off games.
|
 |
Painting and Models
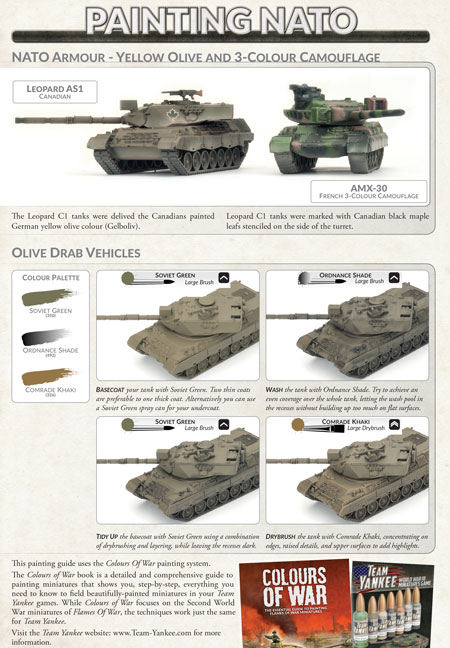
The final sections of Free Nations includes a painting and basing guide for the forces of Free Nations with armour painting for Yellow Olive and NATO 3-colour, infantry painting guides for Australians, French, Canadians, and Dutch, and aircraft colour guides. Basing guides for the teams of the Free Nations infantry forces.
Finally the last section features a comprehensive guide to the models of Free Nations, listing all the great new boxes and packs that will be coming out for the Canadians, French, Dutch, and ANZACs.
It’s a great new book with plenty of forces to choose from, whether you a looking for a new NATO force to field or looking at adding a new formation to a current NATO force.
~Wayne
|
Last Updated On Wednesday, May 16, 2018
|
|