|
|
|
|
Products mentioned in this Article
--None--
|
|
|
|
|
|
|
|
|
 |
|
|
Assembling the Lynx Transport Helicopter
|
|
Components Required For The Lynx Transport Helicopter
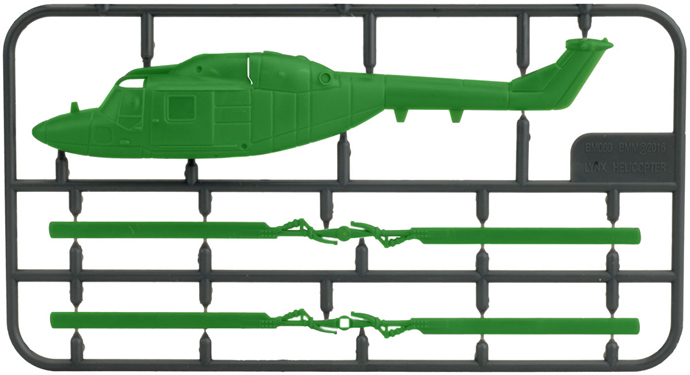
The components required to assemble the Lynx Transport helicopter can be seen below highlighted in green on the two plastic frames below.
|
 |
| Assembly of the Lynx Transport Helicopter |
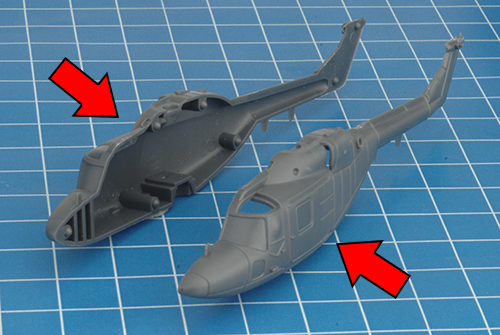
| Step 1. Begin assembly of the Lynx by joining the two halves of the fuselage. |
Below: Each side of the fuselage has a number of orientation points. As seen in the image below, this side has female points. |
 |
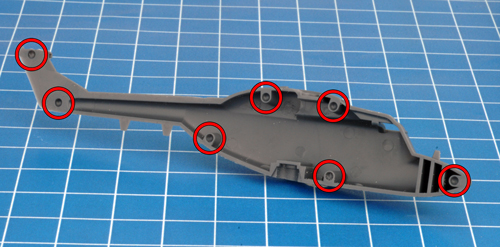 |
| Below: The male orientation points of the second half of the Lynx fuselage. |
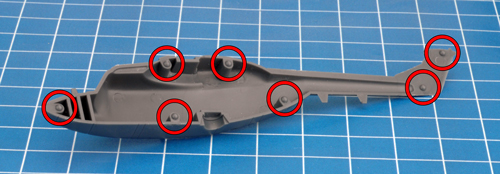
Below: Both halves of the fuselage joined correctly. |
 |
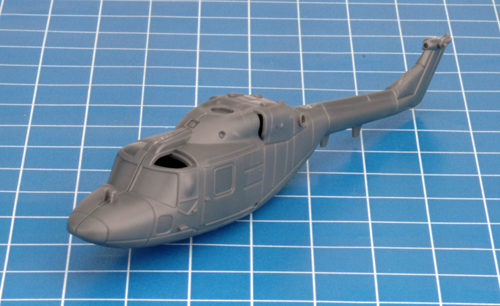 |
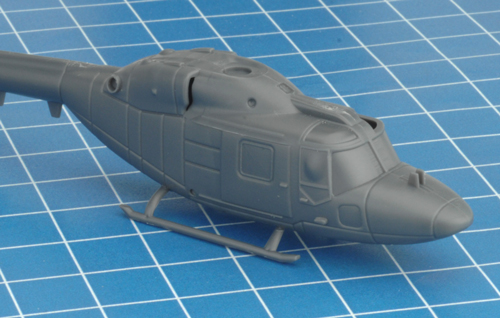
| Step 2. Next, attach the landing skids to the bottom of the fuselage. Note: The longer strut on the landing skids attaches to the fuselage towards the tail boom. |
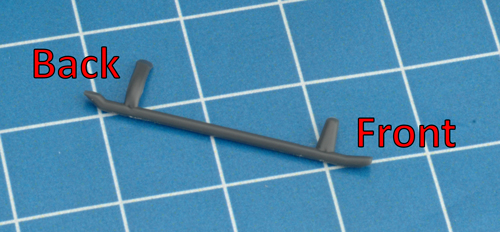 |
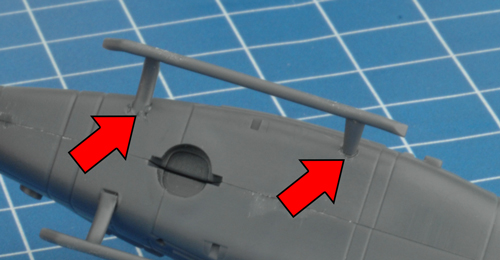 |
| Below: Both landing skids attached correctly to the belly of the fuselage. |
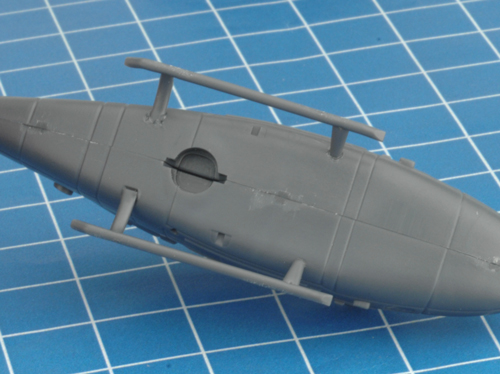 |
 |
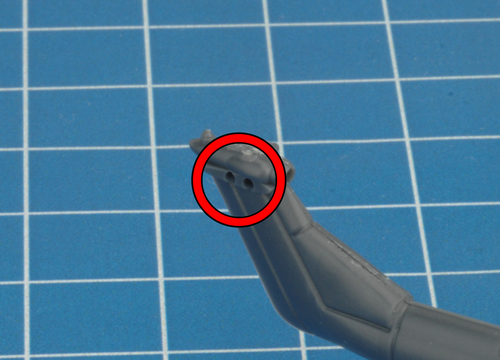
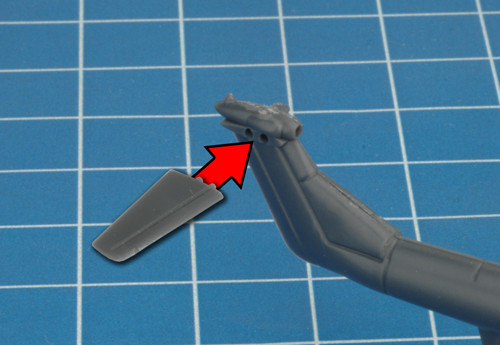
| Step 3. Attach the tail fin to the tail boom. Note: The tail fin has orientation points to ensure correct orientation. |
 |
 |
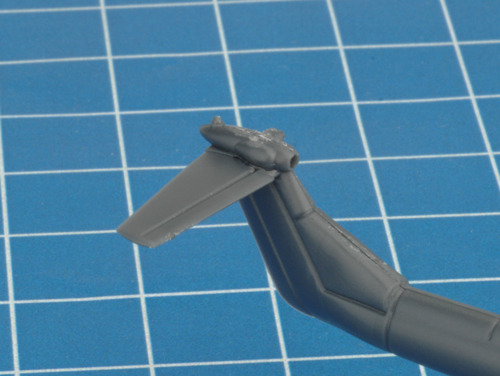
| Below: The tail fin attached correctly to the tail boom. |
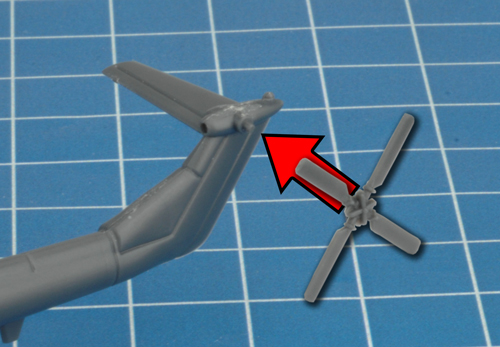
Step 4. Next, attach the tail rotor to the tail boom. |
 |
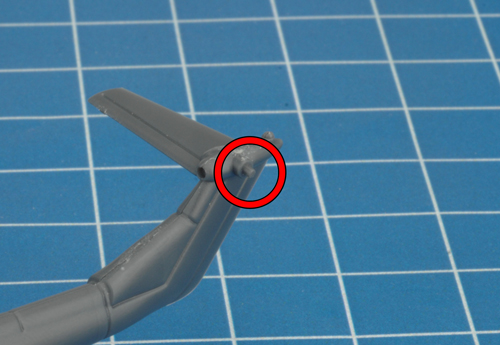 |
| Below: The tail rotor attached to the tail boom via the small mounting pin. |
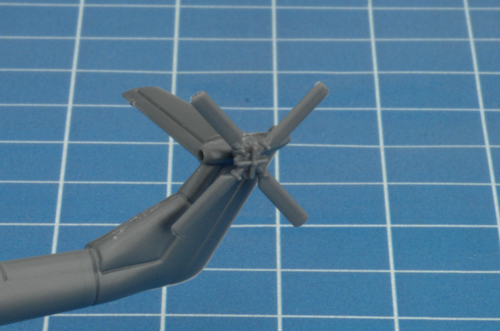
Below: The tail rotor attached correctly to the tail boom. |
 |
 |
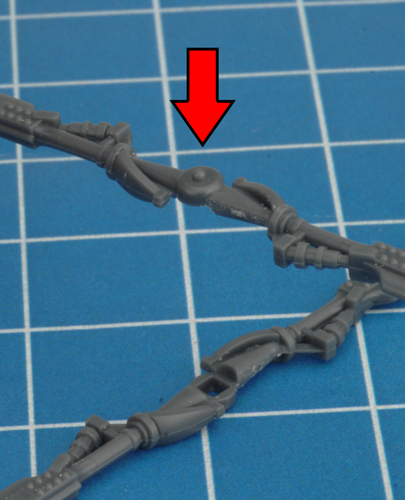
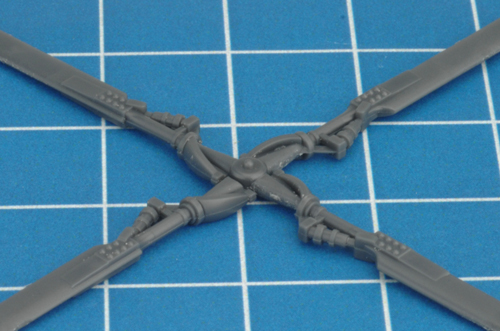
| Step 5. Join the two sets of main rotors to create a '+' shape. Note: The set of rotors with the rotor cap should be placed on top of the set with the square cut-out. The square cut-out provides a location to secure the rotor spinner. |
 |
 |
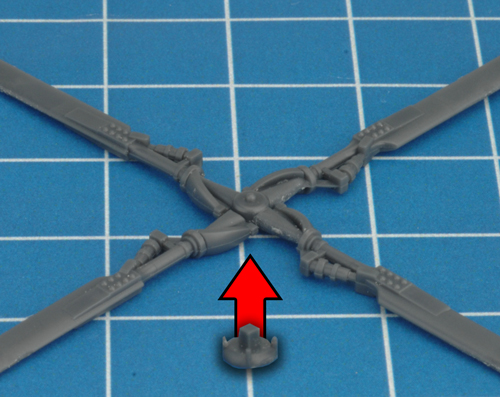
| Step 6. Next, attach the rotor spinner to the bottom of the main rotors. |
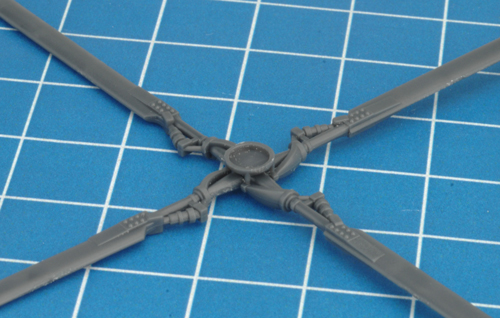
Below: The rotor spinner attached correctly to the bottom of the main rotors. |
 |
 |
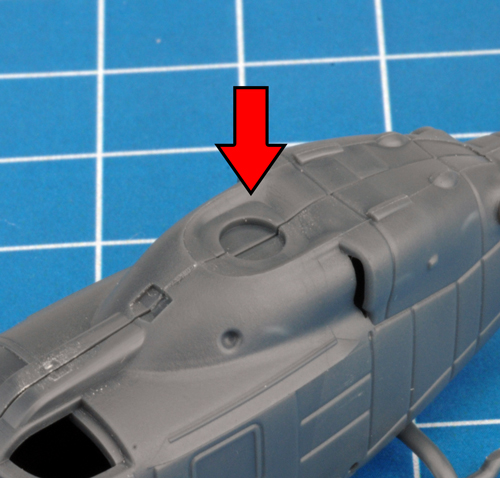
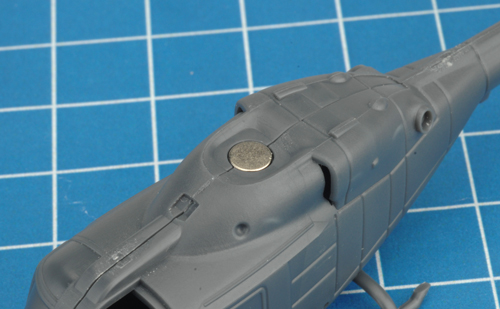
| Below: Adding a rare earth magnet to the fuselage. |
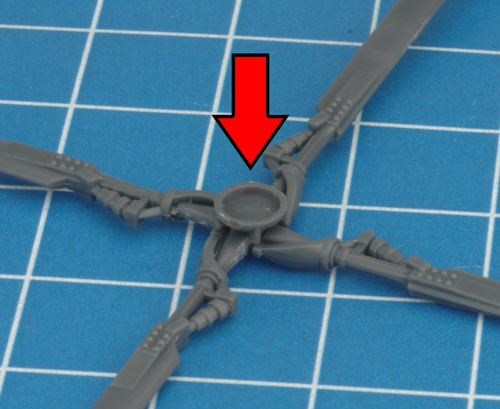
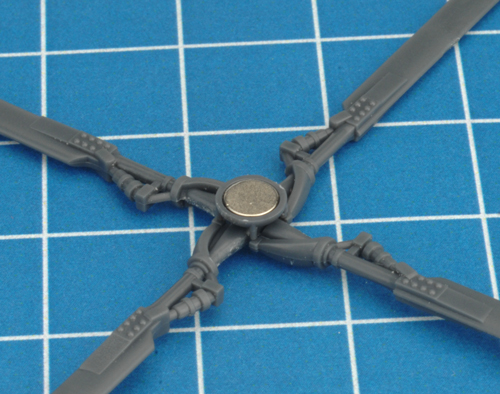
Below: Adding a rare earth magnet to the rotor spinner. |
 |
 |
 |
 |
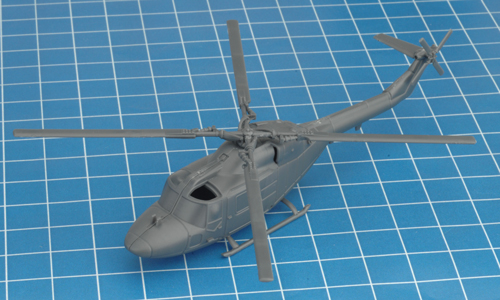
| Below: The main rotors can be attached to the top of the fuselage using the rare magnets included in the box set (see above) or permanently attached using plastic glue. |
Step 7. Finally, attach the clear roof panel to the top of the fuselage. |
 |
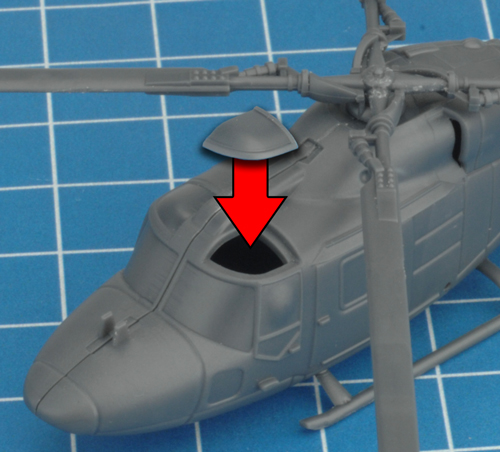 |
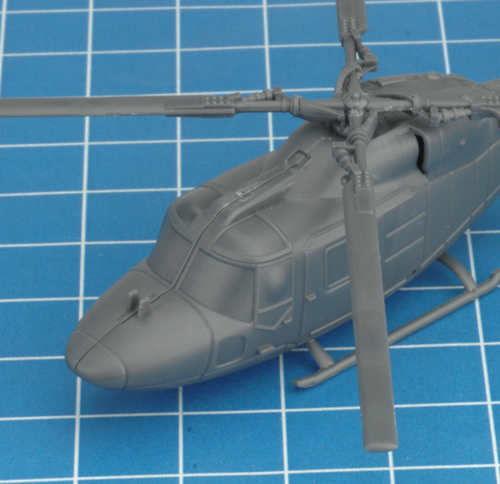
| Below: The clear roof panel attached correctly to the top of the fuselage. |
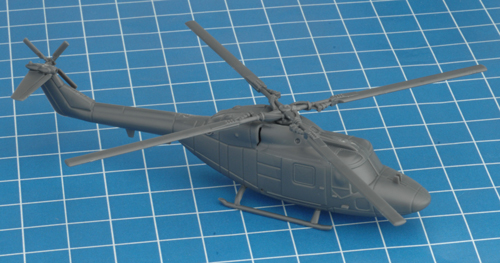
Below: With the clear roof panel in place, the Lynx Transport helicopter is now fully assembled. |
 |
 |
| Assembling The Flight Stand |
Step One
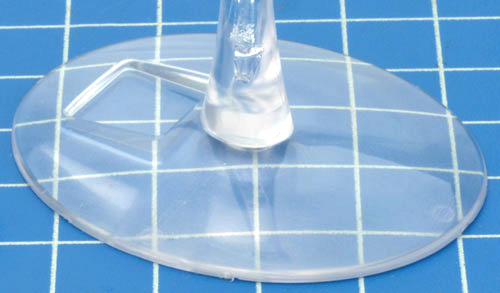
Cut the parts of the flight stand off the plastic sprue using a sharp hobby knife or a pair of hobby cutters. |
 |
Step Two
Attach the stem to the flight stand base. The hard plastic of the flight stand will bond firmly with plastic cement, but you can also use superglue.
There are two sizes of stem; the standard practice is to use the shorter stem for helicopters and the tall stem for strike aircraft, to bolster the impression that they are flying at a higher altitude. But there's no reason you shouldn't use the tall stem for helicopters if you like how it looks.
Left: The stem attached to the base.
|
|
Step Three
Add the magnet cap to the top of the stem. The cap fits snugly to the top of the stem, so you will only need a small amount of glue to neatly secure the magnet cap in place.
|
Step Four
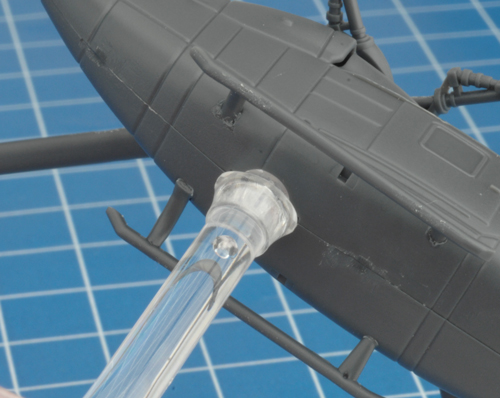
The cap has a recess to hold one of the supplied rare-earth magnets, to create a solid connection between the stand and the aircraft model. The tabs at the front and back help keep the aircraft pointing in the right direction. |
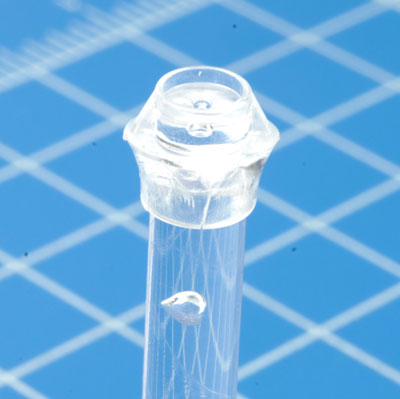 |
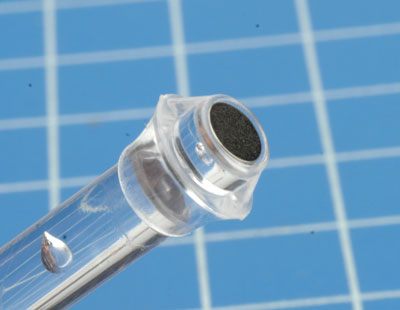 |
Step Five
Add a rare earth magnet to the flight stand recess in the belly of the Lynx. This will ensure a strong connection between the flight stand and the helicopter itself. |
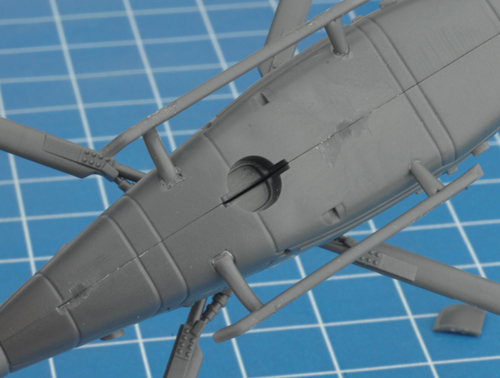 |
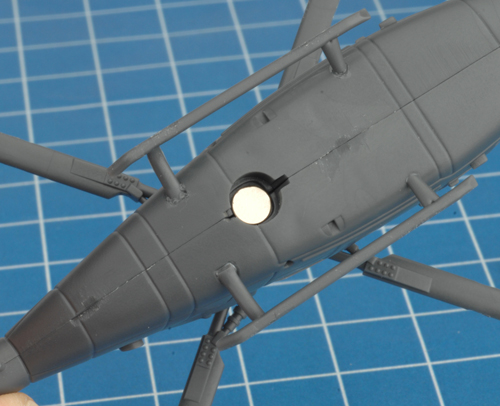 |
| Below: The flight stand plugged into the belly of the Lynx. |
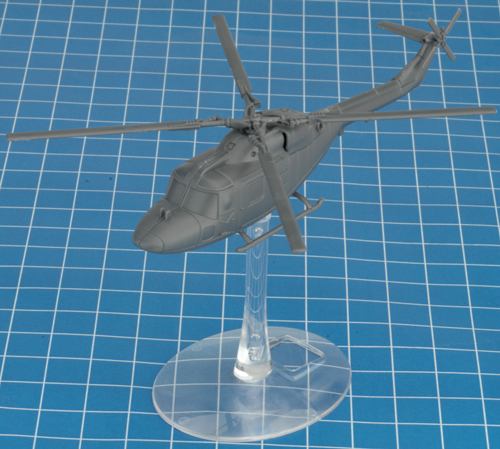
Below: The Lynx on the flight stand. |
 |
 |
| Assembling the Lynx HELARM Helicopter |
Components Required For The Lynx HELARM Helicopter
The components required to assemble the Lynx HELARM helicopter can be seen below highlighted in green on the two plastic frames below. |
 |
| Step 1. Assemble the Lynx HELARM helicopter as you would the Lynx Transport helicopter as seen here. |
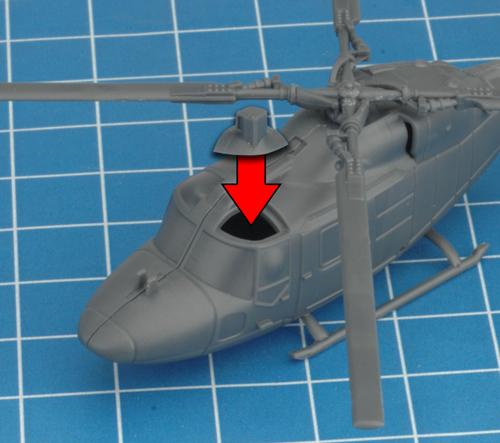
Step 2. Next, attach the roof-mounted sight to the top of the fuselage. |
 |
 |
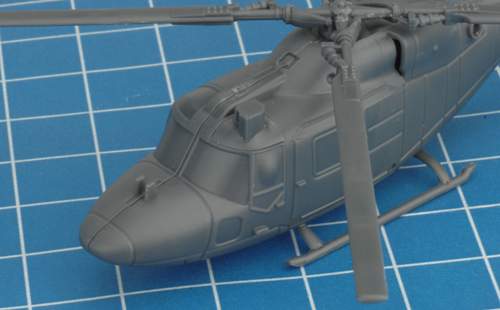
| Below: The roof-mounted sight attached correctly to the top of the fuselage. |
Step 3. Next, join the two halves of the TOW missile pods. |
 |
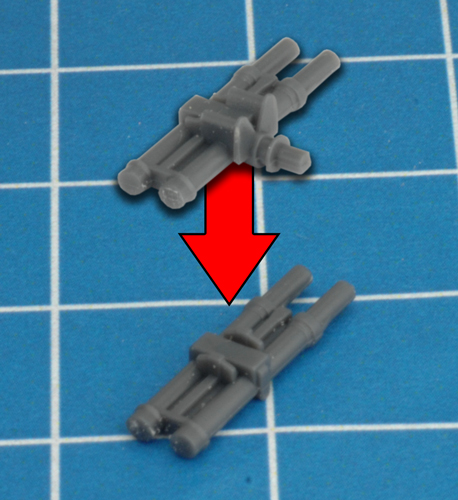 |
| Below: The assembled TOW missile pods. |
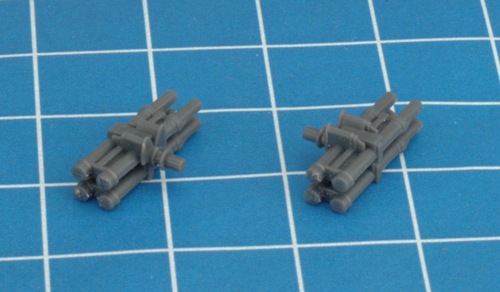
Step 4. Attach the weapons mounting brackets. |
 |
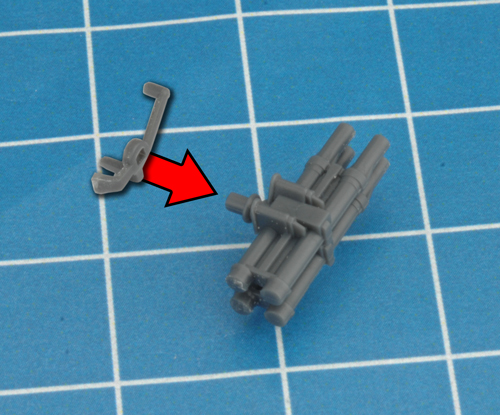 |
| Note: The longer arm of the mounting brackets should align with longer section of each TOW missile pod. |
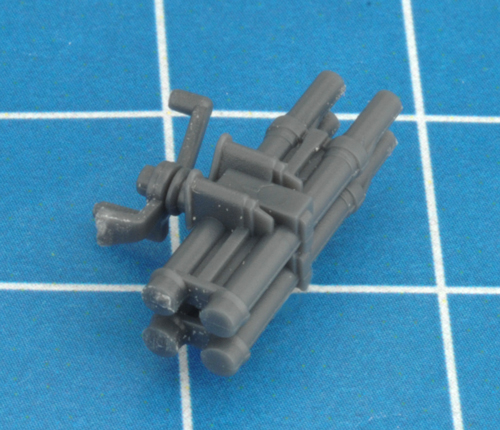
Step 5. Next, attach the TOW missile pod with the mounting brackets to the side of the fuselage using the orientation points as seen in the image below. |
 |
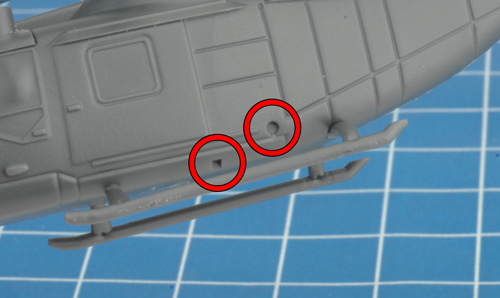 |
| Note: The longer arm of the mounting bracket pointing towards the tail boom of the Lynx. |
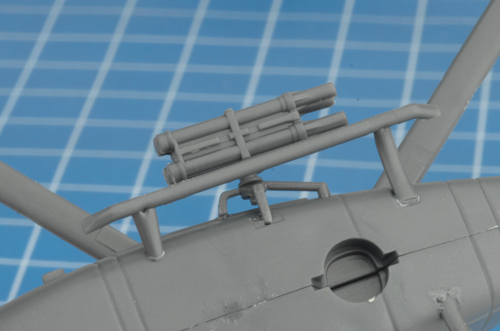
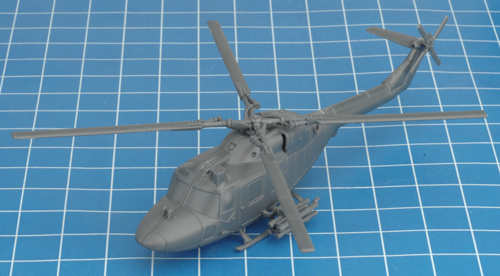
Below: With TOW missle pods in place, the Lynx HELARM helicopter is now fully assembled. |
 |
 |
|
|
|
Last Updated On Wednesday, February 5, 2020
|
|
|