|
|
|
|
Products mentioned in this Article
|
|
|
|
|
|
|
|
|
 |
|
|
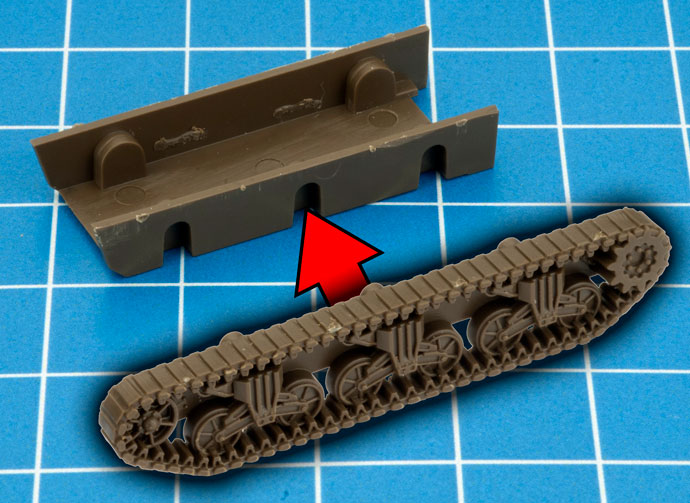
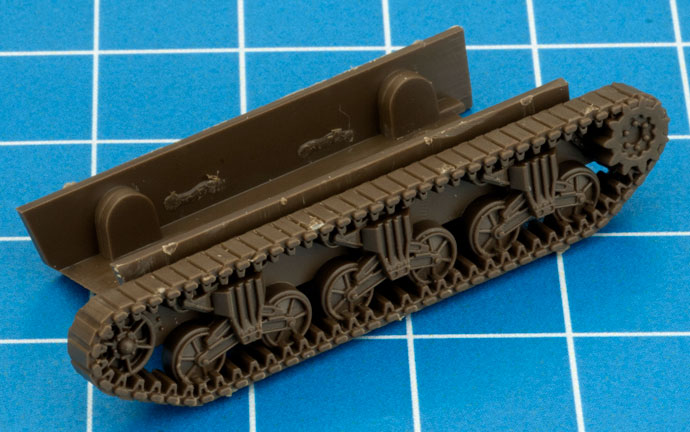
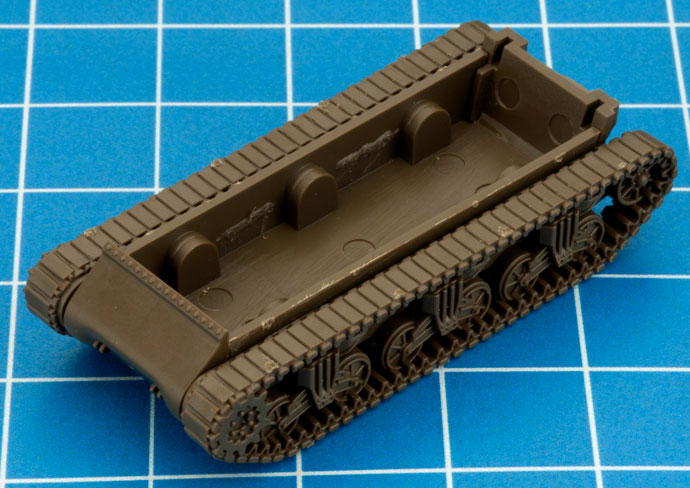
| Step 1. Begin assembly of the Sherman by attaching the left-hand side track to the hull section. |
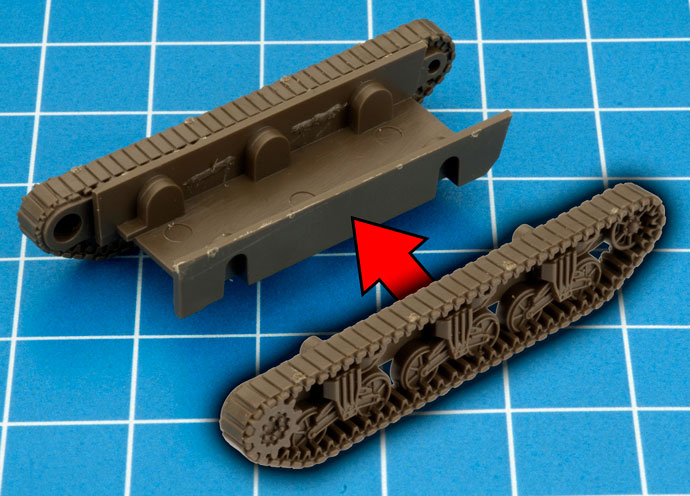
Step 2. Next, attach the right-hand side track to the hull section. |
 |
 |
 |
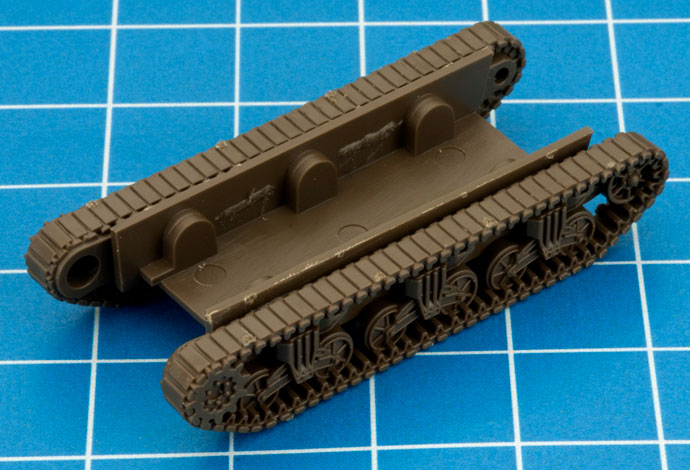
| Below: Both tracks in place. |
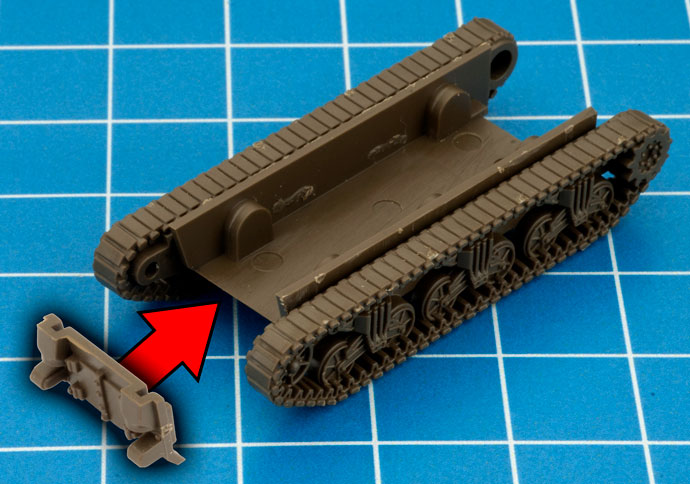
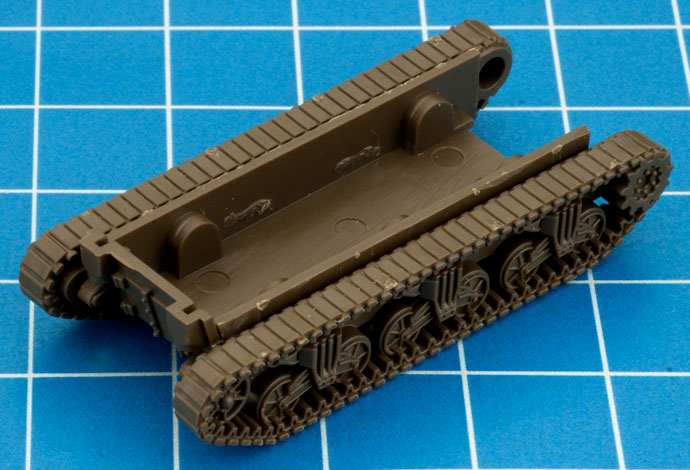
Step 3. Next, attach the hull rear piece to the rear of the hull section. |
 |
 |
 |
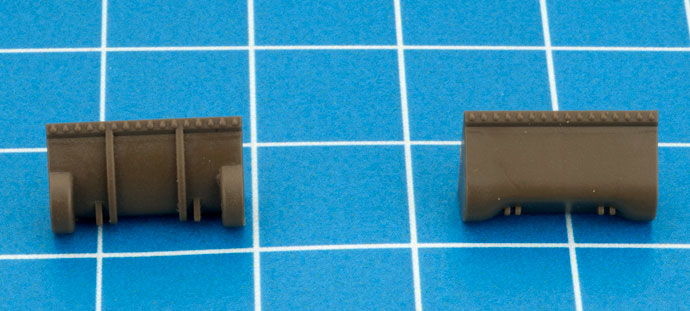
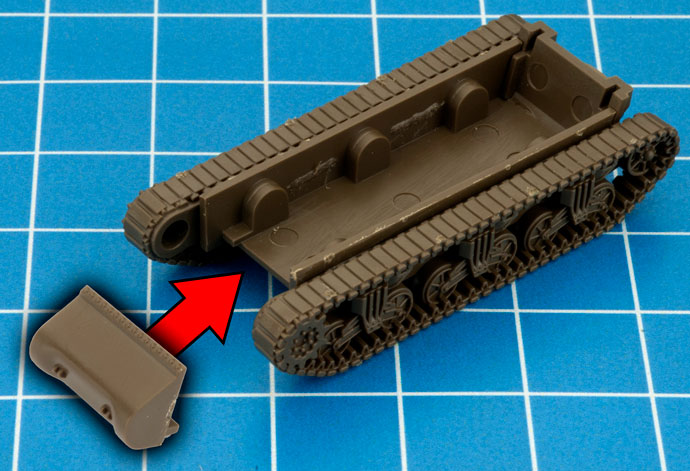
Step 4. Attach your choice of transmission housing to the front on the hull assembly. Note that the three-piece transmission on the left is more common in Mid War. The transmission on the right is more common in Late War. Check Evan's notes at the end of the article for more information.
|
 |
 |
| Below: Transmission housing in place. |
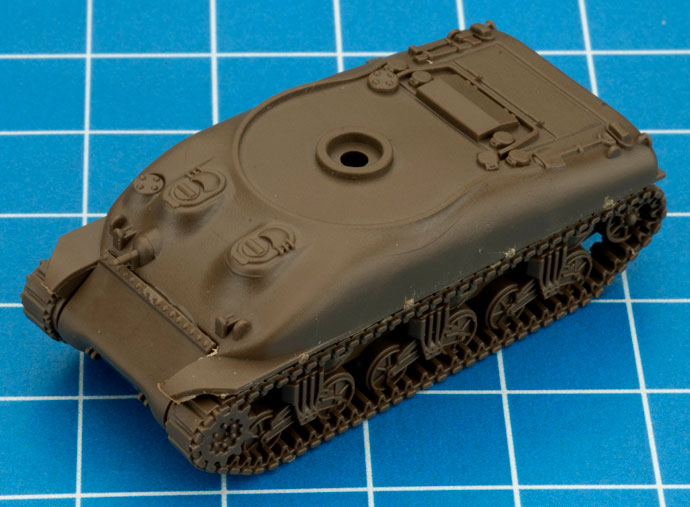
Step 5. Mount the upper hull on the lower hull assembly. |
 |
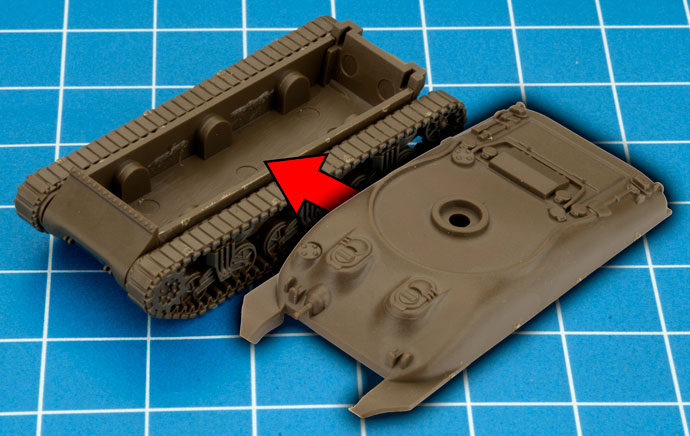 |
| Below: Upper hull in position. |
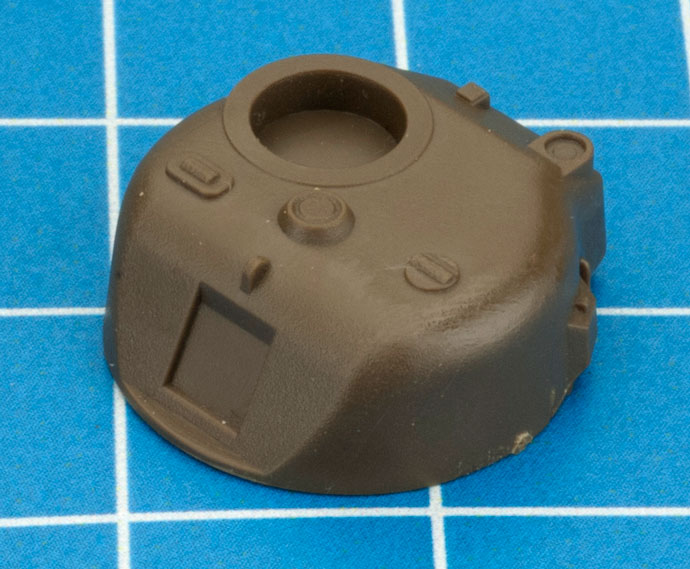
Step 6. Assemble the main turret pieces. |
 |
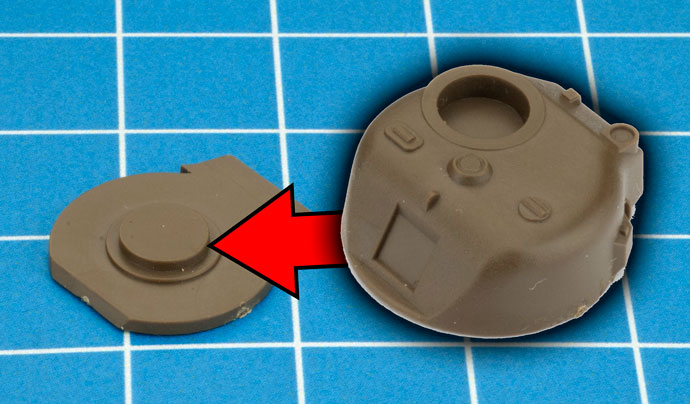 |
 |
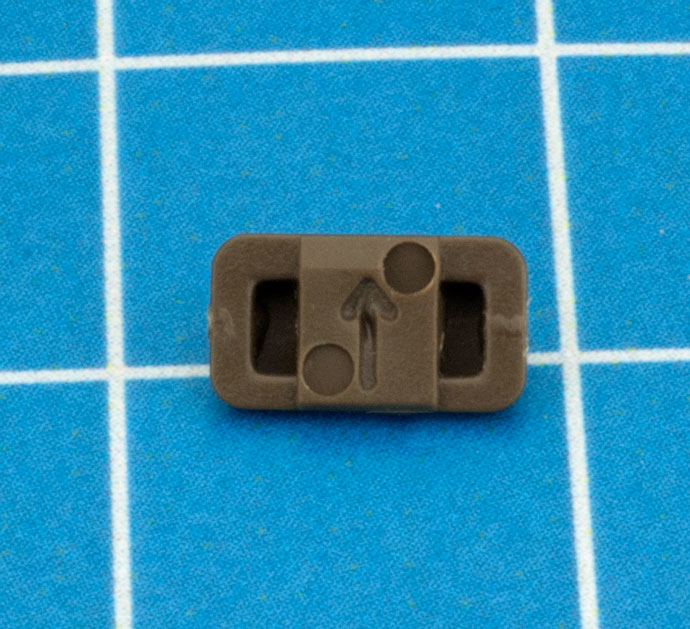
| Step 7. Affix the trunion to the turret assembly, noting the orientation arrow. |
 |
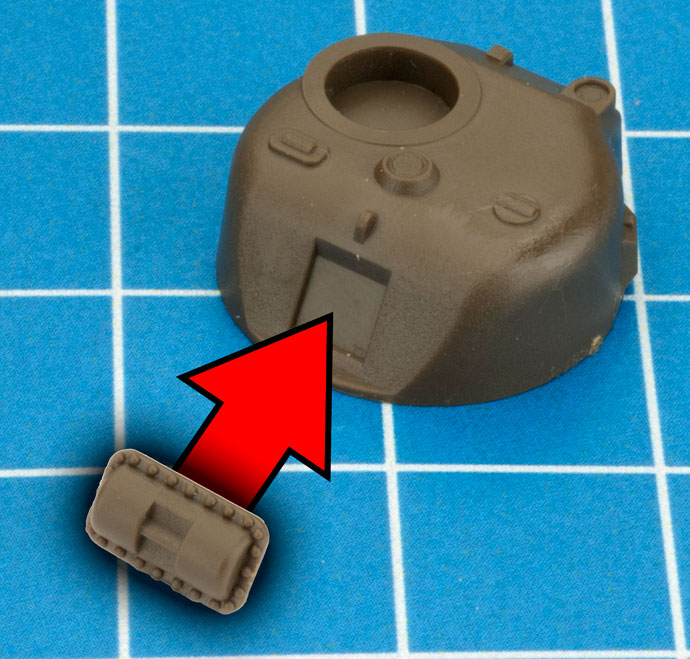 |
| 8.b: If you are building the Sherman 75mm for late war attach the wide mantlet to the trunion. |
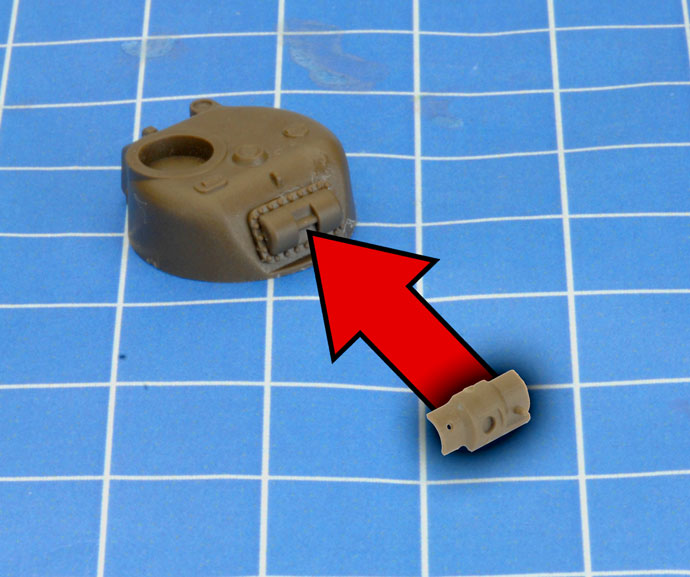
Step 8.c. Attach the 75mm gun to the wide mantlet. Continue to Step 9. |
 |
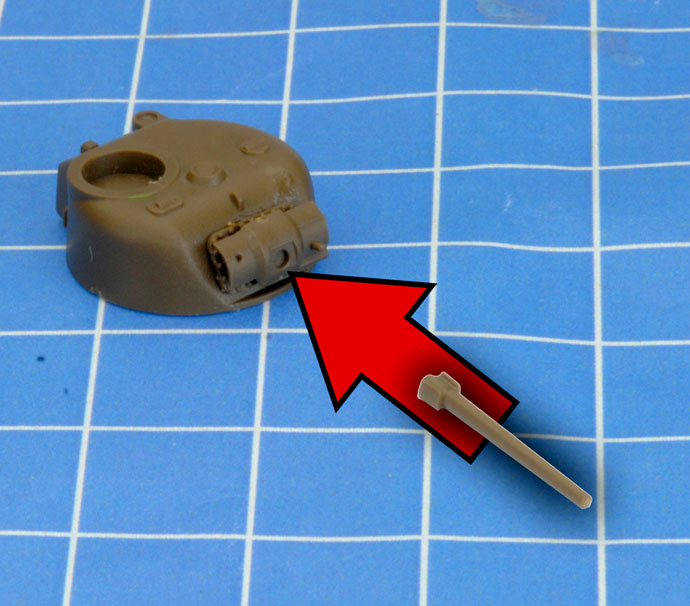 |
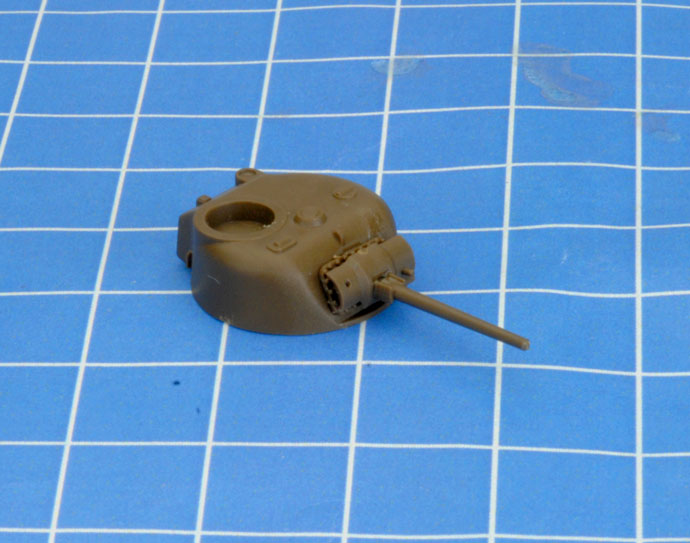 |
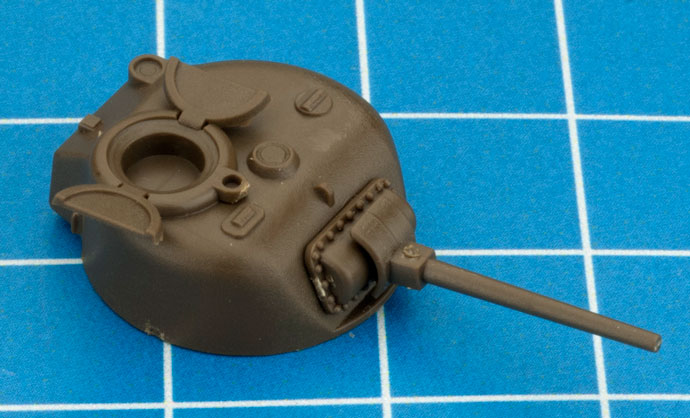
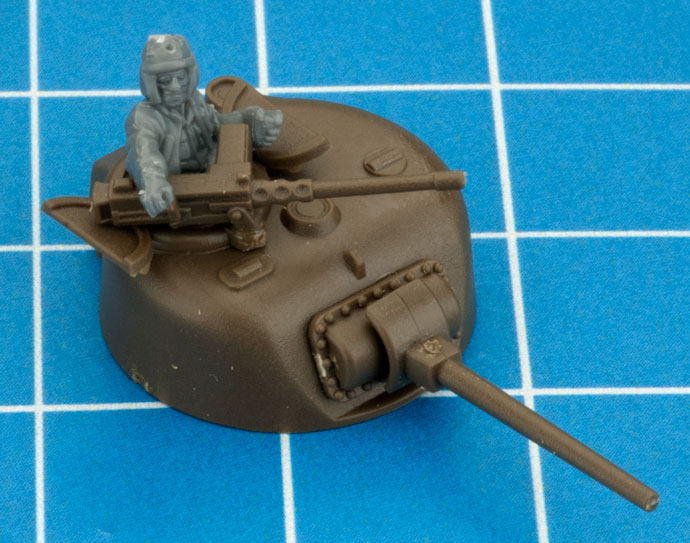
| Step 9. Mount your choice of hatch on the top of the turret. |
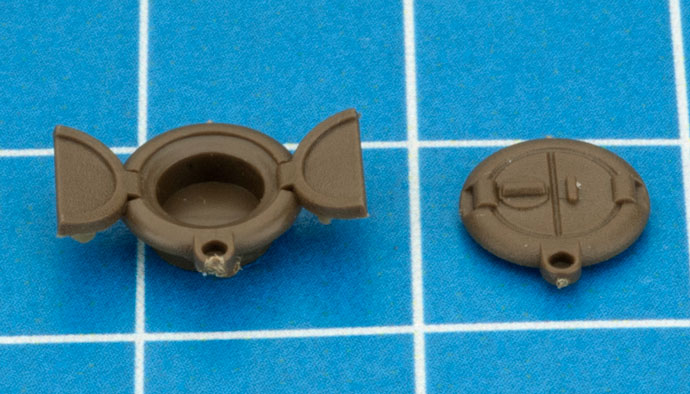 |
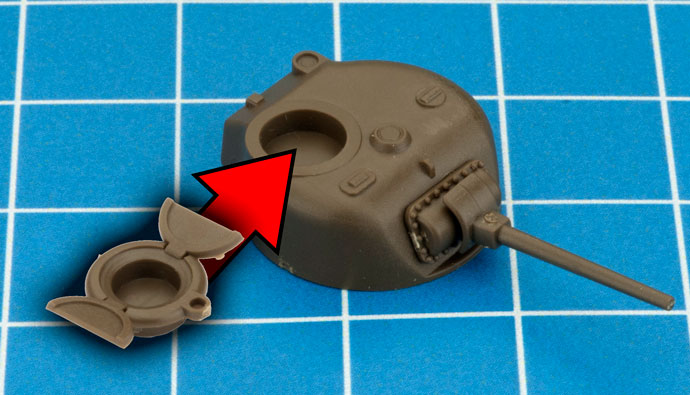 |
| Below: Open hatch in position. |
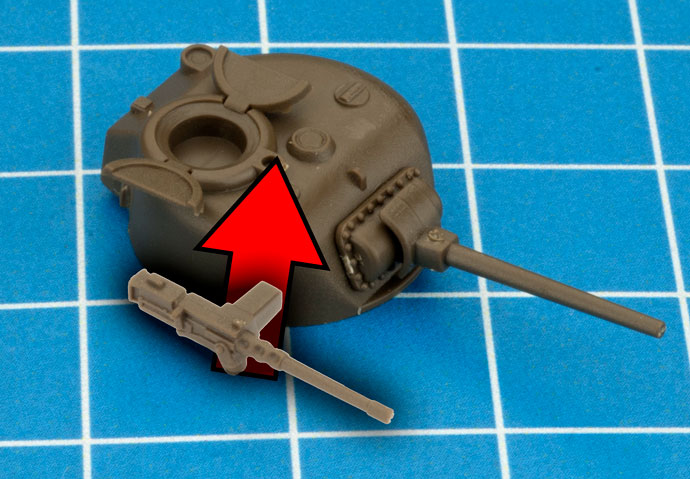
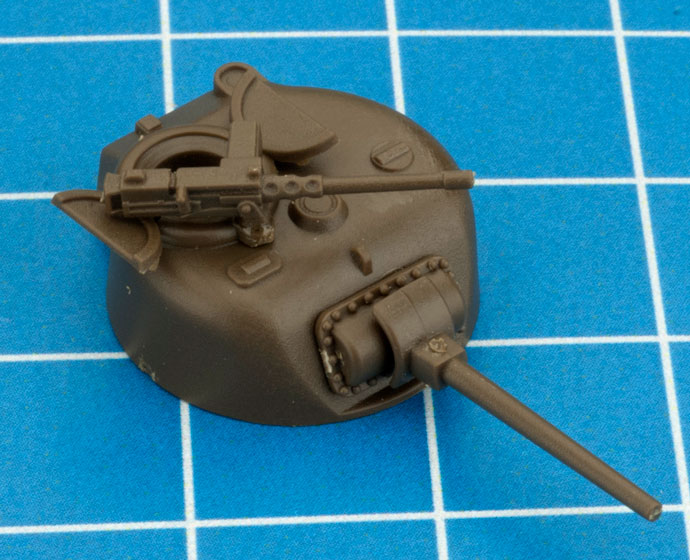
Step 10. Attach the hull MG to its mounting point on the hatch. |
 |
 |
 |
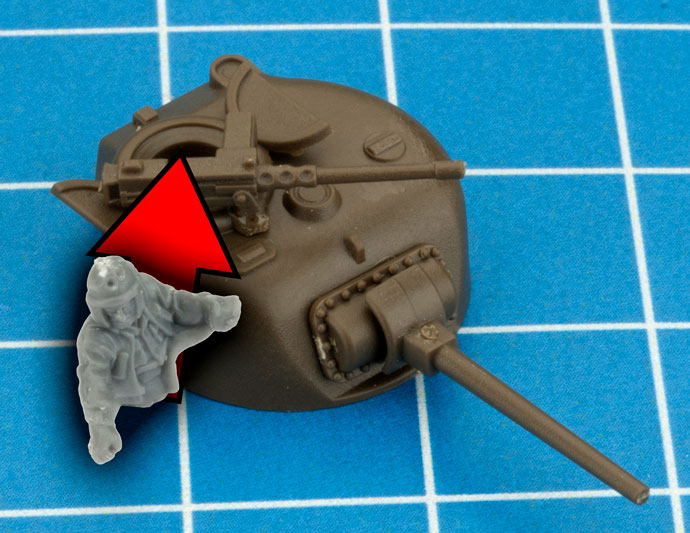
| Step 11. Glue your choice of commander in to the open hatch. |
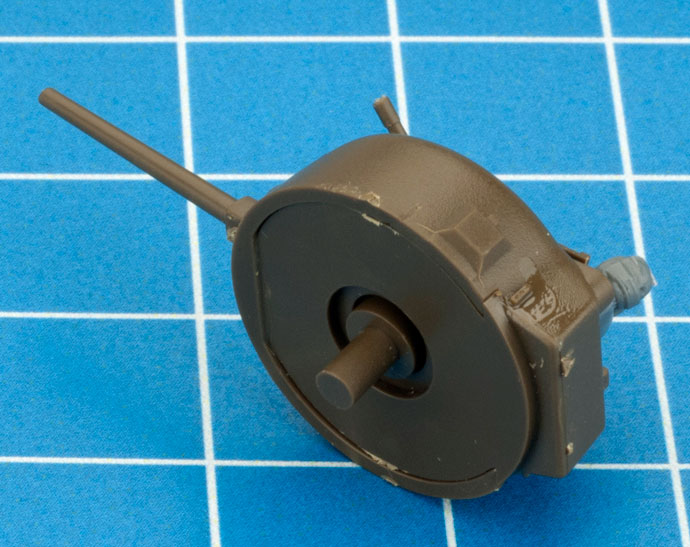
Step 12. Affix a peg to the turret. |
 |
 |
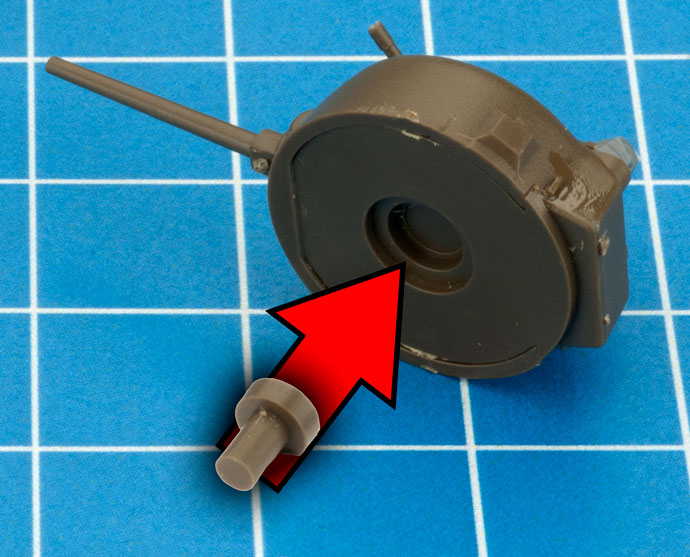 |
| Below: Turret peg in place. |
Step 7. Position the turret on top of the hull assembly. |
 |
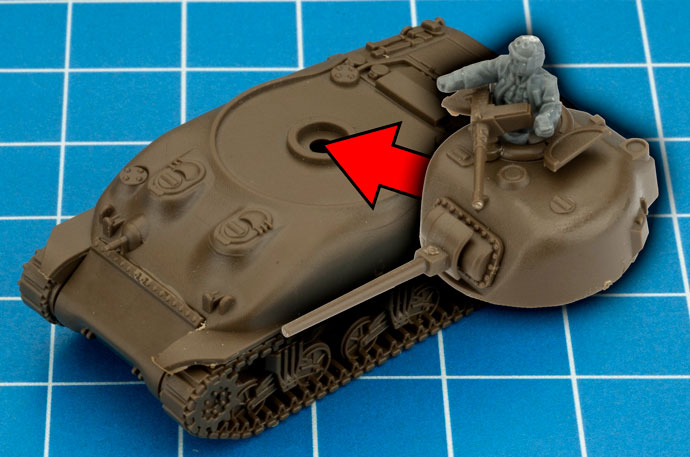 |
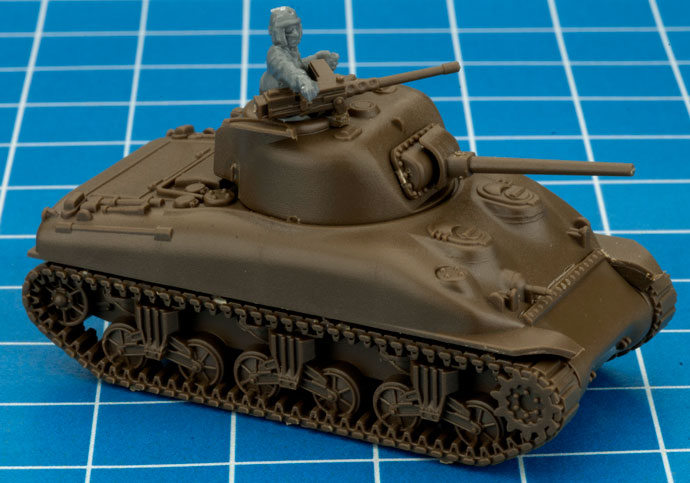
| Below: A fully assembled M4 Sherman. |
|
|
|
|
Evan's Notes on Assembling Shermans
When it comes to gun mantlets, the narrow mantlet came first and was prevalent in Mid War, transitioning to wide mantlets for Late War (there were narrow mantlets on tanks in LW but the minority). The wide mantlet didn't exist in Mid War.
All Shermans armed with a 76mm or 105mm guns have the single piece transmission housing only. Three-piece transmission covers are both Mid War & Late war and have more to do with who made which model - details below by type.
M4 Sherman
- Mid War: Three-piece transmission housing and narrow mantlet.
- Late War: Three-piece or single-piece transmission housing and narrow or wide mantlet—there is no wrong answer here!
M4A1 Sherman
- Mid War: Three-piece or single-piece transmission housing for US (your choice), three-piece transmission for British M4A1 Shermans. Narrow mantlet for both.
- Late War: Three-piece or single-piece transmission housing, wide mantlet for all (there are narrow mantlets on tanks in Late War but they are in the minority).
M4A2 Sherman
- Mid War: Single-piece transmission housing, narrow mantlet.
- Late War: Single-piece transmission housing, wide mantlet.
M4A3 Sherman
- Late War: Single-piece transmission housing with a wide mantlet.
M4A4 Sherman
- Late War: Three-piece transmission, wide mantlet.
|
Last Updated On Wednesday, July 24, 2019
|
|
|