|
|
|
|
Products mentioned in this Article
--None--
|
|
|
|
|
|
|
|
|
 |
|
|
|
El Alamein is your introduction to the exciting world of Flames Of War, the world’s most popular World War II miniatures game.
|
 |
|
 |
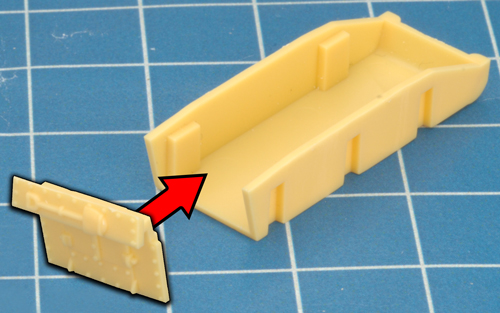
| Step 1. Begin assembly of the Honey by attaching the rear hull plate to the back of the lower hull section. |
Step 2. Next, attach the left-hand side track to the lower hull section. |
 |
 |
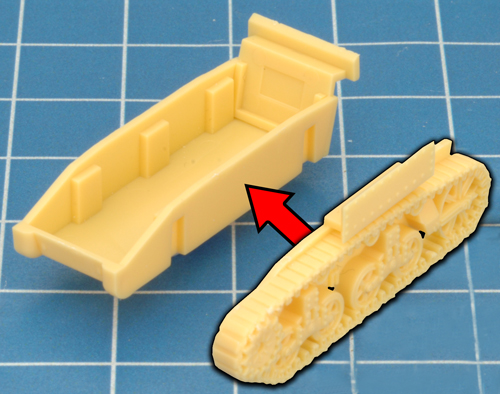 |
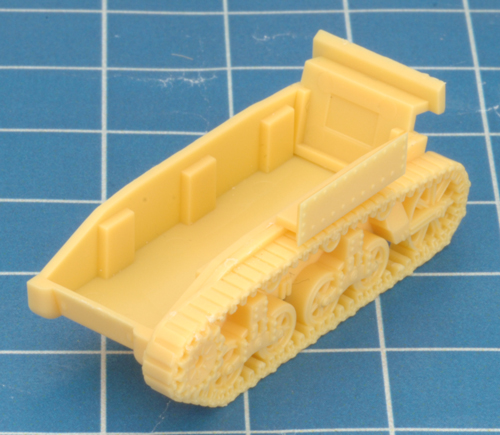
| Below: The left-hand side tank in place. |
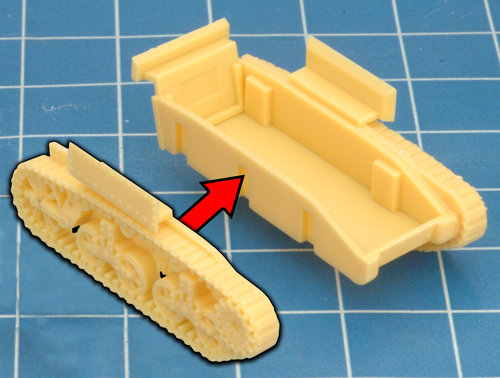
Step 3. Next, attach the right-hand side track to the lower hull section. |
 |
 |
 |
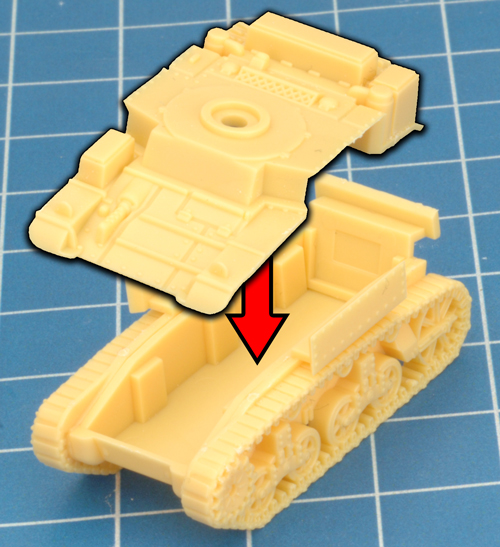
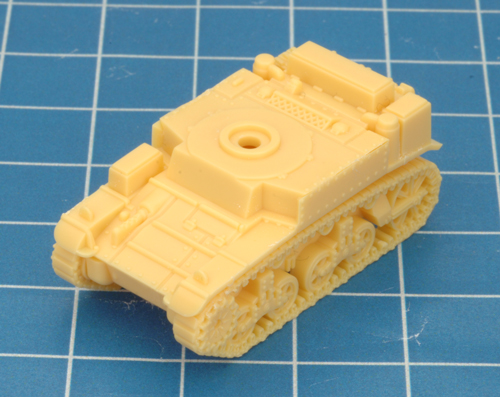
| Step 4. Attach the upper hull section to the now completed lower hull. |
Step 5. Attach the vision ports as seen in the example below to the front of the hull. |
 |
 |
 |
| Below: The vision ports in place. |
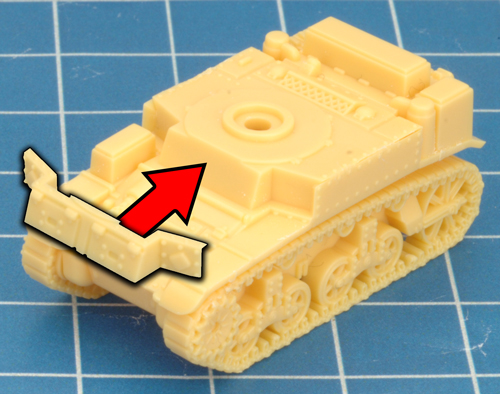
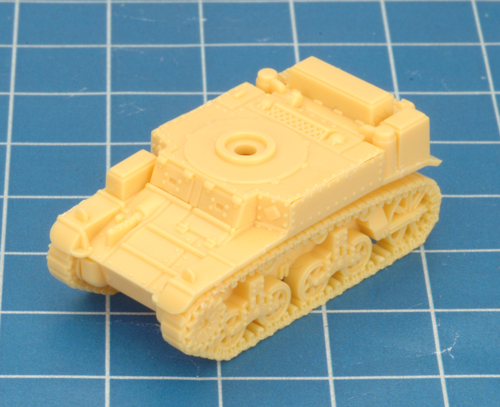
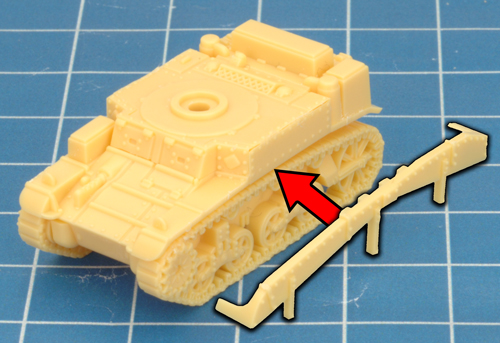
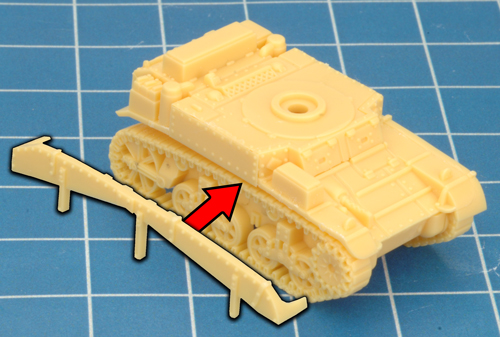
Step 6. Next, attach the left-hand side sand skirt to the hull of the Honey. |
 |
 |
 |
| Step 7. Attach the right-hand side sand skirt to the hull of the Honey. |
Step 8. Attach the 37mm gun to the front of the turret. |
 |
 |
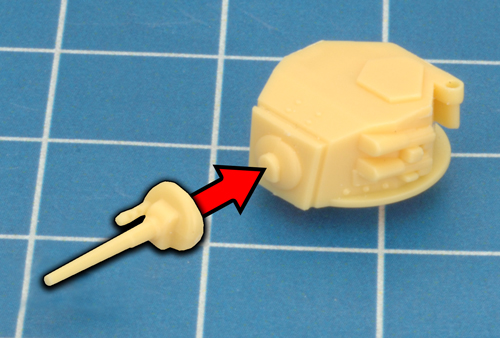 |
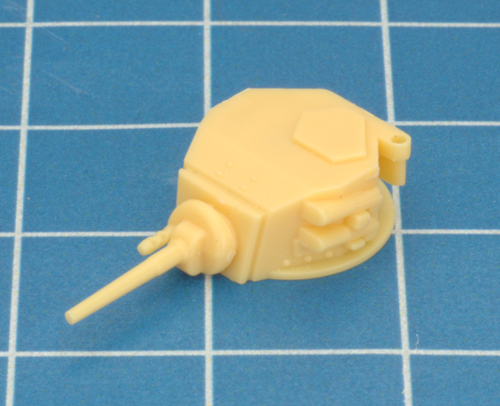
| Below: The 37mm gun in place. |
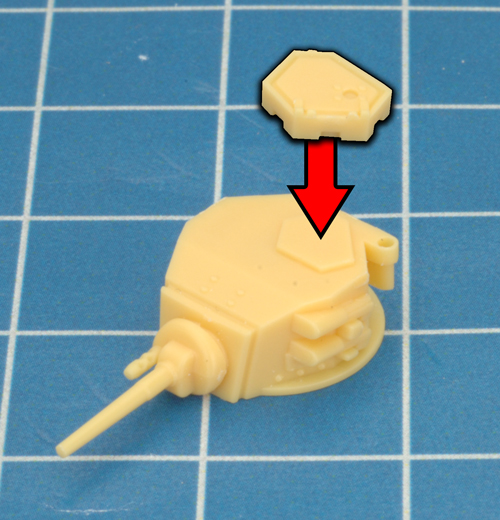
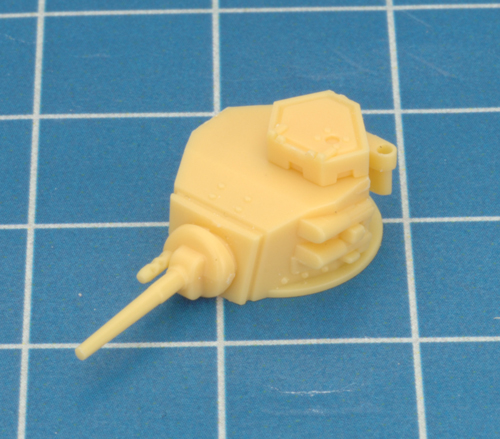
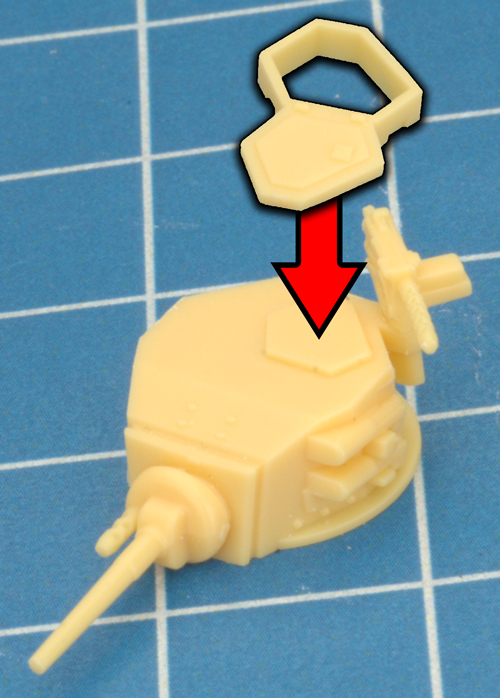
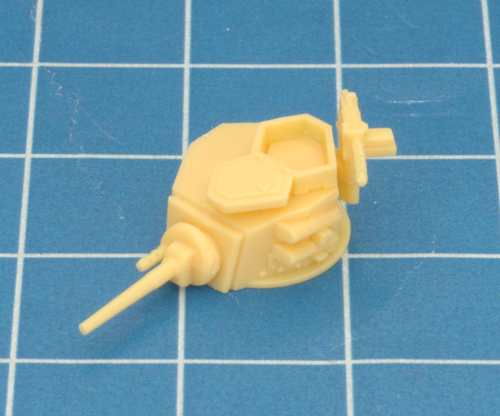
Step 9. Next, attach the tank commander's cupola to the top of the turret. |
 |
 |
 |
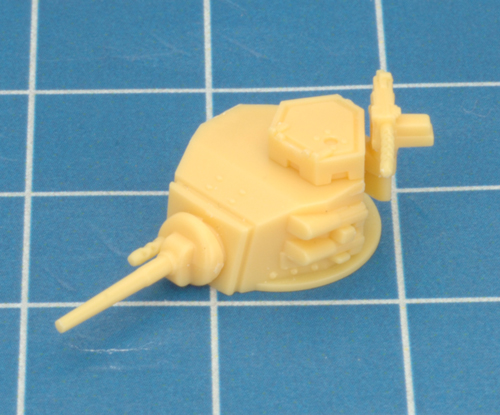
| Step 10. Finally, attach the Self-defence AA machine-gun to the turret. |
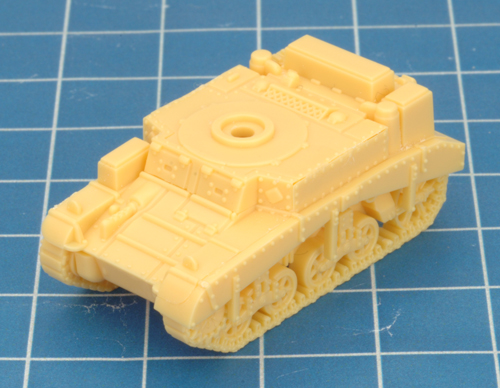
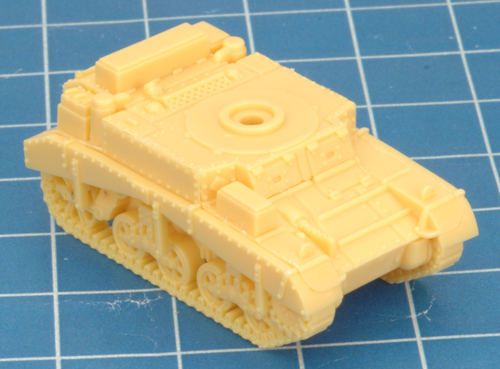
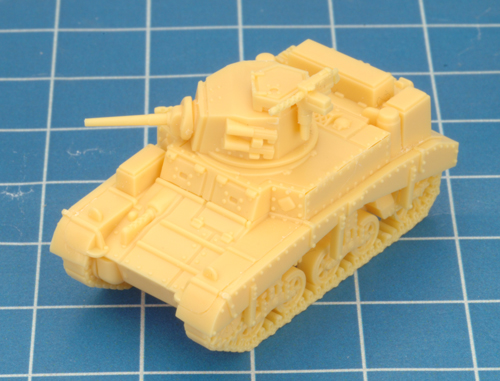
Below: The fully-assembled Honey. |
 |
 |
 |
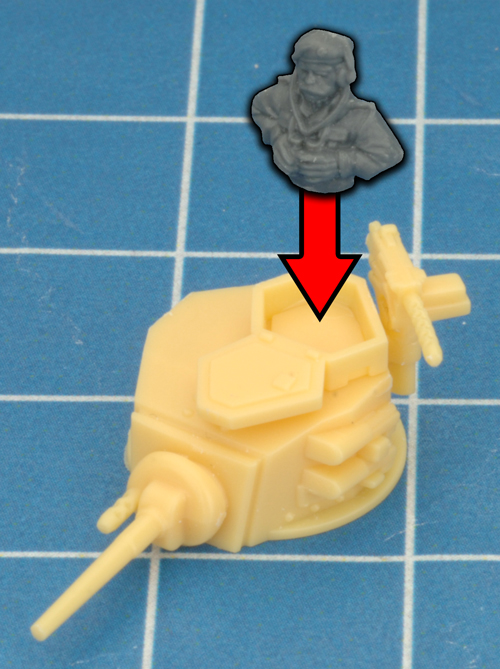
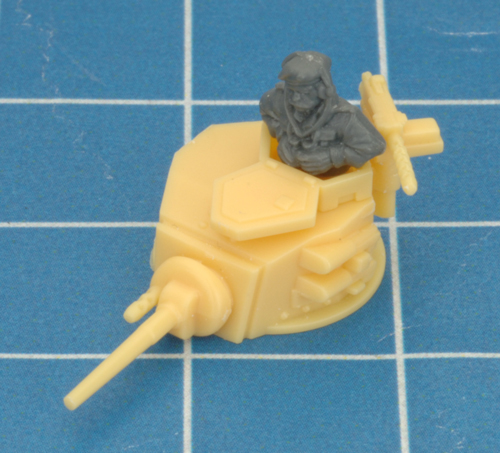
| Step 1. To add a tank commander, use the open cupola rather than the closed version. |
Step 2. Next, add a tank commander to the inside of the open cupola. |
 |
 |
 |
 |
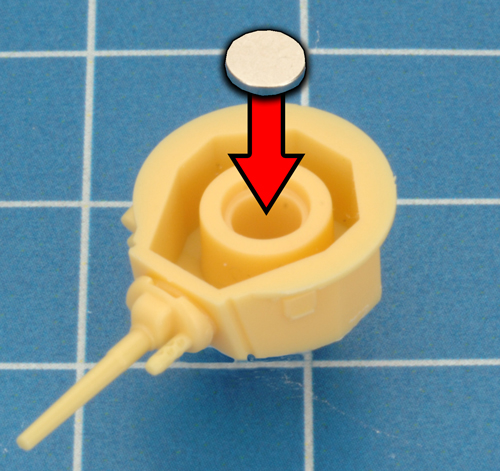
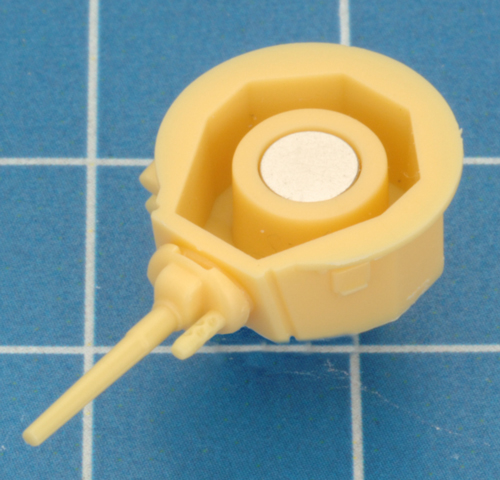
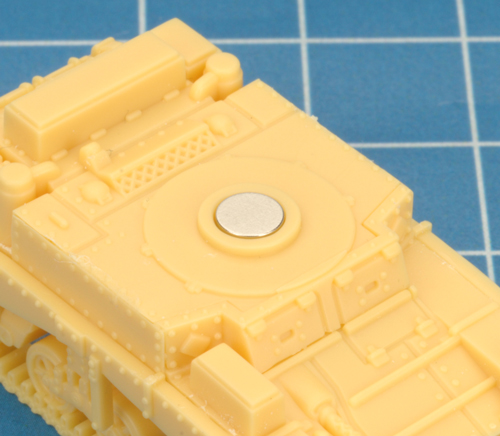
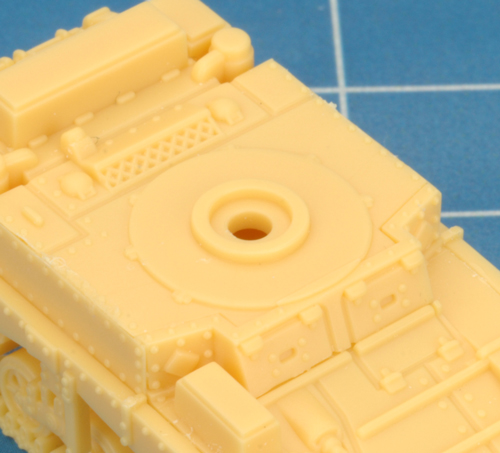
| To attach the turret to the hull, you can use rare earth magnets (sold separately in the online store here). Simply attach one to the bottom of the turret and the top of the hull. Learn more about using rare earth magnets here. |
 |
 |
 |
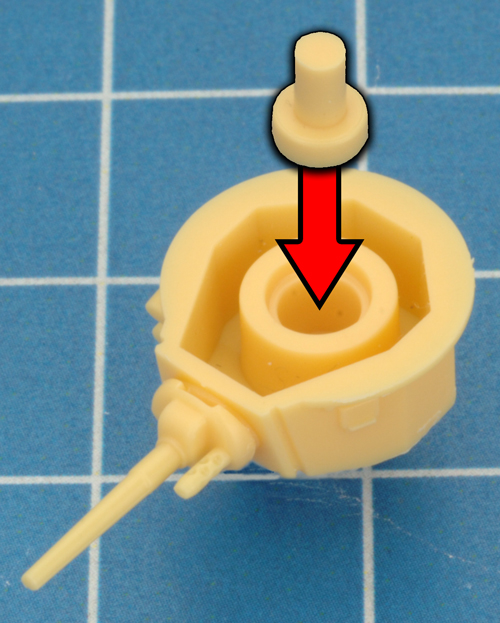
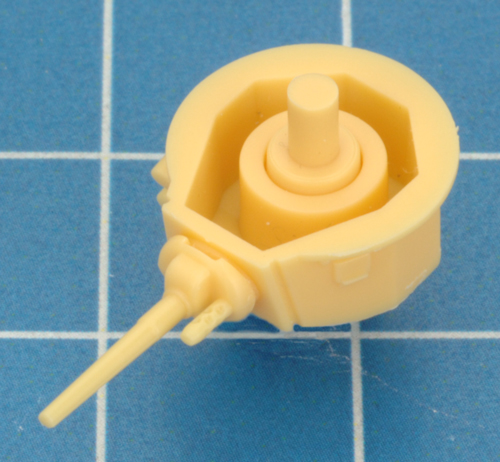
| The other option is to use the turret peg found on the plastic sprue. To do this, simply attach the peg to the bottom of the turret. The turret peg then simply mates with the hole in the top of the hull. |
 |
 |
 |
Last Updated On Wednesday, April 12, 2017
|
|
|