|
|
|
|
Products mentioned in this Article
--None--
|
|
|
|
|
|
|
|
|
 |
|
|
|
| Components Required to Assemble The Sd Kfz 251/1 Half-track |
| Assembling The Basic Sd Kfz 251/1 Half-track |
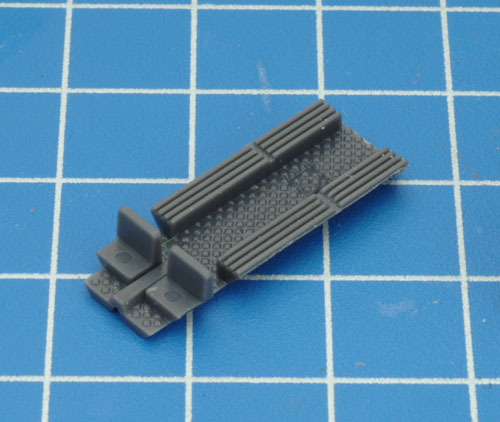
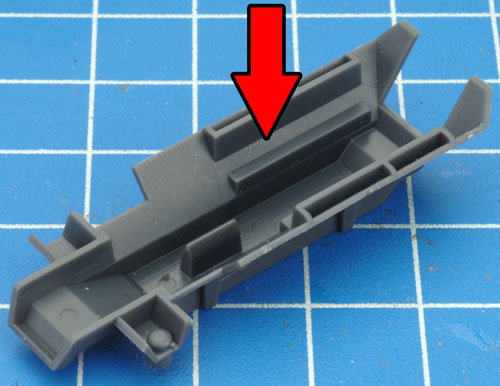
| Step 1. Begin assembly by attaching the deck of the fighting compartment the lower hull section. |
| Tip: Although regular Hobby Glue can be used to assemble plastic vehicles, we recommend that you use good quality plastic cement instead. It gives the strongest bond when gluing plastic to plastic. |
| Below: Attach the fighting compartment deck to the lower hull. |
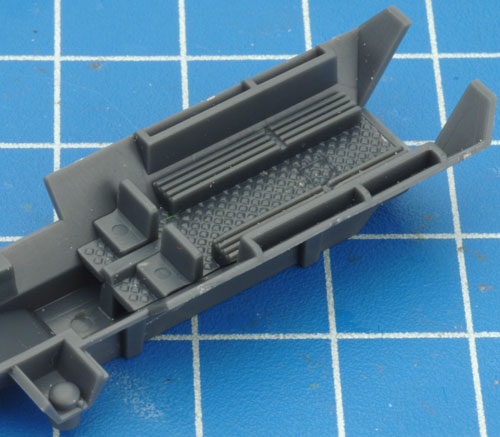
Below: The fighting compartment deck attached correctly to the lower hull section. |
 |
 |
 |
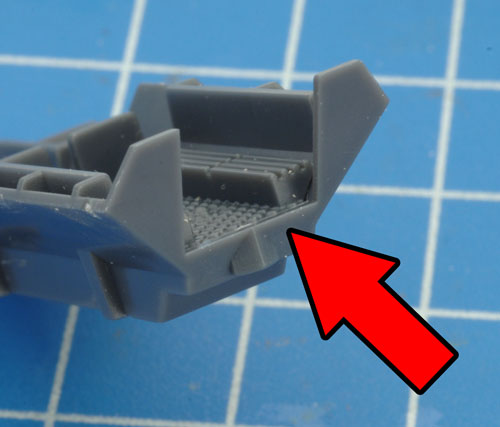
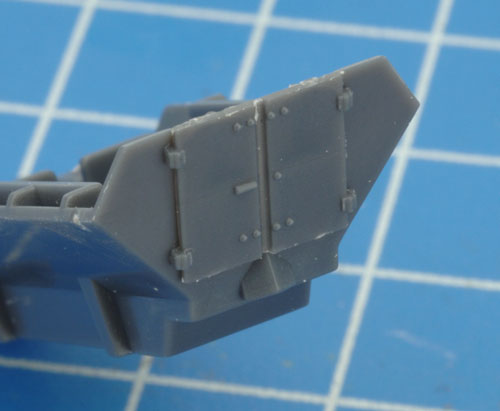
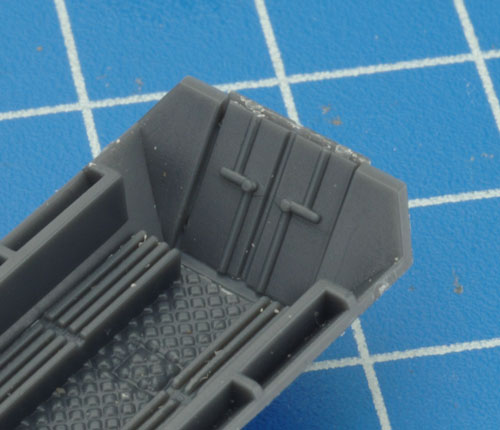
| Step 2. Next, attach the rear doors to the back of the hull. |
Below: Examples of the rear doors correctly attached to the rear of the hull. |
 |
 |
 |
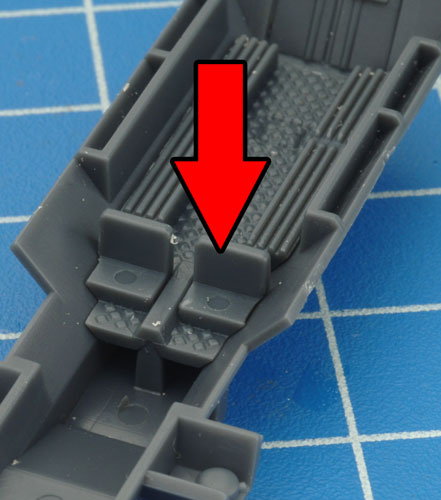
| Tip: When referring to left- or right-hand side in regards to a Flames Of War miniature, the orientation is determined as if looking at the vehicle from the rear. |
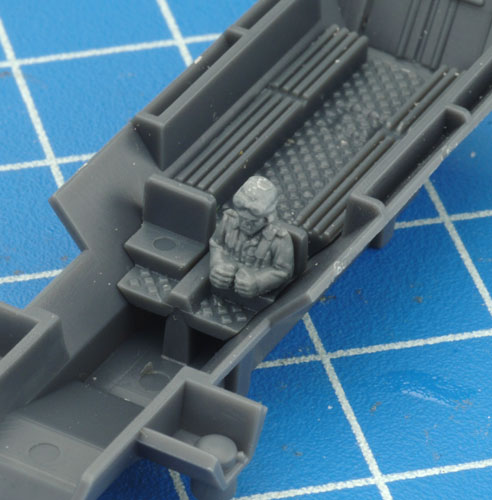
| Step 3. Attach the driver figure to left-hand seat of the half-track. Note: The driver figure can be found on the crew sprue included in the box set. |
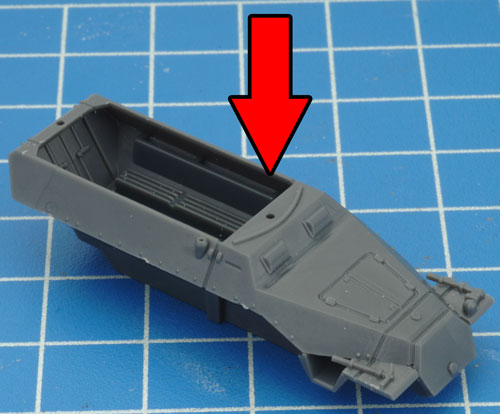
Step 4. With the driver in place, it's time to attach the upper superstructure to the lower hull. |
 |
 |
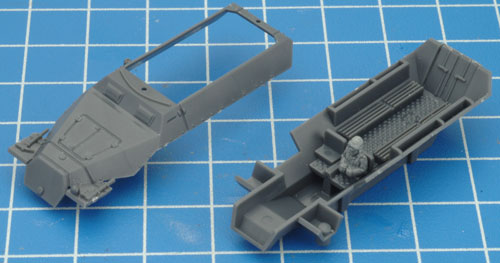 |
| Below: The upper superstructure attached correctly to the lower hull section. |
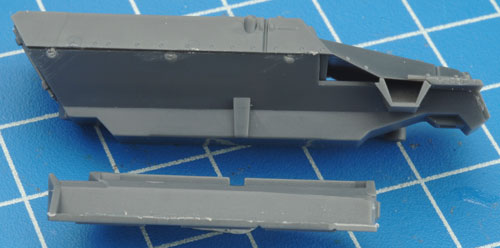
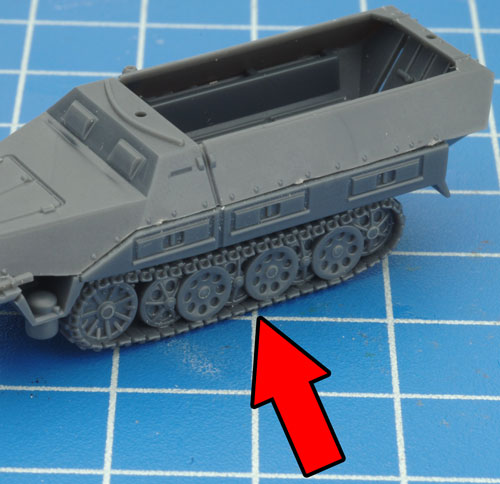
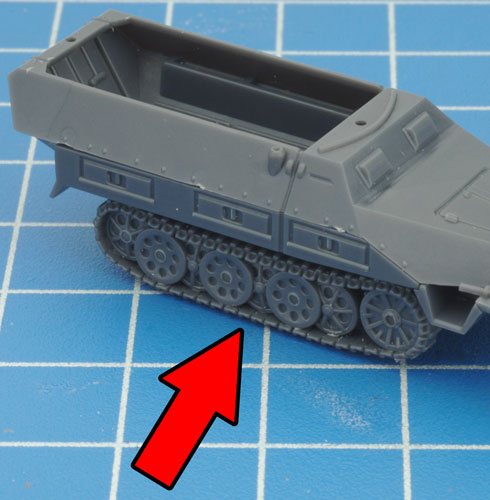
Step 5. Next, attach the tracks to the lower hull section.
Note: Each track has been keyed to correspond with a particular side of the lower hull; this aids in ensuring the correct orientation of the tracks when assembling the miniature. |
 |
 |
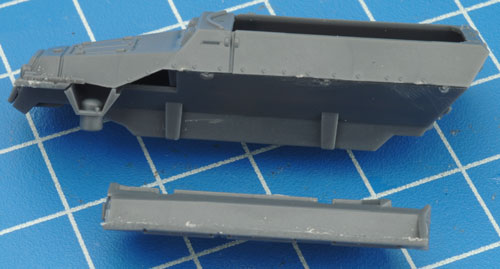 |
| Below: The tracks correctly attached to each side of the half-track. |
Step 6. Next, attach the front axle to the front of the half-track. |
 |
 |
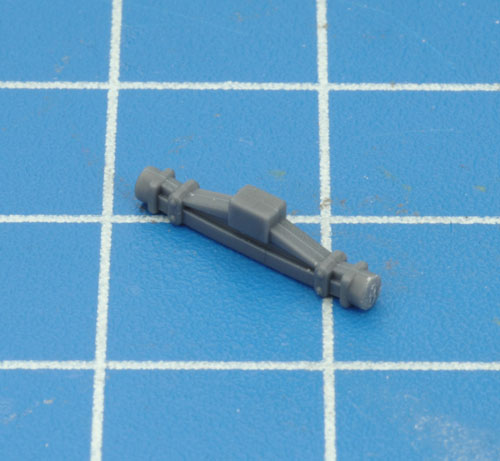 |
| Below: The front axle attached correctly to the underside of the hull. |
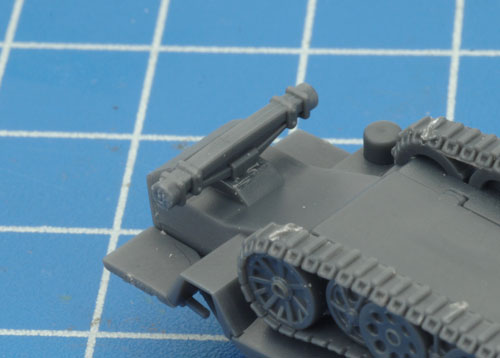
Step 7. Attach the front wheels to the front axle. |
 |
 |
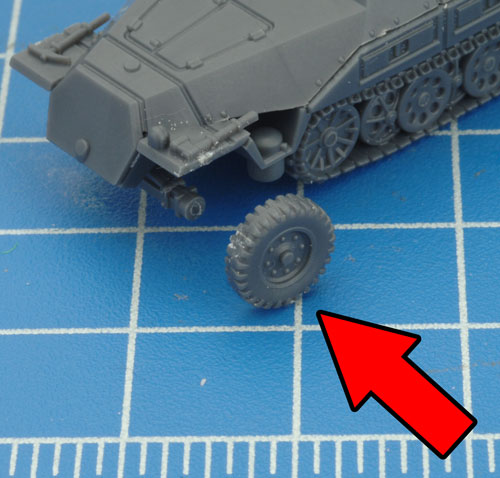 |
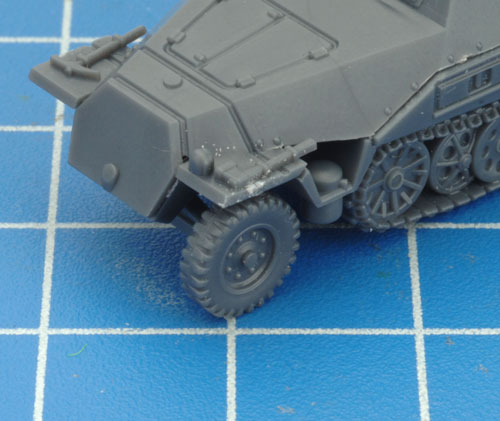
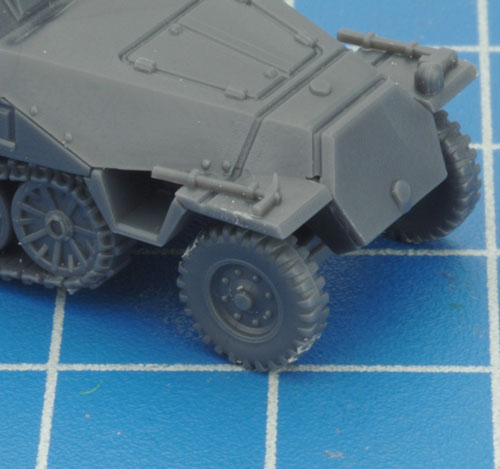
| Below: Both front wheels correctly attached to the front axle. |
Below: With the front wheels in place, the basic Sd Kfz 251/1 half-track is now fully-assembled. |
 |
 |
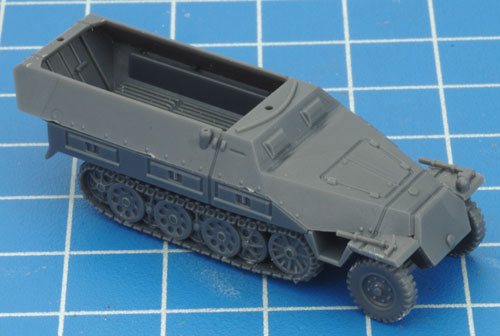 |
| Arming The Sd Kfz 251/1 Half-track |
| There are a number of different weapons that can fitted to the Sd Kfz 251/1 half-track. These can be seen below highlighted in green on the half-track sprue. |
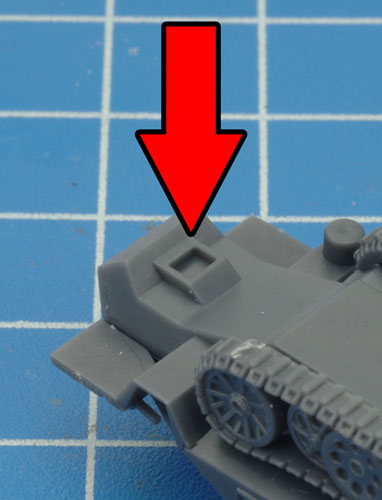
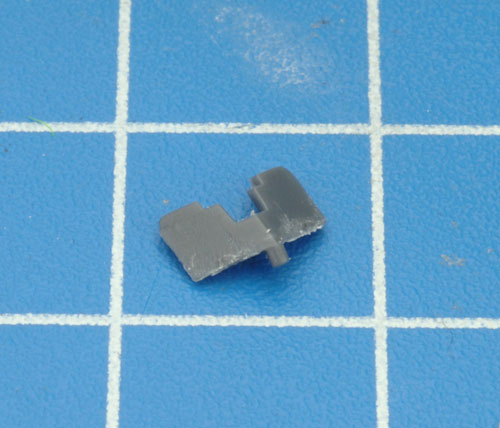
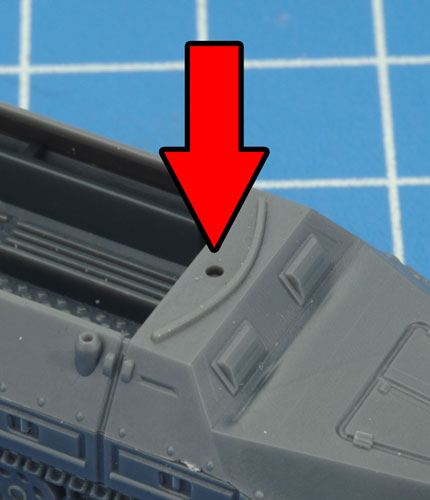
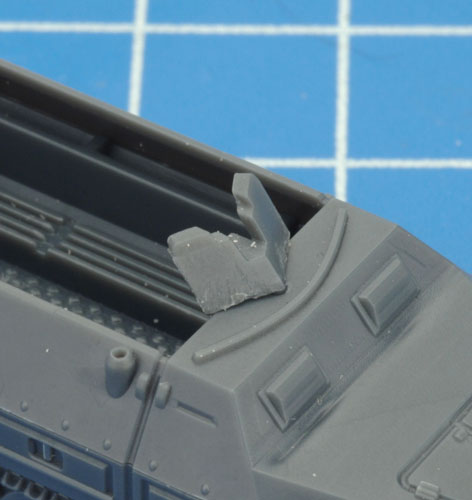
| Step 1. Attach the gun shield for the Hull MG to the top of the half-track. |
Below: The gun shield attached correctly. |
 |
 |
 |
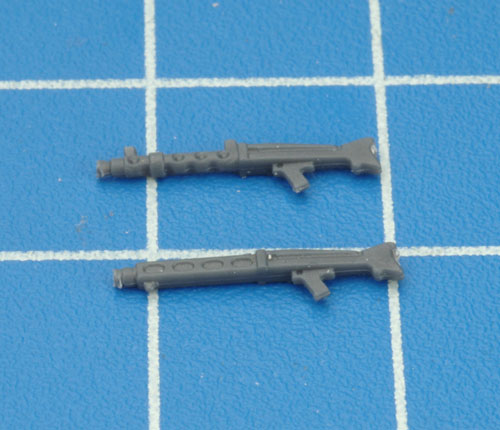
| Below: The machine-gun options: an MG34 (top) or an MG42 (bottom). |
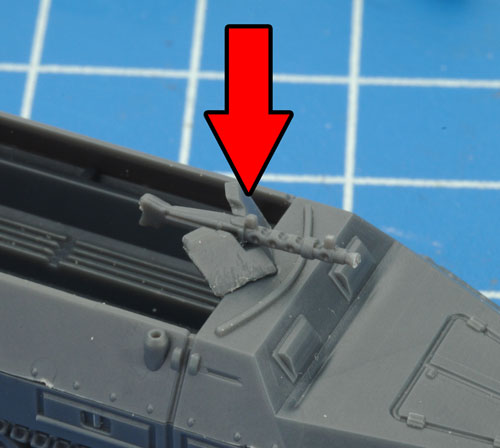
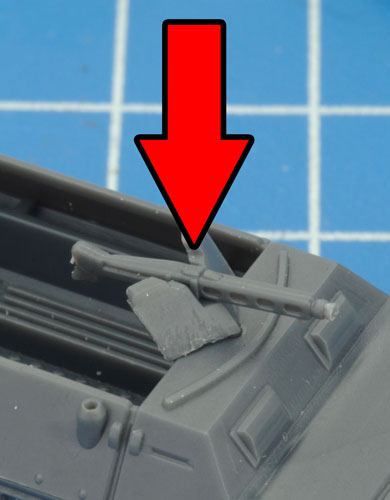
Step 2. Attach the machine-gun to the gun shield. |
 |
 |
 |
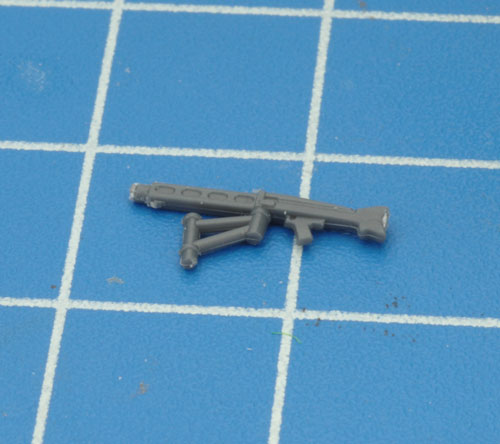
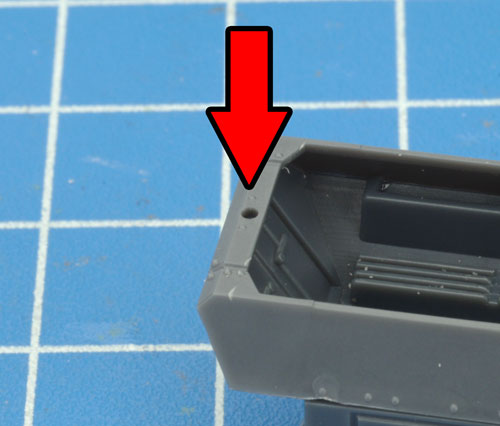
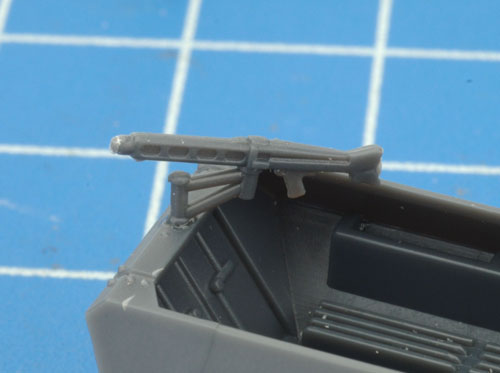
| Step 3. Next, attach the Passenger-fired AA MG to the rear of the half-track. |
Below: The Passenger-fired AA MG attached correctly to the rear of the half-track. |
 |
 |
 |
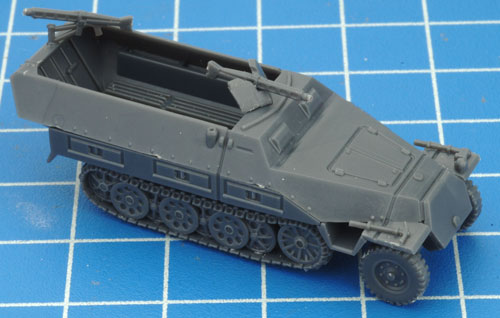
| Below: The Sd Kfz 251/1 with both a Hull MG and Passenger-fired AA MG. |
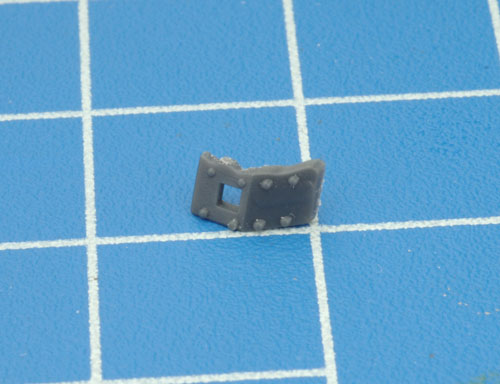
Optional Upgrade: The Sd Kfz 251/1 half-track in the HQ Section can be upgraded to an Sd Kfz 251/10 (3.7cm) with the addition of a 3.7cm PaK36 anti-tank gun. To do so, begin by attaching the gun shield to the side of the 3.7cm PaK36. |
 |
 |
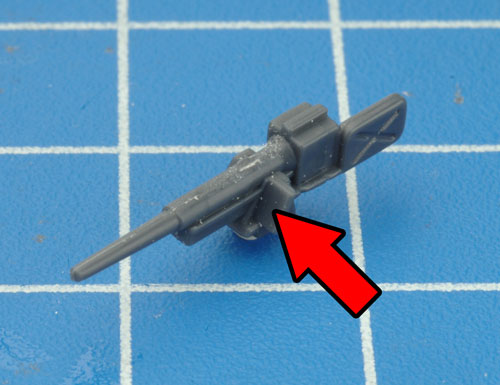 |
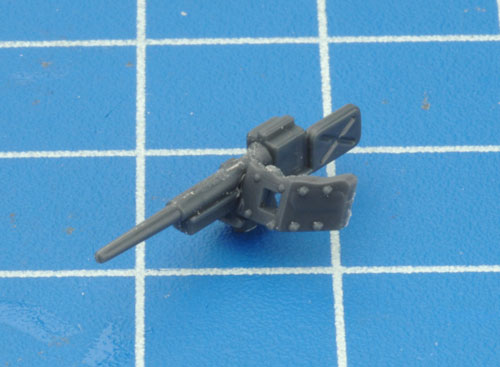
| Below: The 3.7cm PaK36 complete with gun shield. |
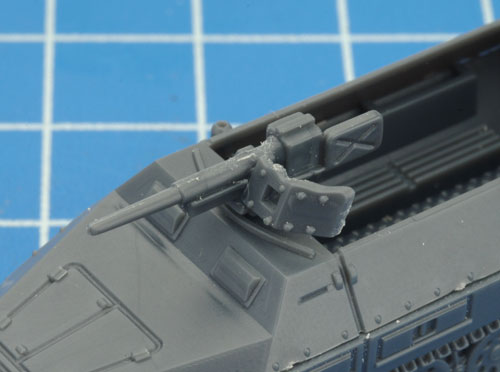
Step 3. Next, replace the Hull MG with the 3.7cm PaK36 to create the Sd Kfz 251/10 (3.7cm). |
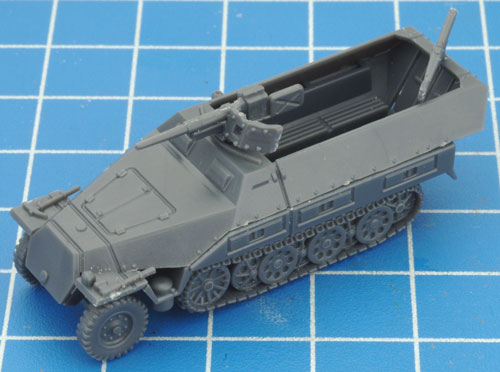
Below: The fully assembled Sd KFz 251/10 (3.7cm) half-track. |
 |
 |
 |
Add Crew To The Sd Kfz 251/1 Half-track
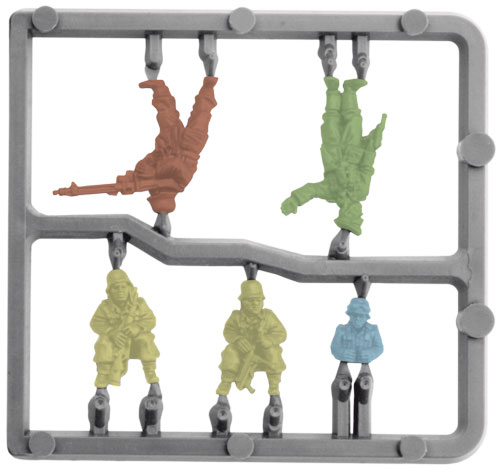
There are four different crew figures included on the Half-track crew sprue. An officer (highlighted in green); a machine-gunner (highlighted in red); two seated passengers (highlighted in yellow) and the driver (highlighted in blue) who we have already used earlier in this article.
Feel free to experiment with crew placement till you're happy with a combination. I've provided some examples below that may help you on your way. |
 |
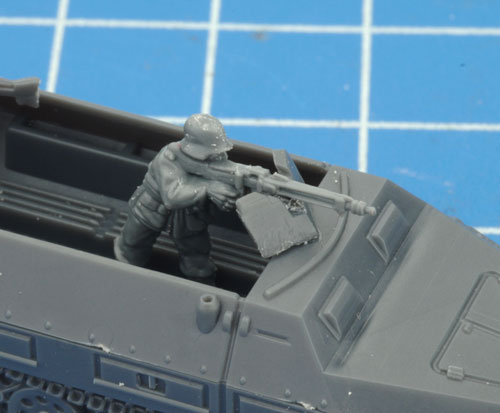
| Below: The Machine-gunner manning the Hull MG. |
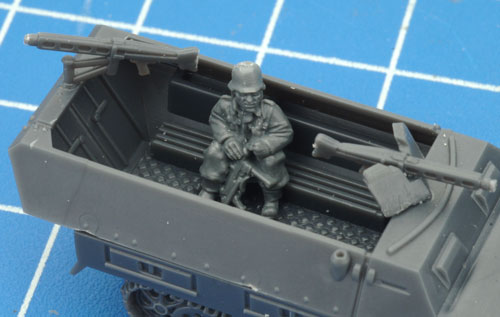
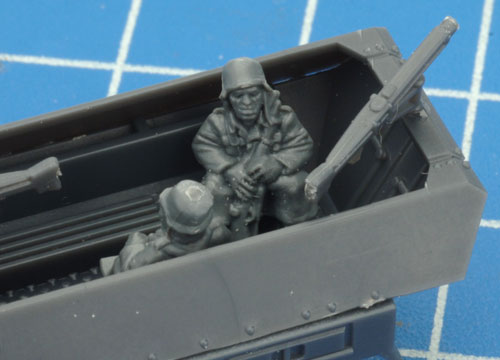
Below: Examples of the seated passengers inside the Sd Kfz 251/1 half-track. |
 |
 |
 |
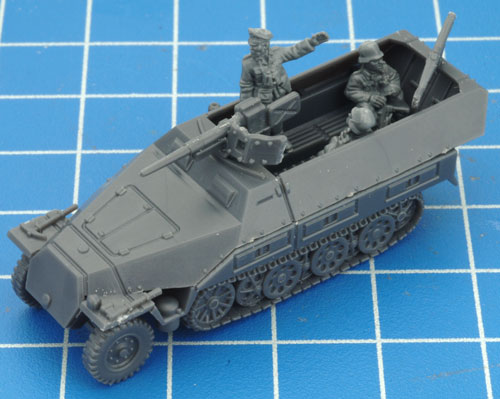
| Below: An example of a Sd Kfz 251/1 with seated passengers and machine-gunner. |
Below: An example of the Sd Kfz 251/10 (3.7cm) completed with officer figure. |
 |
 |
Last Updated On Friday, March 26, 2021
|
|
|