|
|
|
|
Products mentioned in this Article
|
|
|
|
|
|
|
|
|
 |
|
|
 |
Assembling The Plastic StuG G Platoon
with Blake Coster
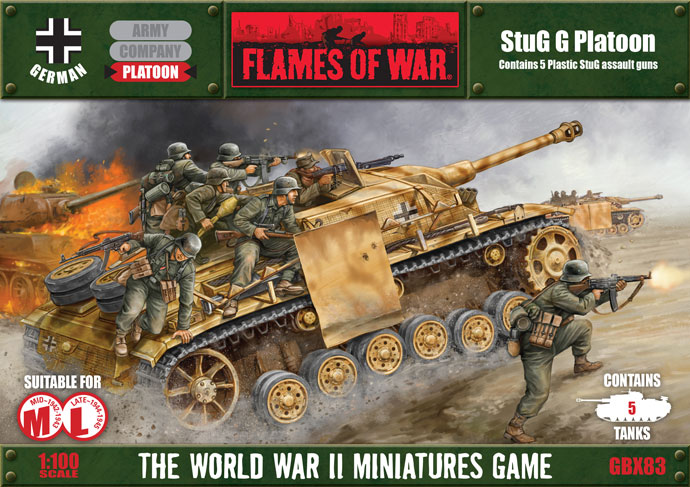
The StuG G assault gun (Sturmgeschütz) served on all fronts of
World War Two, as infantry support tanks and as tank-hunters. With their
low silhouette, StuG assault guns were easy to camouflage and difficult
to spot. The StuG G was the most produced armoured vehicle of the Wehrmacht, with over 7,500 being made.
Learn more about the StuG G Platoon here... |
The StuG G Platoon contains the options
to model both the early and late version of the StuG III G with options for the upgunned StuH42 armed with the powerful 10.5cm gun! So let's break out the hobby tools
and plastic
cement and get started. But before we begin any assembly, let's
ensure
the entire contents of the StuG III G Platoon box set are all
present
and correct.
If you have any problems or issues with the contents of your box set,
please feel free to contact our Customer Service team at: [email protected] |
| The Contents of the StuG G Platoon Box Set |
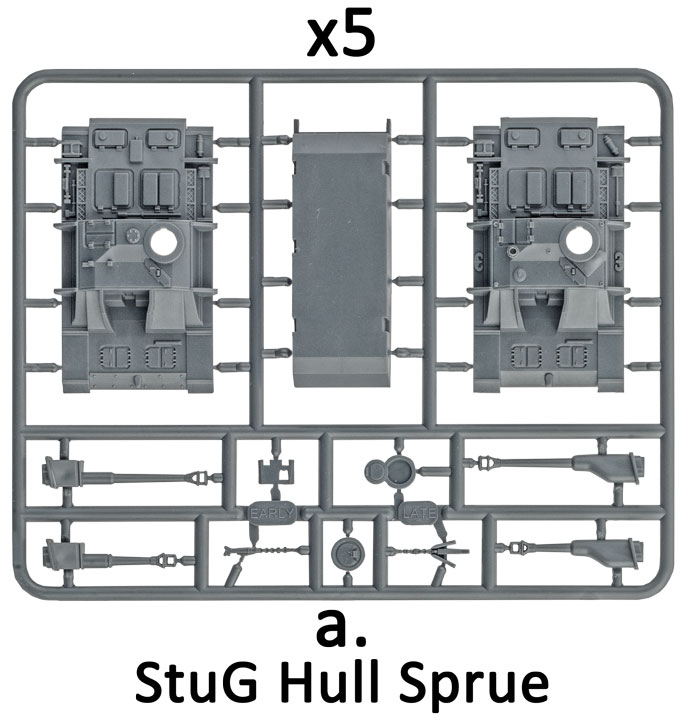 |
| Description of Components |
| a. 5x Plastic StuG hull sprues. |
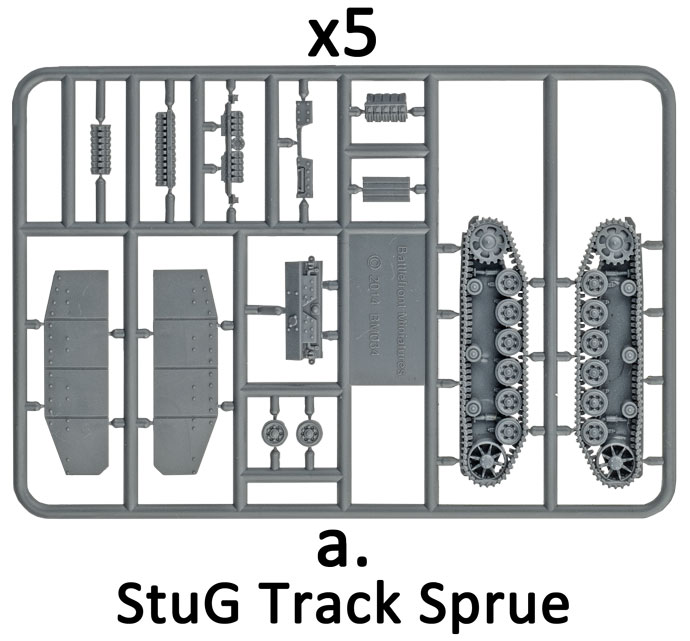 |
| Description of Components |
| a. 5x Plastic StuG track sprues. |
 |
 |
| Description of Components |
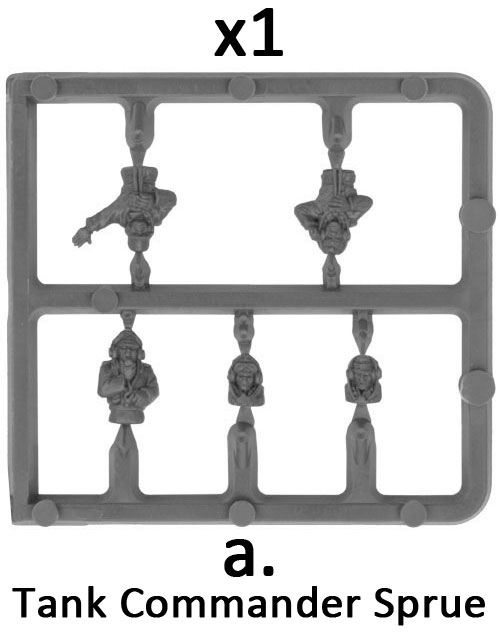
Description of Components |
| a. 1x Tank Commander sprue. |
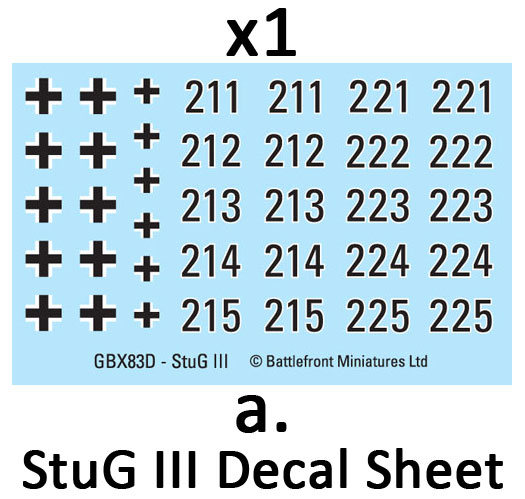
a. 1x StuG III Decal sheet. |
| Components Required For The StuG Lower Hull |
I'll begin construction of the StuG G Platoon box set by demonstrating how to assemble the basic lower of the
vehicle first; using the components that are common to both the early and late version of the StuG III G.
The components required to assemble the basic hull of the StuG can be seen below highlighted in white on the sprues below. |
| Assembling The Basic StuG Hull |
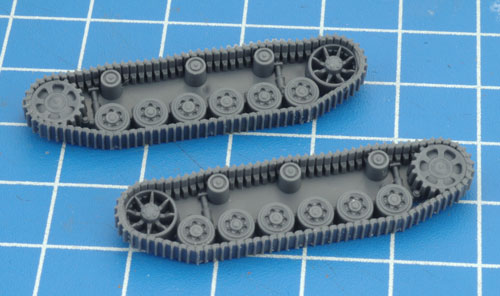
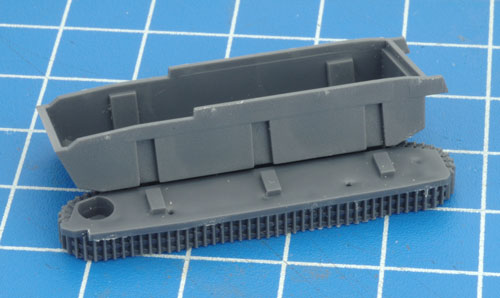
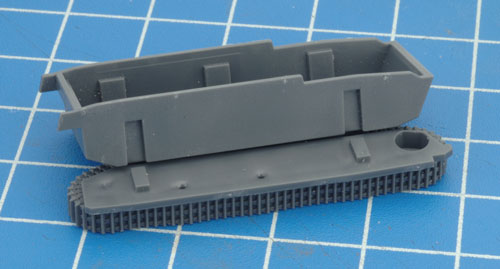
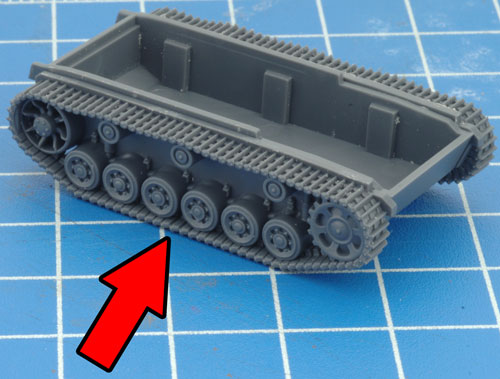
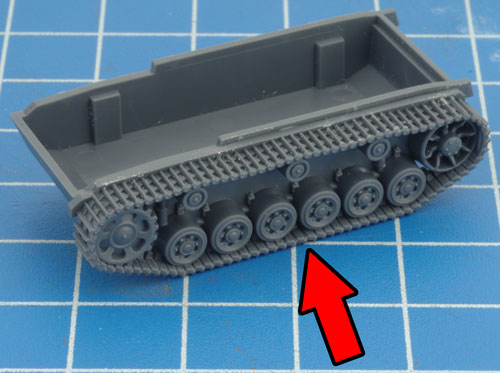
Step 1. Begin assembly of the StuG lower hull by attaching the tracks to each side of the hull.
|
Below: Each track has been
keyed to correspond with a particular side of the hull; this aids in
ensuring the correct orientation of the tracks when assembling the
miniature. |
 |
|
 |
| Tip: Although regular Hobby Glue can be used to
assemble plastic vehicles, we recommend that you use good quality
plastic cement instead. It gives the strongest bond when gluing plastic
to plastic. |
| Below: The right-hand side track attached to the hull. |
Below: The left-hand side track attached to the hull. |
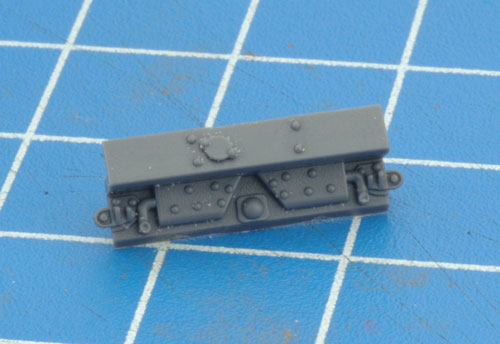
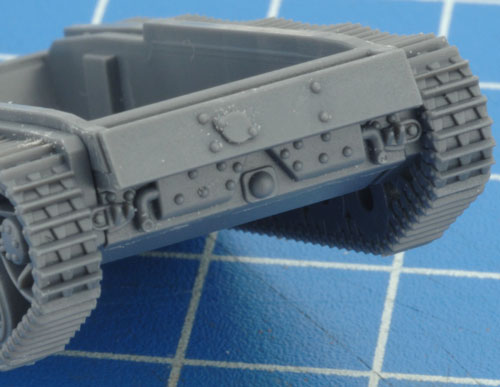
Step 2. Next, attach the rear plate to the back to the lower hull. |
|
|
|
| Tip: When referring to
left or right-hand side in regards to a Flames Of War miniature, the
orientation is determined as if looking at the vehicle from the rear. |
Below: Attacking the rear plate to the back of the lower hull of the StuG III G.
|
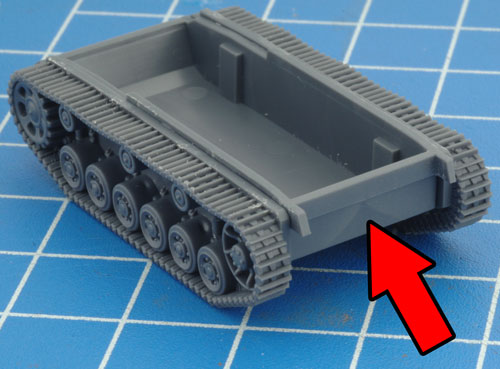
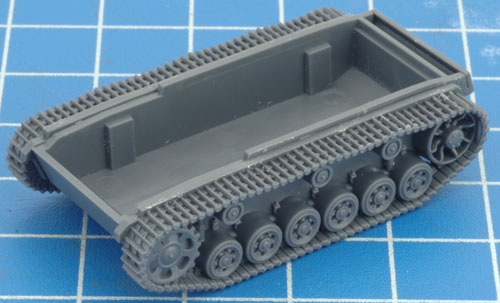
Below: The lower hull of the StuG III G now fully assembled.
|
|
|
|
Components Required For Early StuG III G
|
| With the lower hull now assembled, we can now use it as the foundation
to
create the early version of the StuG III G. The additional components required to
assemble this version can be seen below highlighted on
the sprues below. |
| Assembling The Early StuG III G |
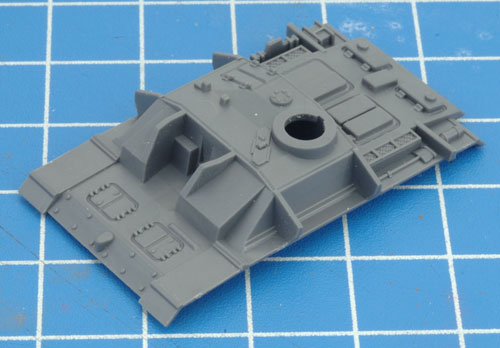
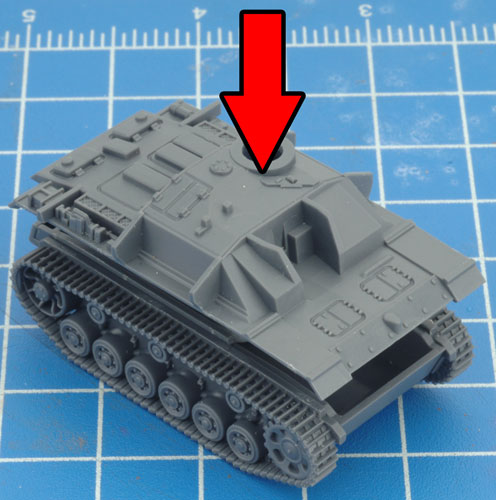
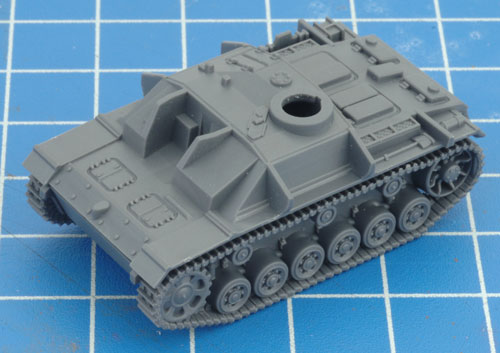
| Step 1. Begin assembly of the early version of the StuG III G by attaching the top section of the hull to the assembled lower hull section. |
 |
 |
 |
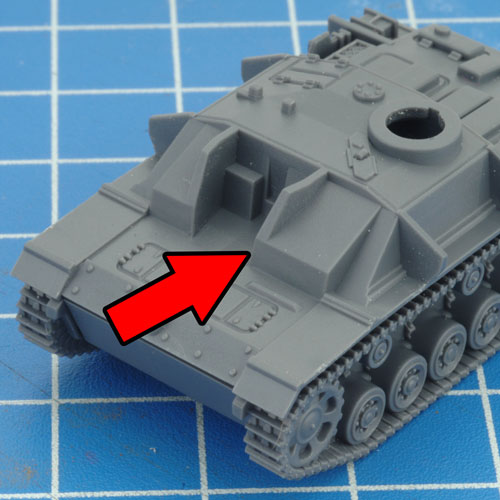
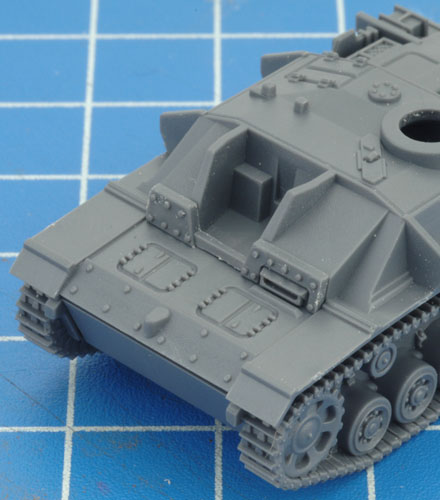
Step 2. Next, attach the driver's vision port section to the front of the hull.
|
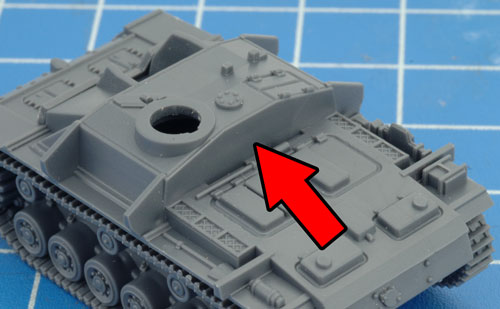
Step 3. Attach the antenna / spare track to the back of the hull superstructure. |
 |
 |
 |
Below: The antenna / spare track section to the back of the hull superstructure.
|
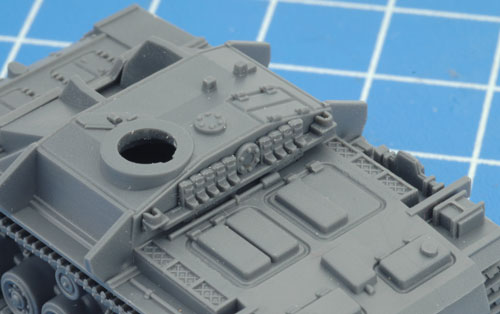
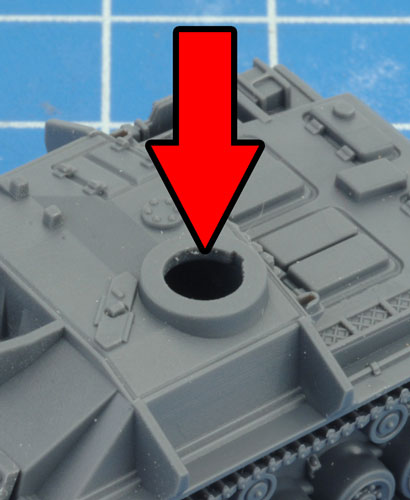
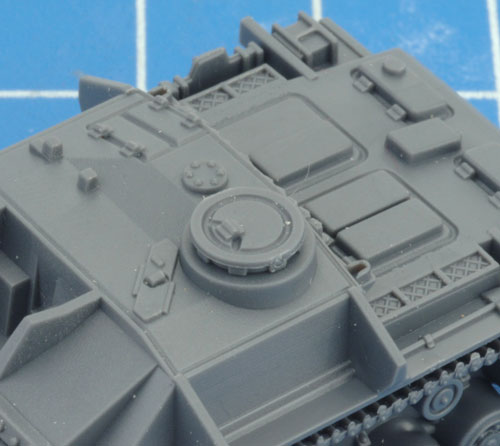
Step 4. Next, attach the commander's cupola to the top of the superstructure. |
 |
 |
 |
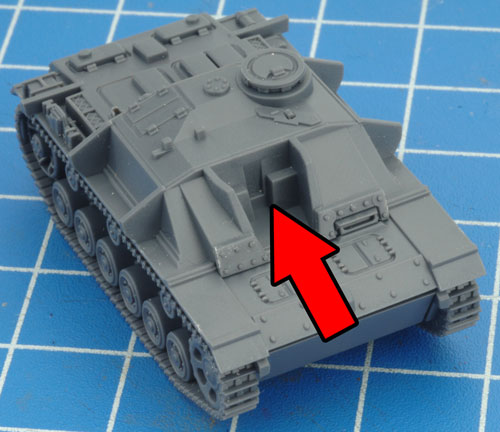
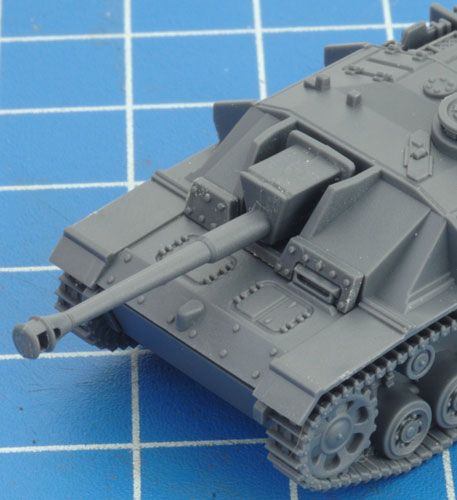
| Step 5. Attach the main gun to the front of the hull. Use the 7.5cm gun to represent the StuG III G or the 10.5cm gun for the StuH42. |
Below: The 7.5cm main gun of the StuG III G. |
Below: The 10.5cm main gun of the StuH42.
|
 |
 |
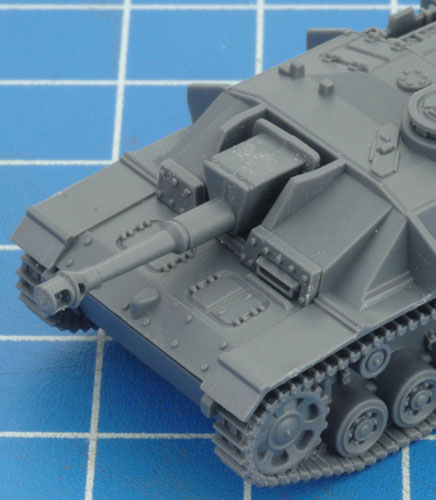 |
| Tip: The early version of the StuG III G featured the box-type mantlet on both versions of the main gun. |
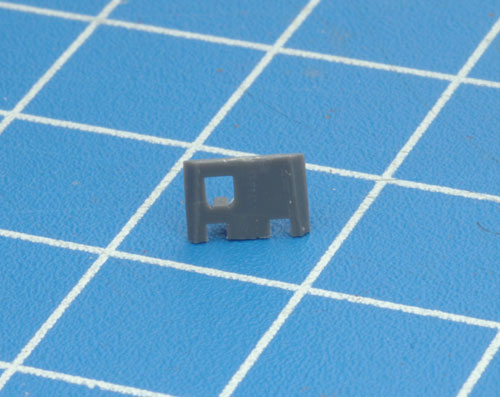
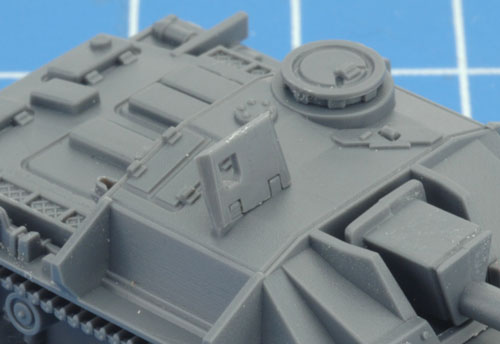
| Step 6. Next, attach the gun shield to the top of the superstructure in front of the loader's hatch.
|
Below: The gun shield attached to the top of the superstructure.
|
|
|
|
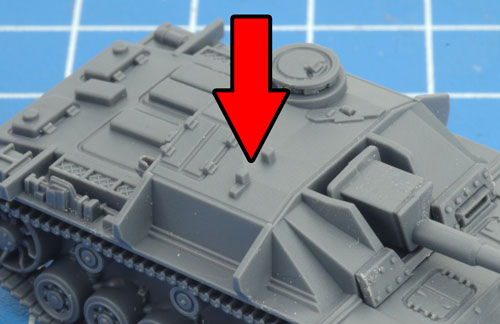
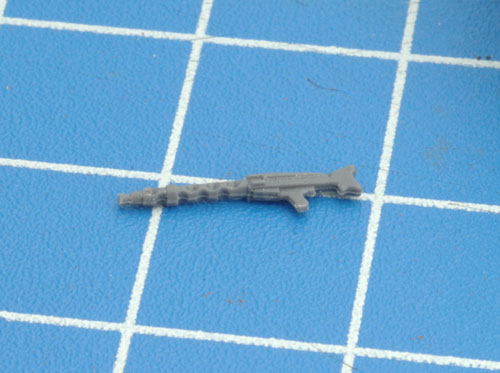
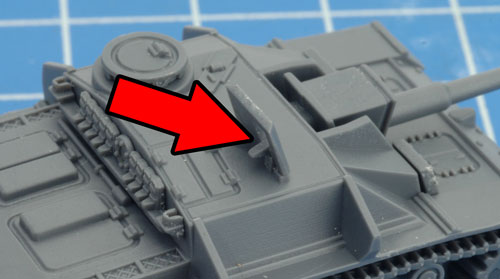
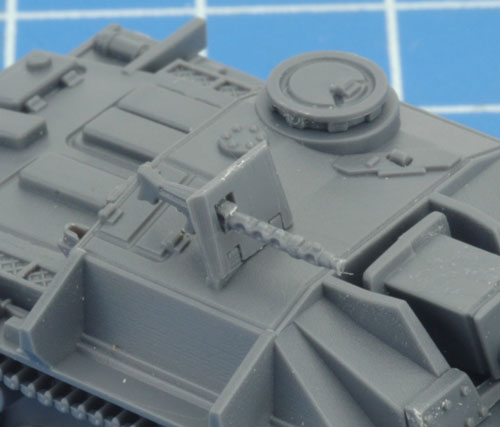
| Step 7. Attach the machine-gun to the freshly attached gun shield. |
Below: The machine-gun attached to the gun shield.
|
|
|
|
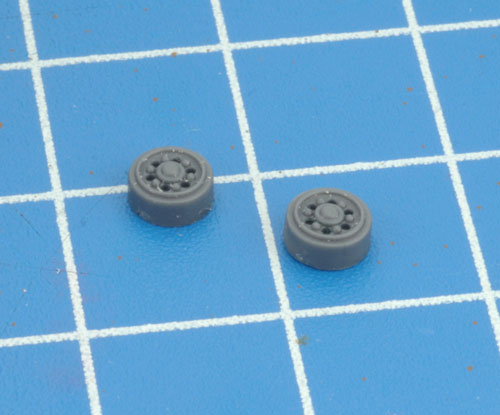
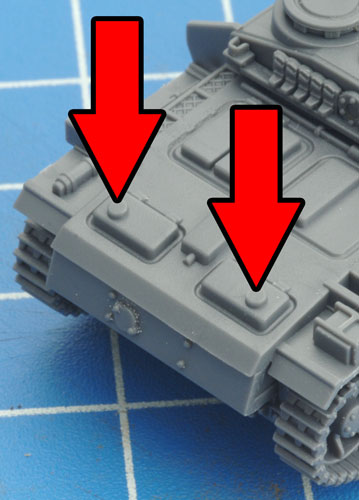
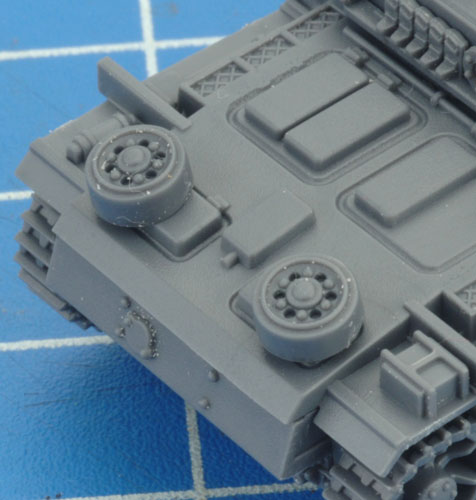
Step 8. Next, attach the spare road wheels to the end of the engine deck.
|
Below: Spare road wheels attached to the engine deck. |
 |
 |
|
Adding Schürzen
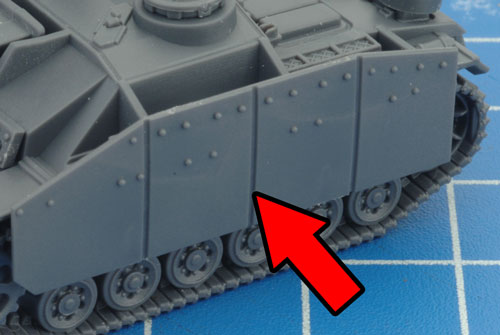
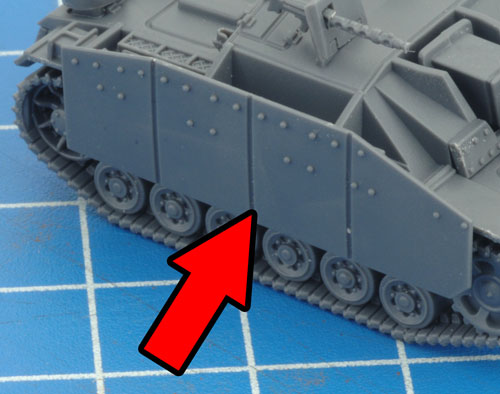
To lessen the effect of Soviet Anti-tank rifles, steel plates known as Schürzen were attached to both sides of the hull from April 1943. Schürzen sideskirts can be added any StuG G or StuH42 assault guns for +5 points per assault gun. |
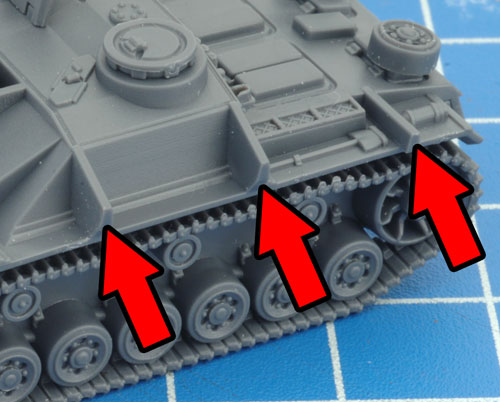
| Below: The schürzen rails have three small notches that align with the mounting brackets on the sides of the hull. |
 |
|
Below: The schürzen attached to both sides of the hull.
|
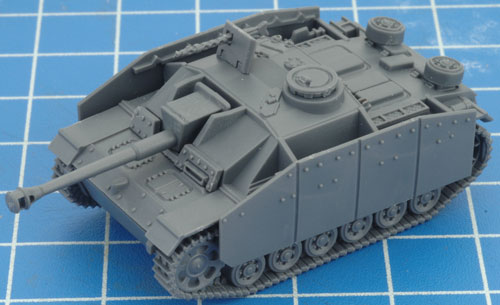
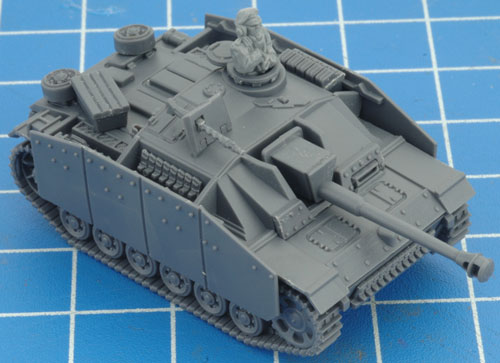
Below: With the schürzen attached, the early version of the StuG III G is now fully assembled. |
 |
 |
|
| Components Required To Add A Tank Commander
|
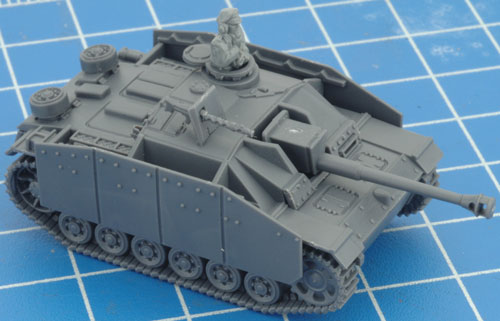
| Adding a Tank Commander to a vehicle allows you
to distinguish the platoon command vehicle from the rest of the platoon.
It also can also add some modelling variety and interest to your
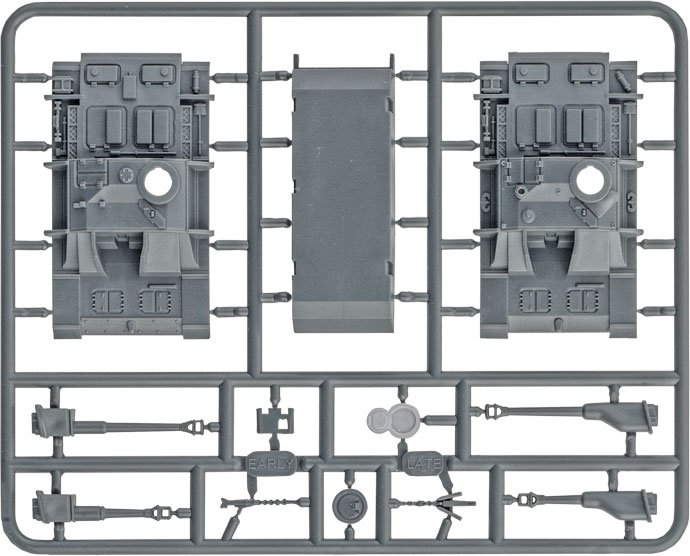
miniatures. With the plastic StuG GPlatoon, adding a Tank
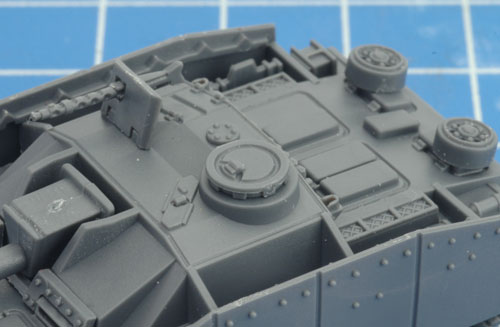
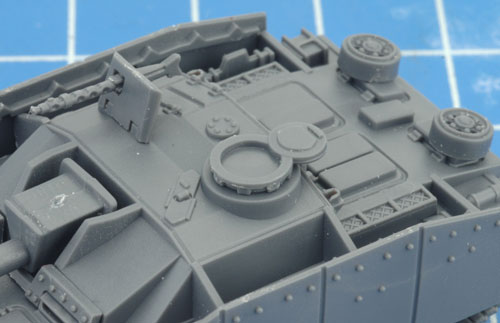
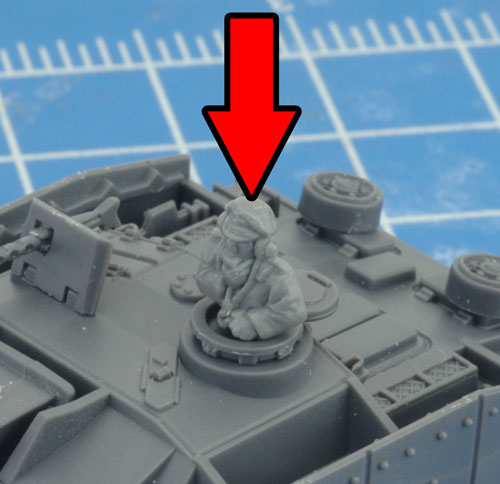
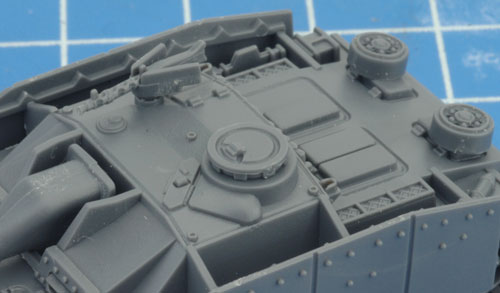
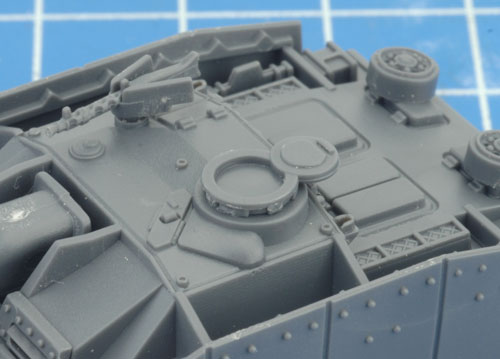
Commander is as simple as replacing the closed commander’s cupola with
the open version highlighted in white below. |
 |
Adding The Tank Commander
|
| Step 1. Begin by replacing the closed commander's cupola
with the open version. |
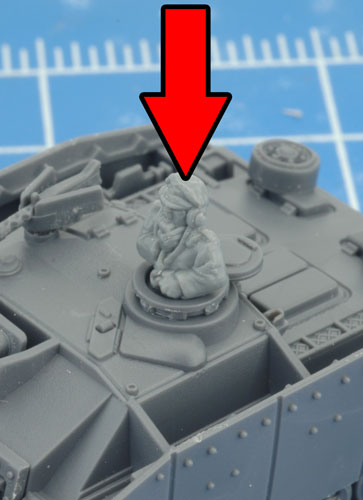
Step 2. Next, attach a Tank Commander of choice to the inside of the open hatch. |
 |
|
 |
 |
| Components Required For Late StuG III G |
| With the early version of the StuG III G now complete, its time to create the late version. The components required to
assemble this version can be seen below highlighted on
the sprues below. |
| Assembling The Late StuG III G |
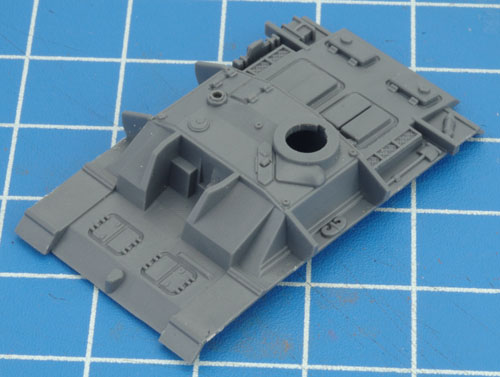
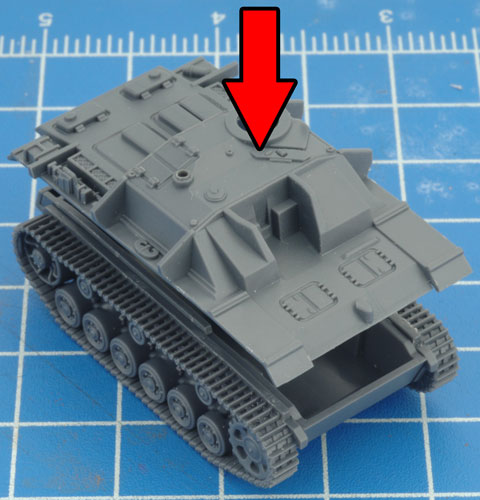
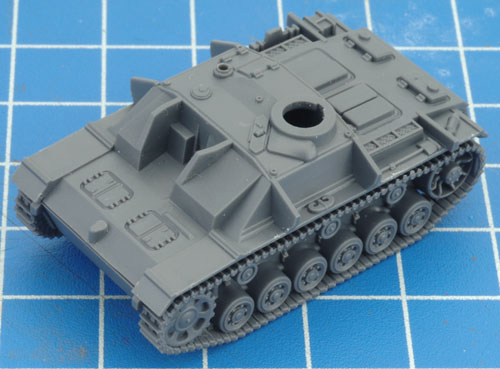
| Step 1. Begin assembly of the late version of the StuG III G by
attaching the top section of the hull to the assembled lower hull
section. |
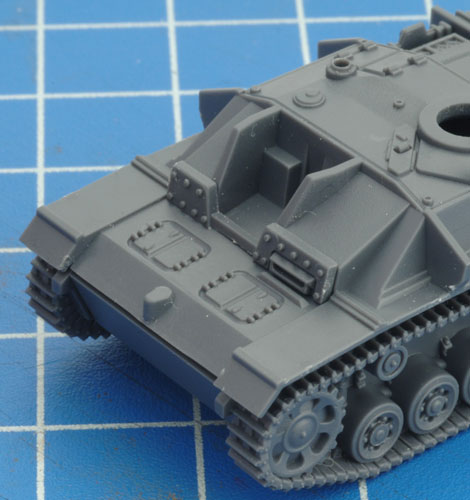
Step 2. Attach the vision port section to the front of the hull. |
|
 |
 |
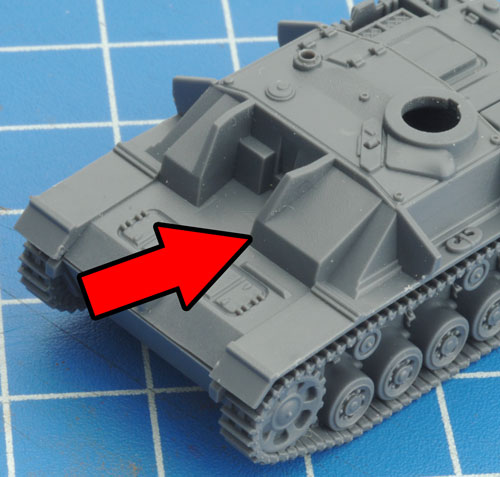 |
Below: The version port section attached to the front of the hull.
|
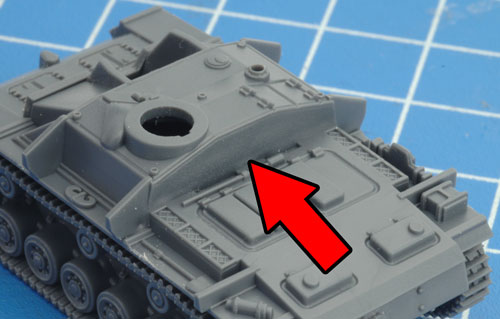
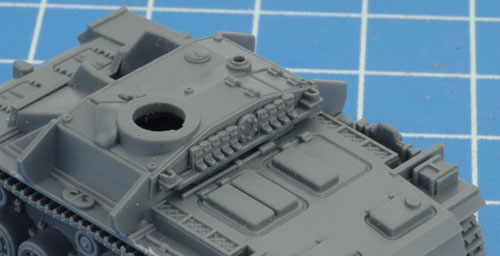
Step 3. Next, attach the antenna / spare track to the back of the hull superstructure. |
 |
 |
 |
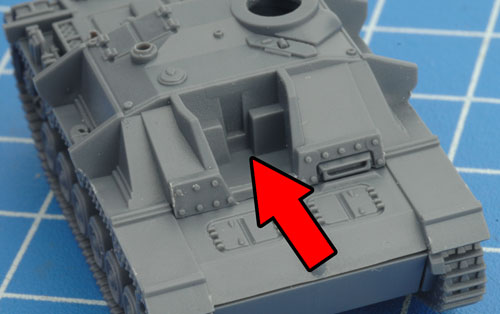
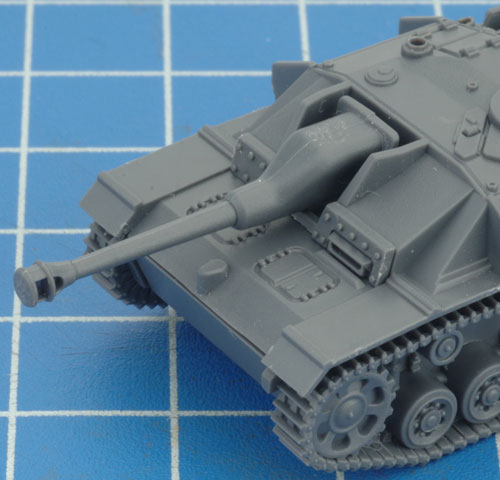
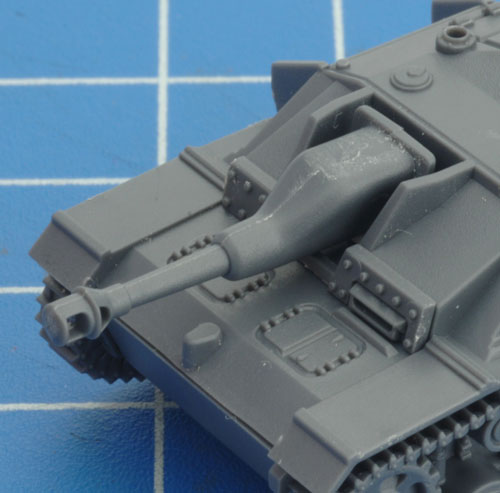
| Step 4. Attach the main gun to the front of the hull. Use the 7.5cm gun to represent the StuG III G or the 10.5cm gun for the StuH42. |
Below: The 7.5cm main gun of the StuG III G. |
Below: The 10.5cm main gun of the StuH42. |
 |
 |
 |
1944 Modifications
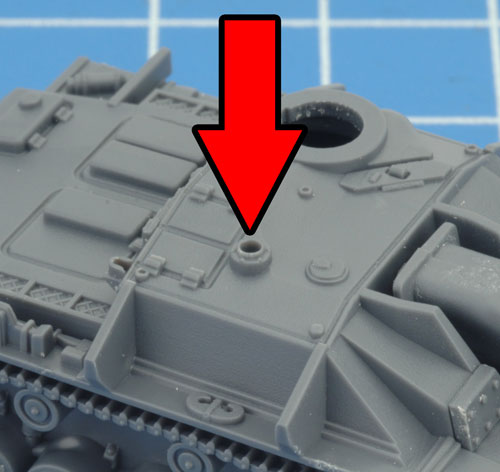
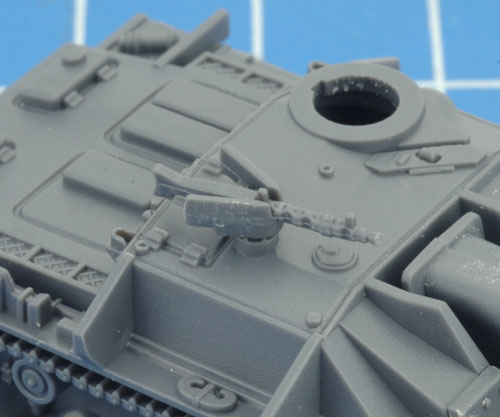
Refer refinements were made to the StuG III G in 1944. Including the introduction of the Saukopf (or sow's head) gun mantlet, a co-ax machine-gun and a remote-control machine-gun.
|
| Step 5. Next, attach the remote-control machine-gun to the top of the superstructure. |
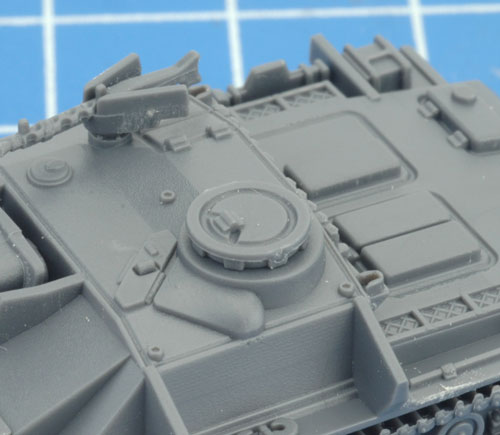
Step 5. Attach the commander's cupola to the top of the superstructure. |
 |
 |
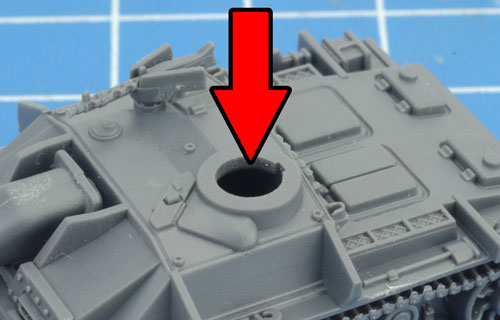 |
| Below: The commander's cupola attached to the top of the superstructure. |
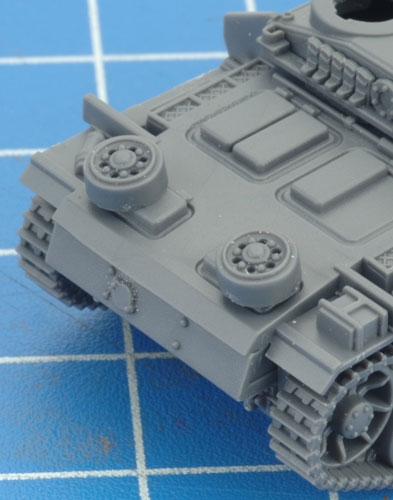
Step 6. Next, attach the spare road wheels to the end of the engine deck.
|
 |
 |
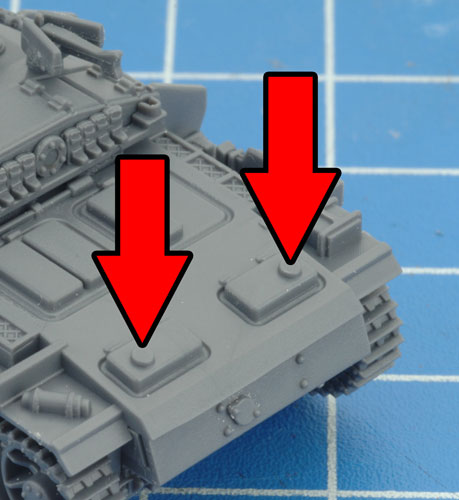 |
| Below: Spare road wheels attached to the engine deck. |
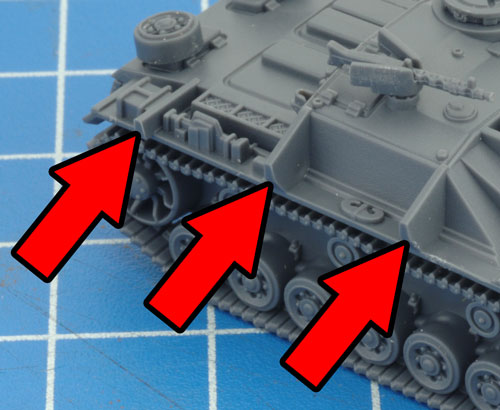
Below: The schürzen rails have three small notches that align with the mounting brackets on the sides of the hull. |
 |
 |
 |
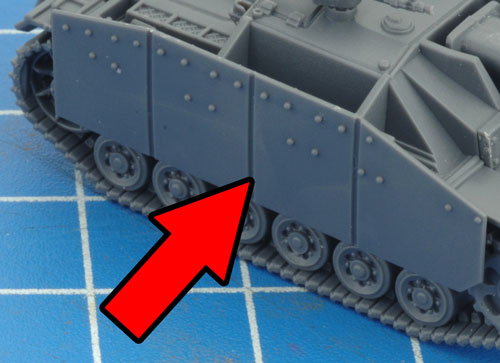
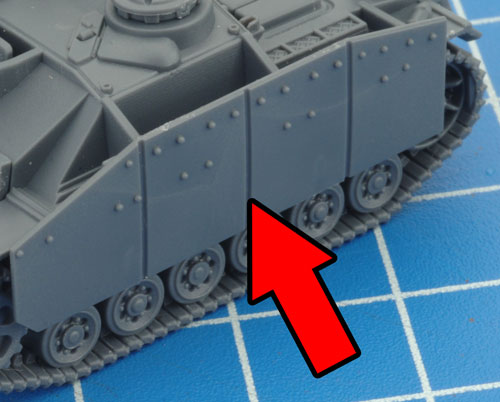
| Below: The schürzen attached to both sides of the hull. |
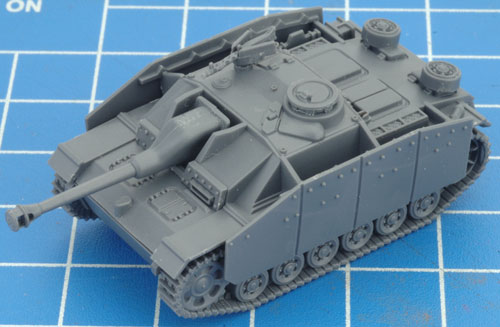
Below: With the schürzen attached, the late version of the StuG III G is now fully assembled. |
|
 |
 |
| Adding A Tank Commander |
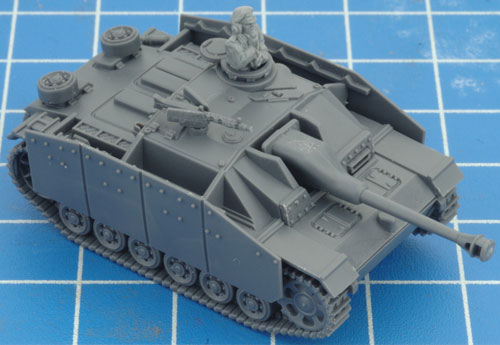
Adding a tank commander to the late version of the StuG III G is exactly the same as the early version.
|
| Step 1. Begin by replacing the closed commander's cupola
with the open version. |
Step 2. Next, attach a Tank Commander of choice to the inside of the open hatch. |
 |
 |
 |
 |
| Adding The Extras |
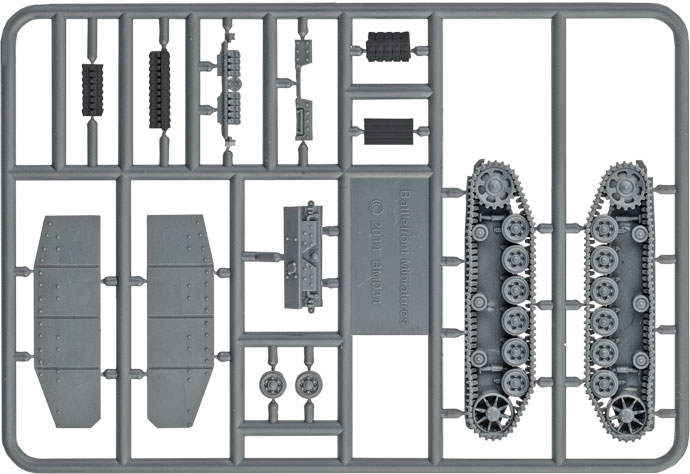
| The plastic StuG track sprue also includes a number of extras that can be
added to your vehicles for some modelling variety. These are highlighted in black on the the sprue
below. |
 |
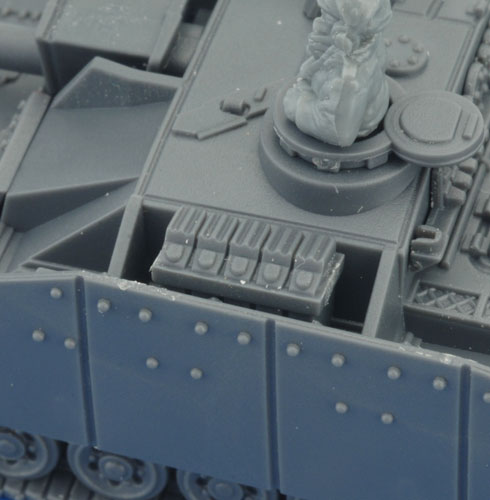
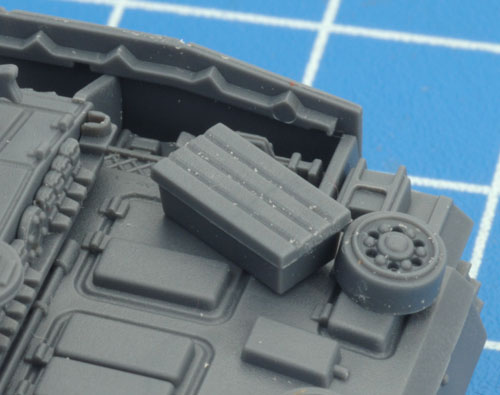
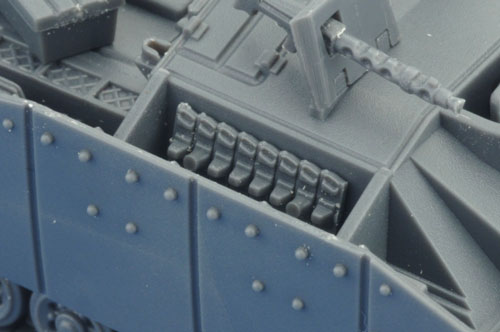
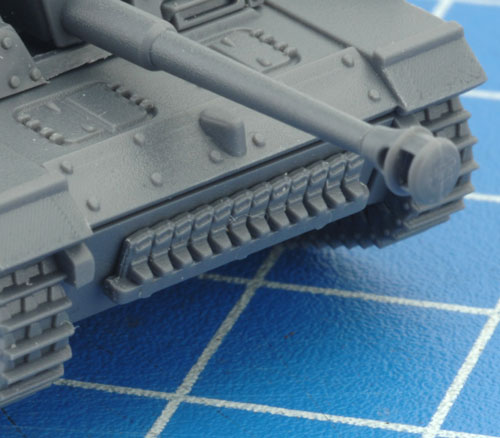
| Below: Examples of the stowage of used on the plastic StuG III G. |
 |
 |
 |
 |
I hope you find this assembly guide useful when it comes time to assemble your own StuG G Platoon.
As always; happy modelling!
~ Blake. |
 |
Last Updated On Tuesday, November 4, 2014 by Blake at Battlefront
|
|
|