|
|
|
|
Products mentioned in this Article
|
|
|
|
|
|
|
|
|
 |
|
|
 |
Colourful Painting:
Painting The Buntfarbenanstrich Camouflage Scheme
with Blake Coster
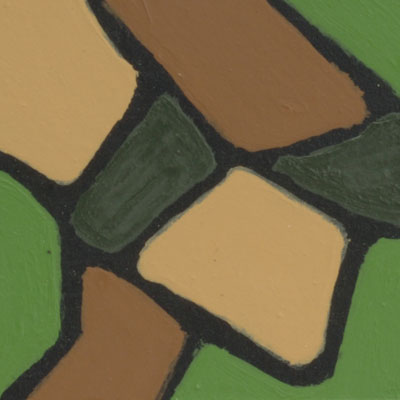
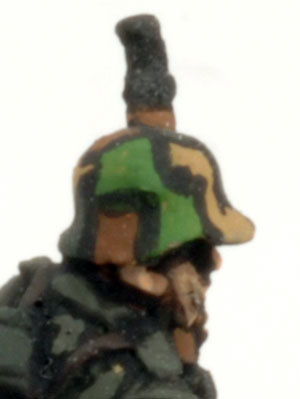
Up until 1918 any camouflage paint schemes utilised by the German Army were improvised and therefore lacked any form of standardisation. It wasn’t until July of that year the first standardised camouflage scheme was introduced. Referred to as Buntfarbenanstrich or Buntfarbenanstrich 1918 (meaning colourful painting), the scheme consisted of simple polygon-shaped patches of ochre, brown, and various green coloured paint separated by thick black lines.
|
Great War
The Great War of 1914-18 was global in its reach. Yet this global
conflict would be decided by the mighty clashes upon the battlefields of
Europe.
Learn more about Great War here... |
 |
 |
Helmets
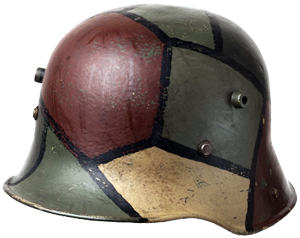
The order by decree of General Erich Ludendorff himself, stated that helmets should be painted in several different colours relevant to the seasonal conditions for example, green, brown and ochre in summer. The colours were separated by a black line a finger-width in size.
Left: An example of a German M1916 steel helmet painted in the Buntfarbenanstrich camouflage scheme. |
Equipment
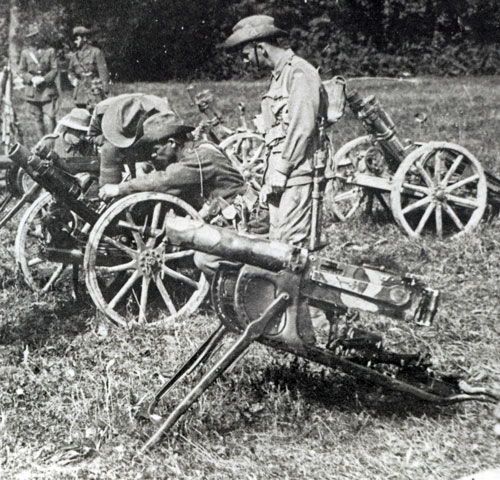
As well as helmets, the Buntfarbenanstrich scheme was also commonly seen of guns, tanks, and other equipment of the period.
Right: A group of Australian soldiers examine a collection of captured German guns including an MG08 finished in the Buntfarbenanstrich camouflage scheme.
Below: German soldiers re-position their guns that feature the Buntfarbenanstrich camouflage scheme while on a training exercise.
|
 |
Applying The Buntfarbenanstrich Camouflage Scheme
The Buntfarbenanstrich camouflage scheme was applied to helmets and equipment by hand using a brush with paint that had a matt finish. This makes it perfect for achieving a realistic finish since you do not need any fancy equipment; just a good painting brush, a steady hand and a little patience.
|
Suggested Colours For the Buntfarbenanstrich Camouflage Scheme
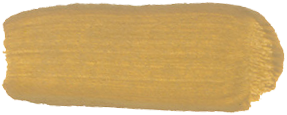
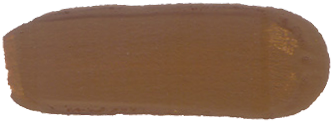
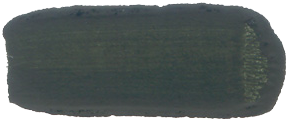
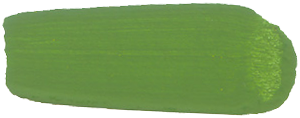
Below are the colour suggestions to use when painting the Buntfarbenanstrich camouflage scheme.
|
Outline
|
Camouflage
|
Camouflage |
Camouflage
|
Camouflage |
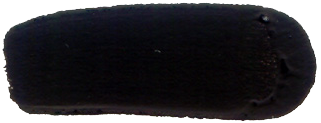
| Black (FWP300)
|
Sicily Yellow (FWP362)
|
Motherland Earth (FWP383)
|
Heer Green (FWP340)
|
Jager Green (FWP344) |
 |
 |
 |
 |
 |
|
Painting The Buntfarbenanstrich Camouflage Scheme
|
Step 1. Begin with base colour of Black (FWP300).
Tip: Since black is a popular choice for priming miniatures you can start applying the camouflage colours directly over it.
|
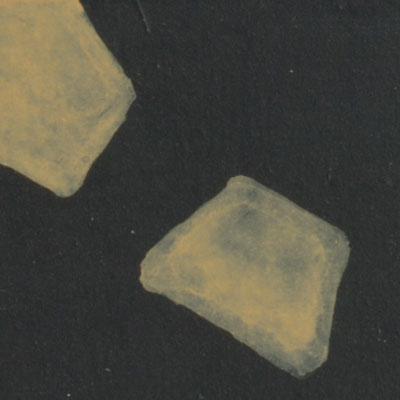
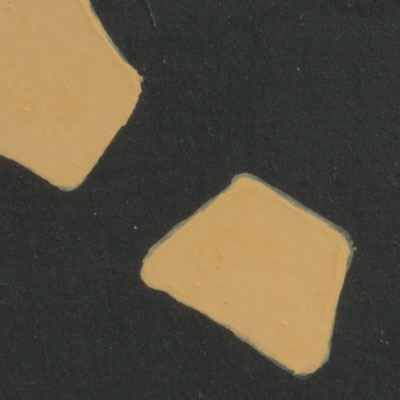
Step 2. Next, begin adding the camouflage colours in simple polygon-shaped patches. In the example below I've started with Sicily Yellow (FWP362). Make sure that I've left plenty of space to add the other camouflage colours.
Tip: It is better to apply several thinner coats of paint to build up the colour density slowly rather than one thick coat. |
 |
 |
 |
| Tip: Since the drying time of acrylic paint is fast due to the application of thin coats; rather than applying each colour one at a time try speeding up the process by switching between colours. By the time you finish one; another will be dry. |
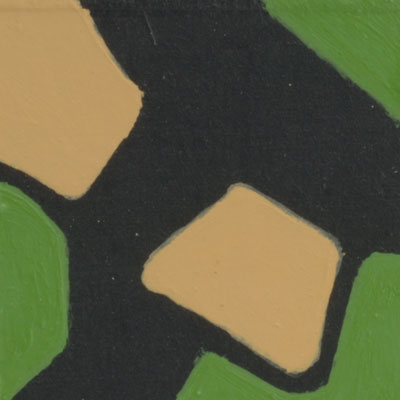
Step 3. Next, I add the shapes usingJager Green (FWP344).
Tip: To correctly represent the camouflage scheme, be sure to leave a border of the Black (FWP300) base colour around each coloured shape.
|
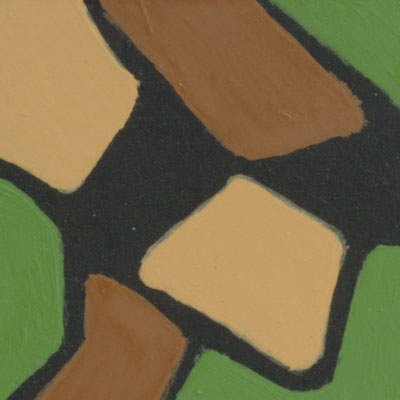
Step 4. Time to add the shapes using the Motherland Earth (FWP383). Again, make sure you leave the black border between each colour. |
Step 5. Finally, add the shapes using Heer Green (FWP340). With the final colour applied, the Buntfarbenanstrich camouflage scheme is now complete. |
 |
 |
 |
| Examples Of The Buntfarbenanstrich Camouflage Scheme |
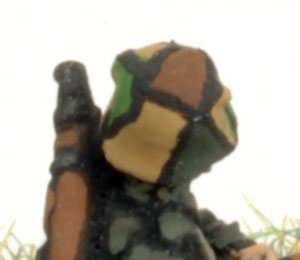
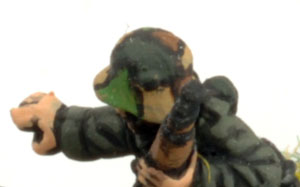
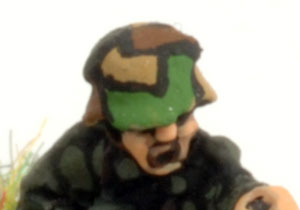
| Below: Aaron's Stoss Platoon featuring the Buntfarbenanstrich camouflage scheme. |
 |
 |
 |
 |
| Below: Andrew's A7V featuring the Buntfarbenanstrich camouflage scheme. |
|
I hope this article helps you when it comes time to paint the Buntfarbenanstrich camouflage scheme on your German forces for Great War.
Till next time; happy painting.
~ Blake.
|
Last Updated On Monday, June 29, 2015
|
|
|