|
|
|
|
Products mentioned in this Article
--None--
|
|
|
|
|
|
|
|
|
 |
|
|
 |
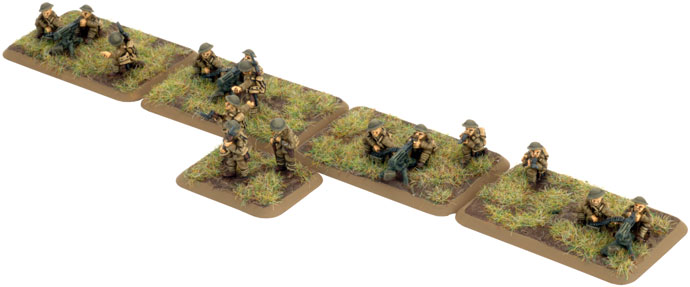
Machine-gun Platoon (GBR704)
includes one Command Pistol team, four Machine-gun Sections, one Small three-hole base, four Medium four-hole bases & one Base plug sprue.
If there is one weapon that the British infantryman trusts more than his 303, it is the Vickers machine gun. The modern Vickers is a symbol of British industry. Sturdy, with a tripod for accuracy and water-cooled for sustained fire, it is supremely reliable.
Check out the Machine-gun Platoon in the online store here... |
Great War
The Great War of 1914-18 was global in its
reach. Yet this global conflict would be decided by the mighty clashes
upon the battlefields of Europe.
Learn more about Great War here... |
 |
 |
An example of this reliability took place in August 1916. When, during a twelve hour span ten Vickers machine-gun of the British 100th Company of the Machine Gun Corps fired continuously without a single failure or stoppage. Over a millions rounds were fired with the guns consuming one hundred replacement barrels and every drop of water in the immediate area.
The Vickers dominates the battlefield, warding off German attacks, and providing a tremendous base of fire for our men to advance under.
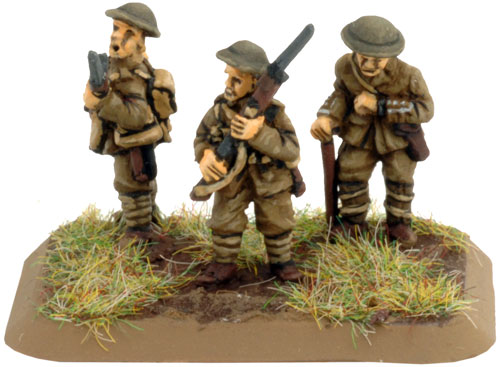
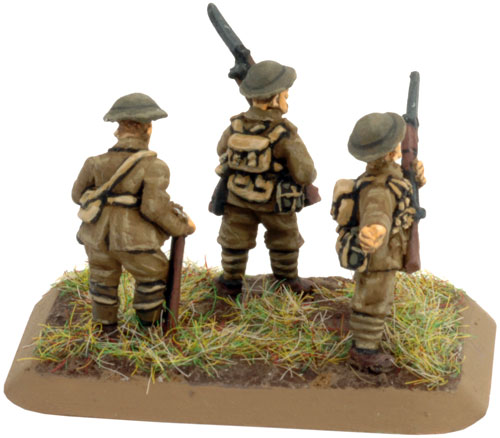
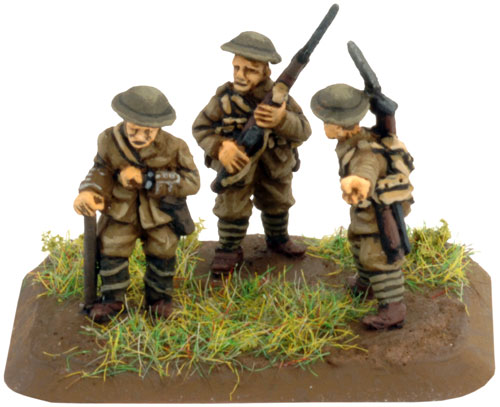
Left & above left: The Command Pistol team.
Designed by Evan Allen
Painted by Steve London |
| The Vickers HMG in Great War |
Weapon
|
Mobility
|
Range
|
ROF
|
Anti-tank
|
Firepower
|
Notes
|
Vickers HMG
|
Man-packed
|
24"/60cm
|
6
|
2
|
6
|
ROF 3 when pinned down or moving. |
Firing bombardments
|
|
40"/100cm
|
-
|
-
|
-
|
|
|
 |
 |
|
The
Vickers machine-gun was capable of conduction indirect fire at ranges of up to
4500 yards (or 4100 metres). Important road junctions, trenches and forming up area were popular
targets and cause much confusion amongst the enemy on the receiving end.
|
HMG Bombardments
Machine-gun bombardments are a way of breaking up enemy advances across no-man’s land or to help keep the defenders’ heads down during attacks.
HMG teams can fire Bombardments. These are conducted in the same way as a normal Artillery Bombardment.
Since they have Anti-tank and Firepower ratings of ‘-’, they cannot harm Armoured vehicles or teams in Bulletproof Cover, although they can still Pin Down target platoons with a Hit in the Bombardment.
|
 |
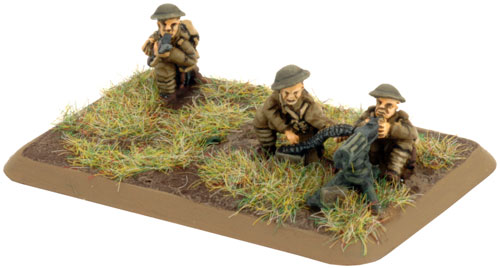 |
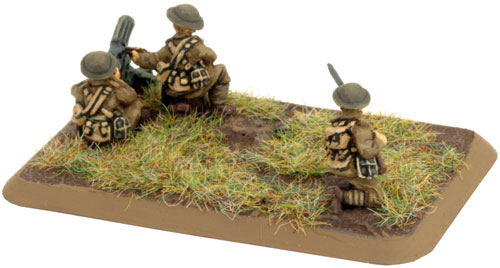
The Machine-gun Platoon Prepare To Fire
|
 |
|
Contents & Assembly Guide for the Machine-gun Platoon Blister Pack
Contact the customer service team at [email protected] if you have any issues with any of the components.
|
| The Machine-gun Platoon |
 |
| Description of Components |
a. 1x Officer figure looking at watch.
b. 1x NCO figure with hand pointing backwards.
c. 1x Standing NCO figure pointing forward.
d. 1x Kneeling NCO figure pointing.
e. 1x Standing Riflemen figure. |
f. 2x Kneeling Rifleman figures.
g. 4x Seated MG gunner figures.
h. 4x Kneeling MG loader figures.
i. 4x Vickers HMG tripods.
j. 4x Vickets HMGs. |
|
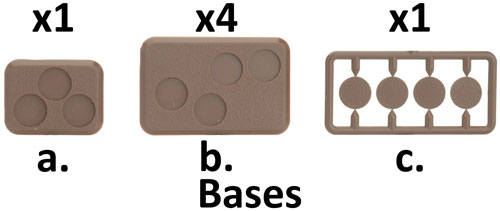
The Bases
Description of Components
a. 1x Small three-hole bases.
b. 4x Medium four-hole bases.
c. 1x Base plug sprue.
|
 |
|
Assembling The Command Pistol Team
To
assemble the Command Pistol team, simply arrange the Officer figure, one NCO Rifleman figure and one Rifleman figure on one of the Small
three-hole bases provided in the blister pack.
Left: An example of an assembled Command Pistol team.
|
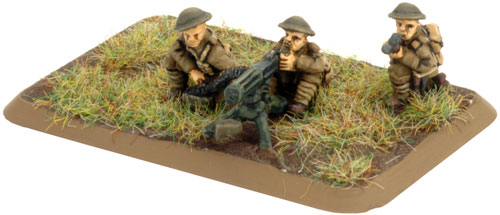
Assembling The Machine-gun Sections
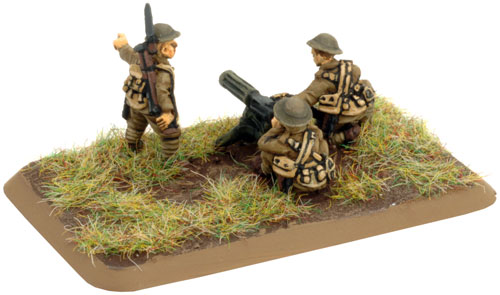
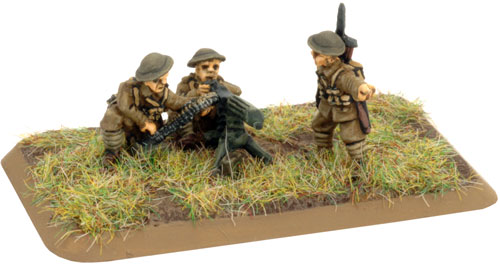
The Machine-gun Platoon contains a Command Pistol team (which I've already covered) and four Machine-gun sections.
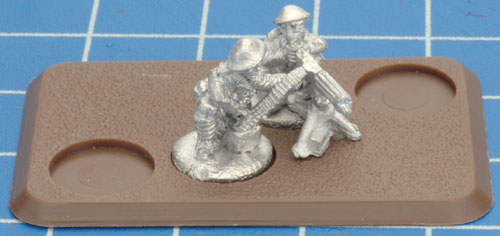
Two of the Machine-gun sections need to contain the two-man HMG crew
consisting of the seated gunner and kneeling loader figures as well as the Vickers HMG
itself and an NCO figure. The other two teams are made up of the same
two-man HMG crew and a Rifleman figure.
Tip: Use the base plugs to fill the
leftover figure hole on the base as each Vickers HMG team consists of only a three figures.
|
| Below: An example of a assembly Vickers HMG team with an NCO figure. |
Below: An example of a assembly Vickers HMG team without an NCO figure. |
 |
 |
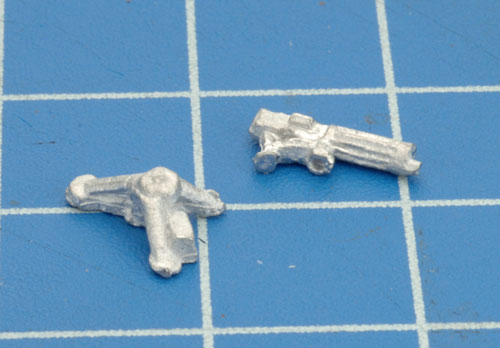
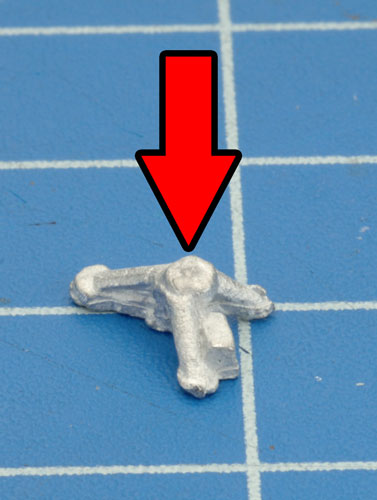
| Assembling The Vickers HMG |
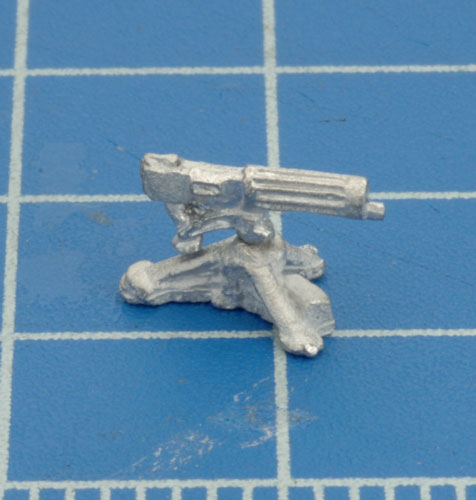
| Step 1. Attach the Vickers HMG to the tripod ensuring the two prongs are pointing forward. |
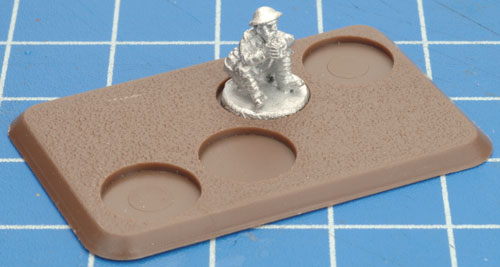
Step 2. Attach the Seated gunner figure in the desired location on a Medium four-hole base.
|
 |
 |
 |
|
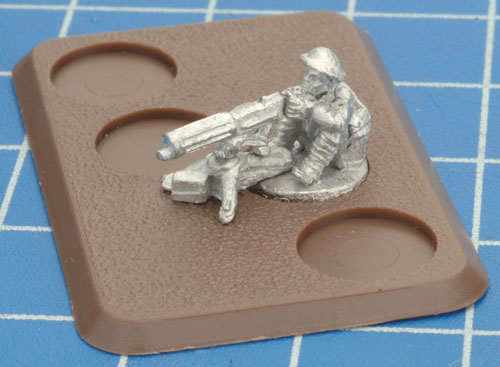
Step 3. Correctly position the Vickers HMG.
|
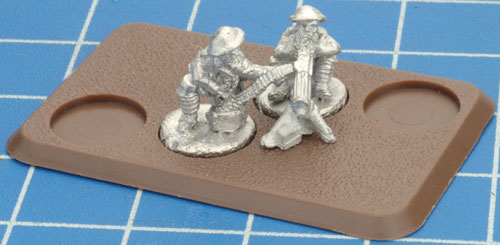
Step 4. Finally, add the loader figure ensuring the ammunition belt is being feed from the right-hand side of the gun. |
Below: The assembled gunner, loader and HMG for our Vickers HMG team. |
 |
 |
 |
Last Updated On Thursday, August 14, 2014 by Blake at Battlefront
|
|
|