|
|
|
|
Products mentioned in this Article
--None--
|
|
|
|
|
|
|
|
|
 |
|
|

|
Assembling The Plastic M113
with Blake Coster
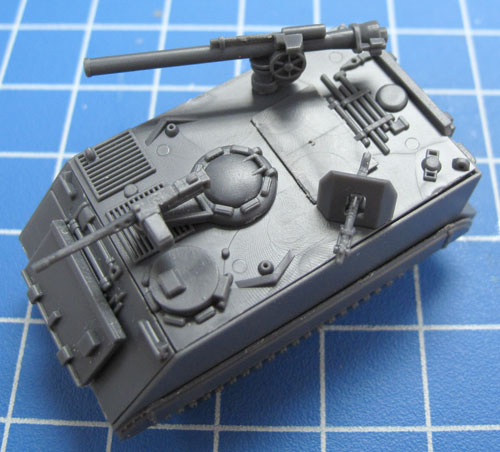
The M113 first appeared in the second instalment of Flames Of War Vietnam; Tropic Lightning. However, with the release of Tour Of Duty a new all-plastic kit for the M113 and its variants is now available.
In this article, I'll show you how to assemble the new plastic M113 and its variants.
Learn more about the M113 Platoon here... |
Tour Of Duty
The Vietnam War defined a generation, whether
it was through service in Vietnam or opposition to the war. The war in
Vietnam remains one the bloodiest wars since the Second World War.
Learn more about Tour Of Duty here... |
 |
| Contents of the M113 Platoon Company Box Set |
| Let's begin by checking that all of the components in the box and present. Below is a rundown of the box set contents. Please contact the customer service team at [email protected] if you have any issues with any of the components. |
| Description of Components |
a. 4x Plastic weapons sprues.
|
b. 4x Plastic hull components sprues.
|
| Description of Components |
a. 4x M113 Commander figures.
b. 2x M113 mortar crew figures with hand up to mouth.
c. 2x M113 mortar crew figures holding mortar projectile.
|
d. 1x M113 Driver head sprue.
e. 1x M113 decal sheet. |
Assembling The Basic M113 Hull
To assemble the M113, there are a number of components that are common to all of
the variants of the M113 that can be constructed using the box set; the hull being
case in point.
The components seen on the plastic spures below highlighted in green are used to construct all of the M113 variants. The components highlighted in red are optional and can be included if you so choose. |
Assembly of the Basic M113 Hull
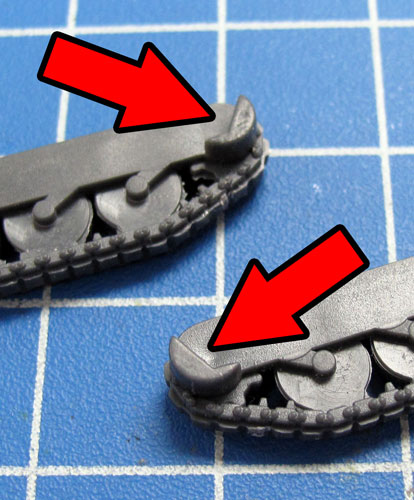
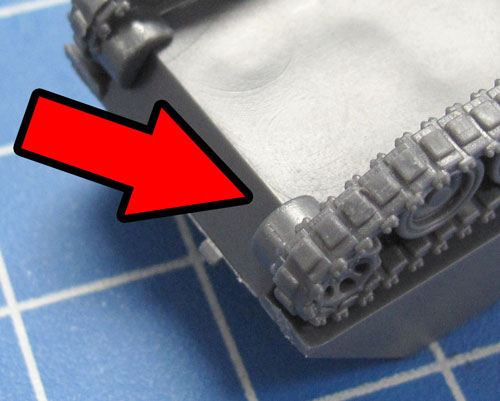
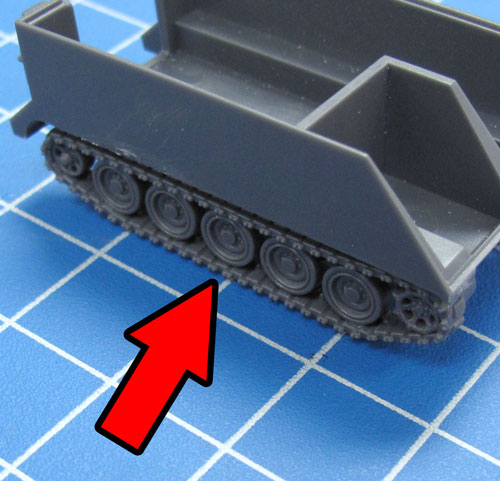
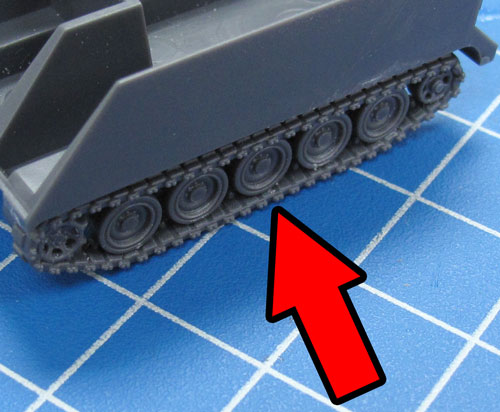
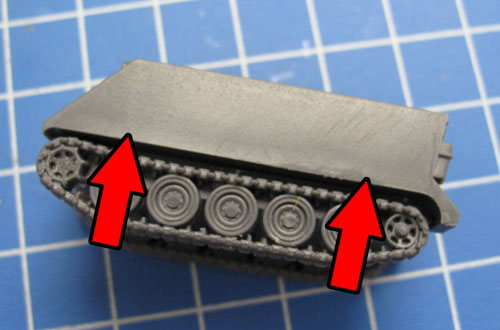
Step 1. Each track for the M113 has a small tab on the front end. This tab sits up against with the lower half of the hull front as seen in the examples below. |
Below: The right-hand and left-hand side tracks attached successfully to the hull.
Tip: When referring to
left or right-hand side in regards to a Flames Of War miniature, the
orientation is determined as if looking at the vehicle from the rear. |
 |
 |
 |
|
| Step 2. Next, attach the front glacis plate to the front of the hull. |
Below: The glacis plate attached to the front of the hull.
|
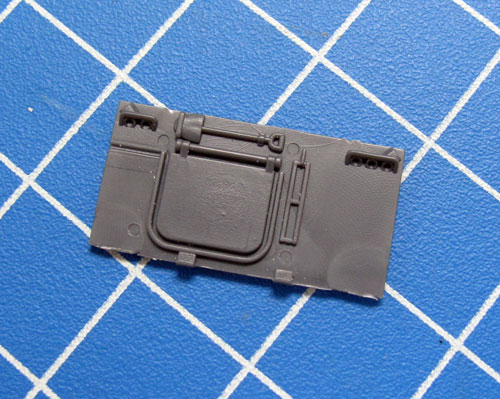
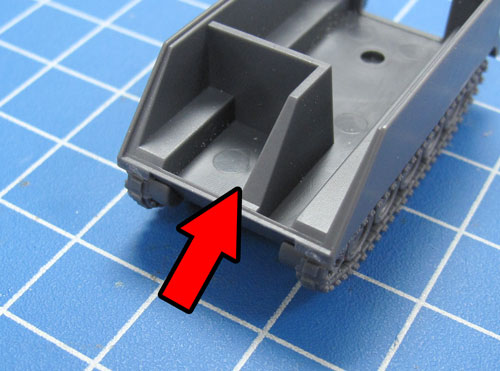
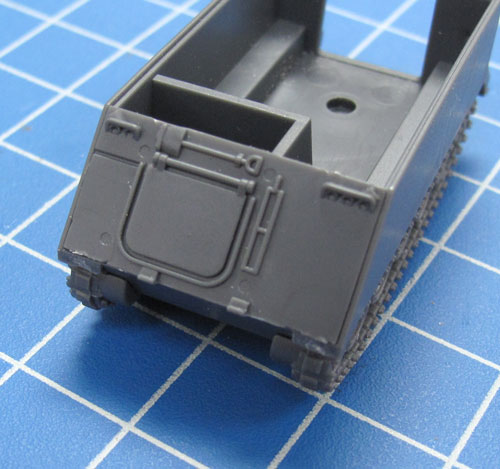
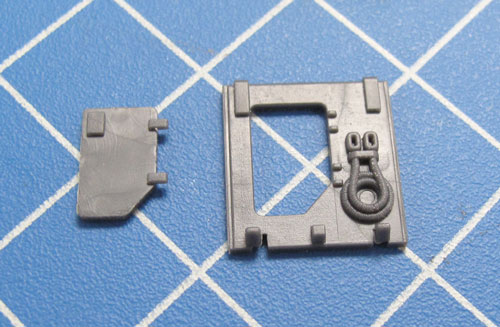
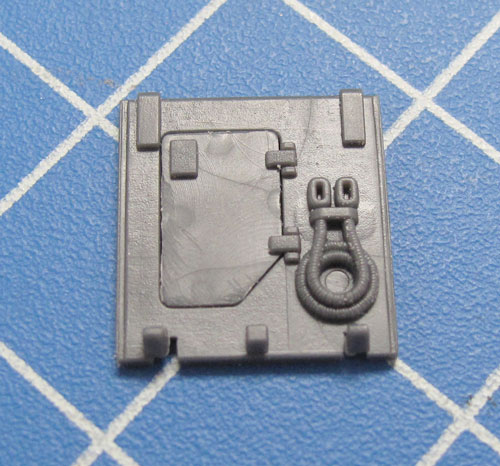
Step 3. Next, time to assemble the rear section; this is made up of the ramp and the rear door. |
 |
 |
 |
|
Below: The assembled ramp section.
|
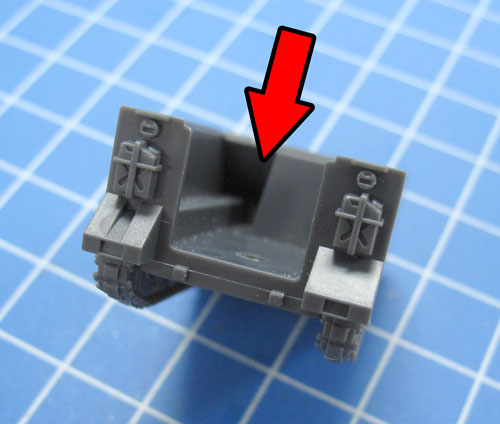
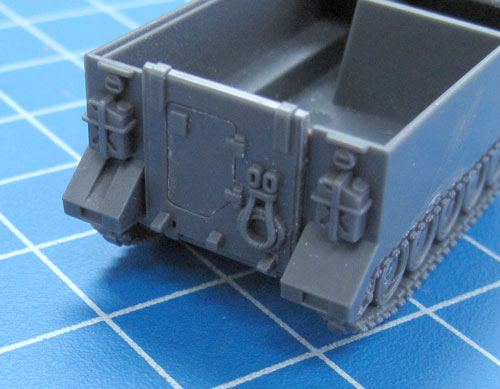
Step 4. Next, attach the rampsection to the back of the hull.
|
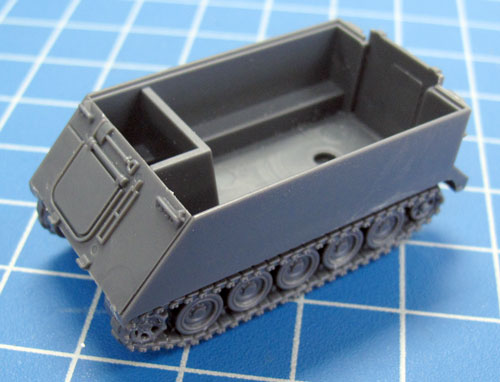
Below: With the ramp section attached, the basic hull is now fully assembled. |
 |
 |
|
|
Assembling The Optional Components
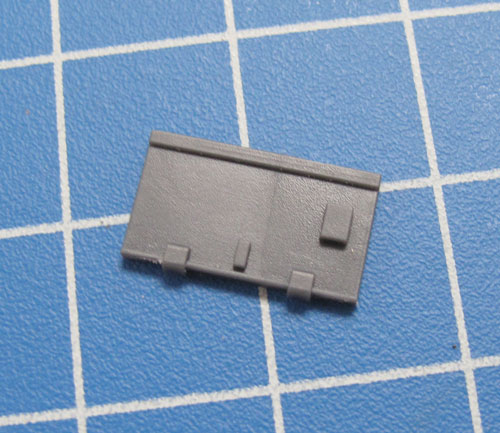
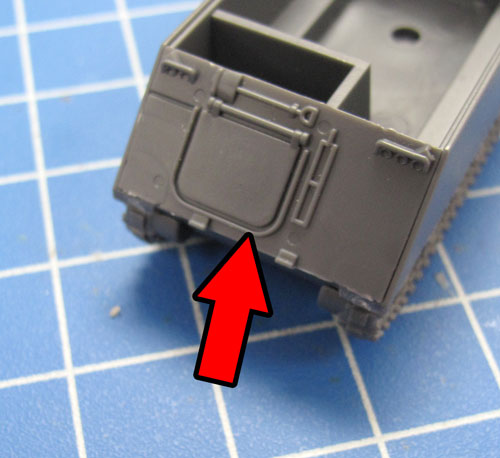
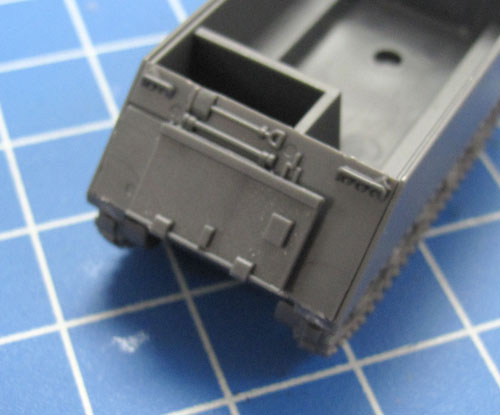
The Trim Vane
|
| Before crossing rivers, the trim vane on the M113 was lowered to prevent water from entering the vehicle via any open hatches. |
Below: The trim vane attached to the front of the hull. |
 |
 |
 |
The Side Fenders
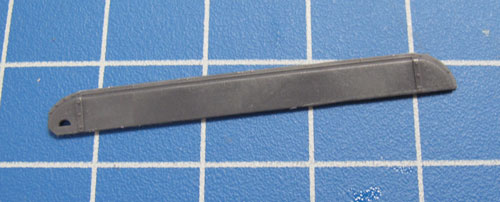
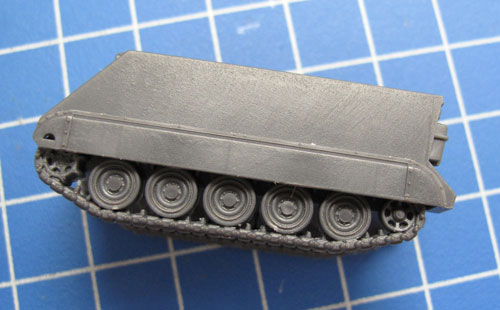
The side fenders attach to the hull just above the tracks as shown in the example below.
|
Below: The side fender attached to the sides of the M113.
|
 |
 |
|
Assembling The M113
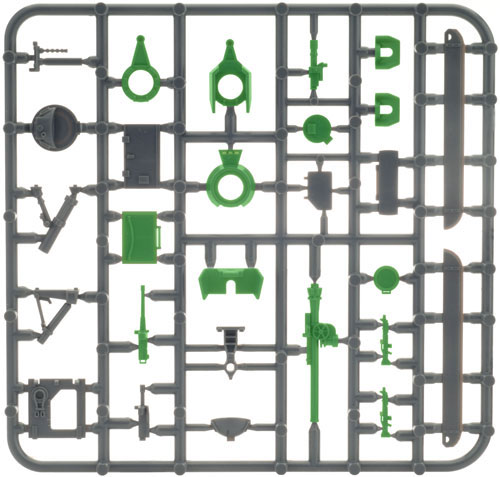
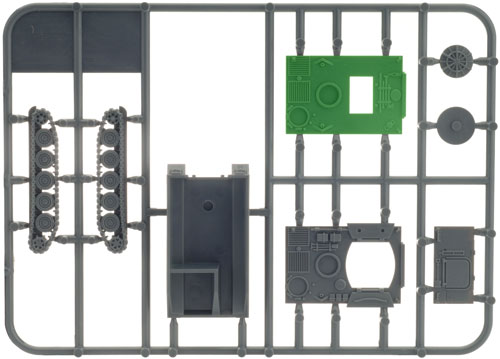
Along with the basic hull components; the components seen on the plastic spures below highlighted in green are used to construct the M113 complete with different weapons options.
|
 |
 |
Tip: This version of the M113 is used in Rifle Company (Mech) as seen on page 42 of Tour Of Duty.
|
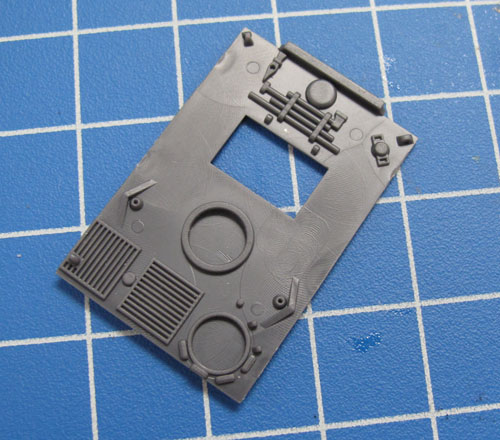
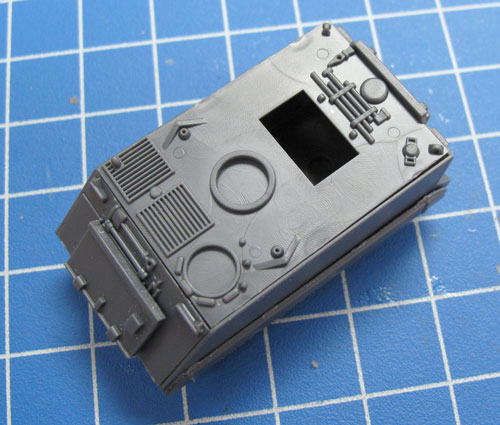
Step 1. Begin by attaching the top deck to the top of the hull.
|
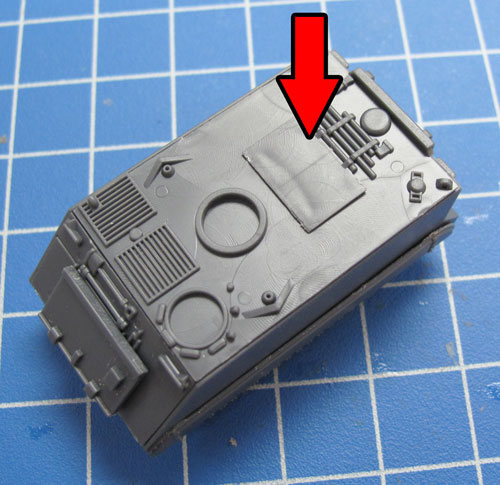
Step 2. Next, attach the passenger compartment hatch.
|
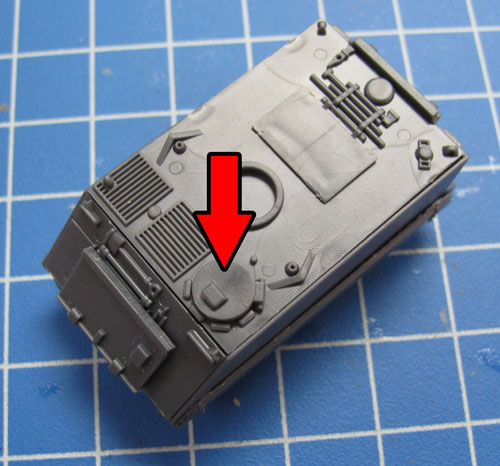
Step 3. Followed by the vehicle driver's hatch.
|
 |
|
 |
 |
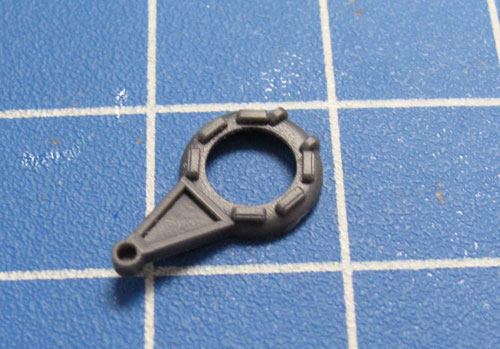
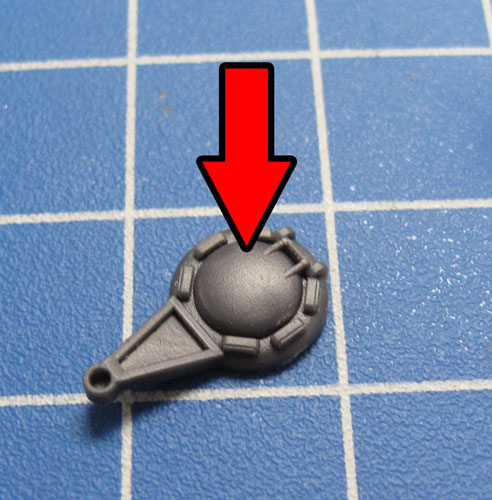
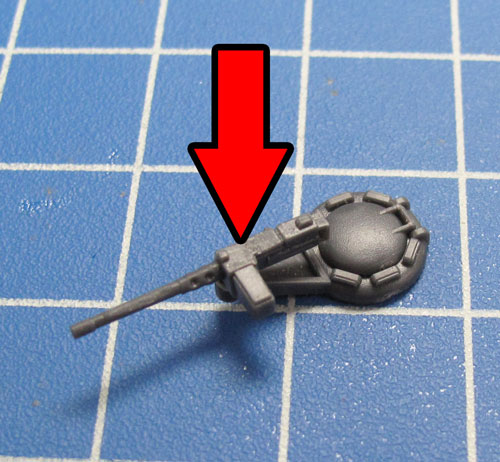
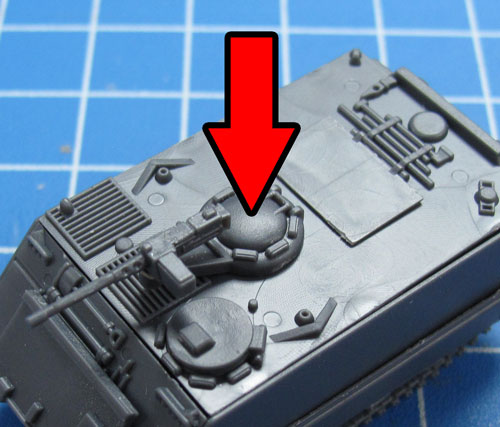
Step 4. Next, assemble the .50 cal MG turret.
|
Below: The .50 cal MG turret attached to the M113. |
 |
 |
|
|
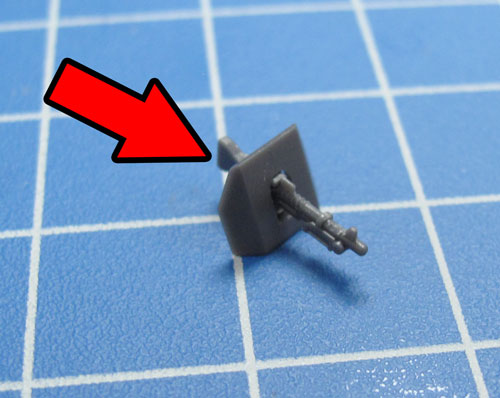
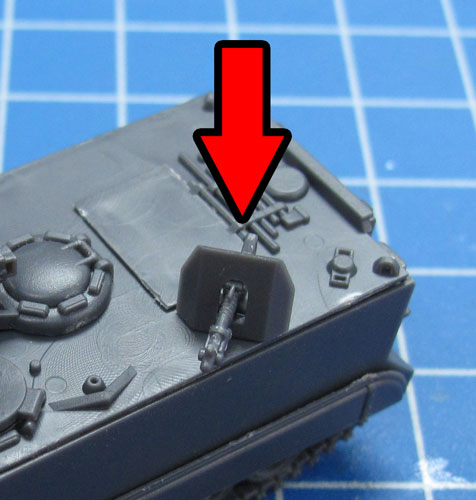
| Step 5. Next, assemble the M60 passenger fired MGs and attach them to the vehicle. |
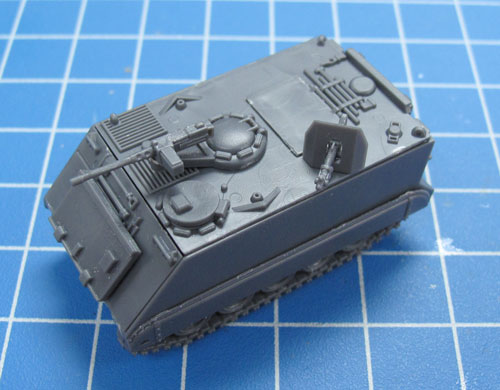
Below: The M113 complete with .50 cal MG and passenger fired M60 MG. |
Below: The Okinawa turret was also commonly seen on the M113 in Vietnam. |
 |
 |
 |
 |
Step 6. Attach the hatch and the .50cal MG to the Okinawa turret.
|
Below: The M113 complete with Okinawa turret.
|
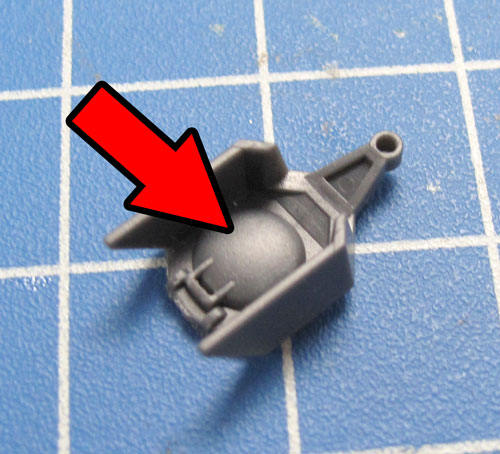
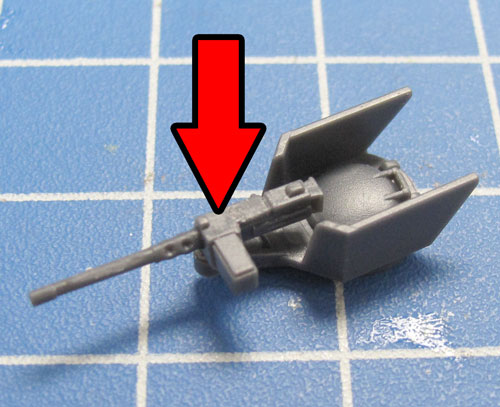
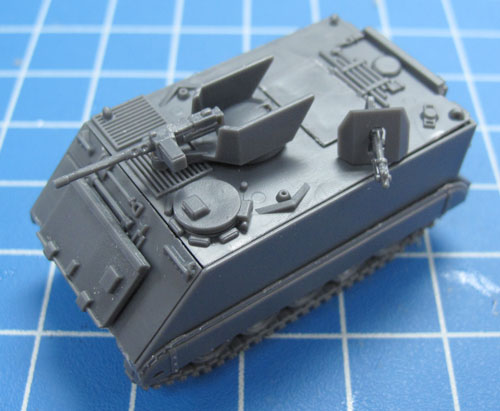
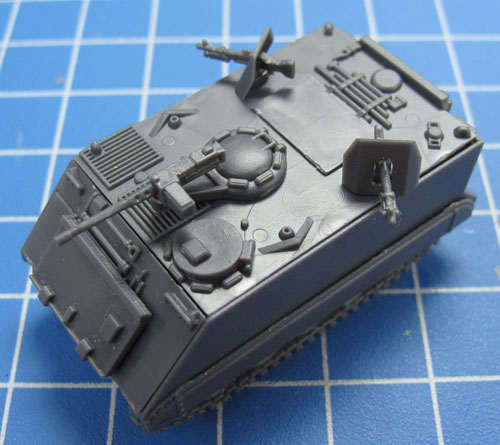
Below: A second passenger fired M60 MG can also be added the M113 at an additional points cost. |
 |
 |
 |
 |
| Below: A M40 106mm recoilless gun can also be added the M113 at an additional points cost. |
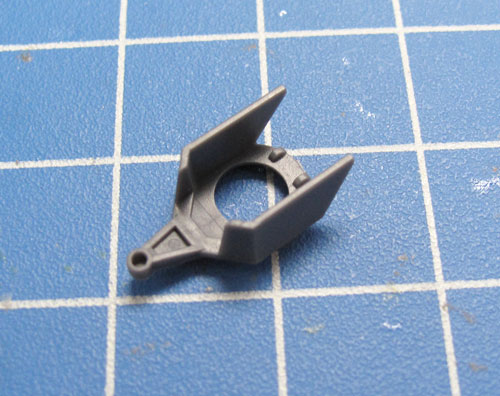
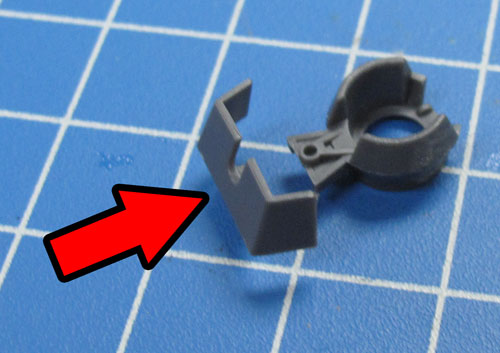
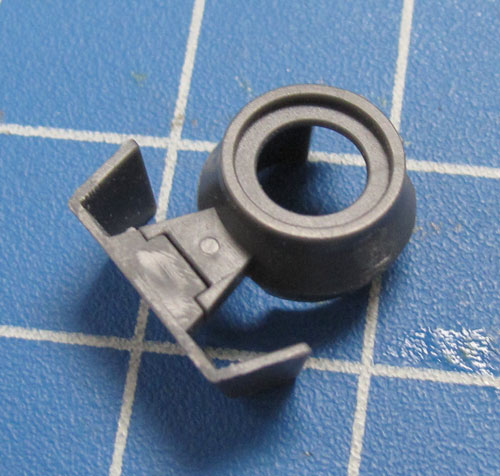
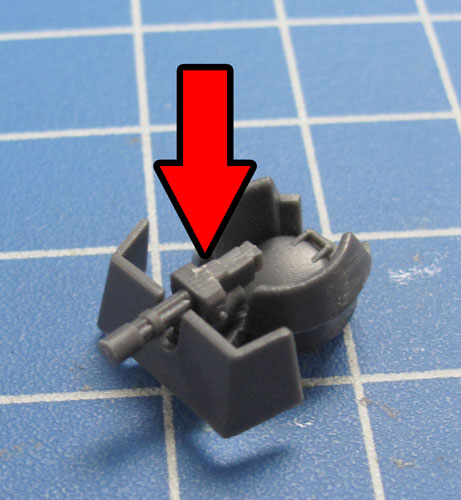
Step 7. A M134 minigun can also be added at an additional points cost. To do so, attach the gun shield to the front of the turret.
|
 |
 |
 |
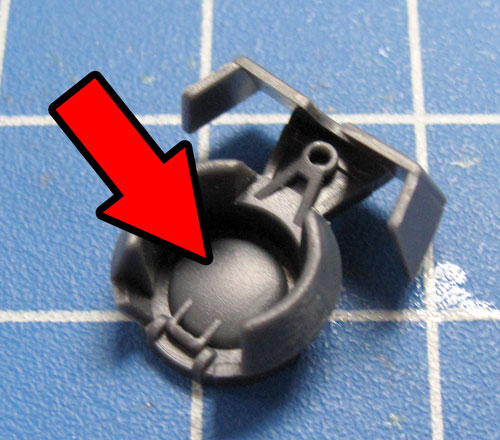
| Step 8. Next, attach the hatch and the minigun to the turret. |
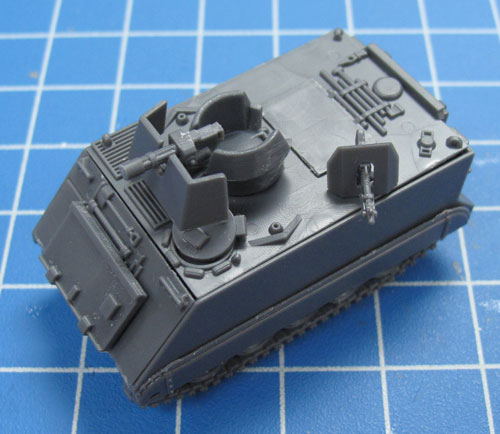
Below: The M113 complete with M134 minigun. |
 |
 |
 |
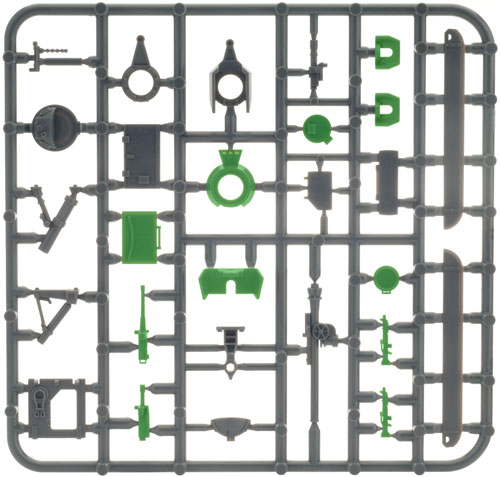
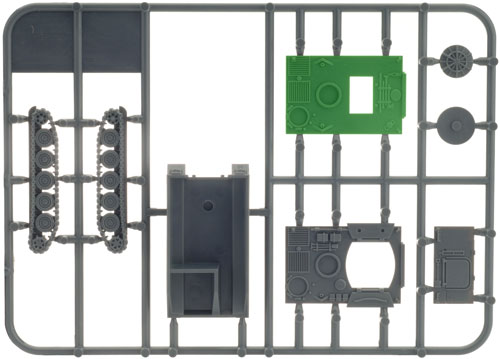
Assembling The M113 ACAV
Along with the basic hull components; the
components seen on the plastic spures below highlighted in green are
used to construct the M113 ACAV complete with different weapons options. |
 |
|
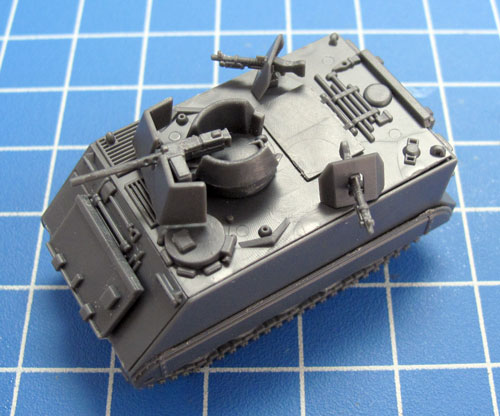
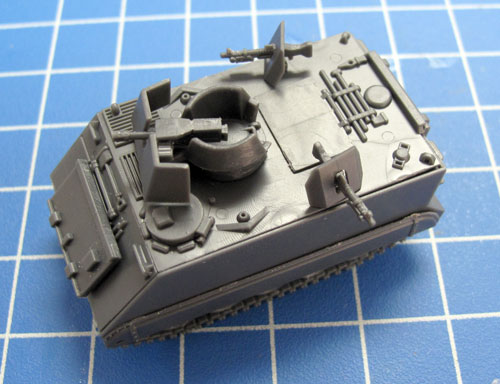
| Note: The M113 ACAV can be armed with a .50 cal MG and two side mounted M60 passenger fired MGs or with a Mk 19 40mm MG which replaces the .50 cal MG and the two M60 passenger fired MGs. The turret is the same as the M134 minigun turret (see the instructions above) but the gun is simply replaced. |
Below: The M113 ACAV armed with the .50 cal MG and two M60 passenger fired MGs.
|
Below: The M113 ACAV armed with the Mk 19 40mm MG and two M60 passenger fired MGs. |
 |
 |
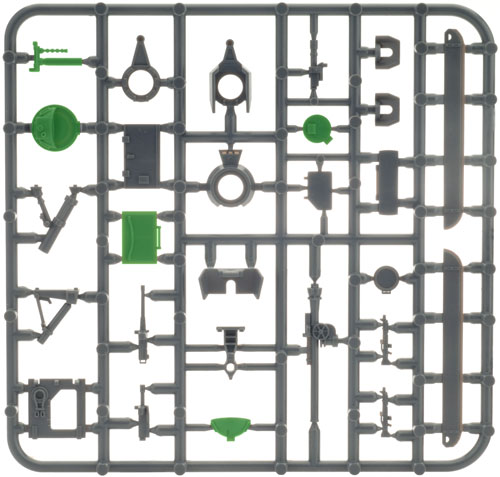
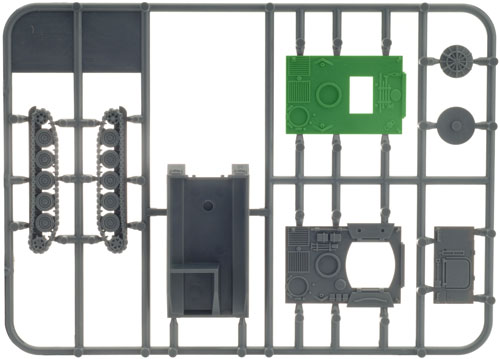
Assembling The M132 Zippo
Along with the basic hull components; the
components seen on the plastic spures below highlighted in green are
used to construct the M132 Zippo. |
 |
 |
| Note: The M132 Zippo is armed with a M10-8 flame-thrower and a M73 MG. However, the M73 MG can be replaced with a .50 cal AA MG for +5 points per track. |
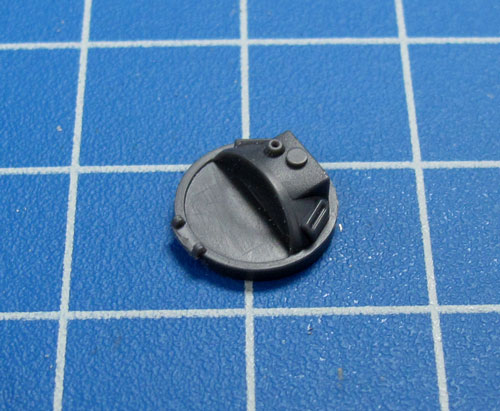
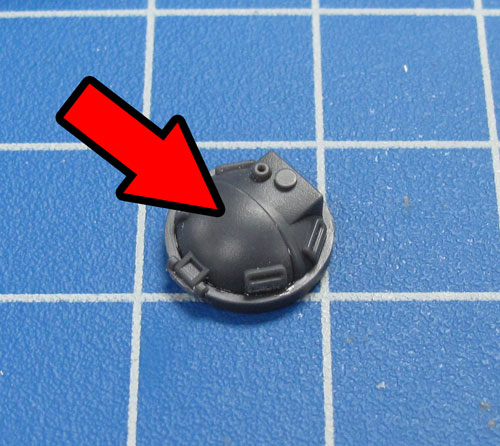
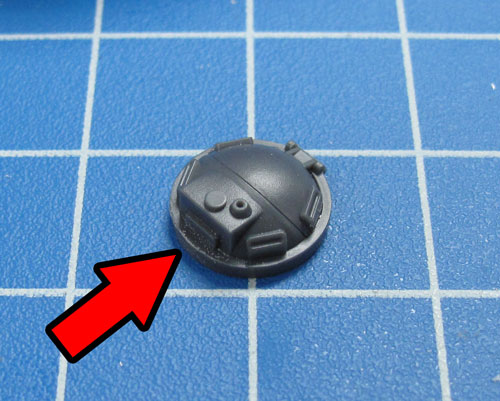
Step 1. Attach the hatch to the rear of the flame-thrower turret.
|
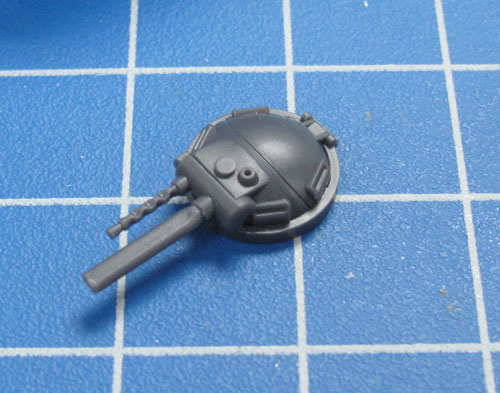
Step 2. Next, attach the flame-thrower to the front of the turret.
|
 |
 |
 |
| Below: The turret complete with flame-thrower. |
Below: The M132 Zippo fully assembled.
|
Below: The MG in the turret can be replaced for a .50 cal AA MG for an additional points cost.
|
|
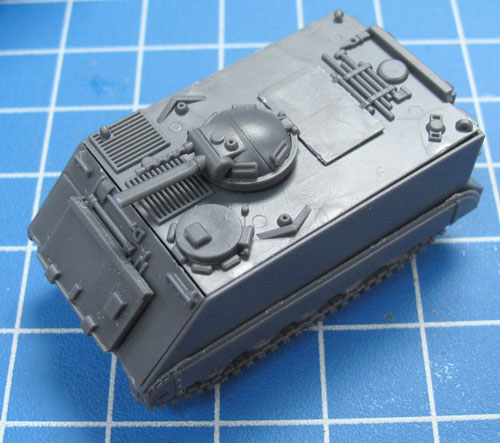 |
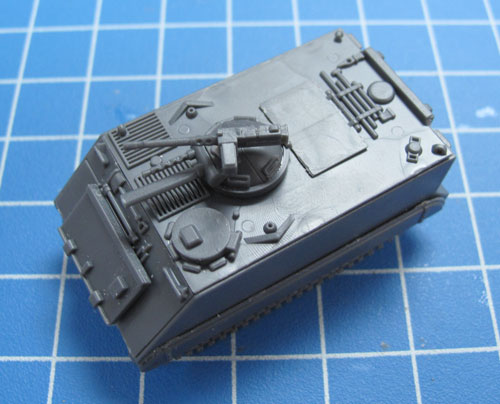 |
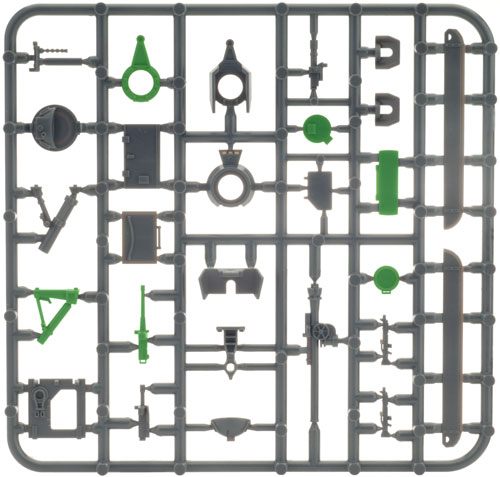
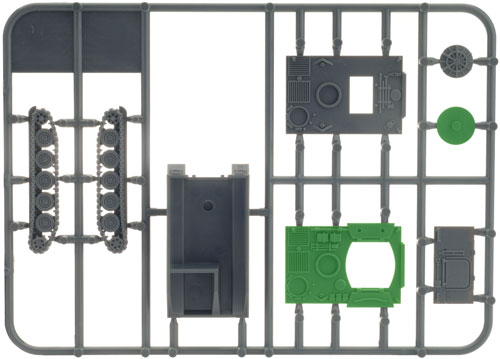
Assembling The M125 (81mm)
Along with the basic hull components; the
components seen on the plastic spures below highlighted in green are
used to construct the M125 (81mm). |
 |
|
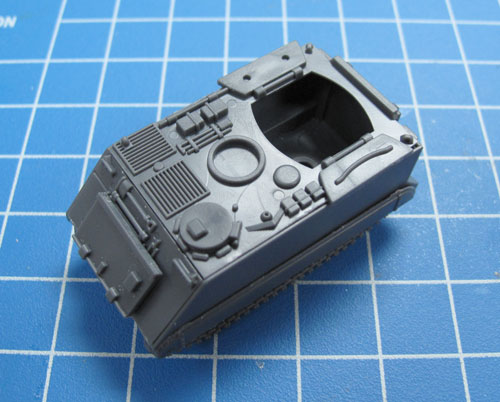
Step 1. Begin by attaching the top deck to the the top of the hull.
|
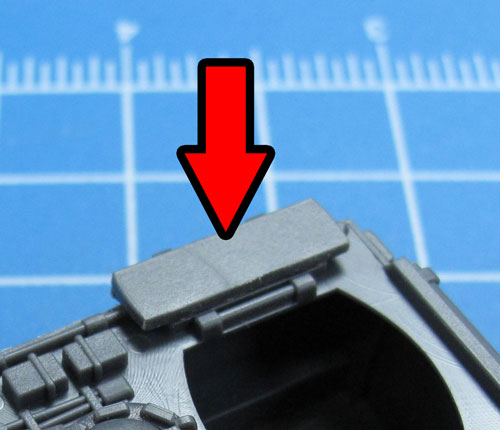
Step 2. Attach the hinged section to the top open fighting compartment hatch. |
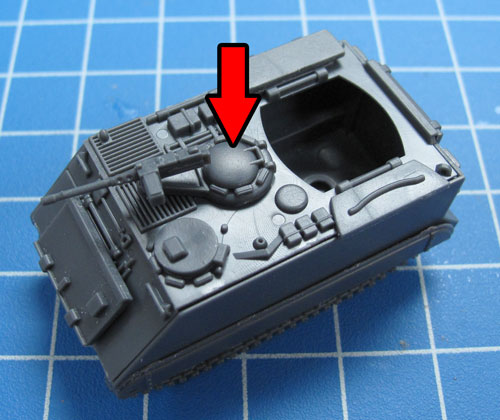
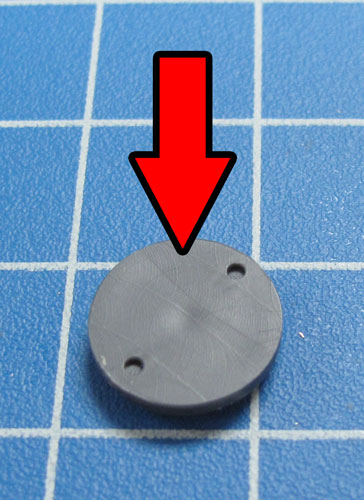
Step 3. Add the .50 cal MG turret and the driver's hatch.
|
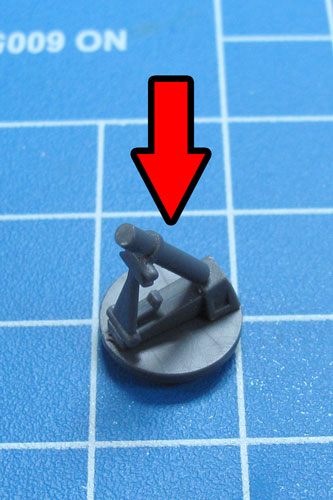
Step 4. Attach the M29 81mm mortar to the base plate.
|
 |
 |
 |
 |
Below: The M29 81mm mortar attached to the base plate.
|
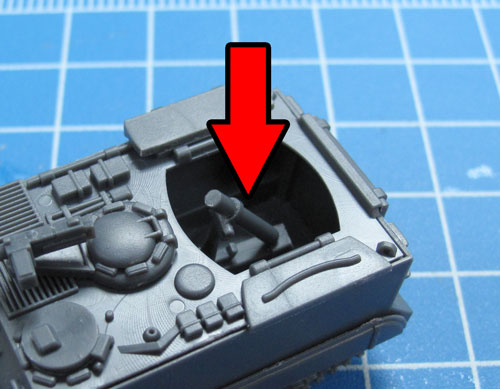
Step 5. Next, add the M29 81mm mortar to the fighting compartment.
|
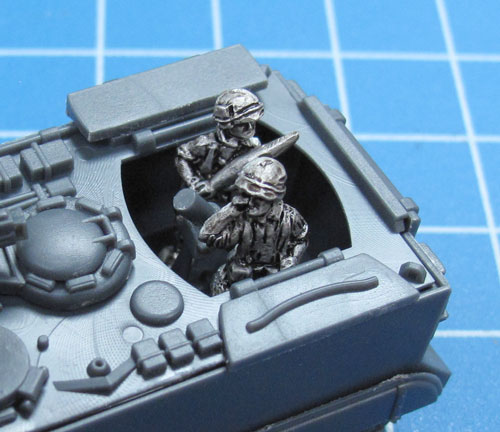
Step 6. Finally, add any mortar crew figures to the fighting compartment.
Note: The box set includes enough mortar crew figures for one figure per vehicle.
|
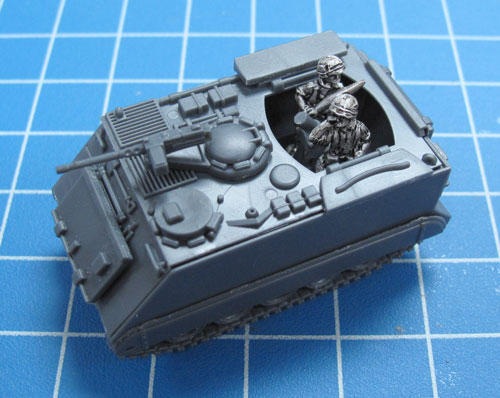
Below: The M125 (81mm) fully assembled and ready for painting. |
|
 |
|
 |
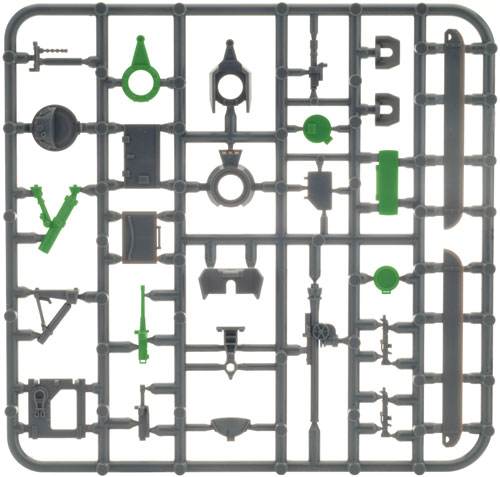
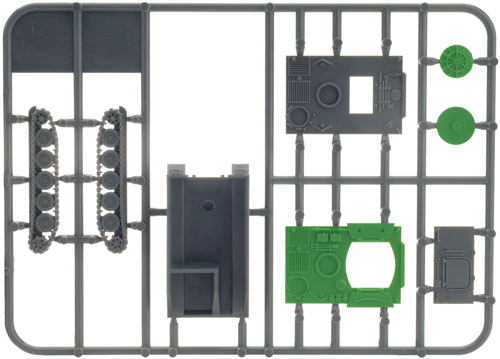
Assembling The M106 (4.2in)
Along with the basic hull components; the
components seen on the plastic spures below highlighted in green are
used to construct the M106 (4.2in). |
 |
 |
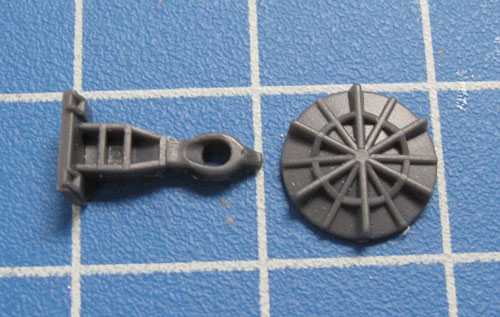
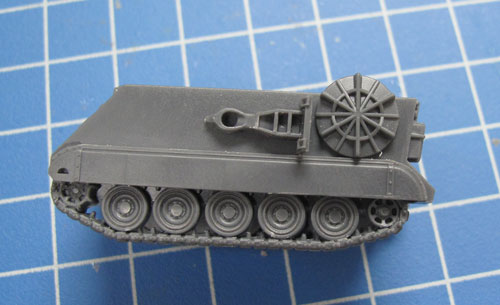
| Step 1. Assembly the top deck as seen above with the M125 (81mm). However, unlike the M125 (81mm) the M106 (4.2in) has the mortar base plate attached to the left-hand side of the vehicle. See the examples below. |
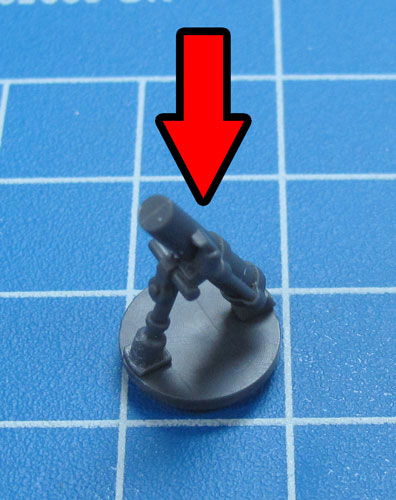
Step 2. Next, attach the 4.2in mortar to the base plate. |
 |
 |
 |
| Below: The 4.2in mortar attached to the base plate. |
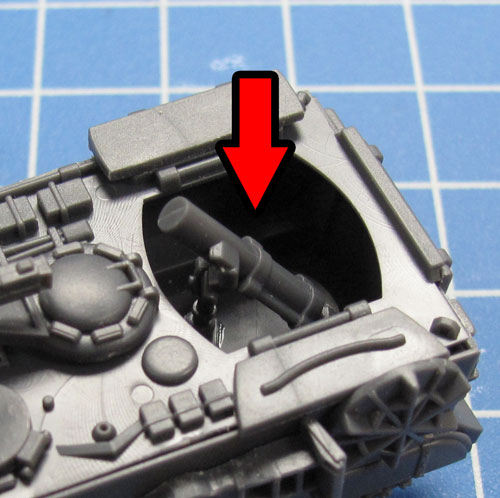
Step 3. Next, add the 4.2in mortar to the fighting compartment. |
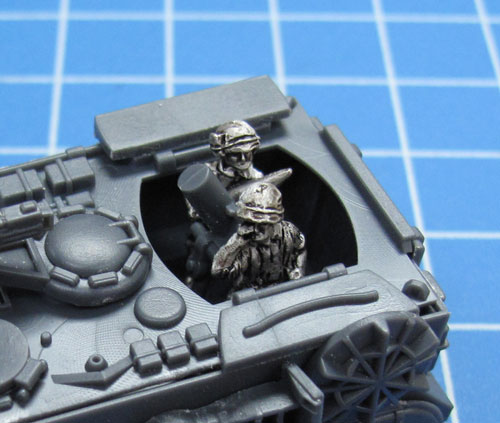
Step 4. Finally, add any mortar crew figures to the fighting compartment.
Note: The box set includes enough mortar crew figures for one figure per vehicle |
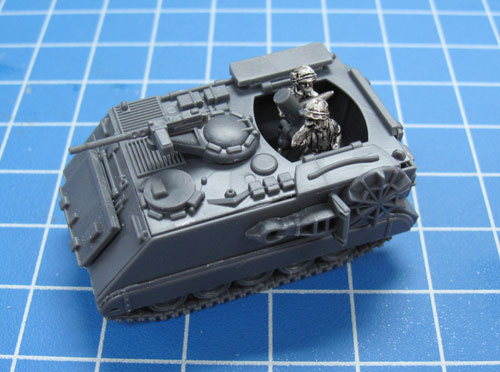
Below: The M106 (4.2in) fully assembled and ready for painting. |
 |
 |
|
|
Adding Crew Figures
Adding The Driver
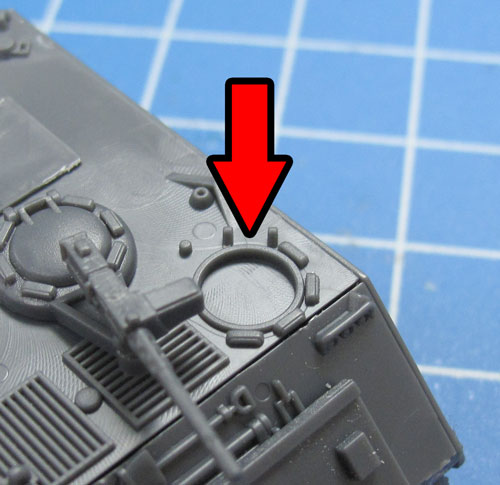
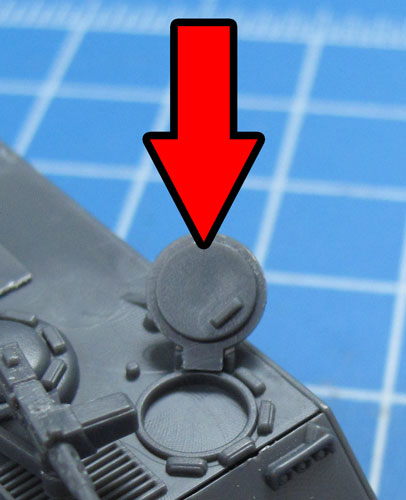
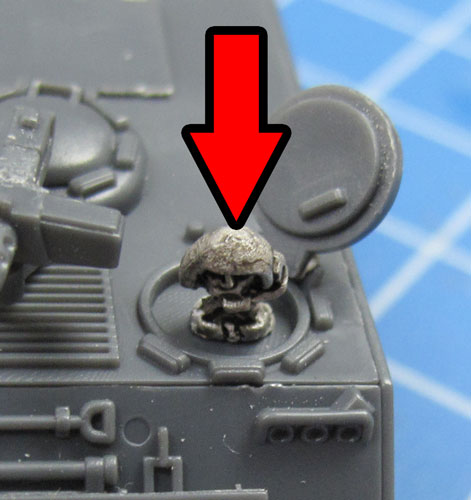
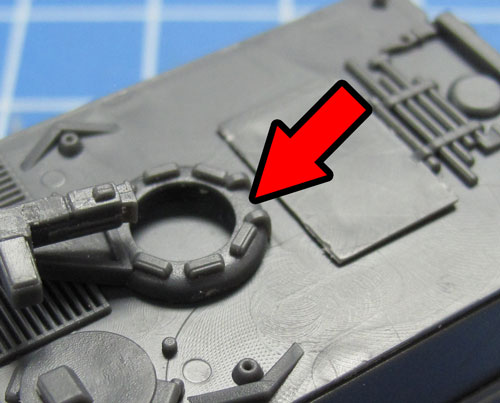
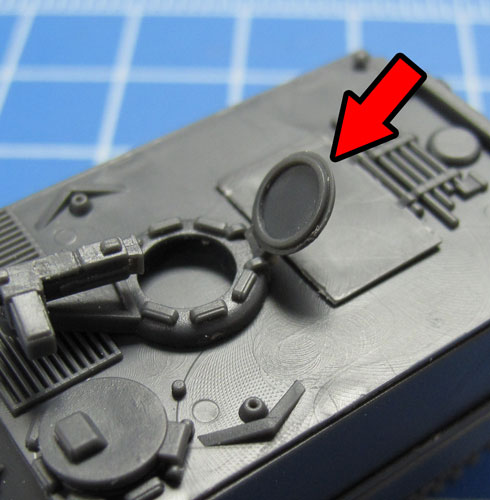
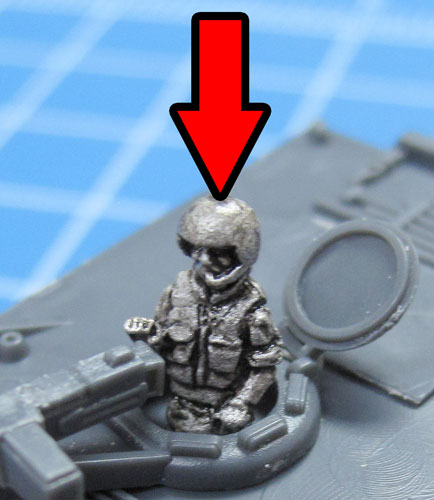
To add a driver, simply attach the driver's hatch to the vehicle in an open position and add a driver head to the now open hatch.
Right: Adding a driver.
|
 |
 |
 |
| Tip: Adding a vehicle commander is ideal for representing your platoon command vehicle. |
 |
 |
 |
Adding Turret Crew Figures
To add a turret crew figure, simply attach the turret hatch in an open position and add a turret crew figure inside the open turret.
Left: Adding a turret figure.
|
More Examples of Turret Crew Figures
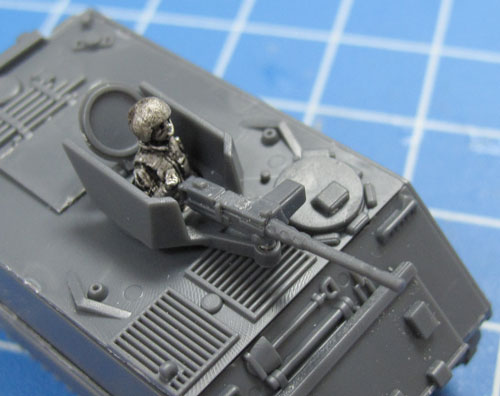
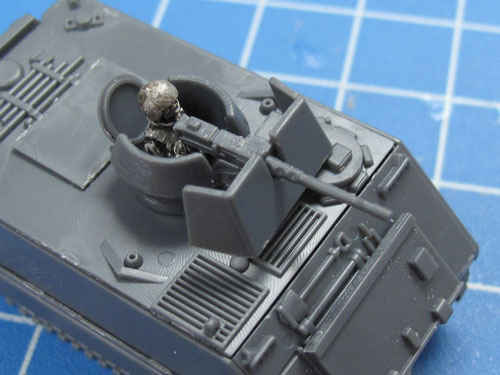
Here are some more examples of the turret crew inside the other turret options for the M113.
Right: Inside a Okinawa turret.
Far right: Inside a ACAV turret.
~ Blake.
|
 |
 |
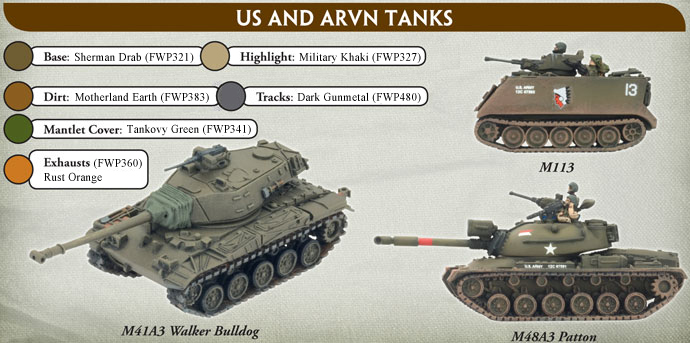
| US Vehicle Painting Guide |
 |
Last Updated On Wednesday, May 8, 2013 by Blake at Battlefront
|
|
|