|
|
|
|
Products mentioned in this Article
|
|
|
|
|
|
|
|
|
 |
|
|
 |
Soviet Naval Headswaps
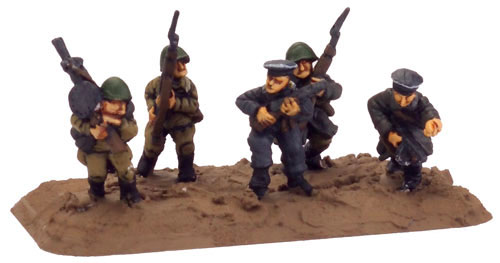
After a bit of a dry spell (we’ve been really busy here lately) a few months ago I finally got around to starting another army. At the same time Evan had just finished sculpting the Soviet Naval Infantry miniatures.
Being a former sailor myself I got inspired, however the main reason that I decided to do another Soviet army is that my first one was done in a rush and wasn’t overly well painted, and I wanted to take my time and have a well painted force to take its place.
|
|
Having already completed one Soviet infantry battalion already (I’m only slightly crazy) I was a bit daunted by painting another one, as painting so many models in the same colour can be a bit boring and difficult to keep motivated for.
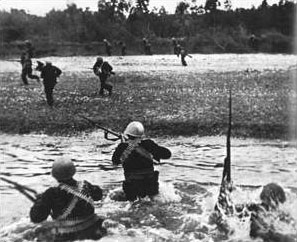
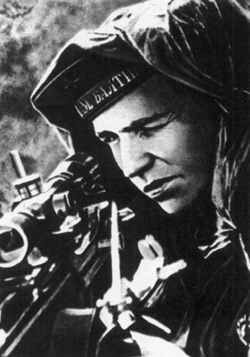
However after a bit of research I found a number of resources that showed that the Soviet Naval infantry brigades were issued with standard Red Army issue uniforms as their original uniforms wore out, so it wasn’t uncommon to see a mixture of uniforms within the same units.
This made starting my new Brigada morskoi pekhoty or naval infantry brigade easy. Since the infantry had a mixture of uniforms I decided that a rag-tag motley look would be good for the army, so as well as having a normal and sailor uniforms in the same unit I thought I’d add some greatcoat figures in as well.
|
 |
 |
This made the first Company easy to assemble. I simply got a platoon blister of each and painted them up. When it came to basing I made sure that there was a good mixture of the three different types of figure on each base.
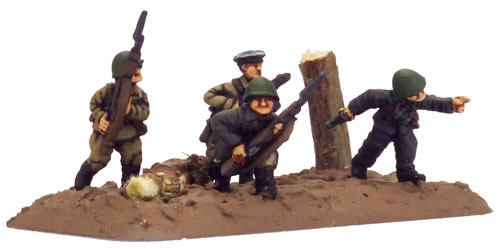
After I finished my first company (I’ll have photos of the whole army up in a few weeks) I had a bit of a brainstorm about an easy way to identify the different companies, and came up with the brilliant idea of doing a whole lot of head swaps. I figured that it’d add to the rag tag look if some of the sailors were wearing helmets and some of the greatcoat and normal infantry figures had sailor hats on.
|
Head Swaps
Doing head swaps is a very easy process and gives your miniatures a distinct look. Here’s a brief step-by-step showing how to do them.
To do head swaps you will need a sharp modelling knife, pliers/side cutters, thin wire (0.3-0.5mm), a pin-vice and superglue.
|
 |
Step 1
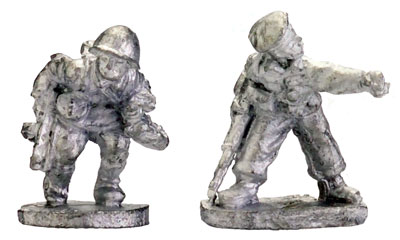
Choose the miniatures that you will do the head swaps on. Be sure to choose models whose heads stand away from the rest of the model, this will make the transplant easier.
|
|
Step 2
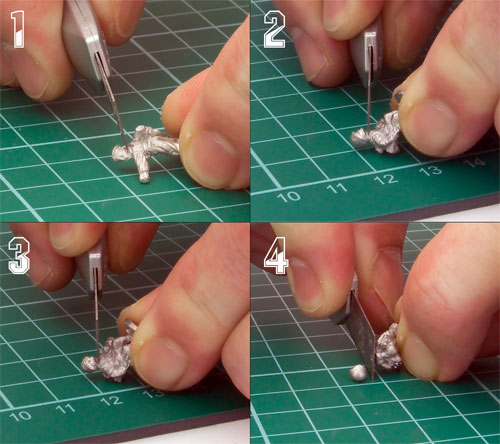
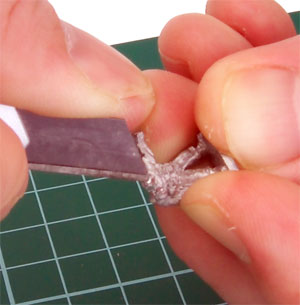
Carefully cut the heads off the figures.
An easy way to do this is to run the knife blade around the models neck gradually cutting deeper until the head pops off on its own.
|
 |
 |
Don’t hold the heads in pliers unless you have soft padding around the head as well, otherwise the heads may become misshapen. |
|
Step 3
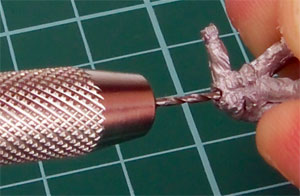
Once your figures are headless take your craft knife and make a small indent where you’ll want to pin the head. This will make it easier to start the pin-vice (drill) off.
|
 |
 |
Step 4
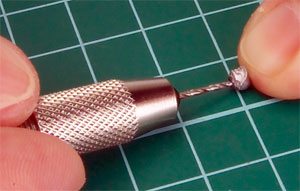
Place the pin-vice tip into the indent and drill a hole 2-3mm deep into the neck of the miniature.
|
| Repeat steps 4 and 5 for the head. |
 |
 |
Step 5
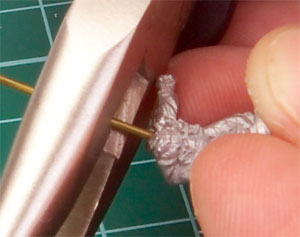
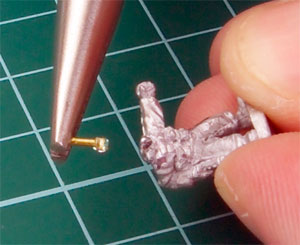
Insert the wire into the neck of your miniature. Make sure there is a deep enough hole so the pin will hold securely. Cut off a length of wire and dry fit your figure making sure the length of wire is correct.
|
|
Step 6
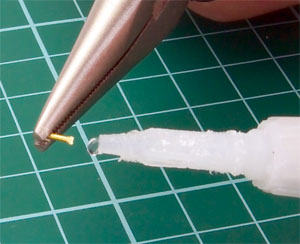
Using your pliers carefully apply a small amount of superglue to one end of the wire.
Carefully insert this into the neck of the model.
|
 |
 |
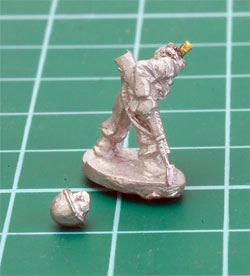 |
Carefully insert this into the neck of the model. |
|
Step 7
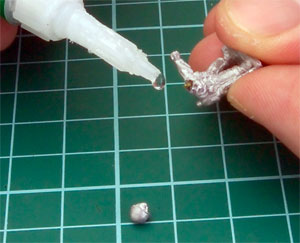
Carefully apply the glue to the other end of the wire that is sticking out of the mode.
|
 |
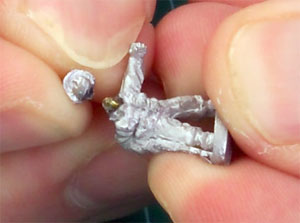 |
Then place the head on the wire, making sure that the head is at the angle that you want. Any excess glue is easily soaked up with a piece of scrap paper.
|
There you have it, the basic way to do a head swap. There are some pictures below showing some bases in progress that also have some head swaps on them. Hopefully I’ll have this second company finished in a few of weeks and I’ll be able to show you my horde in all their glory.
|
 |
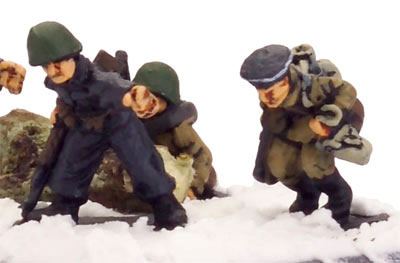 |
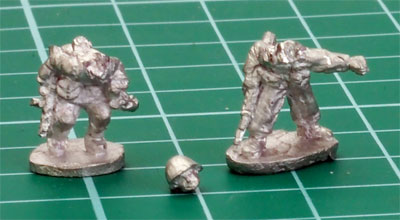
Left: The two miniatures used for this article, if you are careful when you remove the heads no miniatures are wasted and both get a new head!
Good modelling!
Casey
|
Last Updated On Friday, June 29, 2007 by Wayne at Battlefront
|
|
|