|
|
|
|
Products mentioned in this Article
--None--
|
|
|
|
|
|
|
|
|
 |
|
|
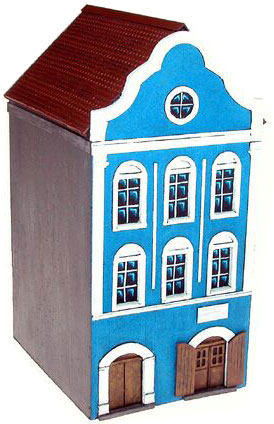 |
Painting a European Town House
Now I’ve finished my building its time to give it a lick of paint. I’ve already worked out a colour scheme, so my next job is to undercoat it.
Making the townhouse...
Step 1
Undercoat
For this I used matt black spray paint available from any hardware or paint store. Remember to always give the can a good shake before use and to spray in a well-ventilated area. Try not to breath in the paint particles in the air (a cheap paper mask can easily stop this), as it is not good for you.
As this building is multi part and designed so you can place your troops inside it I will undercoat and paint it in parts, as painting it as a whole will fuse the parts together.
|
|
Step 2
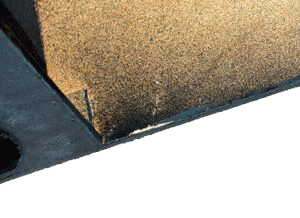
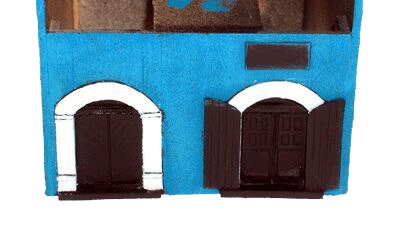
Once undercoated I put the building together to
see if all the bits still fitted with a layer of paint on. I did but I
had to do a little trimming where the middle section slides into the
bottom section, I just removed some thick paint along the wall edges
with sharp knife.
Left: I have removed some of the build up of paint with a sharp knife.
|
 |
 |
Step 3
The Base Coat
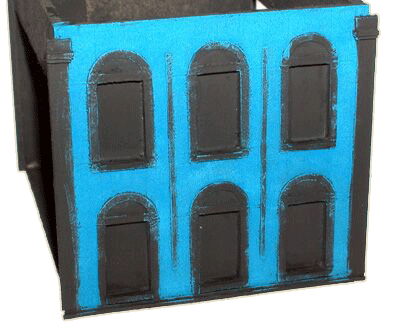
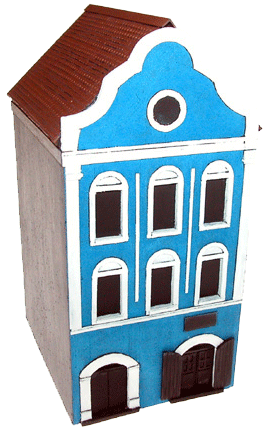
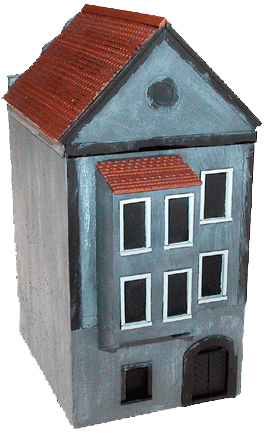
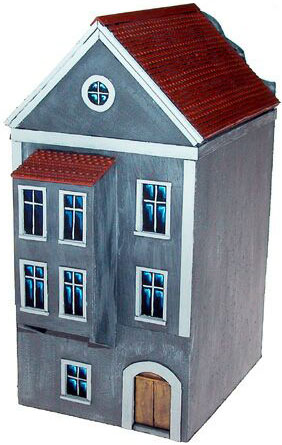
The front of the building is going to be blue with white details (windows, door frames etc) and the rest of the building will be grey, with lighter grey detail. The roof will be red brown tiles.
First I painted the Blue front of the building, with a medium blue.
|
|
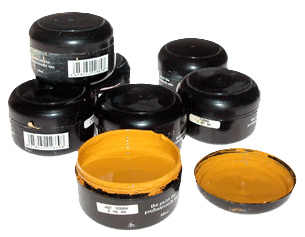
House paint test pots are great for this sort of thing (and for any terrain painting). For a small amount of money you get about 50ml of acrylic paint that will last you quite a while. It also means you are not wasting your good miniature paints on large areas.
|
 |
|
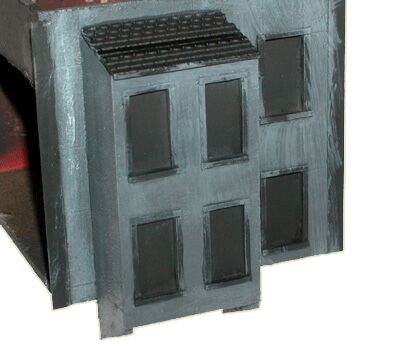
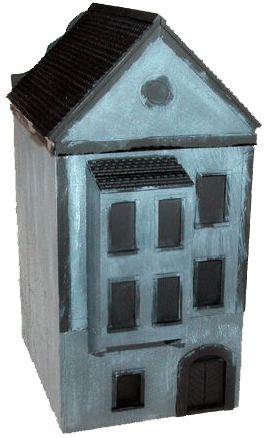
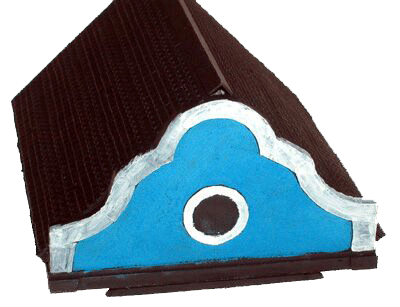
Once I have painted the base colours of blue and grey I then dry brushed a lighter shade of each colour over the base coats to give a weathered effect.
|
 |
 |
Step 4
The Details
Once the base coats were done I started on the detail, I choose white for the front and light grey for the back. With the white paint I’m using (some old Poly S I’ve had lying about for years) it is a bit thick and needs a touch of water to help it flow properly. I find that painting white over large areas is best done in parts, so I usually put a couple of coats on, waiting for the first coat to dry before applying the next.
|
|
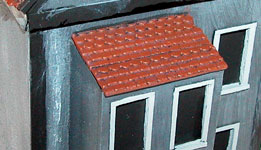
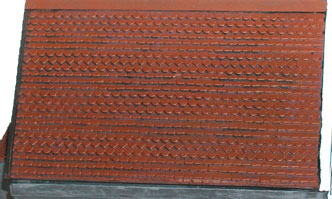
I then painted the roof, this was wet brushed (like dry brushing with more paint) rust brown, and once dry it was then dry brushed with an orange brown.
|
 |
 |
Right: For the light grey it was a lot easier as most grey paints seem to have reasonably good coverage.
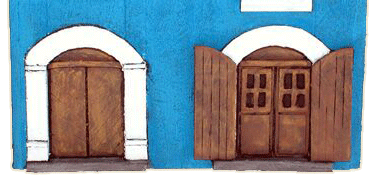
Left: The white detail is complete ready for door, step and window painting. |
 |
 |
Step 5
Doors
Next I painted the Doors. All three I painted as stained wood. First I painted them dark brown then highlighted them with an orange brown.
The doorsteps were painted stone grey then dry brushed with a lighter shade.
|
|
Step 6
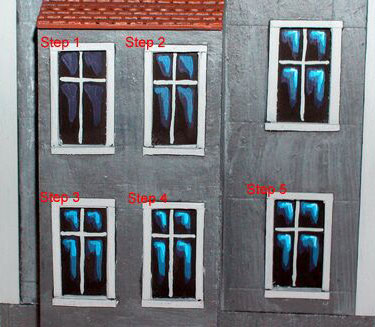
Then I painted the windows. During all the other painting I tried to leave the windows black.
1. I then painted the cross between the panes, white in this case to match the frames, light grey at the back.
2. Next I painted a very dark blue blob in the right top corner of each pane.
3. Then a smaller ¬ shaped blob of a lighter shade.
4. Followed by a lighter shade again.
5. Finally adding white.
|
 |
 |
|
Finally any signs and advertising can be added.
You may like to varnish your building, but I personally don’t bother as they are made of card and are more likely to dent rather than chip if roughly handled. I find it easier just to touch them up every now and again.
I Hope you all have a go and have many happy hours of modeling.
Wayne
|
Last Updated On Tuesday, June 19, 2007 by Wayne at Battlefront
|
|
|