|
|
|
|
Products mentioned in this Article
|
|
|
|
|
|
|
|
|
 |
|
|
The Contents
Firstly, let's take a look at the contents
of the British Armoured Regiment army box set; contact the Customer
Service team at [email protected] if you have any issues with any of the components. |
| The A9 Cruiser Mk I & A9 Cruiser CS Components |
| The A13 Cruiser Mk III and A13 Mk II Cruiser Mk IV |
The Light Tank Mk VI C and Light Mk VI B
|
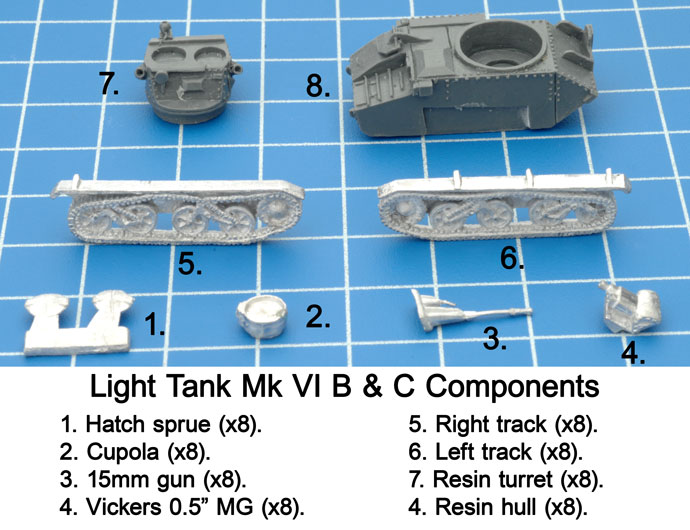 |
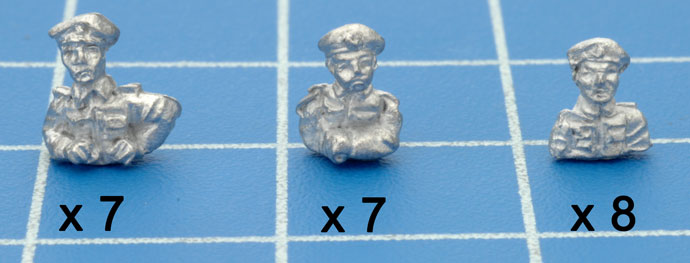
| Also included in the box set are three types of Commander figures. |
 |
This army box contains 22 armoured vehicles comprising of a single A10 Cruiser Mk II and mixed platoons of A9 & A13 tanks as well as A13’s mixed with Mk VI’s. Begin by taking your miniatures out of the box and sorting the components so that you check that all the components are correct, once that’s done we can begin cleaning up the components ready for assembly. First, use a hobby knife and hobby files, to clean up any mould marks and flash on the figure as much as possible. There are two things to look for when cleaning up tanks.
Flashing and Mould Lines
Flashing is the large thin areas of metal that often form between the Drive sprockets and the road wheels. Sometimes you will also get venting which will be long stringy bits that hang off some of the track sections. It’s very easy to remove this flashing either with a fine file or a sharp knife.
Resin Bubbles
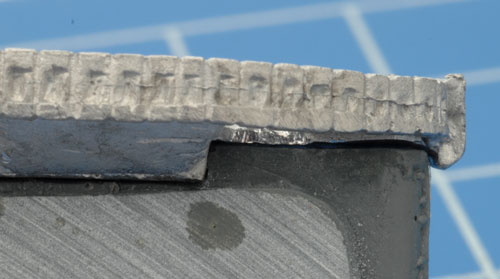
From time to time you will find a small amount of bubbling under resin mudguards where the tracks connect to the hull of the tank. These need to be carefully filled down so you can have a smooth join between the Hull and the tracks.
Once you have cleaned up the components you can start assembling your miniatures.
For more details on preparing miniatures, read Mark's guide here...
Once you have cleaned up the components you can start assembling your miniatures. |
| Assembling the A10 Cruiser Mk II |
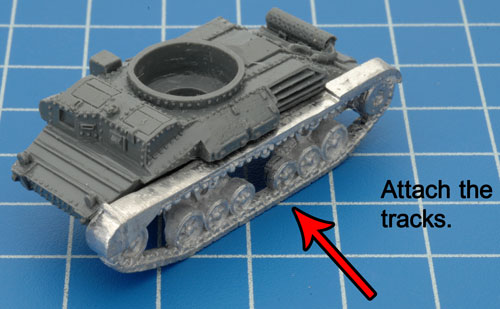 |
Lets start by attaching the tracks.
|
The resin hull and tracks have notches to align them correctly.
|
 |
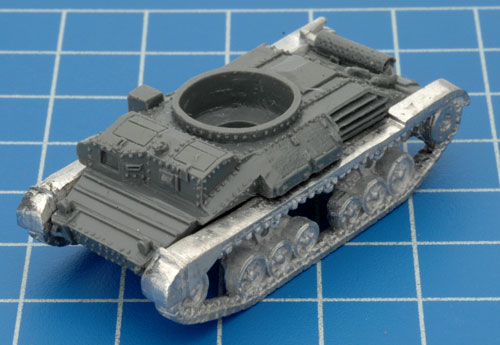 |
The A10 hull with the tracks attached. |
The Blanking plate attached to the front of the hull.
|
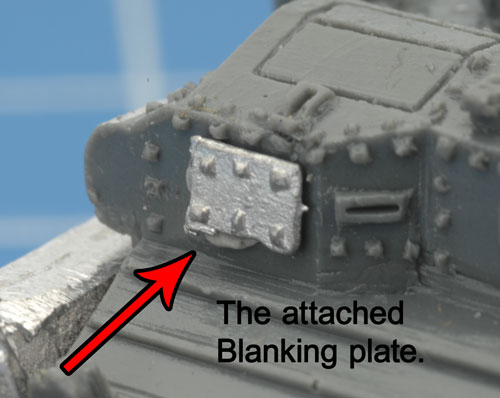 |
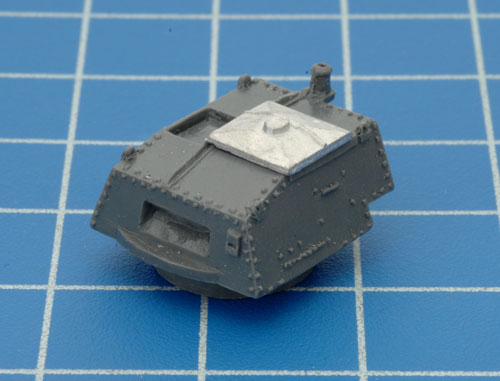
|
The turret hatch options include a turret hatch and either closed or open Commander's hatch.
This example shows the closed Commander's hatch.
|
| Be sure to align the Commander's hatch as shown in the example on the right. |
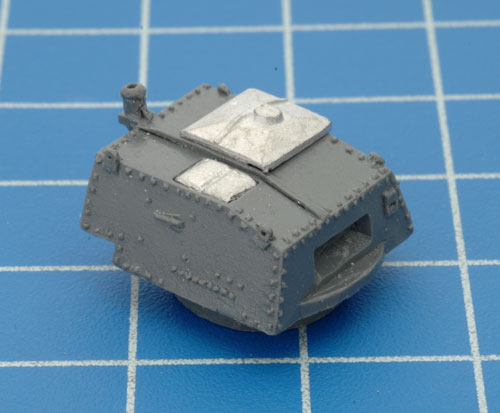 |
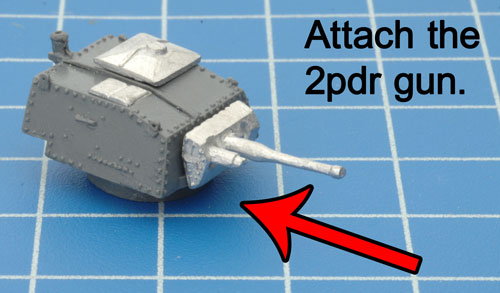 |
Insert the 2pdr gun into the plug in the front of the turret to complete the turret assembly. |
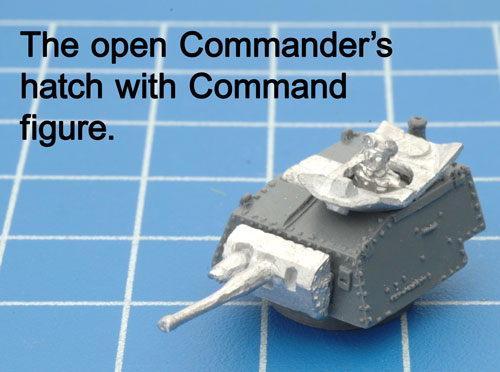
For modelling variation, use the open Commander's hatch and a Command figure. Be sure to align the open Commander's hatch as shown in the example.
|
 |
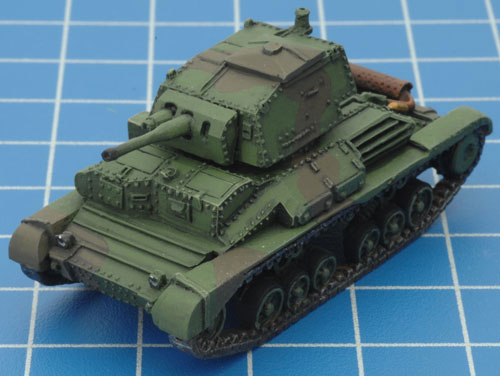 |
The fully assembled A10 Cruiser Mk II, this example is also painted.
|
Assembling the A9 Cruiser Mk I and A9 Cruiser Mk I CS
|
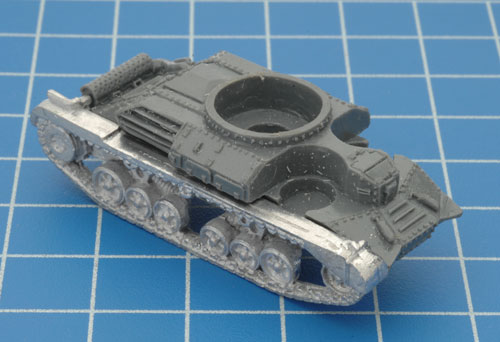
Assemble the tracks in the same way as the A10 using the alignment notches, see the examples above.
|
 |
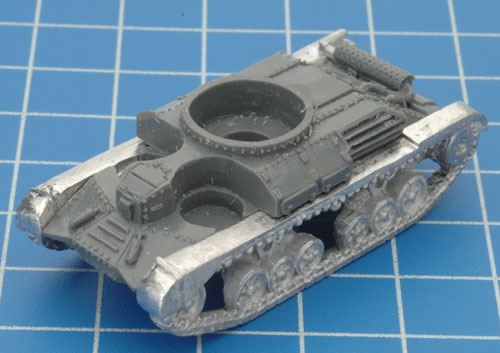 |
The attached tracks.
Complete the turret with 2pdr gun and the hatch options as shown in the A10 example above.
To create the CS version add the 3.7" howitzer, but more on that soon.
|
Attach the left and right MG turrets.
|
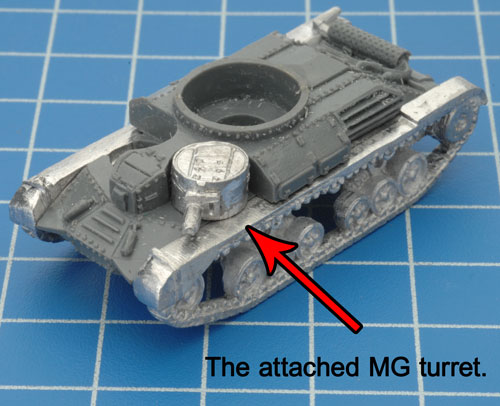 |
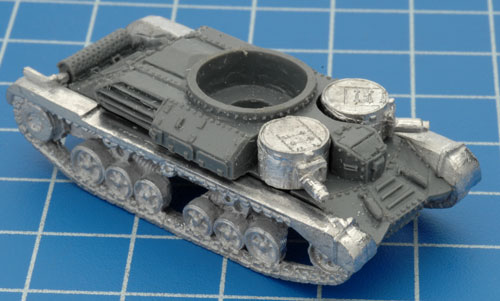 |
Both MG turrets attached to the hull.
|
| How for the CS option, simply replace 2pdr gun with the 3.7" howitzer. |
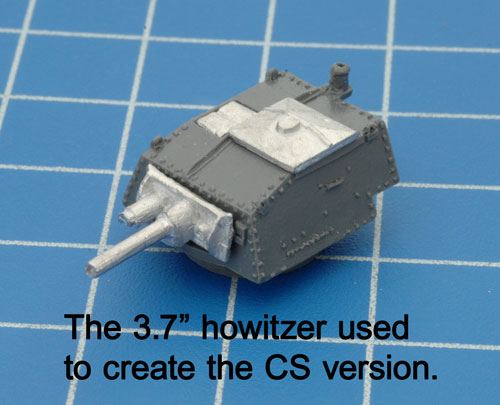 |
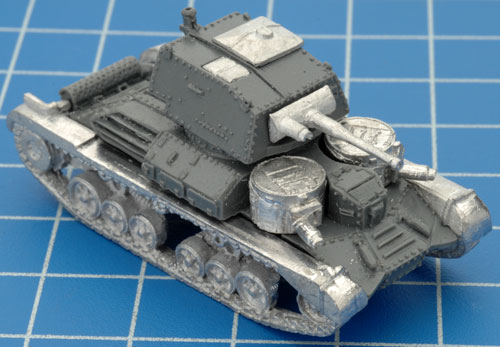 |
The completed A9 Cruiser Mk I.
|
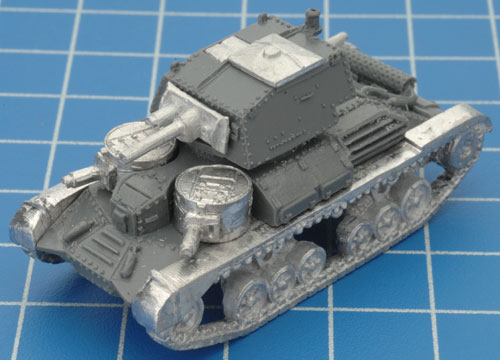
The completed A9 Cruiser Mk I CS.
|
 |
Assembling the A13 Cruiser Mk III and A13 Mk II Cruiser Mk IV
|
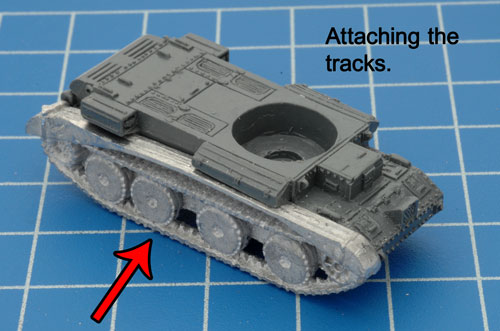 |
Attaching the tracks to the hull.
|
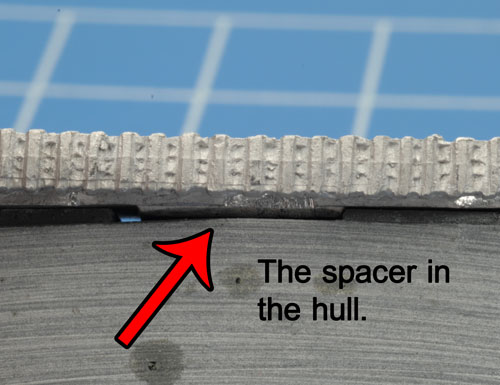
To make things easier the tracks have spacers to align them correctly.
|
 |
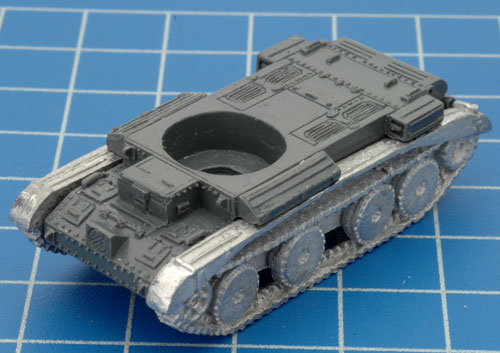 |
Both tracks attached to the resin hull.
|
| With the cupola, Evan has designed an open and closed version. The example to the right has the closed version on the A13 Mk II Cruiser Mk IV turret.
|
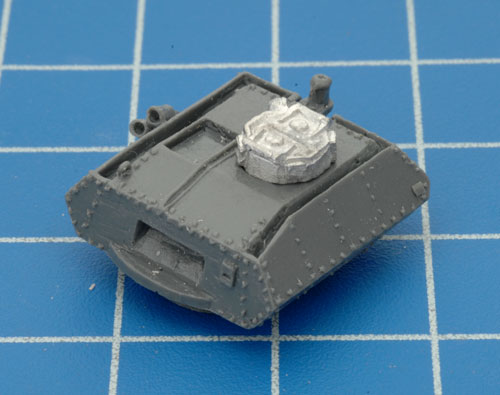 |
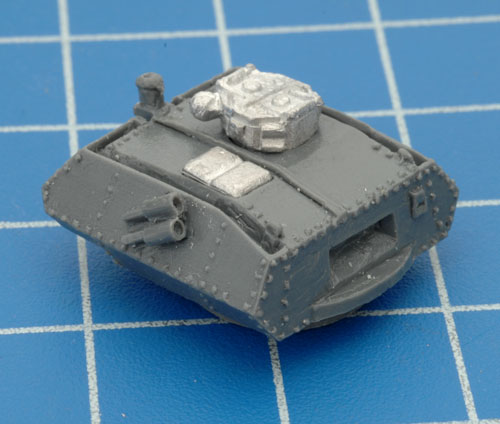 |
The attached turret hatch.
|
The attached uparmoured 2pdr to the plug in the front of the A13 Mk II Cruiser Mk IV turret.
|
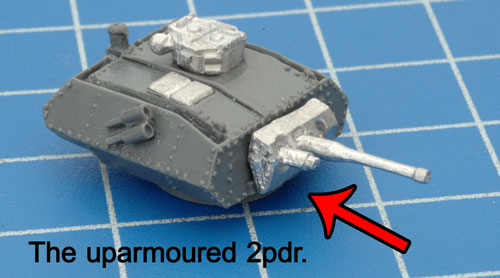 |
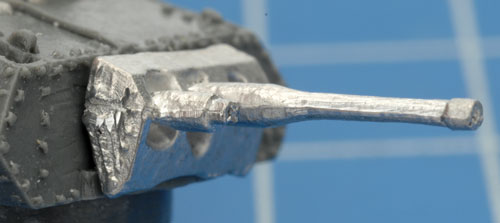 |
The uparmoured 2pdr compared to... |
| ...the regular 2pdr. |
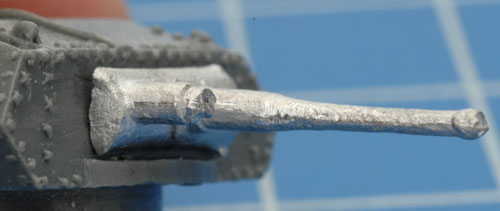 |
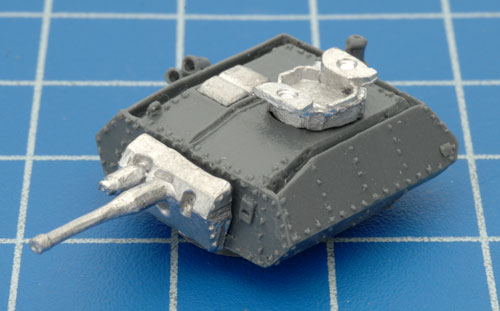 |
The open version of the cupola attached to the turret. |
Feel free to added to Command figure of your choosing.
|
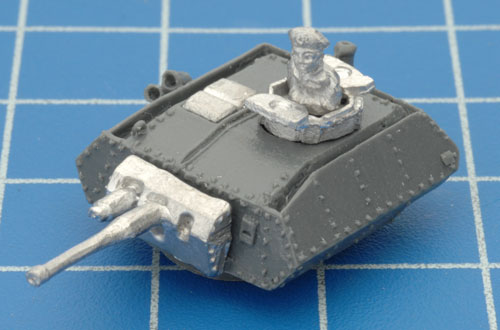 |
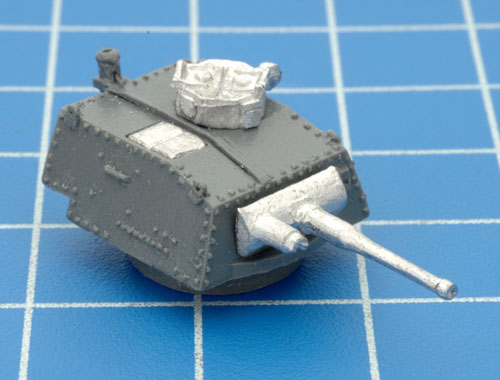 |
To create the A13 Cruiser Mk III turret, follow the example to the left.
|
The completed A13 Mk II Cruiser Mk IV.
|
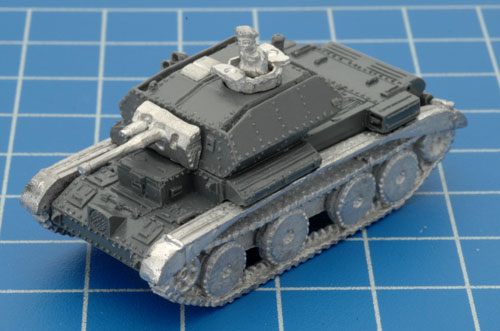 |
| The Light Tank Mk VI C and Light Mk VI B |
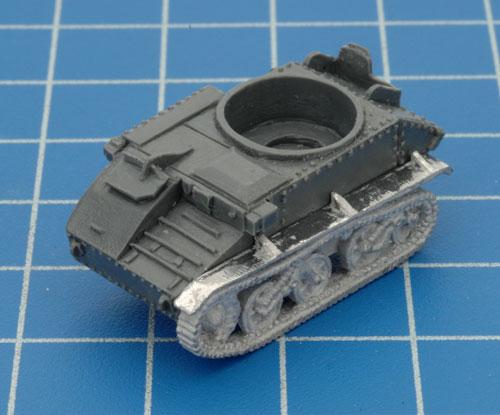
|
Attach the Left and Right Tracks. Note the large and small spacers on the inside of the tracks. The tracks these are clearly marked with an L and R and an arrow to assist with their correct placement.
|
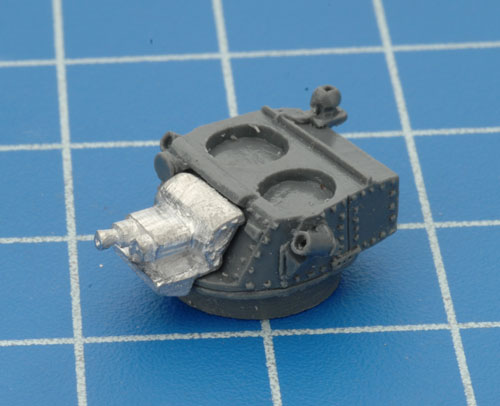
Next assemble the turrets. Its at this point that you need to decide if you want to build a Mk VI B or Mk VI C.
First we'll build the Mk VI B and attached the gun and hatch assembly as shown in the examples.
Use your hobby knife to split the cupola hatch if you want to add a Command figure.
|
 |
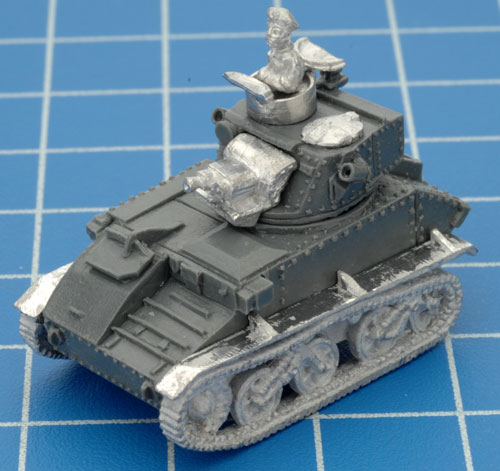 |
The completed Light Tank Mk VI B with the open cupola and commander. |
| The completed Light Tank Mk VI B with the closed cupola. |
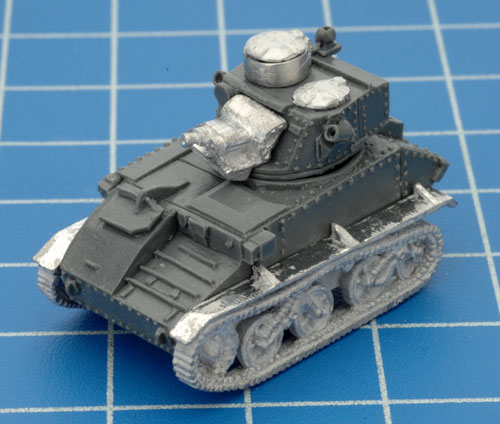 |
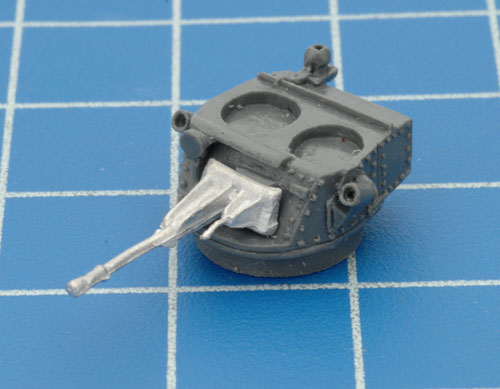 |
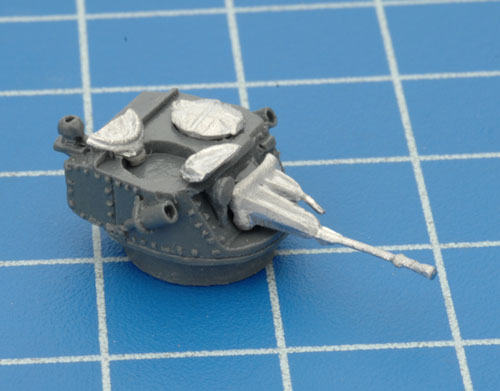
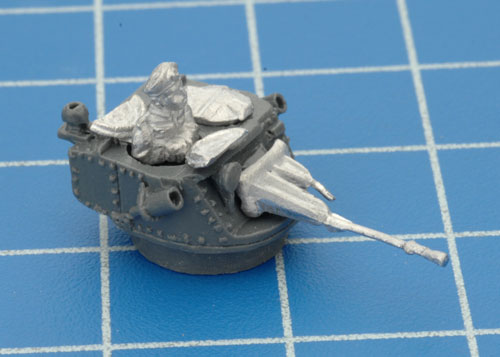
Now lets build the Light Tank Mk VI C. The Mk VI C lacks the cupola and has a 15mm gun and a Co-ax MG.
Attach the hatches as shown in the examples below.
|
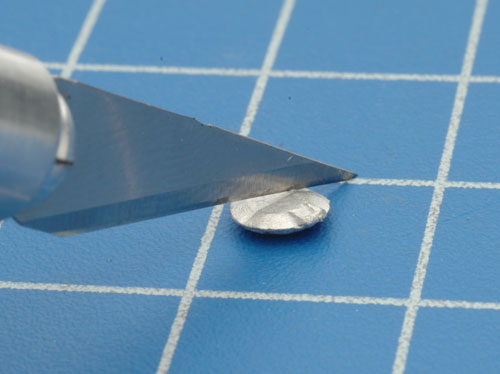 |
Once more, you'll need to split a hatch if plan to add a Command figure.
|
| Glue half of the hatch to each side of to the opening. |
 |
|
Once again its up to you to decide what Command figure to use.
|
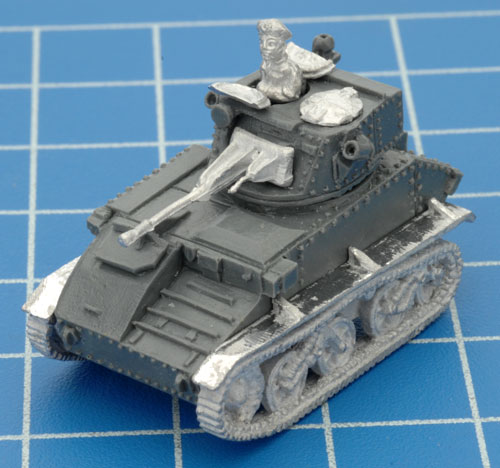
| The completed Light Tank Mk VI C with a Command figure. |
 |
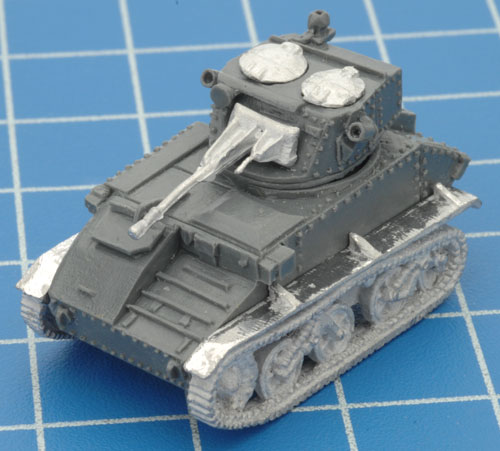 |
The completed Light Tank Mk VI C minus the split hatch and Command figure. |
Want To Know More About Blitzkrieg?
Over the past few months we have added a massive range of articles
about Blitzkrieg to the website, to make it easier for people to find a
specific article we have put together this handy place.
Find out more about Blitzkrieg and Early-war here...
|
Last Updated On Friday, October 8, 2010 by Blake at Battlefront
|
|
|