|
|
|
|
Products mentioned in this Article
|
|
|
|
|
|
|
|
|
 |
|
|
| Components Required For The Basic Sherman Hull |
I'll begin construction of the Sherman by demonstrating how to assemble the basic hull of the vehicle first; using the components that are common to both the Sherman (75mm) and Firefly.
The components required to assemble the basic hull of the Sherman can be seen below highlighted in white on the sprues below. |
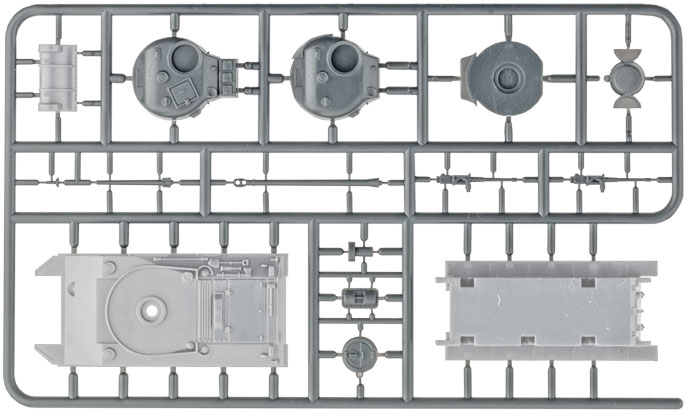 |
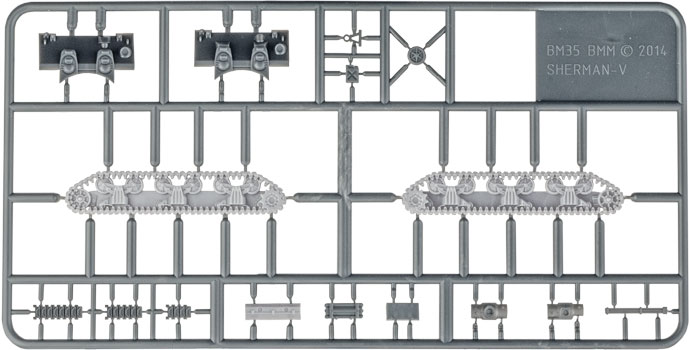 |
| Assembling The Basic Sherman Hull |
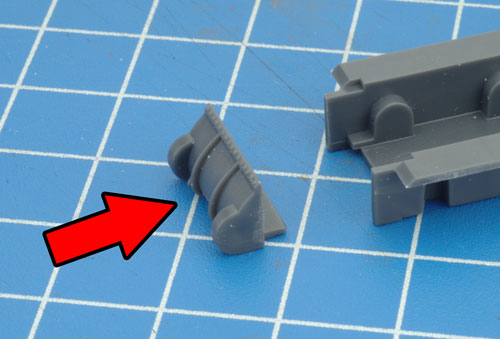
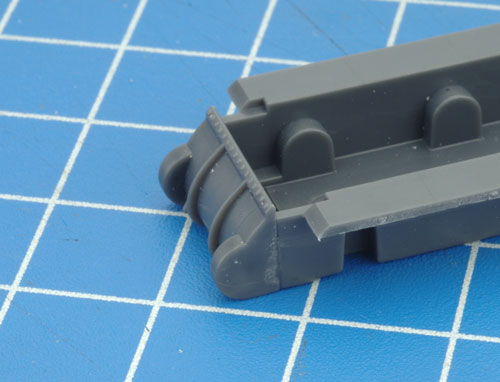
| Step 1. Begin by attaching the final drive to the front of the lower hull. |
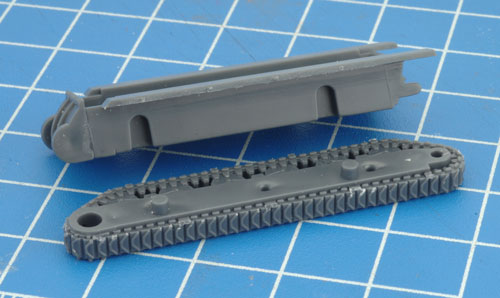
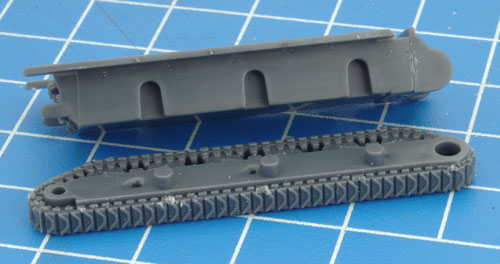
Step 2. Next, attach the tracks to the lower hull. |
 |
 |
 |
| Tip: Although regular Hobby Glue can be used to assemble plastic vehicles, we recommend that you use good quality plastic cement instead. It gives the strongest bond when gluing plastic to plastic. |
| Below: Each track has been keyed to correspond with a particular side of the hull; this aids in ensuring the correct orientation of the tracks when assembling the miniature. |
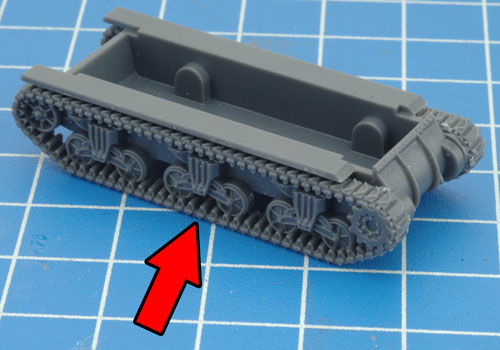
Below: The right-hand side track attached to the hull. |
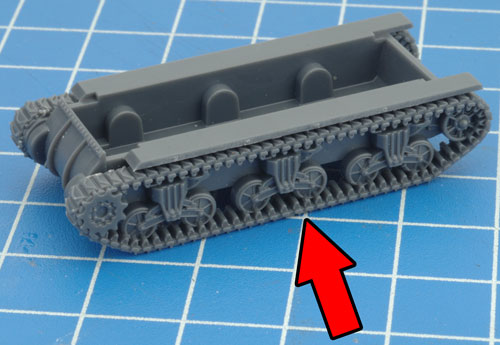
Below: The left-hand side track attached to the hull. |
Step 3. Next, attach the upper hull section to the lower hull. |
 |
 |
 |
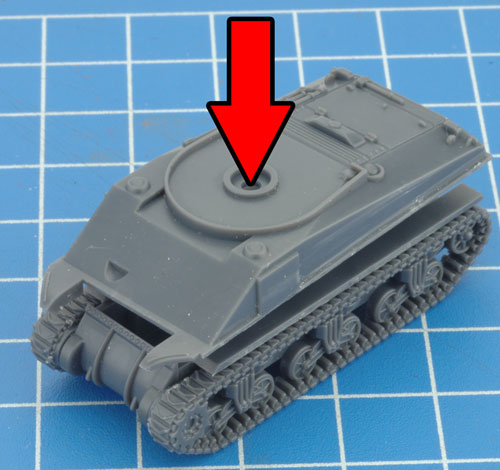 |
| Tip: When referring to left or right-hand side in regards to a Flames Of War miniature, the orientation is determined as if looking at the vehicle from the rear. |
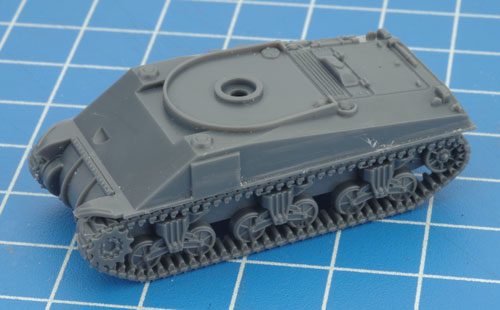
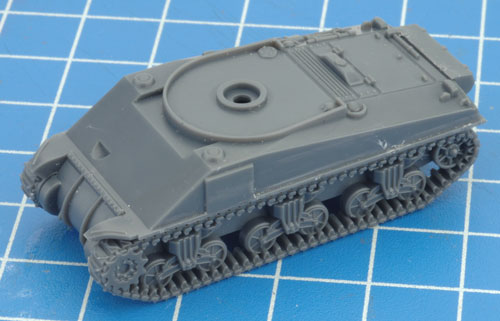
| Below: The upper and lower hulls now joined. |
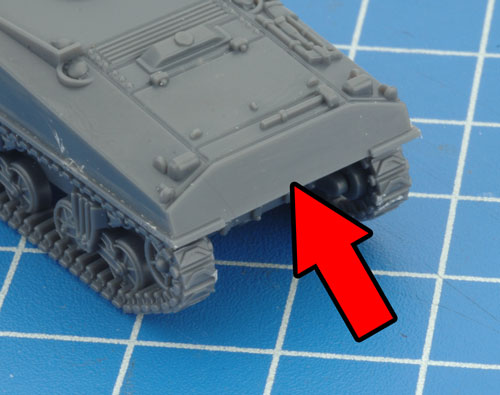
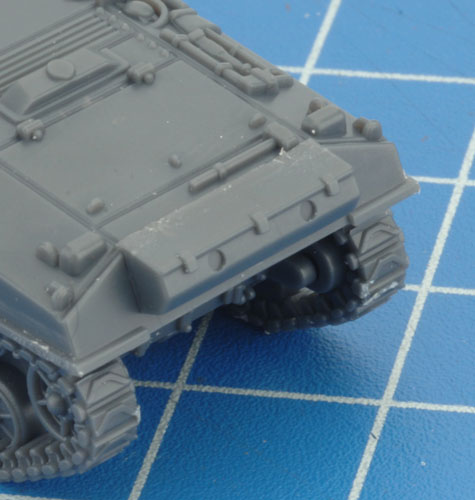
Step 4. Attach the stowage bin to the rear of the hull. |
Below: With the stowage bin attached, the basic hull of the Sherman is fully assembled. |
 |
 |
 |
 |
| Components Required For The Sherman (75mm) Hull |
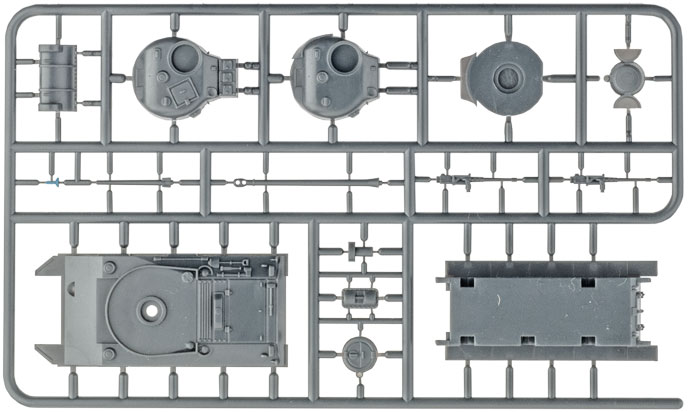
| With the basic hull now assembled, we can now use it as the foundation to create the Sherman (75mm). The additional components required to assemble the Sherman (75mm) can be seen below highlighted in blue on the sprues below. Note the position of hull MG on the extreme left in the second row on the sprue directly below; its small part and can be easily missed! |
 |
| Assembling The Sherman (75mm) Hull |
| Step 1. Begin by attaching the glacis plate to the front of the hull. |
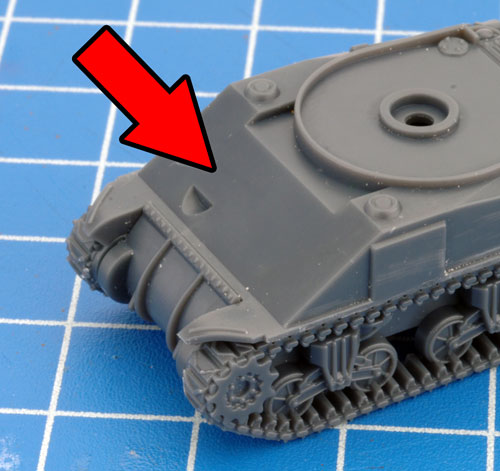
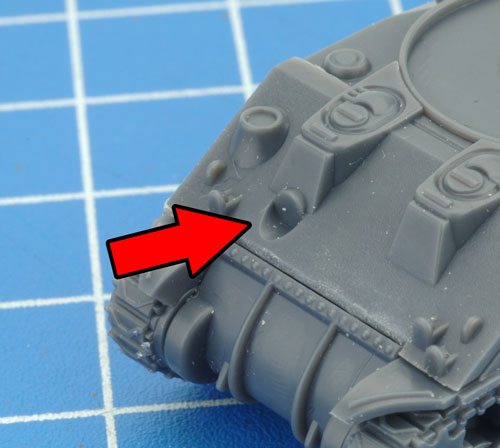
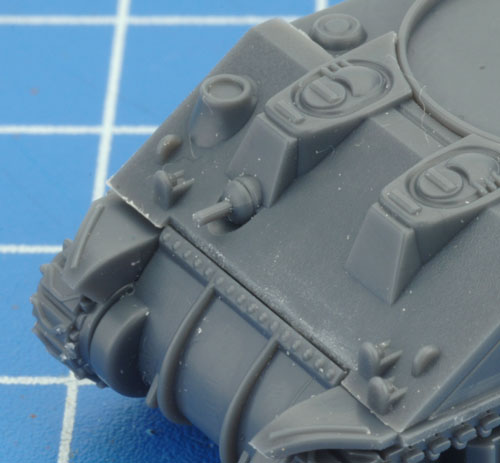
Step 2. Attach the hull MG to the glacis plate. |
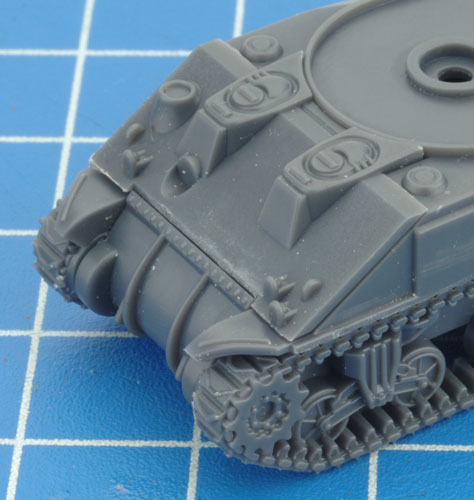
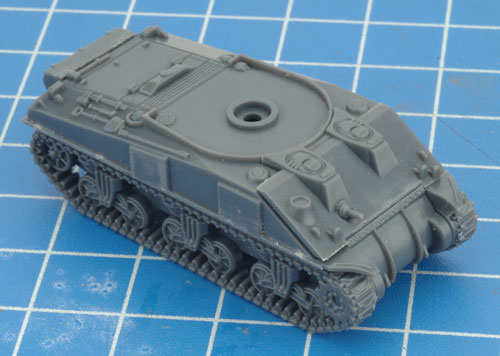
Below: With the hull MG in place, the hull of the Sherman V is fully now assembled. |
 |
 |
 |
 |
 |
| Components Required For The Sherman (75mm) Turret |
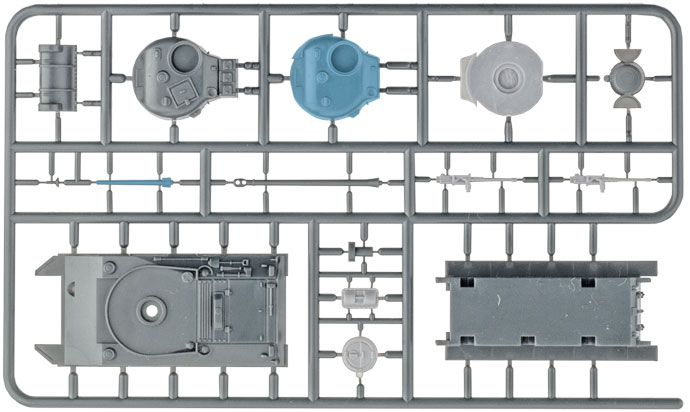
| To complete our Sherman (75mm), we need to contruct the turret. The components required to construct the Sherman (75mm) turret can be seen highlighted in blue and white below. |
 |
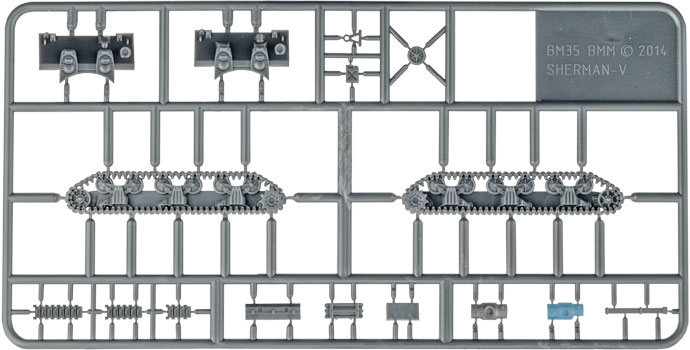 |
| Assembling The Sherman (75mm) Turret |
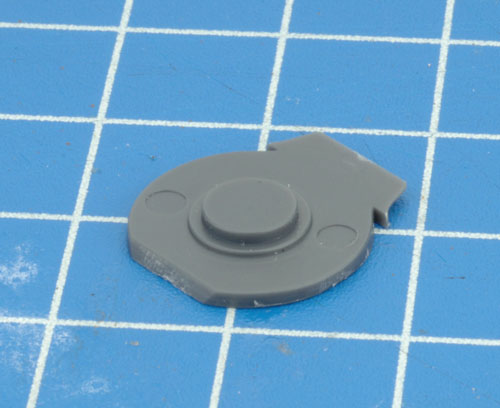
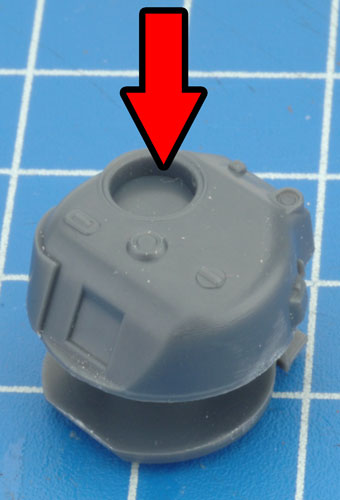
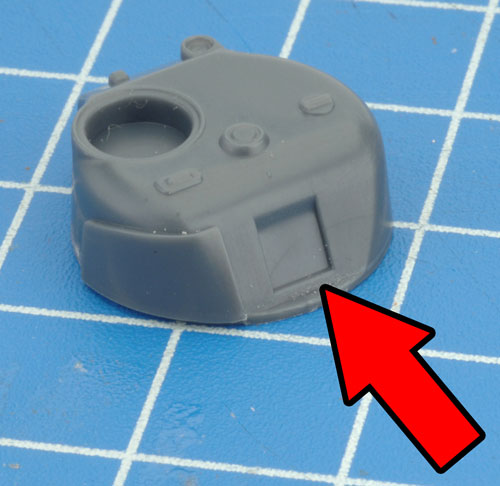
| Step 1. Begin by joining the upper and lower sections of the turret. |
Step 2. Attach the gun trunnion to the front of the turret. |
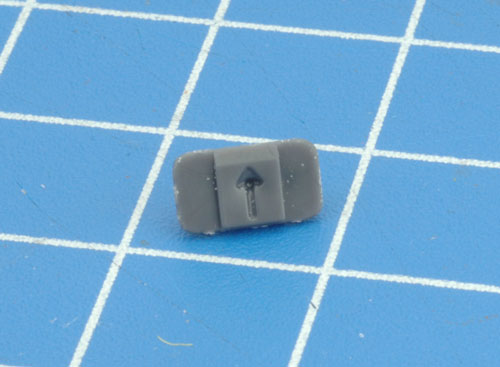
Below: The back of the gun trunnion of the has an arrow to indicate which way is up. |
 |
 |
 |
 |
| Below: The gun trunnion attached to the front of the Sherman (75mm) turret. |
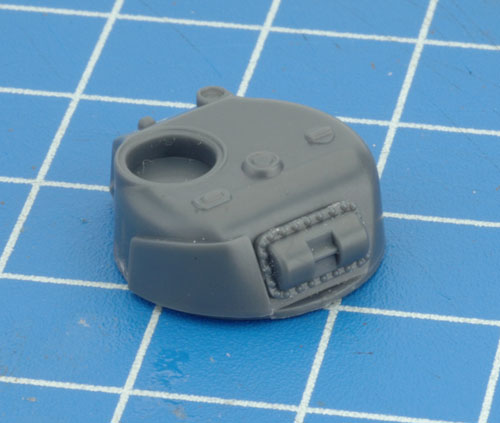
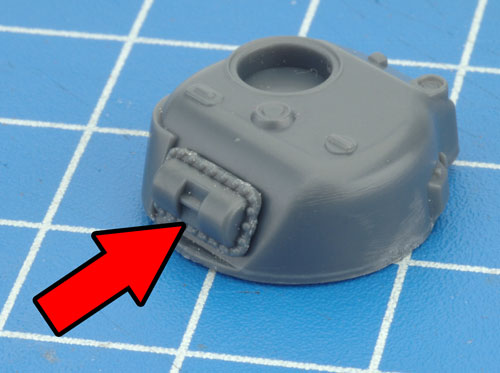
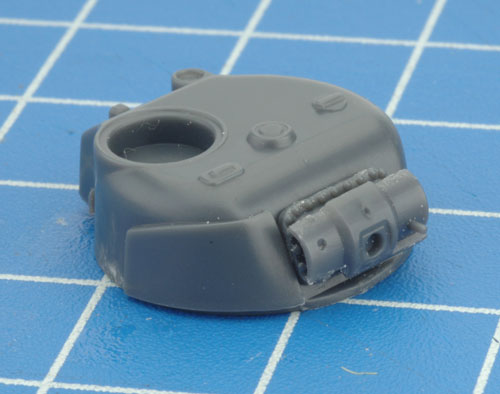
Step 3. Next, attach the 75mm gun mantlet to the gun trunnion. |
 |
 |
 |
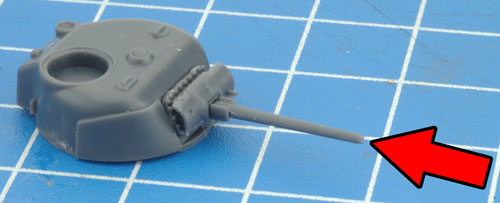
| Step 4. Attach the 75mm gun to the gun mantlet. |
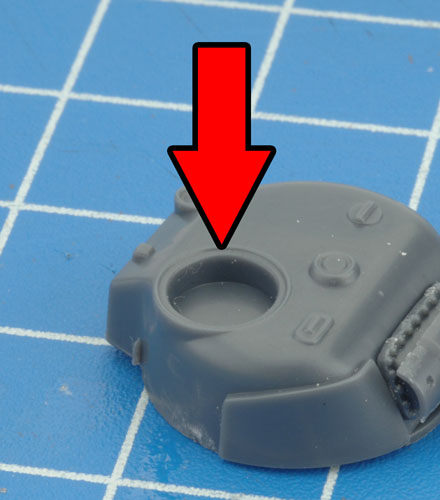
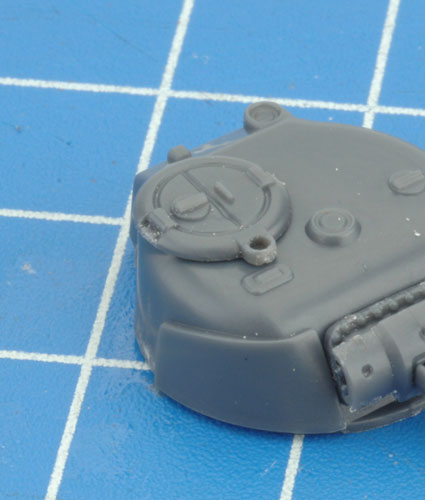
Step 5. Next, attach the commander's hatch to the top of the turret. |
 |
 |
 |
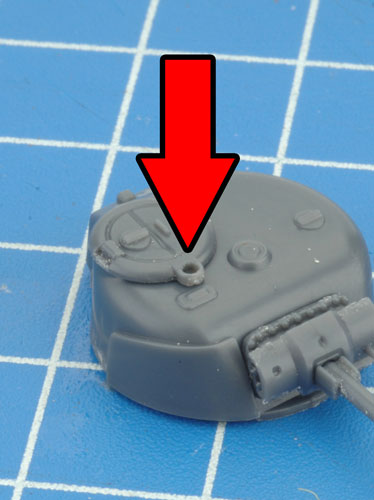
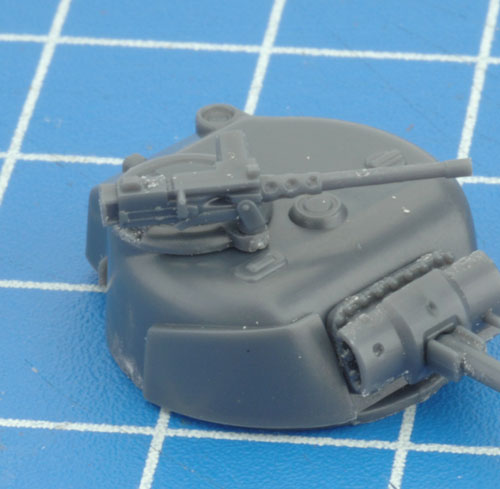
| Step 6. Finally, attach the .50 cal AA MG to commander's hatch ring. Sherman (75mm) tanks can be upgraded to have .50 cal AA MGs for +5 points. |
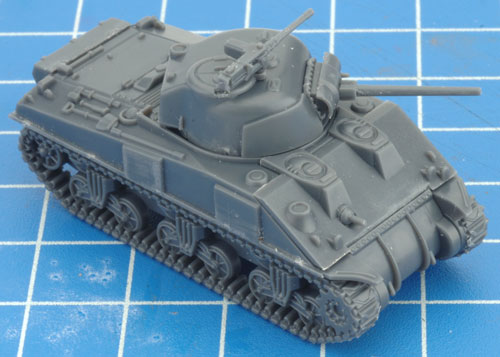
Below: With the turret added the hull our Sherman (75mm) is now complete. |
 |
 |
 |
| Components Required For The Firefly Hull |
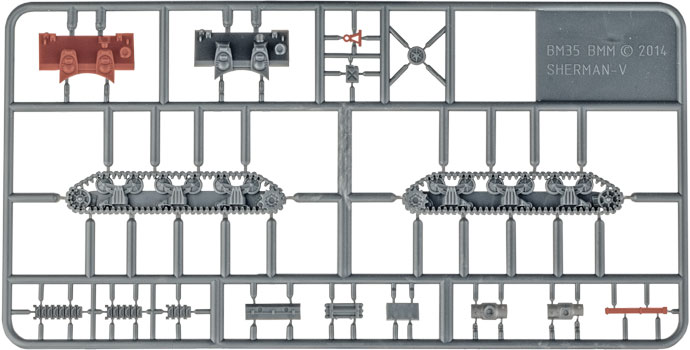
| The hull of the Firefly differs slightly from the Sherman (75mm); it uses a different glacis plate along with two extra pieces of stowage, the gun travel lock and cleaning rods for the main gun. These components are highlighted in red below. |
 |
| Assembling The Firefly Hull |
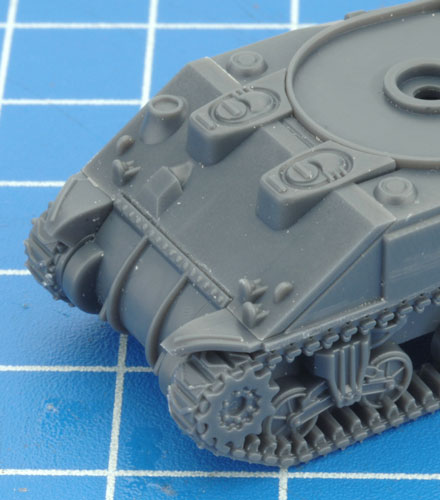
| Step 1. Begin by attaching the glacis plate to the front of the hull. |
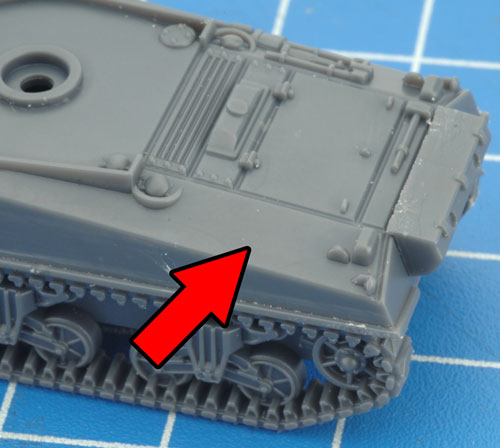
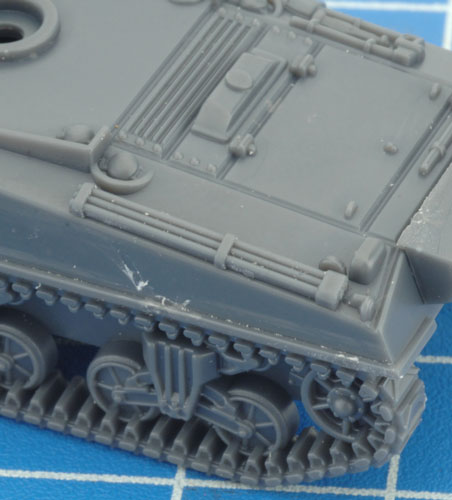
Step 2. Next, attach the cleaning rods to the rear of the hull. |
 |
 |
 |
 |
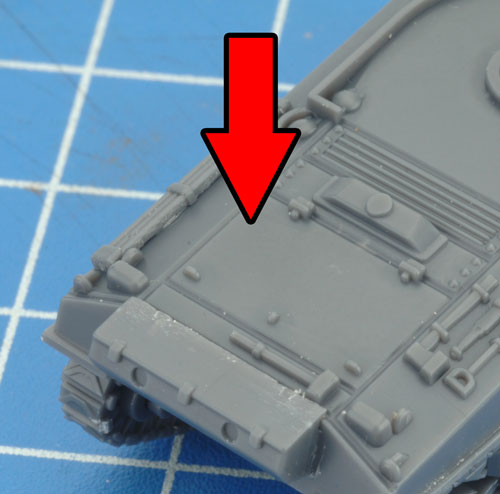
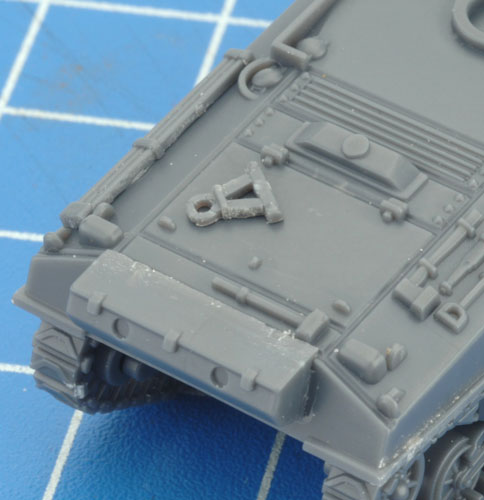
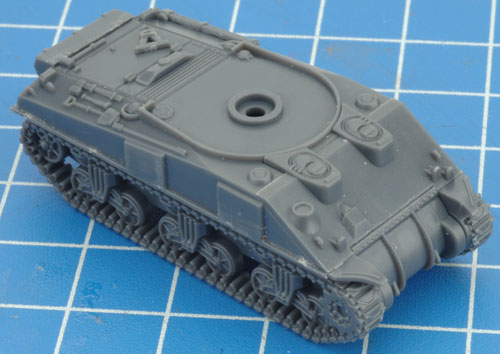
| Step 3. Finally, attach the gun travel lock to the engine deck. |
Below: With the gun travel lock in place, the hull of the Firefly is fully now assembled. |
 |
 |
 |
| Components Required For The Firefly Turret |
| To complete the assembly of the Firefly, we need to construct the turret. Below highlighted in red and white are the components required to assemble the turret for the Firefly. |
| Assembling The Firefly Turret |
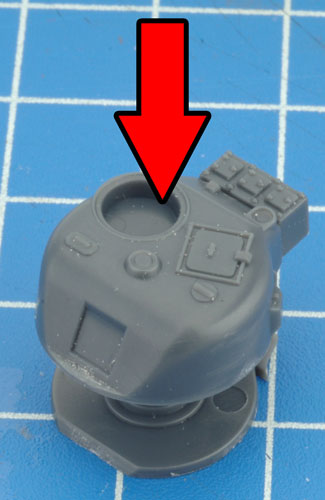
| Step 1. Begin by joining the upper and lower sections of the turret. |
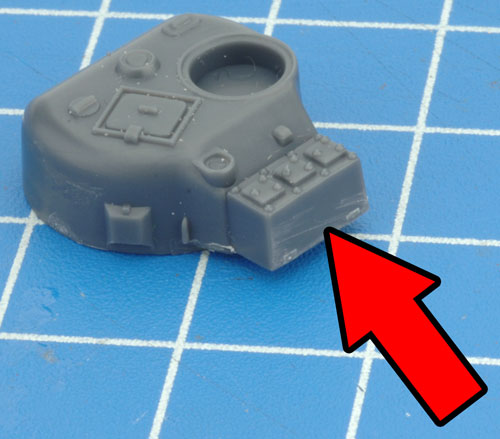
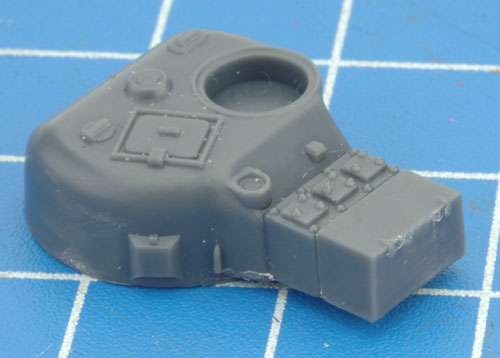
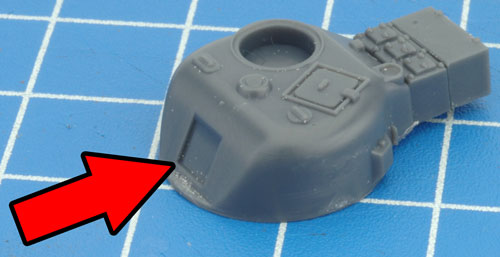
Step 2. Next, attach the turret bin to the rear of the Firefly turret. |
 |
 |
 |
 |
| Step 3. Attach the gun trunnion to the front of the turret. |
Below: The back of the gun trunnion of the has an arrow to indicate which way is up. |
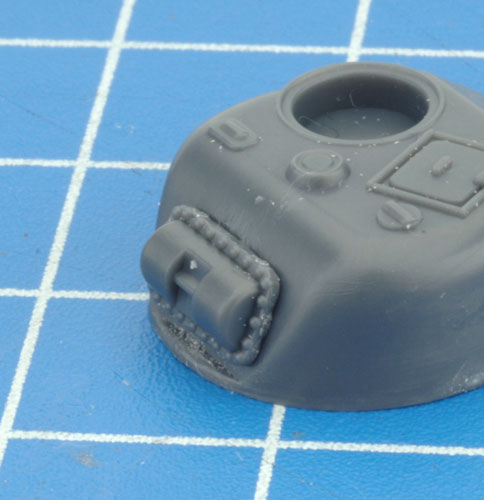
Step 3. Next, attach the OQF 17 pdr gun mantlet to the gun trunnion. |
 |
 |
 |
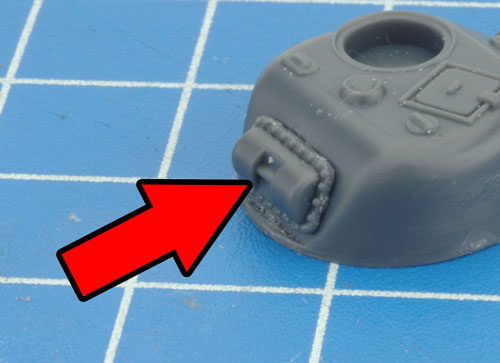 |
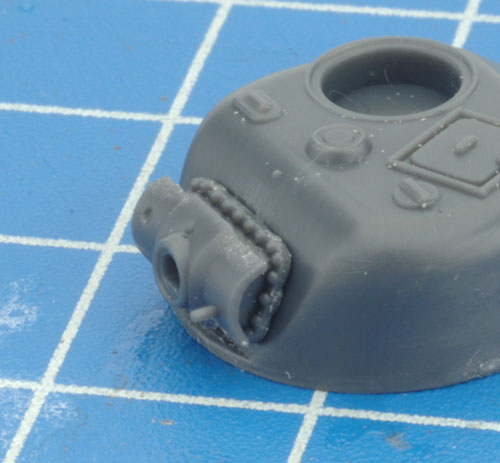
| Below:The OQF 17 pdr gun mantlet to the gun trunnion. |
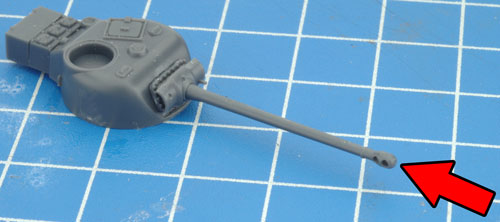
Step 4. Next, attach the OQF 17 pdr gun barrel to the 17 pdr gun mantlet. |
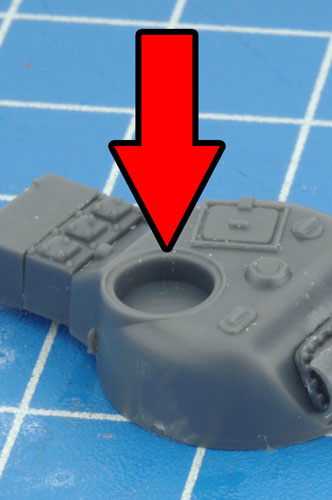
Step 5. Attach the commander's hatch to the top of the turret. |
 |
 |
 |
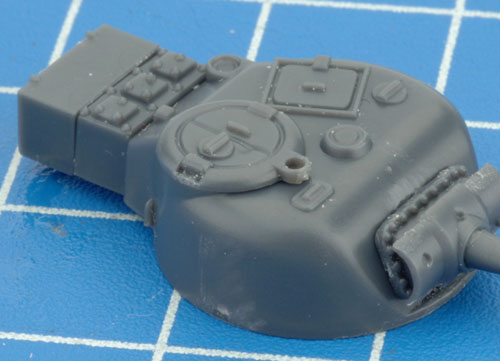
| Below: The commander's hatch attached to the top of the turret. |
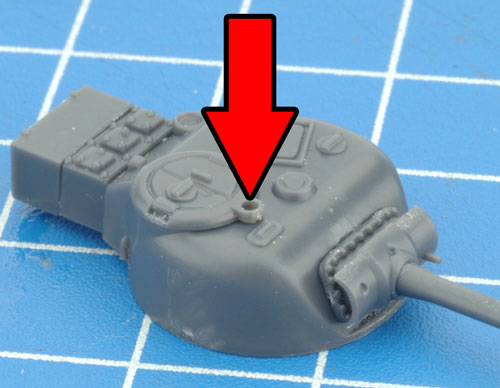
Step 6. Finally, attach the .50 cal AA MG to commander's hatch ring. Firefly VC tanks can be upgraded to have .50 cal AA MGs for +5 points. |
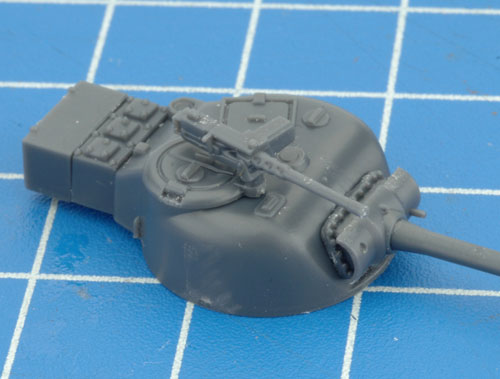
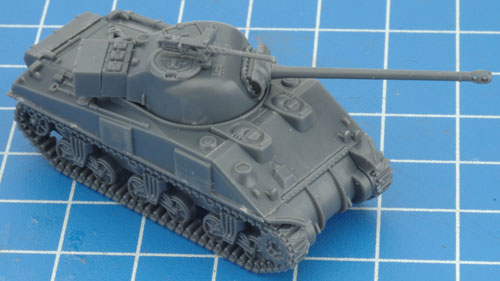
Below: With the turret added the hull our Firefly is now complete. |
 |
 |
 |
 |
| Components Required To Add A Tank Commander |
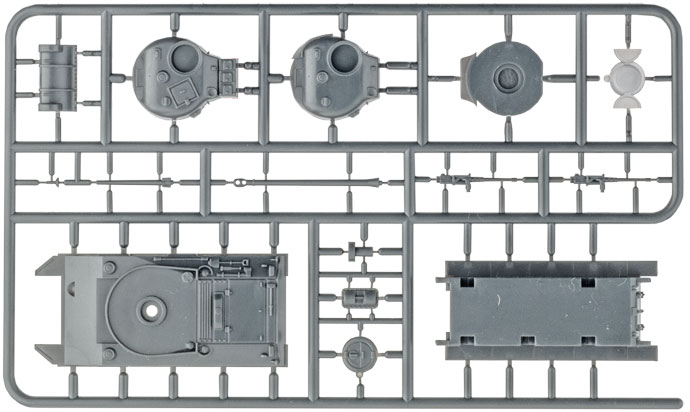
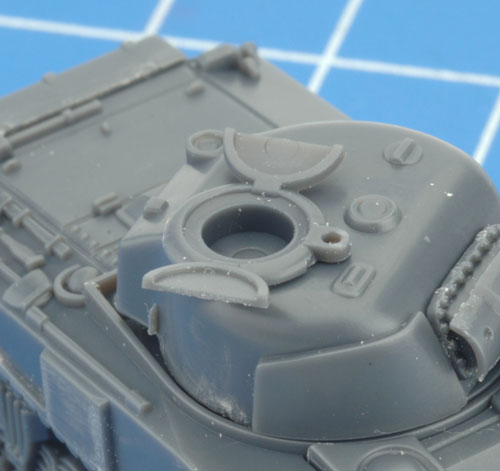
| Adding a Tank Commander to a vehicle allows you to distinguish the platoon command vehicle from the rest of the platoon. It also can also add some modelling variety and interest to your miniatures. With the plastic Sherman Armoured Platoon, adding a Tank Commander is as simple as replacing the closed commander’s hatch with the open version highlighted in white below. |
 |
Adding The Tank Commander
|
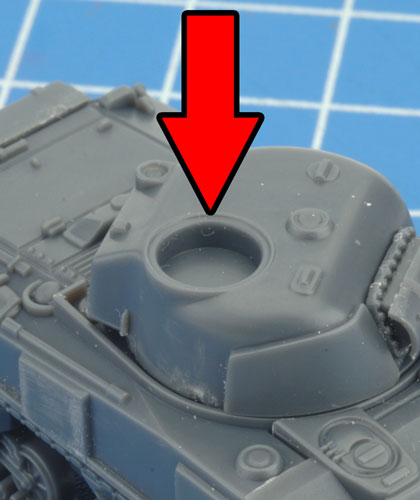
| Step 1. Begin by replacing the closed commander's hatch with the open version. Note: Depending on the Tank Commander figure chossen; you may need to model your Sherman (75mm) or Firefly without the .50 cal AA MG. |
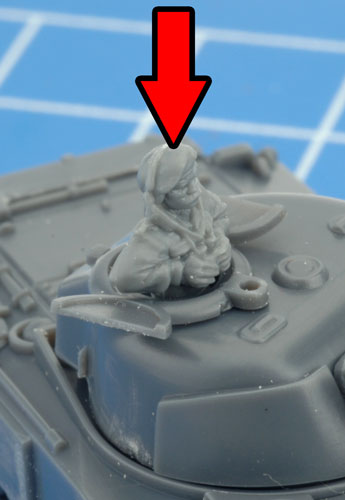
Step 2. Next, attach a Tank Commander of choice to the inside of the open hatch. |
 |
 |
 |
| Attaching The Turret |
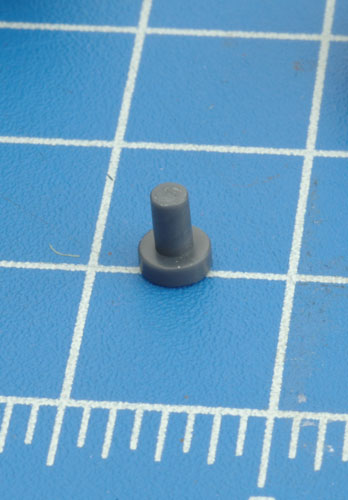
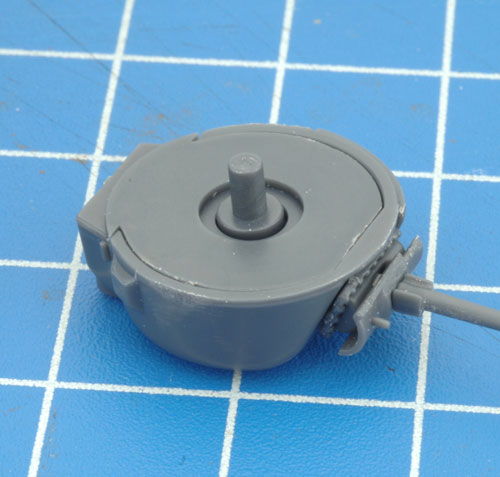
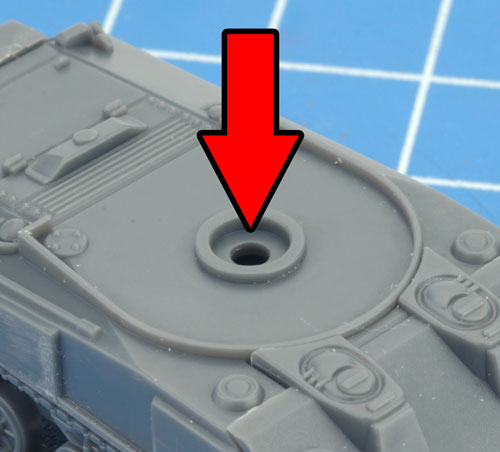
| Attaching the turret to the hull can be done two way; using the turret peg inlcuded on the plastic sprue highlighted below in white or using rare-earth magnets (not included in the box set). |
| Using The Turret Peg |
| Step 1. Simply attach the turret peg to the bottom of the turret. |
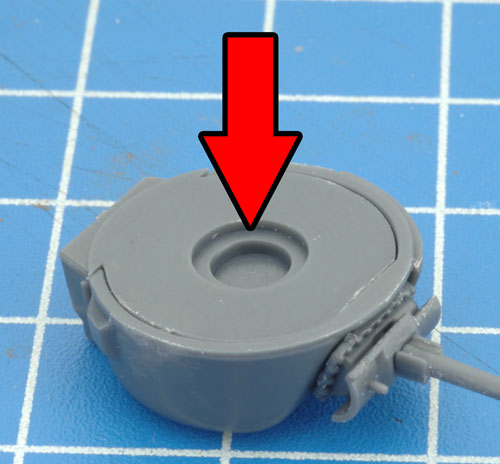
Below: The turret peg then mates with the hole in the top of the hull. Simple! |
 |
 |
 |
 |
| Using Rare-earth Magnets |
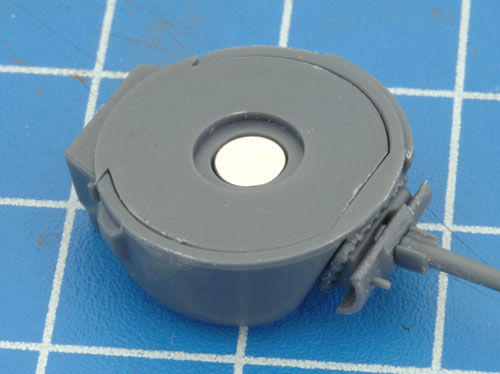
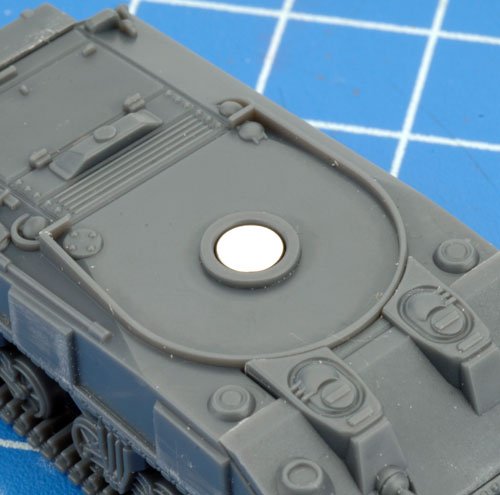
The alternate method of attaching the turret to the hull is to use rare-earth magnets. To do this, simply glue a rare-earth magnet into the recess in the bottom of the turret rather than using the turret peg. Then glue another magnet into recess located on the top of the hull and you have a safe and secure way of attaching the turret to the hull.
Read Chris' guide to Rare Earth Magnets here... |
 |
 |
| Adding The Extras |
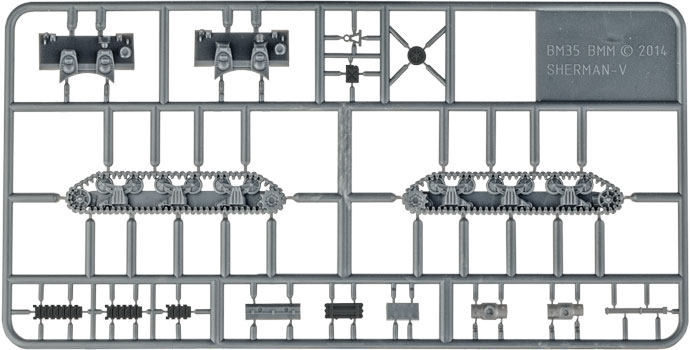
| The plastic Sherman sprue also includes a number of extras that can be added to your vehicles for some modelling variety. These are highlighted in black on the the sprue below. |
 |
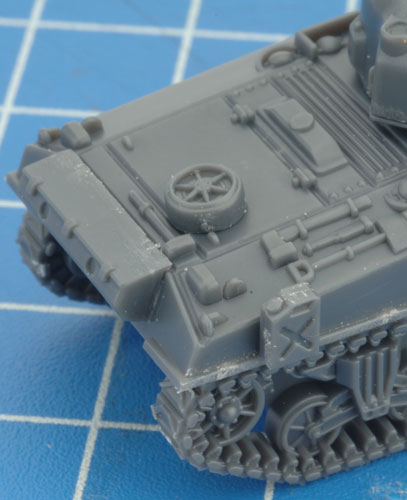
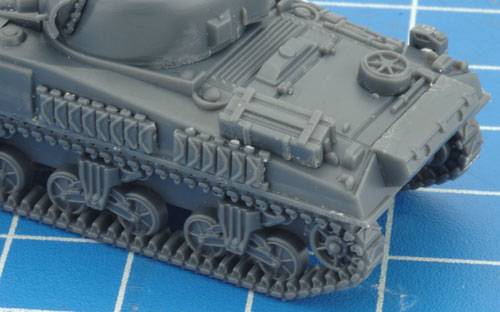
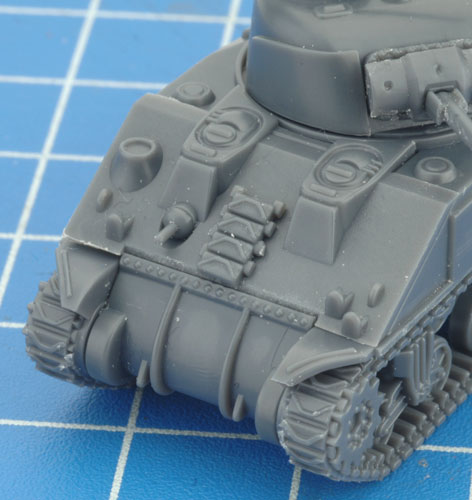
| Below: Examples of the stowage of used on the plastic Sherman (75mm). |
 |
 |
 |
Last Updated On Monday, September 27, 2021
|
|
|