|
|
|
|
Products mentioned in this Article
|
|
|
|
|
|
|
|
|
 |
|
|
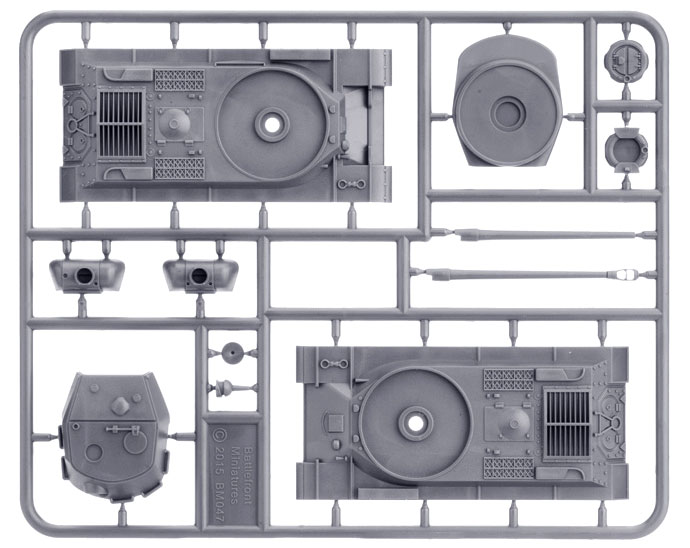
| IS-2 Turret and Hull Top Sprue |
 |
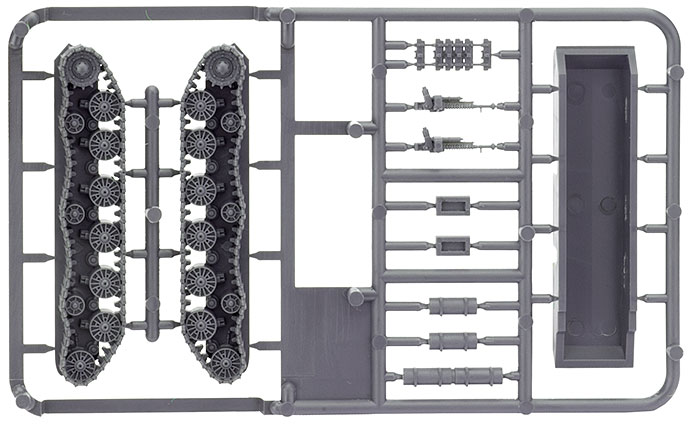
| Hull and Track Sprue |
 |
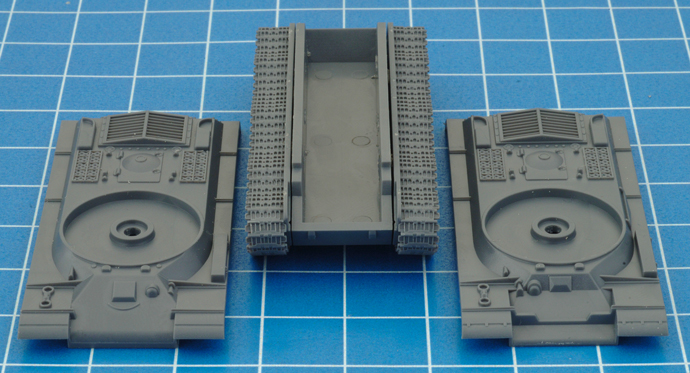
| Step 2. Add the body to the hull. You have the choice between the IS-2 (122mm) hull top (right) and the IS-2 (late 122mm) hull top (left). |
 |
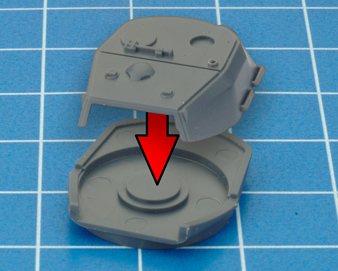
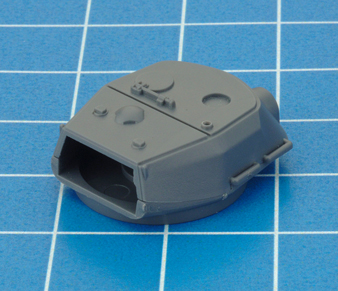
| Step 3. Now we begin assembly of the turret. Start off by gluing the top and bottom together. |
 |
 |
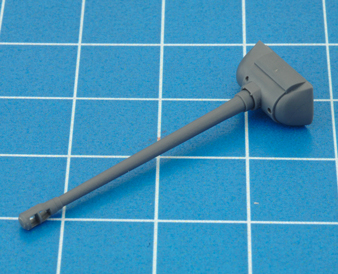 |
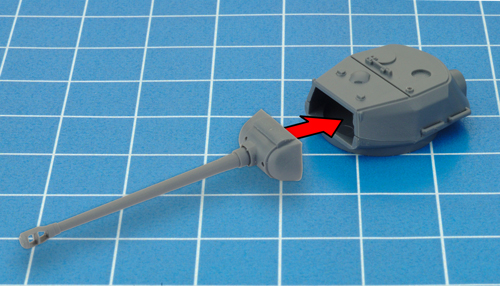
Step 4. Now choose the appropriate turret front. The part with the wider gun mantlet (left) is correct for the IS-2. Next add the gun, the one with the muzzle brake is the correct one. |
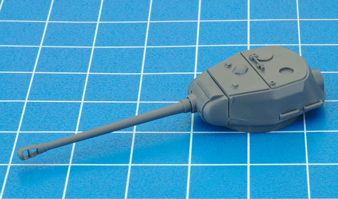
| Step 5. Once the bond between the gun and mantlet has cured glue it to the turret body. |
 |
 |
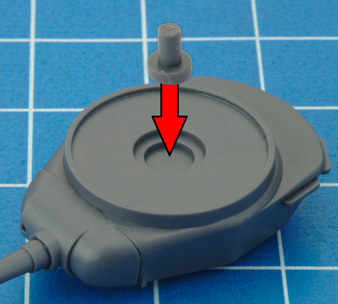
| Step 6. Flip the turret over and glue the turret pin into the bottom. |
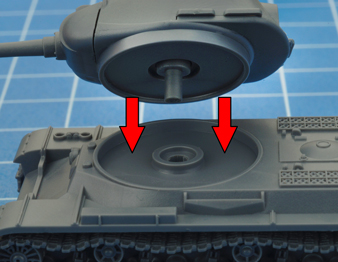
Step 7. Simply place the turret onto the body without gluing, so you can rotate the turret to point at the shooting target. |
 |
 |
|
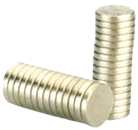
Alternatively, you may prefer to glue rare earth magnets into the recess in the hull and to the bottom of the turret. Magnets are a quick and secure way of fixing your turrets to the hulls, but they are a small added expense, which is why the turret peg is provided, leaving the choice up to you.
Rare Earth Magnets (XX105) are available through the online store here...
These 1mm x 5mm magnets fit perfectly into the round spaces in the hull and turret.
|
 |
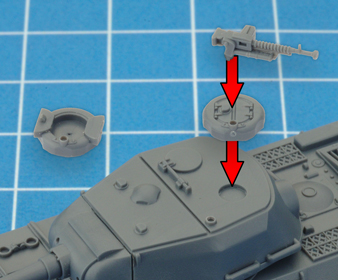
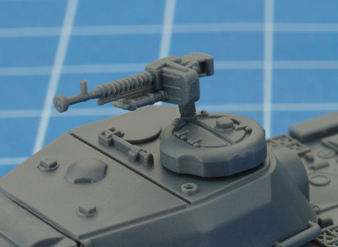
| Step 8. Next glue on the hatch and turret. You can chose between a closed or open hatch. You can aslo add a DSHK AA machine-gun, if you have chosen to include this +5-point upgrade option in your army list. AA machine-guns always seem to be the part of a tank that is most likely to get broken off and lost, so a spare is included on the sprue. |
 |
 |
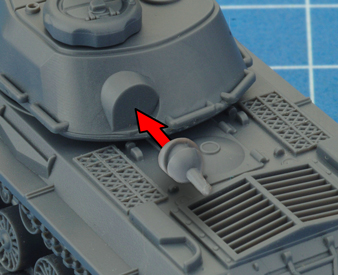
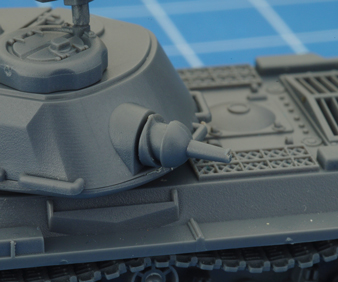
| Step 9. Next glue on the turret rear MG. |
 |
 |
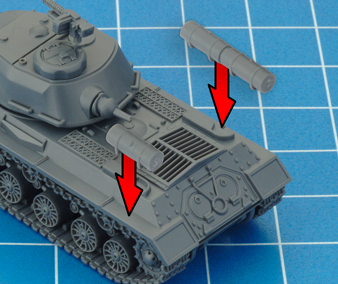
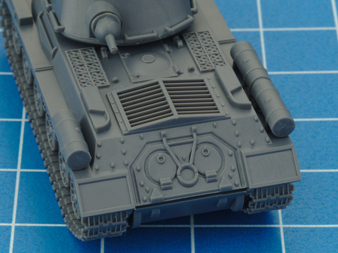
| Step 10. Adding the external fuel drums. The standard layout was two on each side of the hull. But historical photos commonly show vehicles with some or all of the tanks removed, so feel free to leave some off to give your force some variety. |
 |
 |
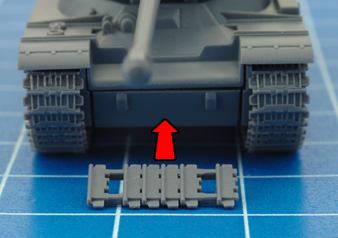
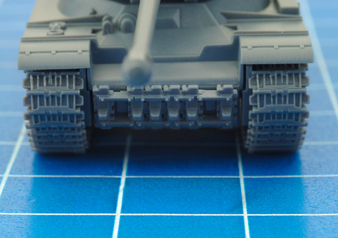
| Step 11. There is also an option to add spare tracks to the front of the hull. |
 |
 |
|
Above: a finished IS-2 (late 122mm)
|
Last Updated On Tuesday, September 29, 2020
|
|
|