|
|
|
|
Products mentioned in this Article
|
|
|
|
|
|
|
|
|
 |
|
|
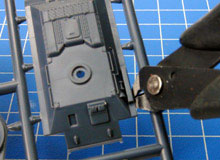
| Below: Carefully cut the hull top from the sprue using clippers... |
|
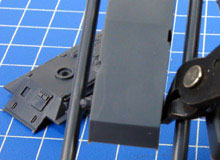
Below: ...and the hull bottom. |
|
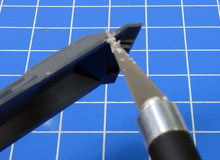
Below: Use a craft knife to gently scrape away any excess plastic. |
 |
|
 |
|
 |
| Tip: When referring to left or right-hand side in regards to a Flames Of War miniature, the orientation is determined as if looking at the vehicle from the rear. |
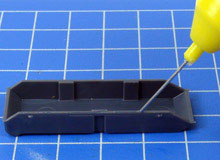
| Below: Run a line of plastic cement around the top of the hull bottom piece. |
|
Below: The hull top piece has raised lines to help ensure correct placement. |
|
Below: Press the hull top and bottom pieces together. Note the two locator slots for the left-hand track... |
 |
|
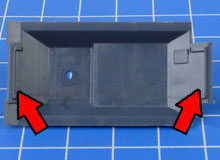 |
|
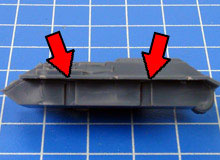 |
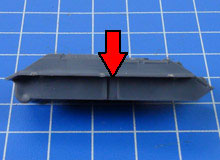
| Below: ...and the single locator slot for the right-hand track. |
|
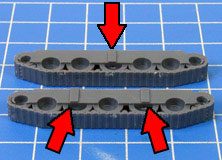
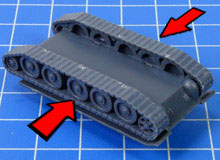
Below: The tracks have corresponding tabs, so you can't put the tracks on the wrong sides. |
|
Below: Glue both tracks in place using plastic cement. |
 |
|
 |
|
 |
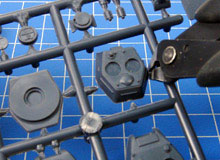
| Below: Clip off the top and bottom pieces for both turrets. |
|
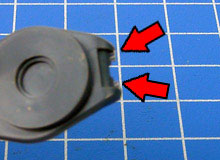
Below: The 85mm turret will probably be left with nubs of excess plastic feed from the sprue. |
|
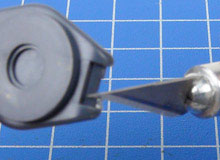
Below: Carefully trim these away with your craft knife. |
 |
|
 |
|
 |
| Below: Don't worry if the edges of the turret top pieces are a little messy; real T-34s had a prominent weld bead along this line. |
|
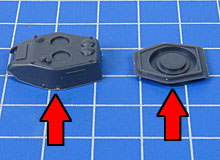
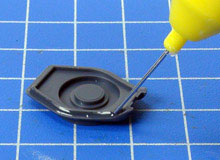
Below: Apply plastic glue around the top edge of the 85mm turret bottom piece... |
|
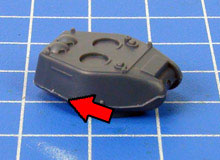
Below: ...and press the pieces together. Again, don't worry if this join is a little messy. |
 |
|
 |
|
 |
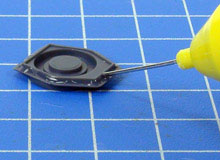
| Below: And repeat for the 76mm turret. |
|
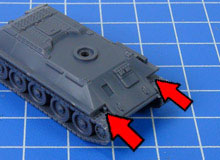
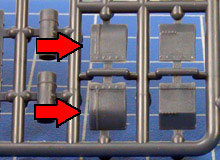
Below: Select the appropriate mudguards... |
|
Below: The rounded mudguards were common on 76mm models and 85mm variants up to late 1944. |
 |
|
 |
|
 |
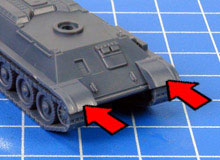
| Below: Glue the mudguards in place, taking care to ensure they are straight. |
|
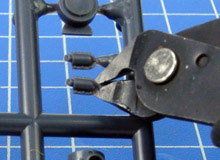
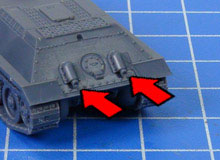
Below: Carefully clip off the exhaust pieces. |
|
Below: Apply a small amount of plastic cement to each locating hole... |
 |
|
 |
|
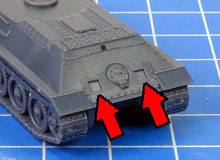 |
| Below: ...and press the exhausts into place; you may want to use tweezers for this. |
|
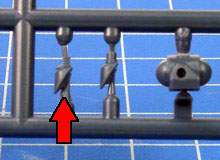
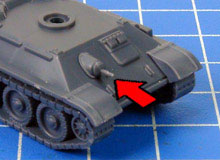
Below: Clip off the bow MG. The stubbier piece next to it is for the flamethrower variant. |
|
Below: Apply a small amount of plastic cement to the locating hole... |
 |
|
 |
|
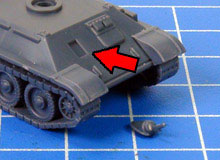 |
| Below: ...and press the MG into place. |
|
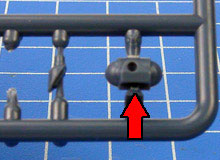
Below: Clip off the 76mm gun mantlet... |
|
Below: ...and glue it into place on the front of the 76mm turret. |
 |
|
 |
|
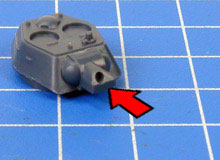 |
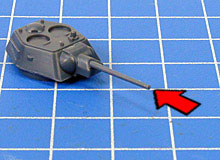
| Below: The 76mm gun is the smallest gun on the sprue. |
|
Below: Slide it into the hole in the mantlet, with a little plastic cement. |
|
Below: Repeat for the 85mm mantlet. |
 |
|
 |
|
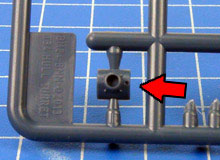 |
| Below: This piece has a small locator plug on the back to make it harder to glue it on upside down. |
|
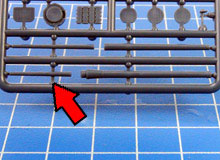
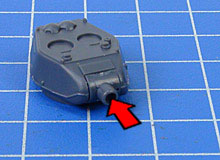
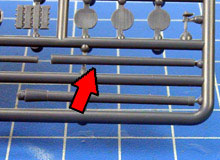
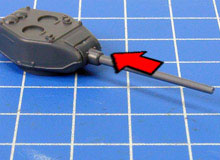
Below: The 85mm gun is the second-largest on the sprue. |
|
Below: Slide it into the hole in the mantlet, with a little plastic cement. |
 |
|
 |
|
 |
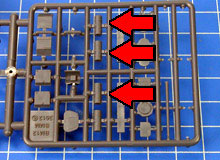
| Below: Clip three fuel drums off the sprue. |
|
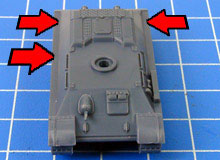
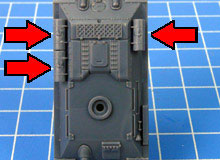
Below: The standard arrangement was one drum on the left-hand side (facing the front) and two on the right-hand side. |
|
Below: Because plastic cement takes a while to cure, you can take your time and make sure the drums are lined up straight. |
 |
|
 |
|
 |
| Attaching the turret |
|
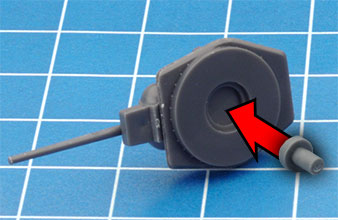
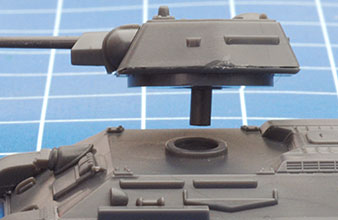
| Below: Finally, glue the turret peg into the hole in the bottom of your turret |
Below: It fits into the hole in the tank's turret ring (don't glue this!) allowing the turret to rotate to shoot at targets in any direction. |
 |
 |
|
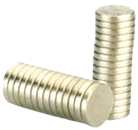
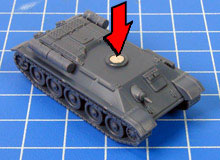
Alternatively, you may prefer to glue rare earth magnets into the recess in the hull and to the bottom of the turret. Magnets are a quick and secure way of fixing your turrets to the hulls, but they are a small added expense, which is why the turret peg is provided, leaving the choice up to you.
Rare Earth Magnets (XX105) are available through the online store here...
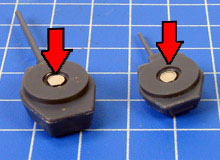
These 1mm x 5mm magnets fit perfectly into the round spaces in the hull and turret.
|
 |
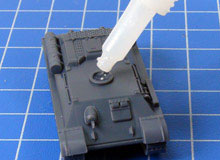
| Below: Plastic cement only works for plastic-to-plastic joins. For the magnets, you will need to use cyanoacrylate Super Glue. |
|
Below: Make sure they polarity of the magnets is correct... |
|
Below: ...or the turrets will pop off. Give the glue enough time to cure properly. |
 |
|
 |
|
 |
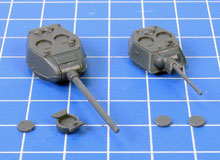
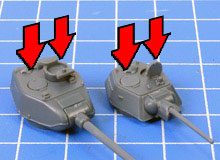
| Below: Decide whether to model open or closed hatches, and whether you want a commander's cupola on your 76mm turret. |
|
Below: Later production T-34/76 variants had a cupola; all T-34/85 variants did. Glue the hatches and/or cupolas in place. |
|
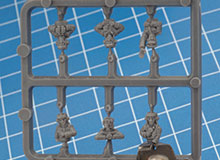
Below: Since both turrets have an open hatch, choose a commander from the sprue. |
 |
|
 |
|
 |
Last Updated On Friday, September 4, 2020
|
|
|