|
|
|
|
Products mentioned in this Article
--None--
|
|
|
|
|
|
|
|
|
 |
|
|
 |
Painting Bedspring Armour
With James Brown
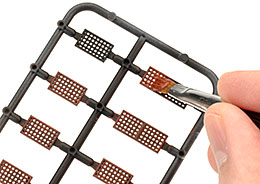
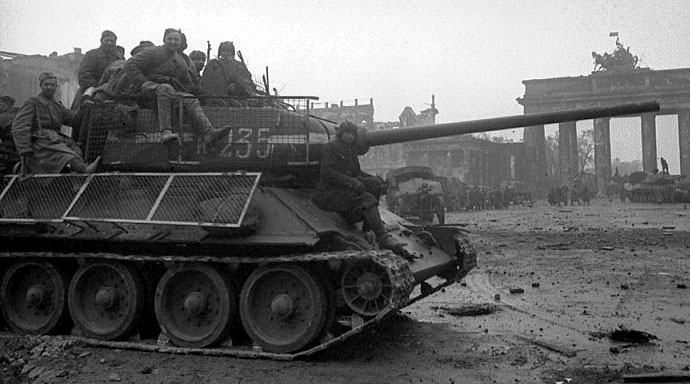
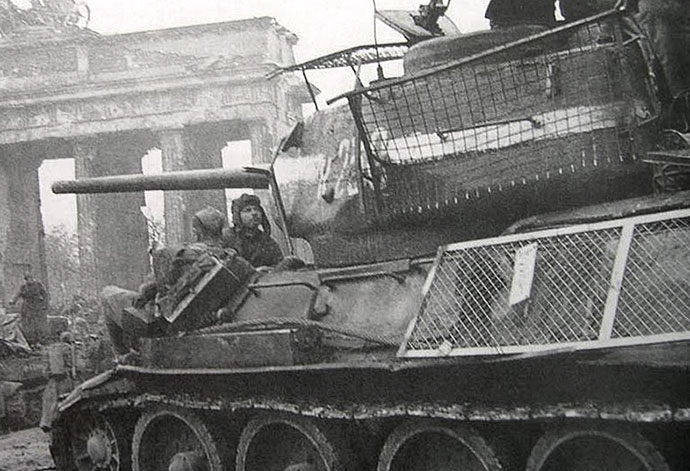
In 1945 the Soviets began to fit mesh spaced armour to the side of their tanks and assault guns to give added protection against weapons such as the Panzerfaust. This quickly became known as bedspring armour, due to it looking like the sprung metal base of a bed.
Check out the Bedspring Armour spotlight here...
|
Berlin: Soviet
By April 1945 the Soviet Red Army had pushed to the Oder River, just on the doorstep of the German Capital, Berlin. On 16 April 1945 the Soviets launched the Berlin Offensive across the Oder.
However, the Germans had not been idle and withdrew from the Oder River and took up positions on the Seelow Height on the most direct route to Berlin. Eventually the Soviet weight of numbers and firepower told and three German were thrown back from the Oder.
|
 |
 |
|
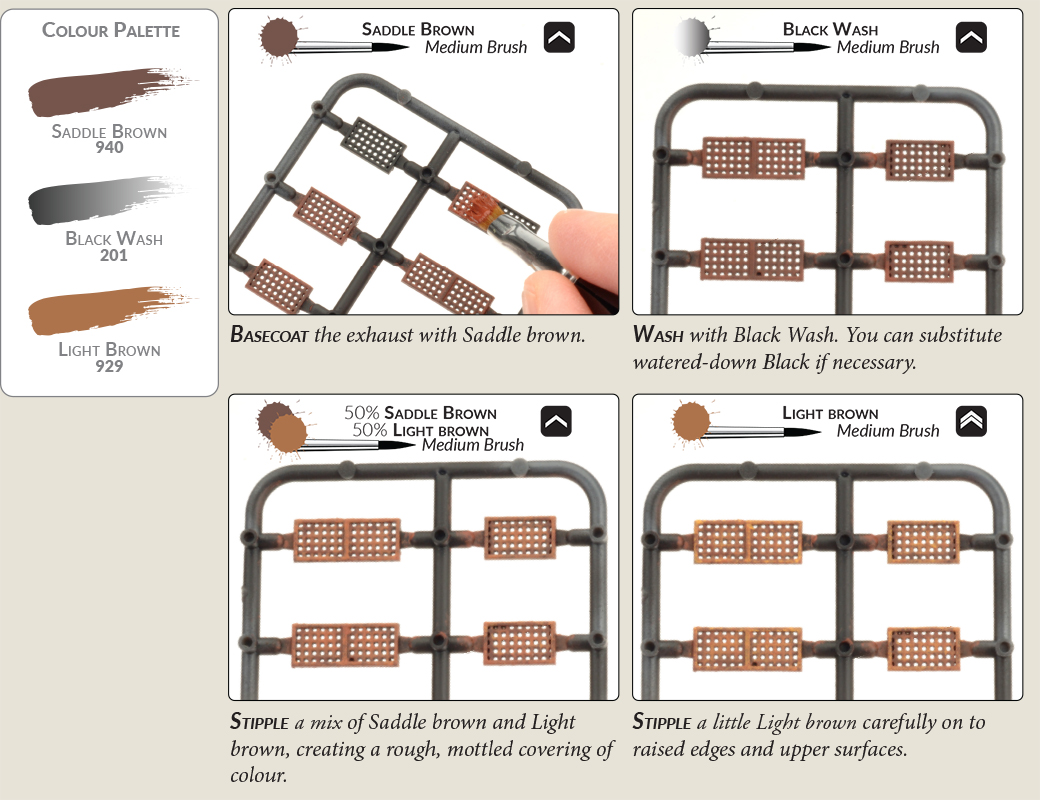
This guide will help you paint your armour pieces quickly and easily, and apply them either to a new army or perhaps to a Soviet tank force that you have collected and painted previously.
For this guide, I will be painting the armour pieces on the sprue. This has both benefits and drawbacks:
- It makes it very easy to handle the pieces while you paint them - this is especially important when dealing with such small, fiddly parts.
- However, it does mean that you will need to carefully touch up the small areas of bare plastic where you cut the feed from the sprue.
Begin below with a black undercoat. I applied Black through an airbrush, but you could also use any generic matt black aerosol spray can. You can also brush on an undercoat, but just be careful not to fill the small holes with paint. |
|
| Painting Rust from Colours Of War (page 28) |
 |
|
| Attaching the Bedspring Armour |
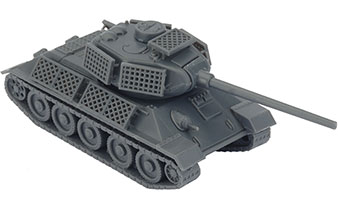
| How many pieces you attach to each tank is up to you. Historical photos mostly show a fairly standard arrangement with the turret sides and top, and part of the hull sides covered. However, there was some variety, and sections could easily be detached, so if you wish, you can choose to apply fewer pieces to each tank. |
 |
 |
Which Glue?
If you're adding the armour before painting, you can of course use Plastic Glue.
You can find Plastic Glue in the online store...
However, because Plastic Glue works by slightly melting the plastic and 'welding' the parts together, it will not work with parts that have already been painted, because there is no direct plastic-to-plastic contact.
|
|
So if you are retrofitting the armour parts to a painted tank (or if you decide to paint them separately to save some effort) it is best to use Super Glue - but apply it sparingly and be careful not to mess up your paintwork. Using a toothpick or a similar small tool to apply the glue is a good way to ensure it only goes where you need it.
You will notice that the standard arrangement generally had the fuel/oil drums removed and replaced with armour sections, something you may choose to do if you are painting a new army. However, if you are retrofitting an existing army, you may prefer to leave the drums attached and just avoid adding armour sections in those parts of the hull. This is just fine - as with most things about Soviet equipment, the rule is function and practicality, not adhering rigidly to a defined standard.
|
 |
|
Happy modelling!
~ James.
|
Last Updated On Monday, February 20, 2023
|
|
|