|
|
|
|
Products mentioned in this Article
--None--
|
|
|
|
|
|
|
|
|
 |
|
|
 |
Raising Roads:
A Step-by-Step Guide To Building Dutch Raised Roads
with Casey Davies
The most important thing to do before getting started, is research. Doing a Google search for ‘polder road’, ‘Dutch raised roads’ or ‘Dutch dikes’ should yield some modern images to use as inspiration, such as the photos shown on this page. Another great resource if you have access to it, is the ‘Operation Market-Garden: Then and Now’ books. As the name suggests it puts wartime photos alongside modern recreations of the same photos. This illustrates the great variety of terrain in the Netherlands. You can also draw inspiration by watching old war movies like ‘A Bridge Too Far’.
|
| Below: The finished raised roads on the battlefield. |
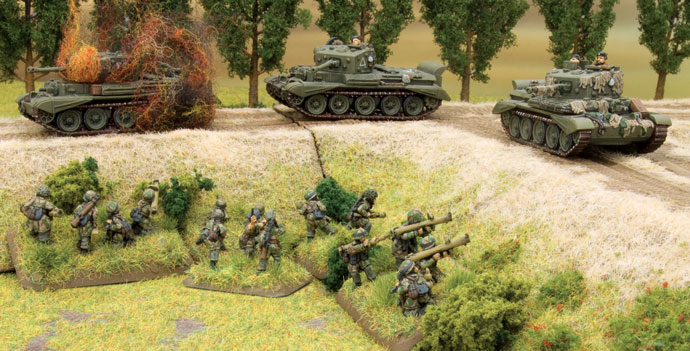 |
If you’re only planning to play a one-off game or scenario, you can make a raised road very simply.
Get a length of 12-18mm (½”-¾”) polystyrene that is 140mm (5 ½”) wide, bevel the edges and put it underneath a green table cloth or sheet. Then lay your roads and other terrain on top of the sheet, as shown in the image to the right. If you want to make your raised roads a more permanent feature to place on top of your flocked tables like the roads shown in the image below, the next four pages has an in-depth tutorial showing you how. |
| Below: An example of a simple raised road. |
What You Need
To make things simpler, I’m going to build my roads with the Battlefield In A Box Rural Roads (BB117), and Rural Roads Expansion (BB140) sets, as they already have detail sculpted on the top, and will provide a durable playing surface.
As well as these box sets you’ll need the following: |
■ A 1200mm x 600mm (4’ x 2’) piece of MDF.
■ A length of 12-18mm (½”-¾”) polystyrene. High density polystyrene is best, however as most of it will be getting covered up, low density can be used instead.
■ Ready-mixed filler. Any filler will do, but you will need a fair bit of it. |
■ PVA or wood glue.
■ Sand.
■ A craft knife with plenty of spare blades.
■ A marker pen and ruler.
■ Paint and flock to match your gaming surface. |
Planning
Planning what you want as your end result is key. Although the end result is going to be modular, no matter how well you build your roads, they’ll always fit best one way, so it pays to build them in a layout that you are happy with from the start.
By using the Rural Roads and the Rural Roads Expansion from Battlefield in a Box, I’ll end up with 2.1 meters (84”) of roads which is plenty for a 6’ x 4’ table. Since intersections are key I’ll turn the ‘T’ into a raised road section as well. The other pieces of the expansion set I’ll use later to add on to the road network. If I was turning a second Rural Roads box into raised roads I’d raise the cross intersection as well. |
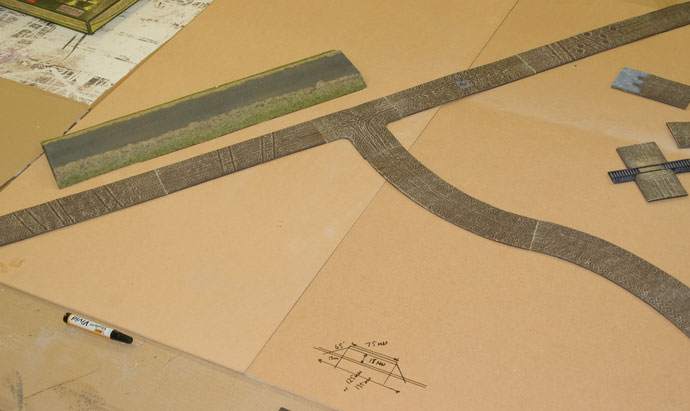 |
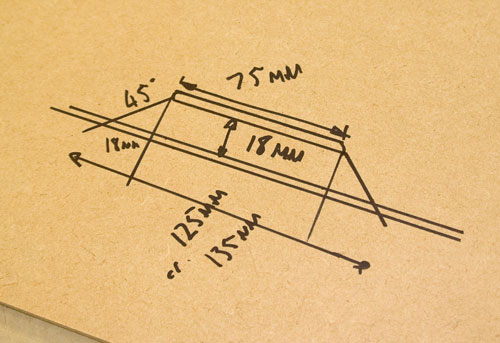
The next thing to do is to draw a cross-sectional diagram of your raised road. I found this incredibly useful to refer back to it during the process.
I ended up using 18mm, or ¾” polystyrene as when sandwiched between the roads and the MDF the roads will be about the height of a Tiger I E tank (below), making for a challenging piece of terrain. |
 |
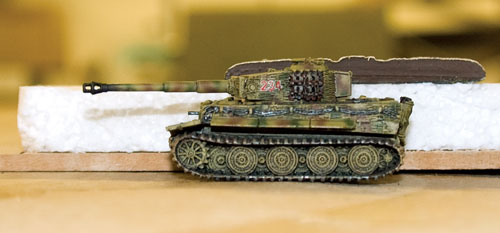 |
Feel free to change the height of your roads to suit, as raised roads varied.
Use the drawing above as a guide only, and allow yourself to be flexible. I ended up deviating slightly from this drawing later. |
Building
I made the roads in two long pieces that I’ll cut into pieces once they’re built, rather than nine individual pieces. This will guarantee that pieces will fit nice and flush against each other. |
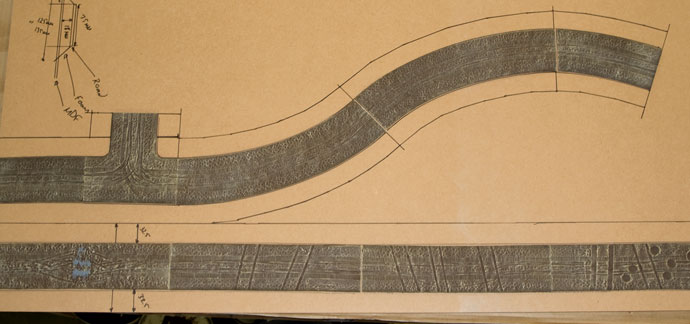 |
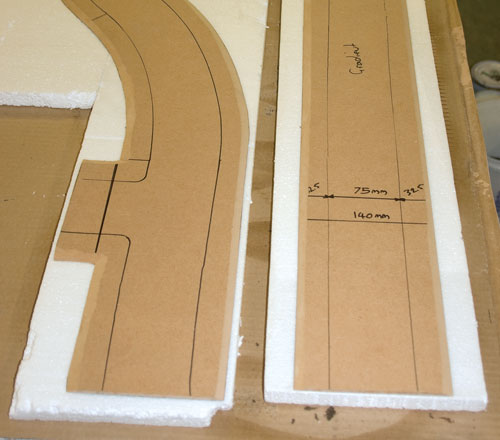
| Lay the roads out into two sections and trace around them. Draw cut lines parallel to the roads a suitable distance away. I made the roads 140mm wide at the base, slightly wider than I originally intended, but will make for better result. |
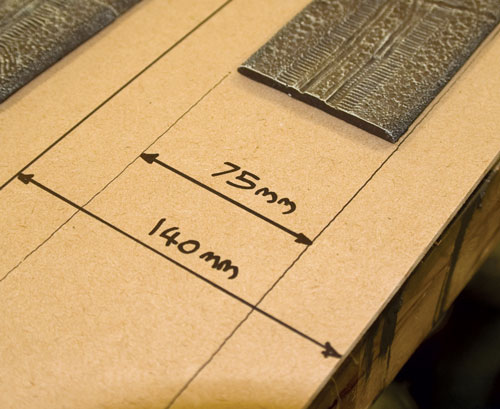 |
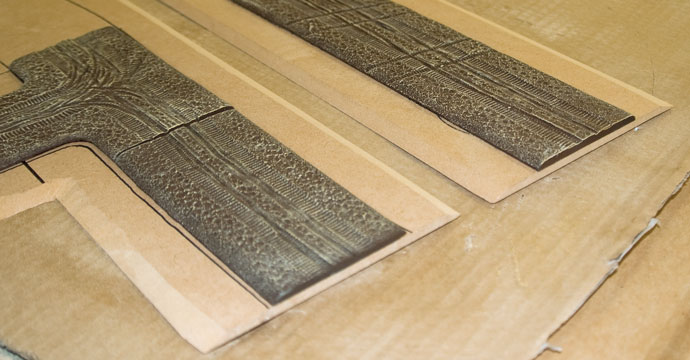 |
Bevel The Edges
Once you have cut the two lengths out, bevel the edges with a knife or belt-sander so that the width of the bevel is about twice the height of the MDF, in this case about 6mm or ¼”.
If you only want slightly raised roads, you could leave off the polystyrene and glue the roads straight to the MDF then skip to applying filler. |
Optional Step
At this stage I paint the underside of the MDF. This essentially pre-stresses the roads, making them less likely to warp once the PVA soaks into the MDF in the next step. |
| Lay the road sections out on your polystyrene to check that you that you have enough. Make sure that your polystyrene is wider than your roads. |
Paint a generous layer of PVA onto the bevelled side of the MDF and glue to the polystyrene. |
 |
 |
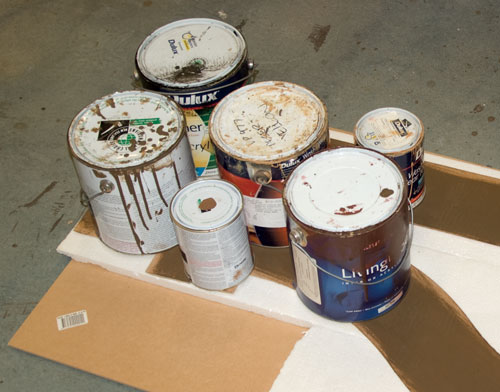
| Put the roads upside down on the floor or another flat surface and weigh it down. This will ensure that everything dries nice and flat. |
Once dry, cut the excess polystyrene off perpendicular to the edge of the MDF, the roads should sit nicely in the centre of the polystyrene. |
 |
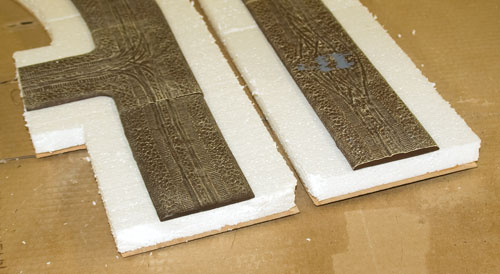 |
Glue the roads down to the polystyrene. I found it useful to trace around the roads before gluing to make sure they remain centred.
Once they’re glued, weigh them down like you did in the previous step. |
Tip: Work out where you are going to cut the roads into smaller sections. When you glue your roads down, space the sections at these points the thickness of your saw blade. Do not cut though yet! |
 |
 |
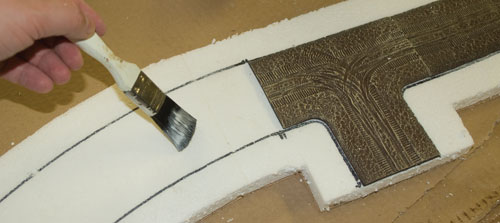
Then slap a layer of readymixed filler over the polystyrene and edge of the road. Once dry, carve the polystyrene to your desired angle.
Tip: Applying two or three thin layers of filler is better than one thick layer. A thick layer will result in sinks and require extra filling later anyway. |
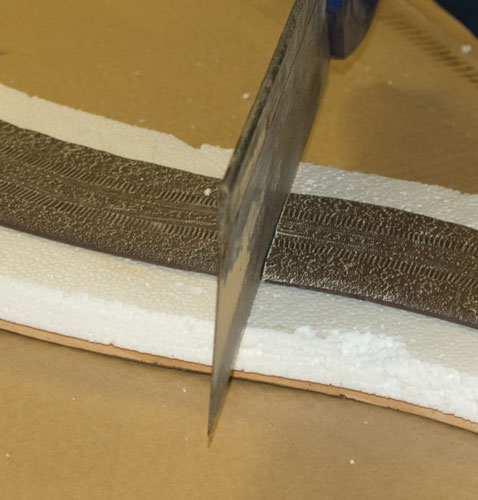
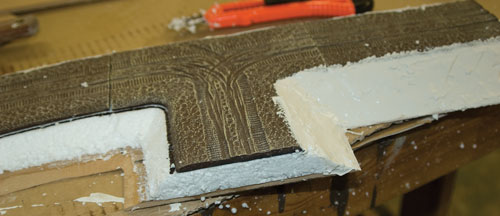
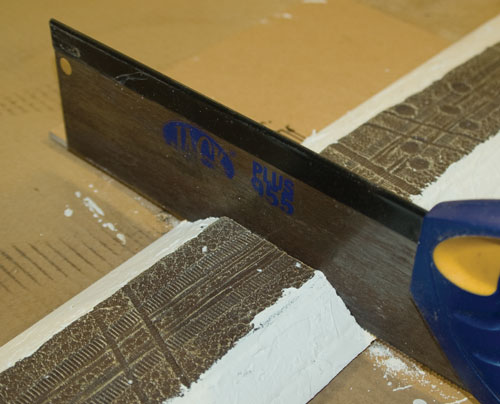
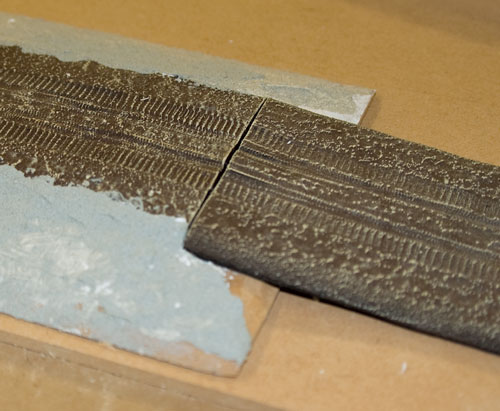
Once the filler is dry, carefully cut your road into sections. Cutting slowly with a sharp saw should result in a clean cut that doesn’t need any fixing up. |
 |
 |
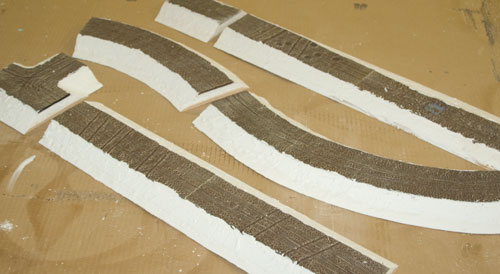 |
I chose to cut the roads into six sections. My logic is that fewer joins will look better on the table, while 2 foot sections still being easy to store. These six sections should make plenty of interesting road layouts.
Before gluing the roads down to the polystyrene I had a talk to Mike, our resident Market Garden expert, who suggested making some way of getting up to the top of the raised road. |
| At his suggestion, I carved one of the sections to go from the height of the raised road down to table level before gluing the roads to the polystyrene. This adds a bit of variety, and will enable the raised roads to connect to the rest of the road network. |
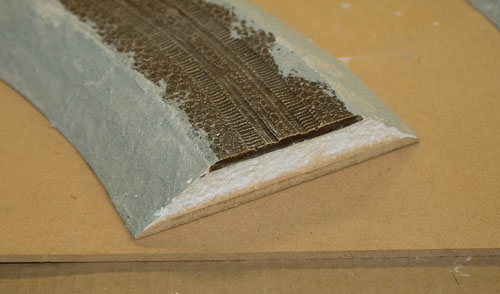
Next I applied a layer of Vallejo Sandy Paste over the top of the dried filler and across the edges of the roads.
If you don’t have this, painting a layer of PVA and sprinkling a layer of Gale Force Nine’s Fine Basing Grit (GFS019) or Superfine Basing Grit (GFS018) will do just as good a job. |
Don’t be too concerned with the finish of the sides of the raised road, as most of it will be covered by static grass eventually and a bit of unevenness will add to the overall look of the roads.
I left an ‘under bite’ at the table level of the sloped piece so the raised roads can be attached to a larger transport system. |
 |
 |
Painting
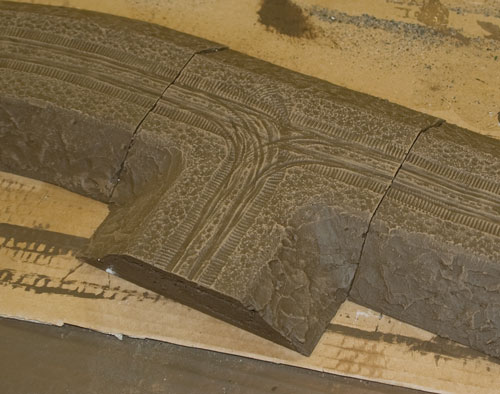
With the road building completed its on to painting. I gave the roads a couple of basecoats of a colour similar to Camo Medium Brown (VMC826). I then drybrushed over a mix of my base colour with a bit of Desert Tan, then added in a bit of Iraqi Sand (VMC819) for the final drybrush. I only gave the sides of the raised roads a cursory drybrush as they’re going to be well covered in flock.
Tip: Its better to let the colour build up gradually with a lot of light layers of drybrushing rather than only apply one or two heavy drybrush layers. You’ll get a subtler result, and there will be less of a chance of messing it up. |
 |
| Flocking |
1. Give the sides of you road a good coat of PVA.
2. Carefully sprinkle a light layer of green over the bottom two-thirds of the road.
3. Pack your green flock onto the bottom half of the road, then knock of the excess. |
4. Now pack some arid grass over the remaining exposed PVA glue.
5. Once you’ve knocked off the excess static grass you should have a nice graduated finish to your flock. |
To finish the roads off, or to cover up any imperfections, you could glue down patches of Meadow Blend (GFS017) or Summer Clump Foliage (GFS013) as small shrubs.
~ Casey. |
Last Updated On Tuesday, March 21, 2023 by Wayne at Battlefront
|
|
|