|
|
|
|
Products mentioned in this Article
|
|
|
|
|
|
|
|
|
 |
|
|
 |
Pimp Your Bunker Part V:
The Gun Barrels
with Blake Coster
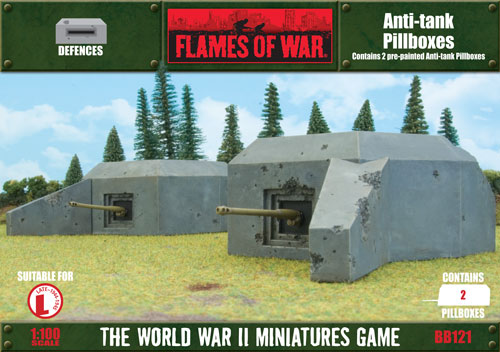
Inspired by Mike's articles on pimping out the new Anti-tank Pillboxes, I decided to show you how to enhance the gun barrels included in the box set.
Learn more about the Anti-tank pillbox here...
|
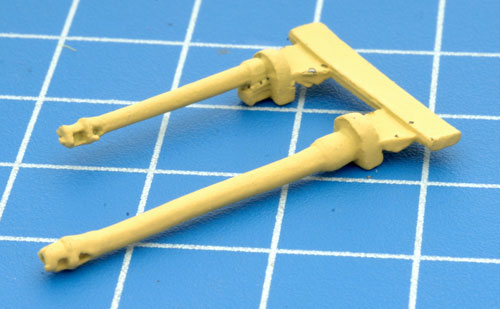
Included in the box set are two set of gun sprues representing the 7.5cm FK, 7.5cm Pak40, 5cm PaK38 and the 8.8cm PaK43.
For the purposes of this article, I will be using the 8.8cm Pak43 barrel but feel free to experiment with the other barrel types. |
 |
 |
The Basics
Firstly, we need the correct barrel. The 8.8cm PaK43 is easy to identify as it is the longest barrel in the set.
But to help you identify which barrel is which I've provided some labelled examples below.
|
| Below: 8.8cm PaK43 barrel. |
Below: 7.5cm PaK40 barrel. |
| Below: 5cm PaK38 barrel. |
Below: 7.5cm FK barrel. |
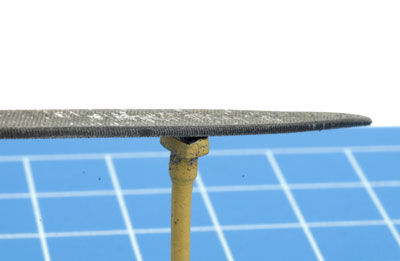 |
Once it off the sprue, a quick tidy up with a file to ensure it sits flush in the bunker may be required.
|
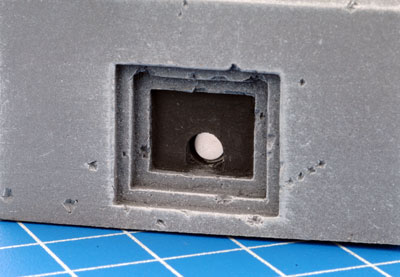 |
Once each side has been marked, the magnet can be glued into place with the non-marked side showing.
In this example, the magnet has been glued into the bunker. Simple repeat the process on the base of the other gun barrels.
Tip: These little magnets are strong so be sure you let the hobby glue cure fully before attempting to attach any of the gun barrels. |
Detailing
When detailing any gun barrels I like
to drill out the muzzle brake to add that extra level of realism.
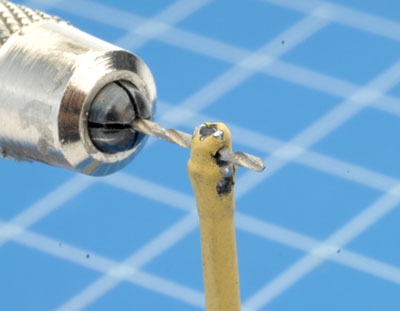
A pin vice is ideal for this job. Select the appropriate
size drill bit and careful drill out each section of the muzzle brake. Be sure
to take your time and you want the hole to come out of the same place on the
opposite side.
In this example, I've drilled out the top baffle of the
muzzle brake of the 8.8cm PaK43. Repeat the process for the lower baffle.
|
 |
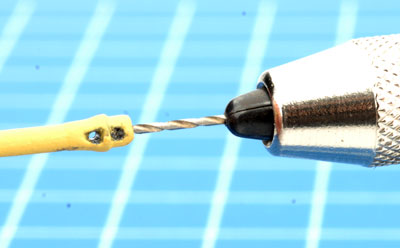 |
Next, drill down the muzzle itself. Again take your time and try to keep the drill bit straight.
Note: After drilling is complete you may need to touch up the paint with some Panther Yellow (FWP365). |
| This method can also be used on tanks. Below are two examples from my own collection. |
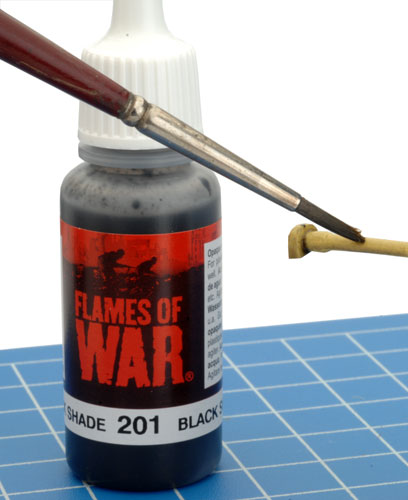
| The next step is the give the barrel a quick wash with Black Shade (201). The Black Shade is designed to settle into the recesses therefore highlighting the details of the model. |
 |
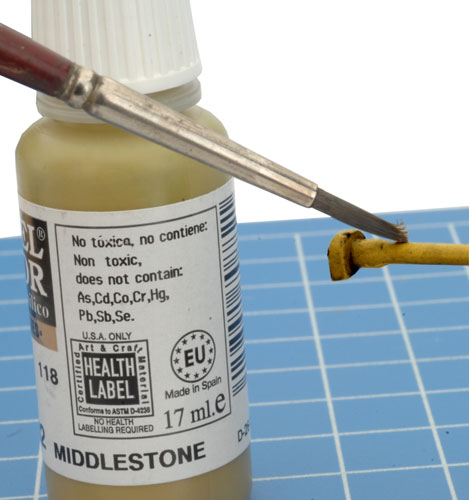 |
Once the Black Shade has dried, give the barrel a heavy drybrush
of Panther Yellow (FWP365).
Hint: Paint the plug where the gun fits into the bunker Black (FWP300) so
it fits seamlessly in with the bunker.
|
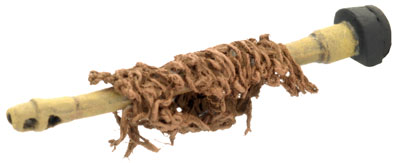
| Your gun barrel is now complete. If you have been following Mike's Pimp Your Bunker articles you can easily add the camouflage netting by following his insturctions in part one as I've done here. See the links below to learn more.
|
|
Last Updated On Tuesday, June 23, 2015
|
|
|