|
|
|
|
Products mentioned in this Article
|
|
|
|
|
|
|
|
|
 |
|
|
|
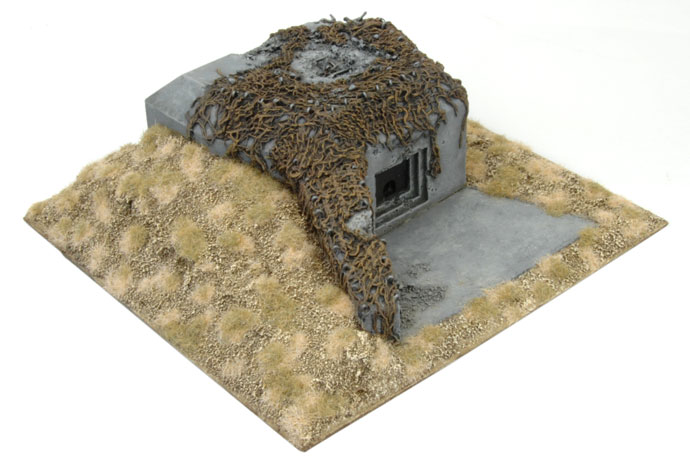
This week I have moved onto phase two and based my bunker on a scenic base. I did this for several reasons. The first reason is that it looks cool. Such a large piece allows me to really get into it with some landscaping and extra details. Another reason for basing the pillbox is so that it will match with my machine-gun nests and pillboxes as well as my infantry bases.
The one disdavantage to basing the bunker is that I won't be able to switch out the defilade wall to the opposite side. However, If I base up the second bunker up similarly with walls on opposite sides, I'll be able to use whichever one best suits the terrain.
|
|
More Research!
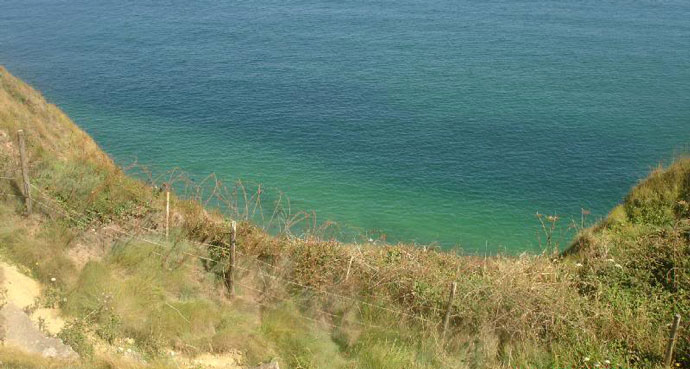
Obviously, I had to do a little more research into the terrain that I wanted to represent. I had a look at Google images and found a few good pictures. One tip I would pass along is whenever you are choosing a basing style, always consider what season you'd like to represent. This will determine not only your overall look, but also what supplies you'll need for the project as well as which pictures to look for online.
|
|
| For example, my bunkers are late summer so I wanted to achieve that arid/parched grass look. So I kept an eye out for pictures taken around late July or August. |
|
Supplies for Phase 2:
- 1x Bunker & Defilade Wall (BB121)
- Fine Basing Grit (GFS019)
- Medium Basing Grit (GFS021)
- Vinyl Spackle (Rapidfilla)
- PVA Glue
- Polystyrene Foam
- Plastic card
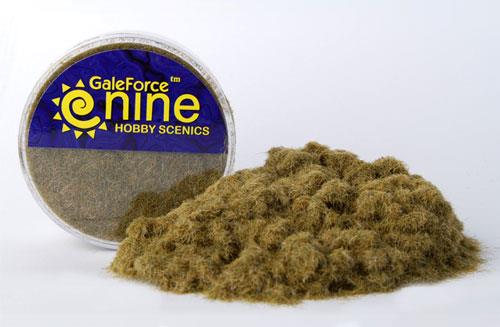
- GF9 Static Grass: Arid (GFS004)
- GF9 Static Grass: Winter/Dead (GFS003)
- Vallejo Paints: Chocolate Brown (872), Khaki Grey (880), Iraqi Sand (819) and White (951)
|
.
|
|
|
Building
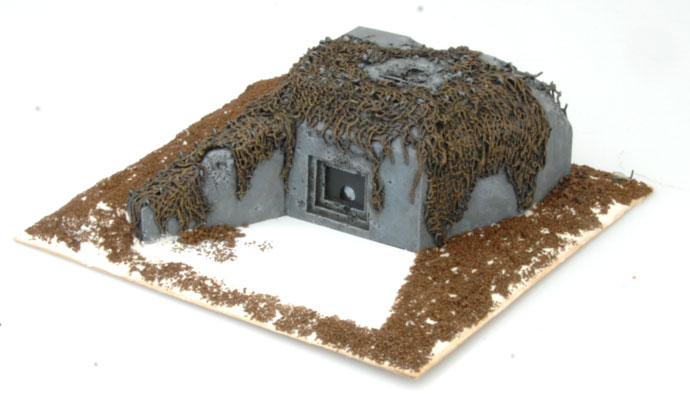
The first step was to cut a 6" x 6" (15cm x15cm) base out of MDF for the bunker. This gave me plenty of space all around the bunker to add some details while not being too big to fit somewhere on the table.
I then cut out a trapizoid-shaped piece of plasticard to represent the concrete 'apron' in front of the embrasure. These were installed to help conceal the bunker by keeping the dust down when the gun fired.
Next, I glued the bunker down and the apron down on the MDF and let it dry before moving on to the next step. |
|
Landscaping
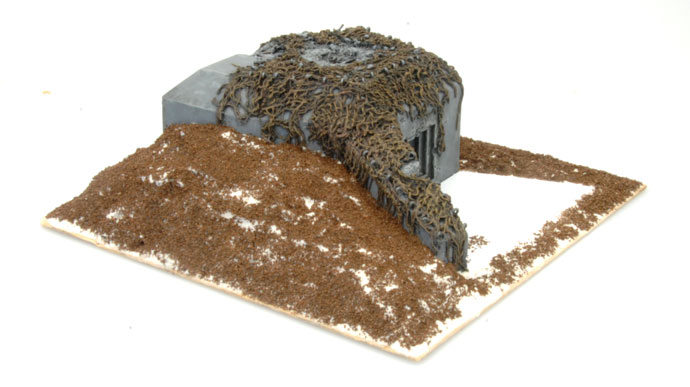
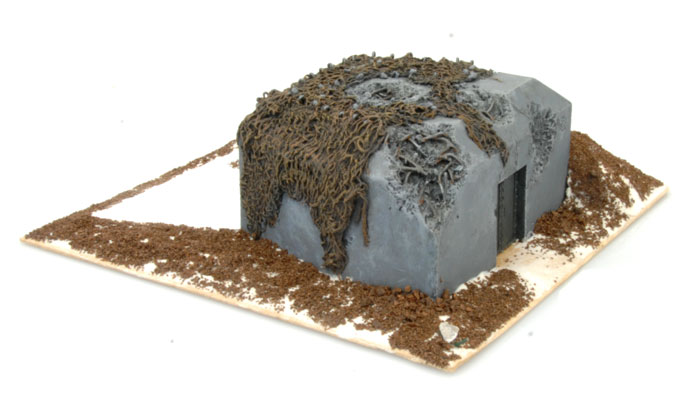
Once the bunker and apron were throughly glued to the MDF, I then started to work on the landscape around the bunker. Bunkers were often built into hillsides to offer additional protection from enemy fire by reinforcing the defilade wall.I've chosen to model this by building up the earth next to the defilaade wall. To achieve this, I cut some polystyrene foam to the right shape and glued it up against the defilade wall.
|
|
|
|
After the everything had dried, I covered the whole base with vinyl spackling (rapidfilla) to create realistic contours. With that dried, I applied a thin layer of PVA glue over all of the spackle and covered the piece with Gale Force 9's Fine Basing Grit (GFS019). I added some Medium Basing Grit (GFS021) wherever the bunker is damaged and the debris has collected.
Once all the basing grit was dried, I covered the whole base with two coats of watered-down PVA glue to help seal the whole thing together.
|
|
Painting
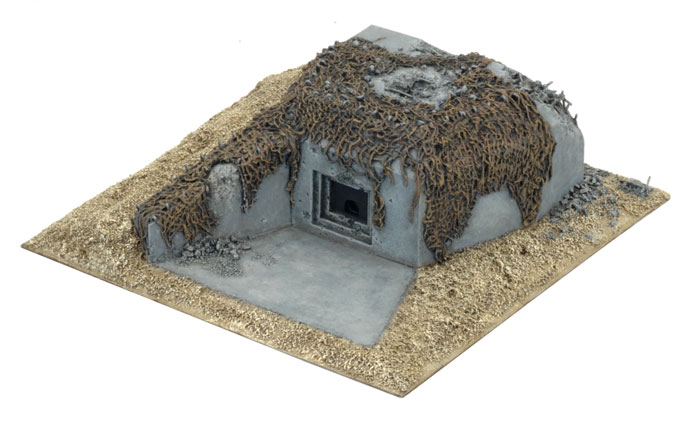
I wanted the ground to be quite arid and dry so I went with a khaki-based colour scheme. I started with a Chocolate Brown (872) basecoat and then gave it a very heavy drybrush of Khaki Grey (880). With that I gave it a light drybrush of Iraqi Sand (819) followed by an even lighter dusting of White (951).
I also painted the damaged wall debris using the same grey colors and techniques found in part one of this series. |
|
|
Static Grass
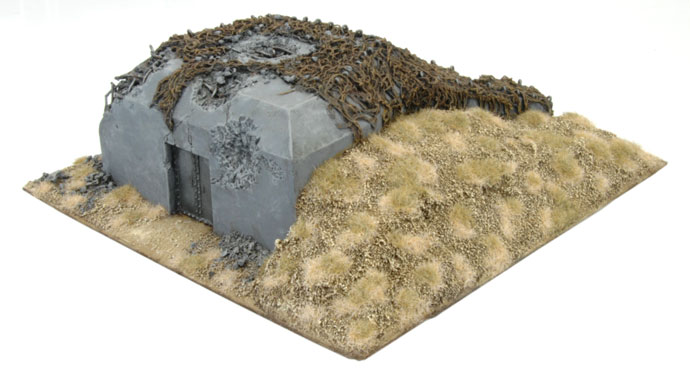
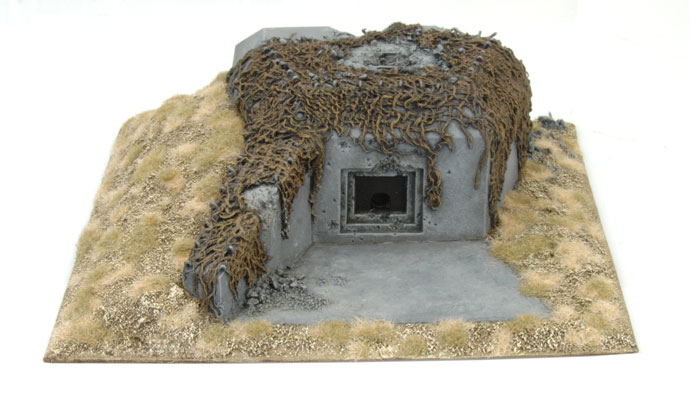
The final step in this phase is applying static grass. When you look at tall grass in arid weather, you find they tend to grow in clumps rather than large patches. Dried grass encrcles the greener grass making for an interesting pattern. I chose Gale Force 9's Arid and Winter/Dead grasses for my bases.
|
|
|
|
I applied the Arid grass first. I used an old paintbrush and painted small patches of a 50/50 mix of PVA and water all across the bunker's base.
These patches were no larger than 1/2" or a centimeter in diameter. I then applied the Arid static grass and let it dry for a few minutes.
|
|
Then I applied the Dead/Winter grass. Despite its name, this grass is still rather green and makes for a perfect combination with the arid stuff. Using the same brush and PVA mix, I placed a small dot or two of glue in the center of each Arid patches and then added the Winter/Dead grass on top of it.
I left that to dry completely before dusting off the excess grass with a large brush.
|
|
|
Tip: The Testing Stick
Before diving into each basing project I always make a test stick using a popsicle stick to make sure I'm happy with the result. I glued some fine basing grit to the popsicle stick then painted it up using the colors mentioned above. If I'm happy with the result I write all the information on the back of the popsicle stick including colors and materials used and then "file" it in an old painting jar for future reference. Here's the one I did for this project:
|
|
Onto Phase 3!
Once again, the bunker is tabletop ready and I could use it as-is. However, I still have a few more small details and finishing touches I'd like to add next week!
See Part III Here...
|
Last Updated On Thursday, June 6, 2024 by Kevin
|
|
|