|
|
|
|
Products mentioned in this Article
|
|
|
|
|
|
|
|
|
 |
|
|
 |
Battle of the La Fière Causeway
A Battle Report with Mike & Wayne
Having both worked on the Turning Tide and Earth & Steel, Mike and I thought we should be the ones to bring you the first Normandy battle report on the website. While looking at the many forces in the books, we were at a bit of a loss what to start with. Then Mike had a great idea to re-fight the encounter between the German Panzer Ausbildungs und Ersatz Abteilung 100 and the US 82nd Airborne Division over the Merderet River on 6-9 June 1944.
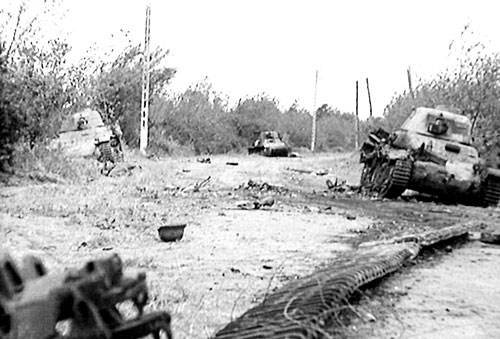
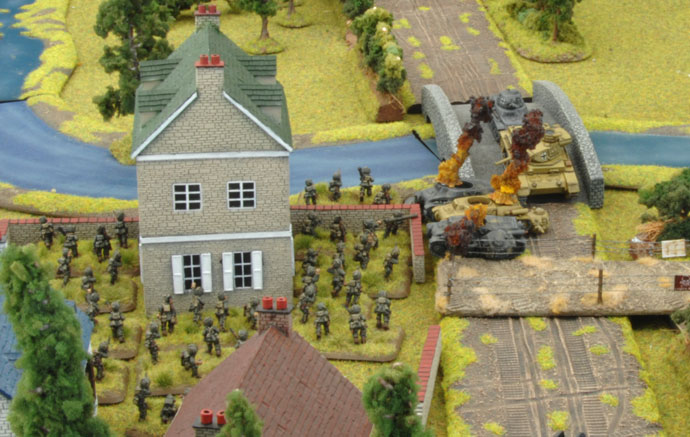
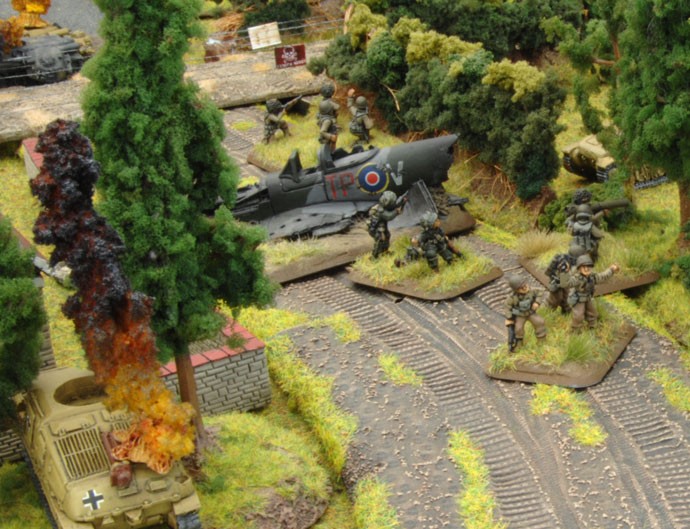
Left: Knocked out Beutepanzers at La Fière. |
The Merderet River was important for both sides. For the Americans, the
river divided the 82nd Airborne’s drop zones, so capturing the crossing
was vital to unite the paratroopers. For the Germans the road was a
major link to Utah Beach and would be needed to rush troops to meet the
Allied invasion. The fight over the bridge was a critical fight for both
armies to win.
The battle features the 82nd Airborne
Division versus the 1057 Grenadier Regiment backed by the 100. Panzer
Ausbildungs und Ersatz Abteilung and its French training tanks in German
service. This makes for an excellent Flames Of War match-up between a US
Parachute Rifle Company and a German Beutepanzerkompanie.
To mix things up, we decided that we would
play a force out of the other’s book, so I took on the US paratroopers, while
Mike got to try out his new Beutepanzers that he painted over the Christmas
holiday.
Listen to Wayne and Mike discuss this Battle Report in the Radio Free Battlefront podcast here...
|
| From there we
figured that we ought to use the Encounter mission to replicate the
meeting engagement and the build-up of reinforcements that occurred over
the three-day battle. We made sure that two of the objectives were
placed along the main road to make it the centre of attention. The
secondary objectives were placed to simulate General Gavin’s (82nd
Airborne) plan to out flank the bridge. |
 |
The Armies
Wayne’s US Paratroopers
I haven’t used a US force for a very long time, so it is almost a new experience for me. The US Paratroopers are tough and hard to kill (Fearless Veteran). Supporting them I have some Glider troops who are not as well-trained, being Riflemen converted to the glider role.
Learn more about Turning Tide here... |
US Parachute Rifle Company (Fearless Veteran)
|
507th Parachute Infantry Regiment, 82nd Airborne Division.
|
Headquarters
|
|
Parachute Rifle Company HQ
|
30 points
|
with 3x Bazooka teams
|
60 points
|
Combat Platoons
|
|
Parachute Rifle Platoon
|
|
with 3x Rifle Squads
|
265 points
|
| with 3x extra Rifle/MG teams |
90 points |
| Parachute Rifle Platoon |
|
| with 3x Rifle Squads |
265 points |
| with 3x extra Rifle/MG teams |
90 points |
Weapons Platoons
|
|
Parachute Machine-gun Platoon
|
|
with 1x MG Section
|
100 points
|
Support Platoons
|
|
Airborne Engineer Combat Platoon
|
|
with 1x Operating Squad
|
155 points |
| Glider Support Platoons (Confident Trained) |
|
Glider Rifle Platoon
|
|
with 3x Rifle Squads
|
155 points
|
Glider Field Artillery Battery
|
|
with 6x M3 105mm light howitzer
|
155 points |
Glider Anti-tank Platoon
|
|
| with 3x Anti-tank Sections |
70 points
|
with 3x Bazooka teams
|
45 points
|
with 3x Jeeps
|
5 points
|
Total Points:
|
1485 points
|
|
|
Mike’s
Beutepanzerkompanie
I was excited to use my new Beutepanzerkompanie
that I’ve been working on. I painted up all the tanks over the holidays, and
now all that remains is the infantry and gun teams. My company is based on 100.
Panzer Abteilung with support from the 1057th Grenadier Regiment,
represented by the Bodenstandig troops.
Learn more about Earth & Steel here...
|
 |
| Beutepanzerkompanie (Confident Trained) |
|
Panzer Ausbildungs und Ersatz Abteilung 100
|
|
Headquarters
|
|
Company HQ
|
|
with 2x R-35
|
40 points |
| Combat Platoons |
|
Beutepanzer Platoon
|
|
| with 1x S-35 & 4x R-35 |
105 points
|
Beutepanzer Platoon
|
|
| with 1x S-35 & 4x R-35 |
105 points |
Beutepanzer Platoon
|
|
| with 1x Char B1 & 4x H-39 |
155 points
|
Beutepanzer Platoon
|
|
| with 1x Panzer III J (early) & 4x H-39 |
160 points
|
Weapons Platoon
|
|
Bodenständig Anti-tank Gun Platoon
|
|
with 3x 7.5cm PaK40
|
120 points
|
Support Platoons
|
|
Bodenständig Tank-hunter Platoon
|
|
with 3x Marder I
|
135 points
|
Bodenständig Grenadier Platoon
|
|
with 3x Grenadier Squads
|
120 points
|
with Command Panzerfaust SMG team
|
10 points
|
| Bodenständig Grenadier Platoon |
|
| with 3x Grenadier Squads |
120 points |
| with Command Panzerfaust SMG team |
10 points |
Bodenständig Heavy Artillery Battery
|
|
| with 4x 15.5cm sFH414(f) howitzers |
190 points
|
Bodenständig Anti-aircraft Gun Platoon
|
|
with 3x 3.7cm FlaK43 guns
|
75 points
|
with Trucks
|
5 points
|
| Luftwaffe Anti-aircraft Assault Platoon |
|
| with 2x Luftwaffe 8.8cm FlaK36 guns |
95 points
|
with 2x Extra Loading crew
|
20 points
|
Total Points:
|
1465 points
|
|
The Game
Our battle over the bridge lasted an epic 13 full turns, which we felt represented the real fighting quite well. Like the real thing, our fight was long, full of twists of fate, and bloody.
Wayne’s Deployment
I started with my best troops on the table, the Parachute Rifle Platoons and the Airborne Engineer Combat Platoon. The engineers allowed me to place a minefield to cover the road and bridge. These tough troops were my best chance at taking out the tanks early on, by taking up key positions where the tanks would be forced to assault the paratroopers who have Bazookas and Gammon Bombs.
Mike’s Deployment
I decided my best plan for victory was to keep pressure on both Wayne’s objectives and thereby preventing his two paratrooper platoons from helping each other out. If allowed to meet up, these two paratrooper platoons would be impossible to defeat with my poor old training tanks. So I had to drive a wedge between them. I placed tank platoons opposite of each objective and made a small Kampfgruppe with my 2iC to make a drive down the middle.
The artillery and supporting infantry would help reduce the enemy infantry in front of the tanks.
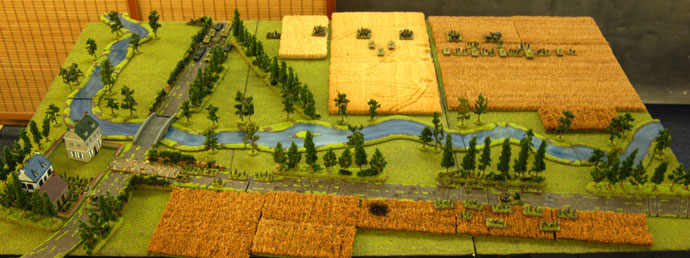
Below: The Battlefeild with troops deployed. |
 |
Turn One
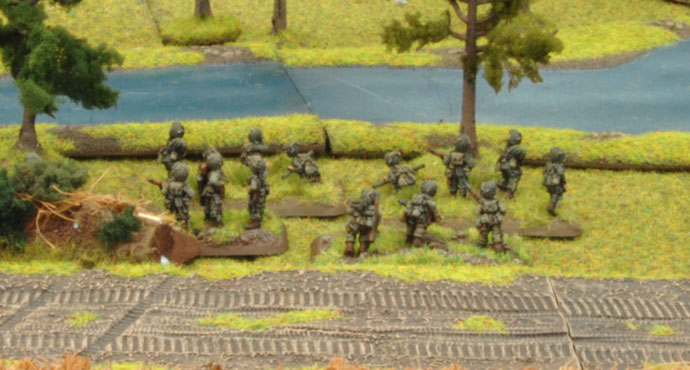
In the first turn Wayne pushed his paratroopers and engineers near the
bridge on the offensive, moving them up toward the bridge and occupying
the manor house. Meanwhile, he dug in the second paratrooper platoon on
the other objective. |
 |
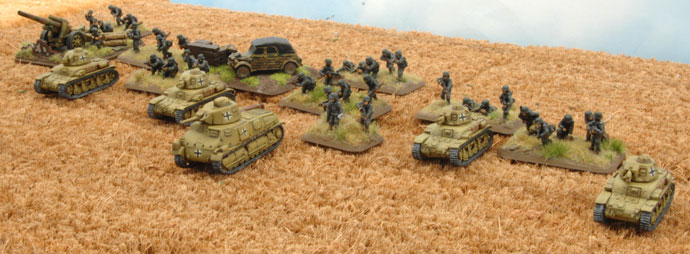 |
| Mike drove his first two tank platoons on the
road toward the bridge and opened fire on the bold paratrooper engineers
caught in the open. The 2iC group moved up and also fired at the
engineers, which became Pinned Down. Mike’s other tank platoon advanced
with the infantry on the right toward the objective. |
 |
Turn Two
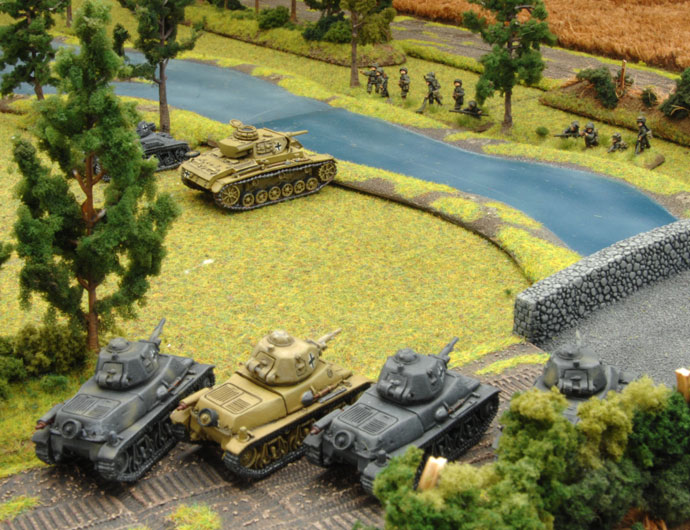
Wayne’s paratroopers near the bridge charge up to the river and prepare to cross. The Engineers fail to unpin and instead went to ground.
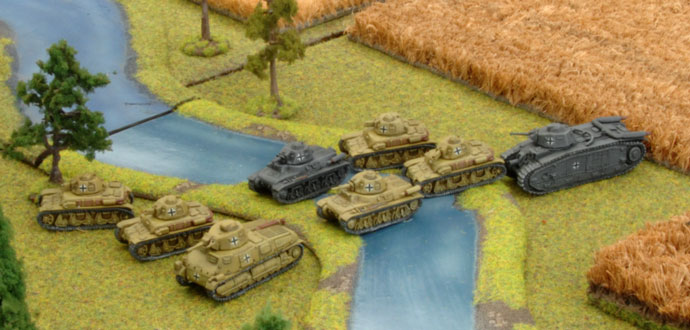
Mike's tanks press the attack, taking advantage of the paratroopers in the open. The Somua platoon on the road (S2 Platoon) attempts to break through a gap in the bocage in order to get a clear field of fire, but only two tanks make it through before the third bogs down blocking the opening. The two tanks that made it through, open fire causing a few casualties among the paras.
|
 |
The 2iC group and the CiC R35 tank move up to the riverbank and open fire on the remaining para engineers.
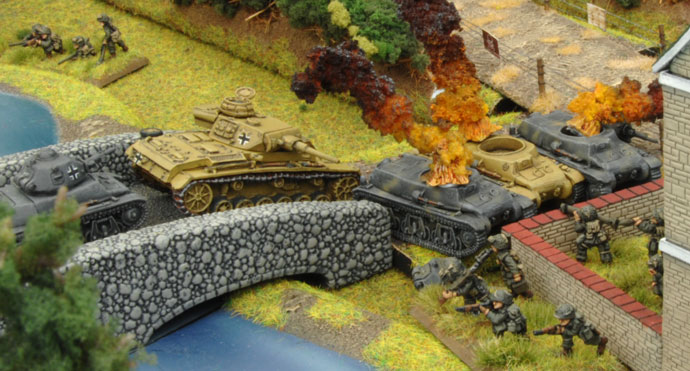
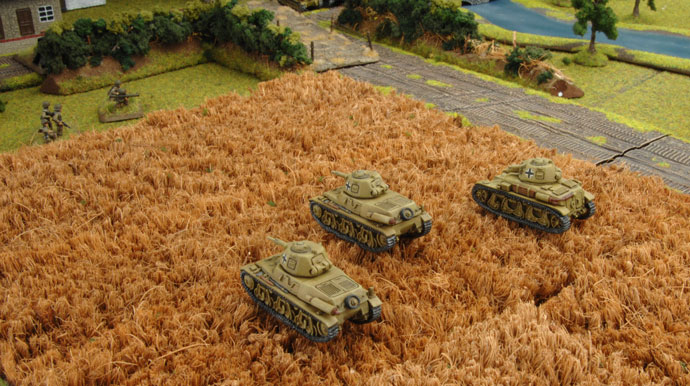
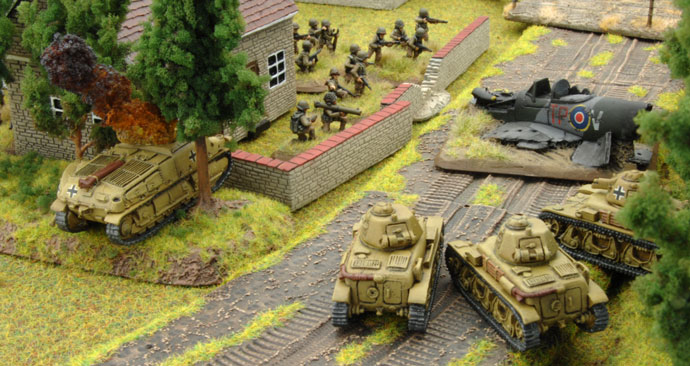
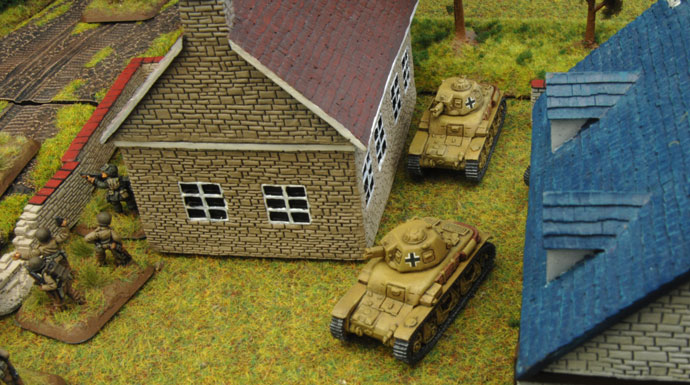
The Panzer III platoon (P1 Platoon) charged across the bridge, machine-guns blazing away at the paratrooper behind the manor wall before launching a bold assault. The panzers destroyed a bazooka team and a rifle team before being forced back by the defenders and losing three H-39 tanks. The tank platoon failed it’s morale check despite the CiC trying to keep them in the fight.
|
 |
|
Turn Three
Neither player managed to call in reserves.
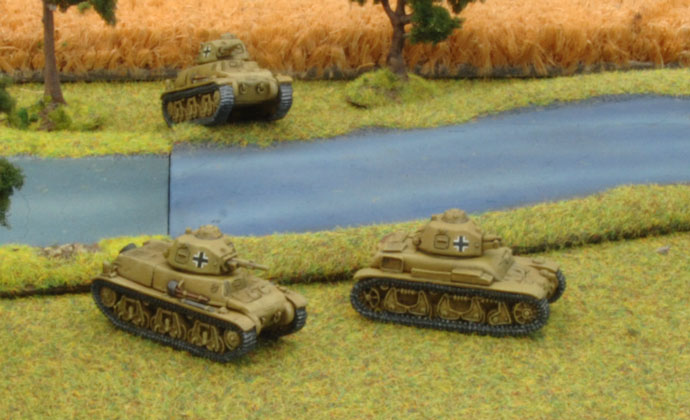
Wayne’s paratroopers consolidate back into the manor to avoid further
casualties. Mike’s Beutepanzers keep up the pressure on both flanks, while the
2iC group finally eliminates the small engineer platoon. Mike’s artillery has
yet to range in…
|
 |
Turn Four
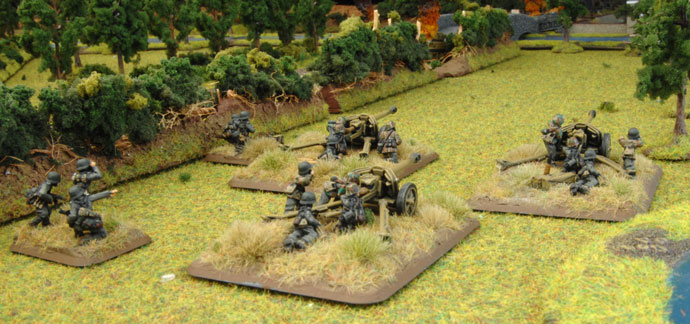
Wayne’s anti-tank platoon arrives from reserve and takes aim at the two R-35s stuck on the bocage, destroying one and bailing the other.
Mike’s second Grenadier platoon arrives from reserve and marches up the right flank along the riverbank. S2 Platoon starts firing HE shells into the paratroopers holed up in the manor causing light casualties.
|
The Somua platoon on the opposite flank (S1 Platoon) moves up to the river bank with the infantry and shoots at the dug-in paratroopers on the opposite bank with little effect, however, they along with the infantry, manage to pin down the enemy.
Mike’s 2iC group braved the river and make it across with only one of the three tanks bogging down. Once across, they moved in between Wayne’s platoons and began harassing them while the other platoons prepared to move in.
The artillery finally managed to range in on the manor, destroying an infantry team.
Turn Five
No additional reserves arrive for both players. Wayne’s 57mm anti-tank
guns bailed out another R-35 from S2 platoon near the bocage. Mike’s
artillery and tanks continues to barrage the manor, inflicting several
casualties.
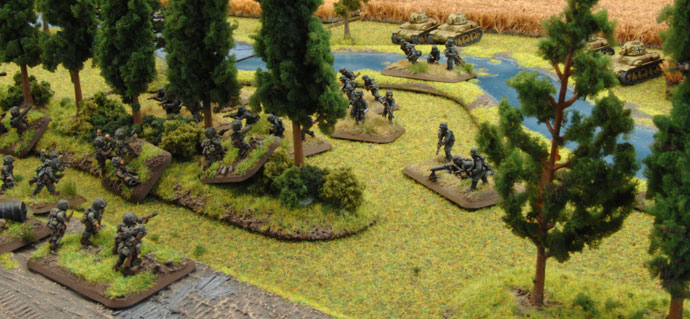
Meanwhile, on the opposite flank Mike’s infantry attacks. S1 Platoon
moves up to the river to give the grenadiers some machine-gun support.
Between S1 Platoon, the 2iC Group, and the grenadiers Mike was able to
pin down Wayne’s paratroopers.
The Grenadiers moved into position and launched their assault. They
charged into position but were halted by six hits from the paratroopers
and turned back with the loss of three infantry teams. This would prove
to be their undoing as they quickly evaporated under Wayne’s withering
return fire.
|
 |
Turn Six
Wayne threatens to sack his platoon commanders in reserve, which motivated three platoons to finally arrive. Glider Rifle and Field Artillery Battery arrived at the manor while the parachute Machine-gun platoon arrived on the opposite flank to reinforce the other objective.
|
| At the manor the glider troops storm forward and
shoot up Mike’s attacking grenadiers before launching an assault.
Luckily the grenadiers manage to see off the American attack and launch
one of their own. In a fierce fight the two platoons each destroy two of
the enemy’s teams, but the American’s larger platoon stands firm and
repulses the German platoon, which promptly falls apart due to heavy
casualties. |
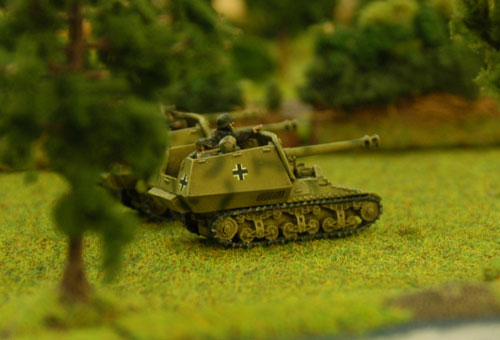
Mike also receives some reserves. A small tank platoon commanded by a Char B2 tank (C1 Platoon) is sent to reinforce the left flank. Marders and 8.8cm FlaK36 guns are sent to reinforce the attack on the manor.
|
The ‘88’ platoon rapidly unlimbers and fires two
shots down the length of the road and scores two lucky kills on Wayne’s
57mm anti-tank guns and opening the road up to Beutepanzer traffic.
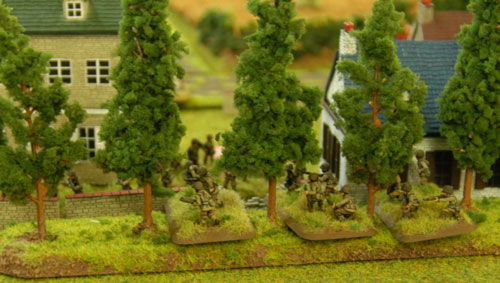
The 2iC group shifts flanks with its fast H-39 tanks and opens fire on the Glider artillery platoon caught in the open. Without any gun shields to save them, the tanks’ machine-guns devastate the battery, killing two guns and pinning the rest down.
|
|
 |
 |
Turn Seven
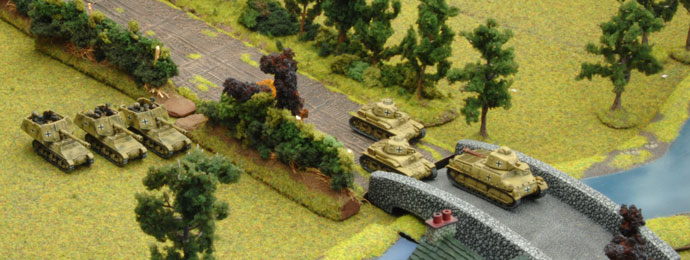
Wayne’s glider riflemen, expecting the Beutepanzers at any moment, dig in at the manor. He then gathered the rest of his anti-tank gun platoon’s bazookas and rushed to meet Mike’s 2iC group, which was threatening the manor objective. The two bazooka men missed their targets and Mike decided to push his luck and launch an assault. As the three tanks charged in, one was hit by a bazooka and bailed out.
|
 |
The other two moved in and destroyed a bazooka and a hapless observer
rifle team that got caught up in the melee. Not wanting to lose a
platoon, Wayne pulled back to the cover of the tree line to take another
shot the following turn.
Meanwhile, things on the left flank began to heat
up. Without any infantry left, Mike decided that he could not take the
objective from Wayne’s determined paras with his two small tank
platoons. Victory, he reasoned, could only be won at the manor where the
enemy infantry was the weakest. So S1 Platoon, followed by C1 Platoon,
pushed forward across the river, weathering bazooka volleys, and then
slipped around the paratroopers’ flank towards the manor. |
|
 |
Turns Eight & Nine
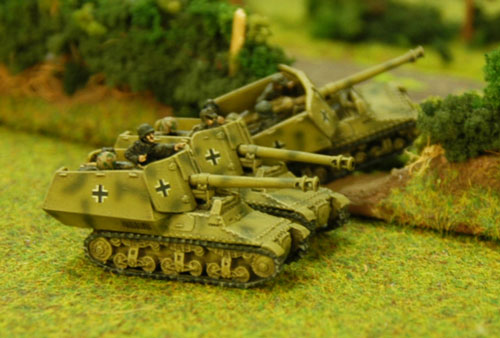
At this point the battle began to focus entirely on the manor. With all of Mike’s mobile platoons closing on the objective, Wayne shifted his troops around the buildings to make sure he was contesting the objective. The anti-tank platoon’s remaining bazooka man takes aim and knocks out the bailed out H-39 from the 2iC group.
Seeking vengeance for the loss of their H-39, the remainder of the 2iC groups charge the bazooka man and run him over, but pull back out of range of the glider rifle platoon’s bazooka in the manor house.
|
Wayne’s artillery, though limited to two guns by this point, nail Mike’s ‘88’ platoon with a Time On Target barrage, hitting both guns. With extraordinary luck, the 88s are unharmed, but remain pinned down for the next four turns.
|
Meanwhile, the two Somua platoons closed in on the manor. S2 platoon took up positions and prepared to barrage the buildings with high explosives. C1 platoon on the left flank moved up to keep the paras there from going after S1 platoon as it snuck by their flank.
Suddenly, without warning Wayne unleashes a bazooka barrage against Mike’s C1 platoon, knocking out an H-39 and a Char B2, leaving behind a single orphaned H-39 tank which moves quickly to the extreme flank to avoid the same fate as the rest of its platoon.
|
 |
Turns Ten & Eleven
A brief lull in the fighting settles in and small skirmishes break out along the front as Mike’s Somua platoons slowly make their way across the battlefield, mopping up the last of the glider support weapons platoons, and prepare for the final assault on the manor.
|
Turns 12 - 14
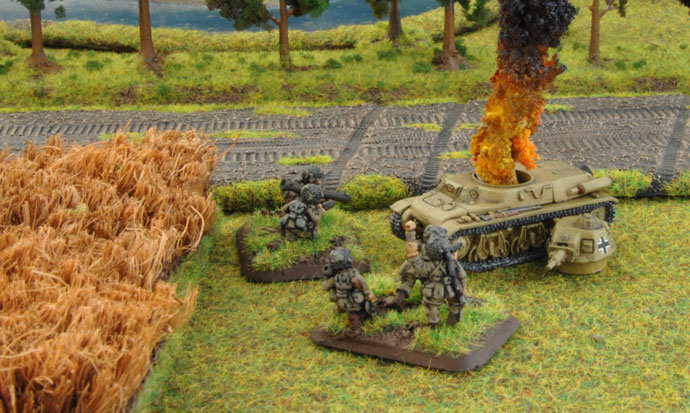
Wayne’s paratroopers, now drastically below half-strength, pass their company morale test and carry on fighting. His Machine-gunners boldly get out their foxholes and successfully assault the last H-39 from Mike’s C1 Platoon with a bazooka and a command team.
|
 |
 |
By this time the Somua platoons are ready and begin the assault on the
manor. The smaller S2 platoon stays back and provides covering fire,
knocking out a few of the rifle teams while S1 platoon sweeps in and
clears the glider troops out of the rear buildings. |
Meanwhile, Wayne rushes his paratroopers on the opposite flank toward the manor, putting pressure on the Somua platoons to quickly secure the objective. The fight carries on for another turn until Wayne’s luck with company morale ran out and the paratroopers retire from the field, having seriously bloodied the 100 Panzer Abteilung and its grenadiers.
As a side note, it’s worth remembering that you never want to serve as a grenadier in Mike’s army. Ever.
|
 |
 |
|
Alternative
Ending
One last turn was played out to see what
would happen if the game had lasted just a bit longer. It turns out it would
have completely reversed the outcome! Wayne’s paratroopers from the flank
opposite the manor were now in assault range of S2 platoon and managed to
destroy the Somua and an R-35 tank with bazooka fire before assaulting and
finishing off the platoon. The loss of that platoon would have put Mike’s
company below half strength, which he would have automatically failed due to
his CiC tank being lost on turn two. All-in-all, it was a very close game!
After Action Thoughts
Wayne's Thoughts
My engineers were not as effective as I had wished. Unfortunately my movement of the engineers was not smart and they were slowly worn down by tank machine-gun fire after becoming pinned the first time they are shot at. They seemed totally unable to recover from then on.
However the 1st Parachute Rifle Platoon in the manor was able to hold against the onslaught of Beutepanzer assaults until the Glider Troops started to arrive from reserve. From that point on it was touch and go as Mike swung his attack from my right and concentrated on the left-hand objective
.
Encounter has scattered reserves and unfortunately most of my reserves were squashed into the left-hand corner where the artillery and anti-tank guns couldn’t be immediately brought into play. As Mike’s tanks arrived in the area they were able to pick them off.
Finally my last platoon on the left, the Glider Rifle Platoon, was broken after a series of assaults and I failed my 3+ Fearless Company Morale Check. We played another turn to see what would have happen if I’d passed and I knocked out another Beutepanzer Platoon. So it was a close run thing.
My Bazookas deserve a mention for knocking out 6 or 7 Beutepanzers. Most of the time they were going straight through the Beutepanzer’s armour, and amazingly I was making most of the 5+ Firepower tests.
An enjoyable game overall and I look forward to having another go with the US Paratroopers at some point in the future.
Mike's Thoughts
I thoroughly enjoyed playing with the
Beutepanzers. The early-war era tanks are small and quite vulnerable to late
war weapons, so it takes a bit of practice to figure out how to use the with
the best result. I’ve found one important thing to remember is that they you
should treat them as “un-pinnable” infantry. Think of them as a 5-stand
infantry unit with long-range assault rifles. Avoid anti-tank weapons like the
plague and leave them to your Marders, 88s, artillery, and PaK40 anti-tank
guns.
The Beutepanzers can close with the enemy
infantry and hit them hard. However, you’ll need numbers to help mitigate your
trained status, so always try and make sure you can achieve numerical
superiority wherever possible. I failed to do this on my first assault during
the second turn, where I should have waited for reinforcements before charging
in.
They are an extremely fun list to play with
lots of flavour. You also get a pile of platoons! I got 11 platoons in total,
12 with my Kampfgruppe. This allowed me to begin with a large number of tanks
(19) as well as the heavy artillery, helping me to make a concerted effort on
an objective.
Don’t forget that the H-39 is not a slow
tank. It was a cavalry tank and designed to go fast, so they can move quite
rapidly around flanks and through gaps. However, don’t let them get too far
ahead of your main force!
Incidentally, I found the
Beutepanzerkompanie a good training force for an early war French tank force.
One of these days I’ll get around to finishing my other French tanks and
fielding them as a proper French force!
~ Mike & Wayne.
|
Last Updated On Friday, February 4, 2011 by Blake at Battlefront
|
|
|