|
|
|
|
Products mentioned in this Article
--None--
|
|
|
|
|
|
|
|
|
 |
|
|
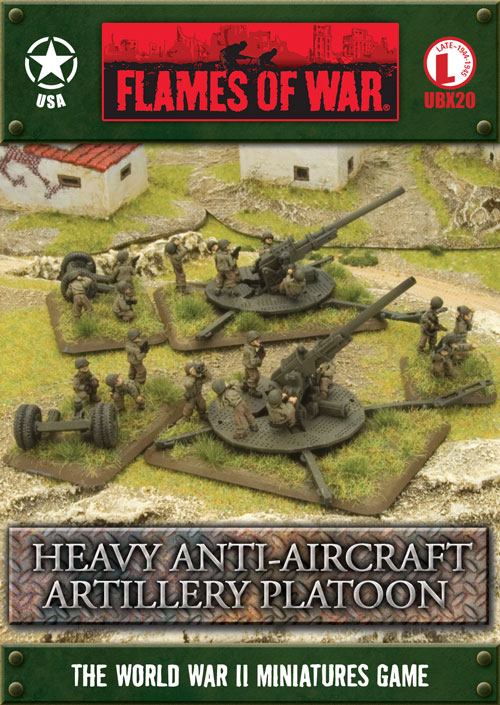 |
Assembling the 90mm M1 Heavy Anti-Aircraft Gun
with Colour Guide
Development of the M1 90mm Anti-aircraft gun begun in 1938 and was
intended to replace the aging 3” gun currently in service. The larger
calibre would enable the gun to target aircraft that were now flying
faster and higher than ever.
Learn more about the Heavy Anti-Aircraft Artillery Platoon here...
|
The Contents
Firstly, let's take a look at the contents of
the Heavy Anti-Aircraft Artillery Platoon box set; contact the Customer
Service team at [email protected]
if you have any issues with any of the components. |
|
Assembling the Gun Base and Gun Crew Platform
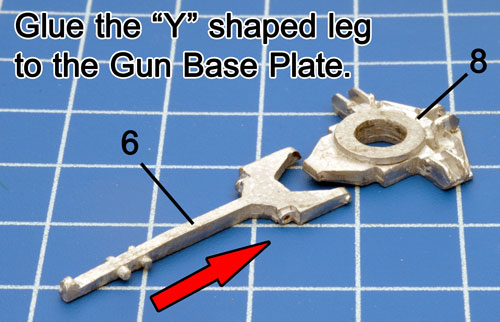
Begin by attaching the "Y" Shaped Leg
to the Gun Base Plate as shown in the photo to
the right.
The numbers represent which component is used; see the components
diagram above for more details.
|
 |
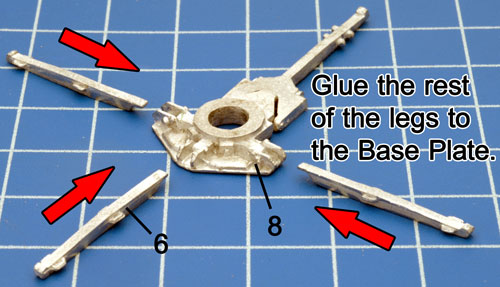 |
Next, attach the straight Base Plate Legs to the Gun Base Plate. |
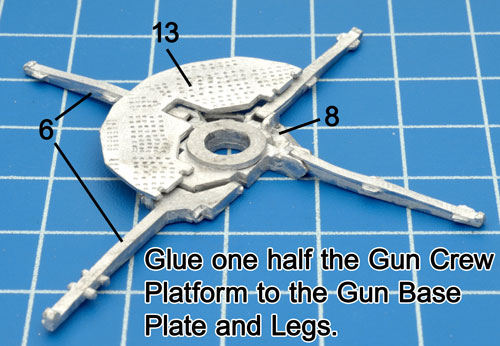
| Once the Base Plate Legs are attached, its time attached the Gun Crew Platform. |
 |
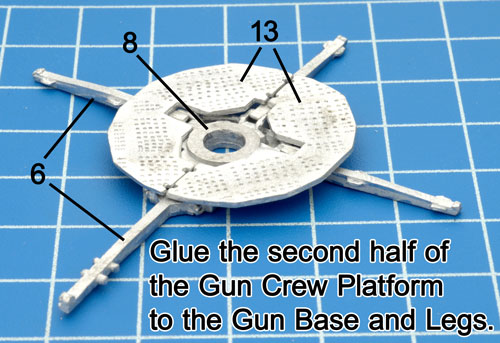 |
This is best done by securing each of the Gun Crew Platforms one at a time.
Tip: Be sure to orientate each platform as shown in the photos.
|
|
Assembling the Gun Mount and Gun Barrel
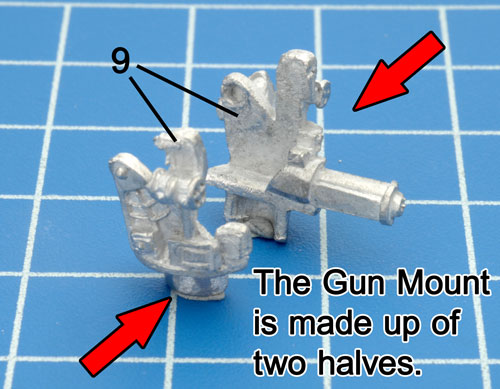
Next up is the Gun Mount;
this is made up of two halves.
|
 |
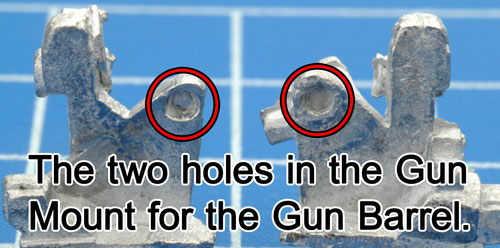 |
Each half of the Gun Mount has a small hole to help secure the Gun Barrel.
|
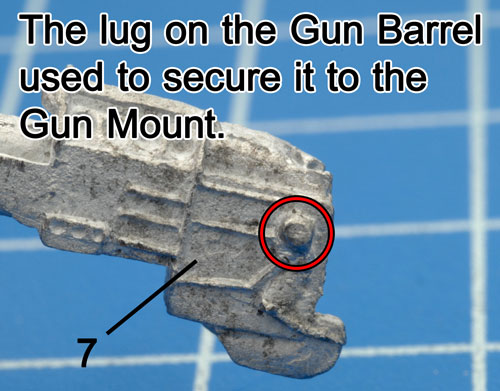
| In turn, the Gun Barrel has a small lug to match. |
 |
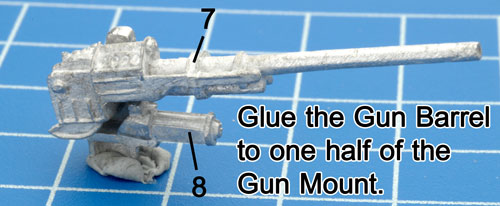 |
Glue the Gun Barrel to one half of the Gun Mount at the desired angle. |
| Once the Gun Barrel is secured at the desired angle, attach the second half of the Gun Mount. |
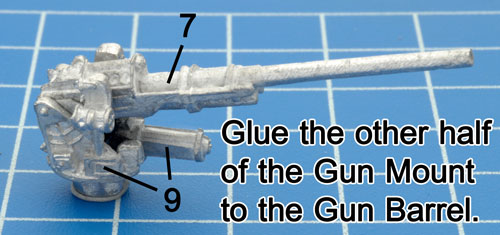 |
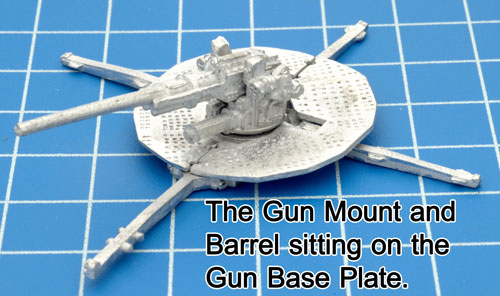 |
The Gun Mount and Gun Barrel are now ready to be mounted to the Gun Platform.
|
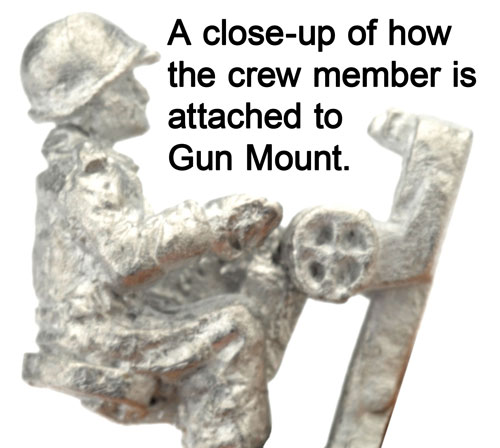 |
Under the traverse wheel there is a small notch to which each crew member attaches. |
Adding the Gun Travel Lock
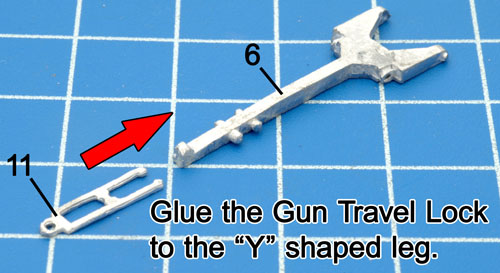
The Gun Travel Lock attaches to the "Y" Shaped Leg of the Gun Platform. |
 |
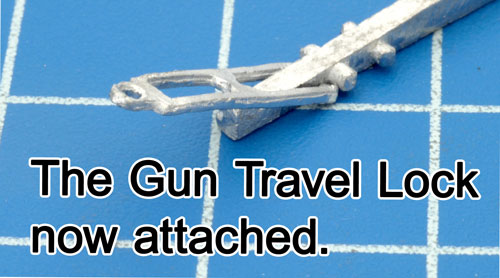 |
Attach the Gun Travel Lock at the desired angle. |
Assembling the Gun Limber
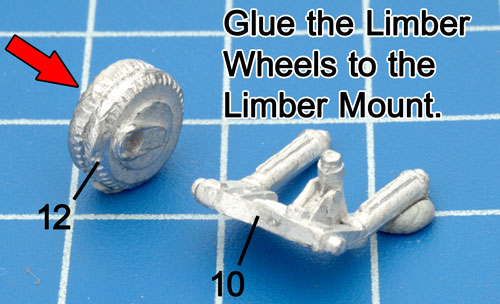
Attach the Gun Limber Wheels to each side of the Limber Mount.
|
 |
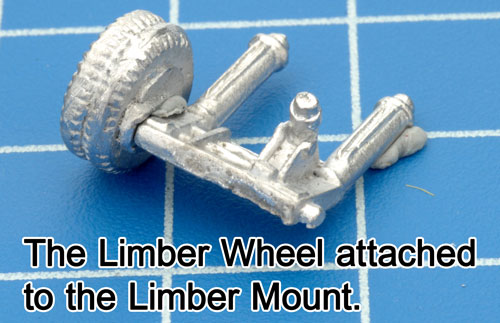 |
Ensure the Gun Limber Wheels are attached at the correct angle (following the raised ridge just behind the hole in each wheel) to the Limber Mount.
Editor's Note: Be sure to use a good quality Hobby Glue such as the GF9 Hobby Glue rather than Blue-Tak used in these examples).
Check the GF9 in the online store here...
|
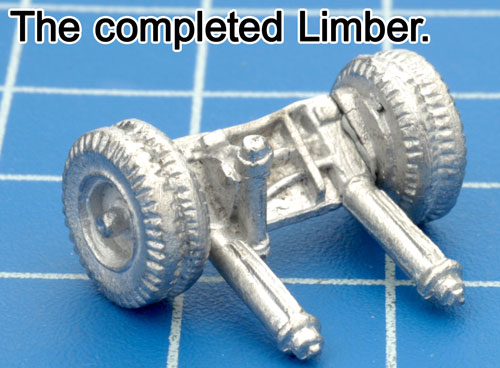
Attach the second wheel to complete the assembly of the Gun Limber.
|
 |
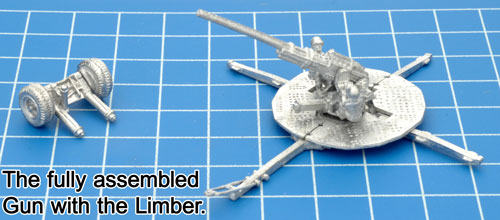 |
With the Gun Limber now complete and the Seated Crew added to the gun, the model is now fully assembled and ready to paint. |
|
Colour Guide
Once the guns and limbers are assembled, it is time to start thinking about
painting and what colours to use.
An example of the 90mm M1 Heavy Anti-aircraft gun can be seen to the
right, as featured in Dogs and Devils.
Learn more about Dogs and Devils here...
|
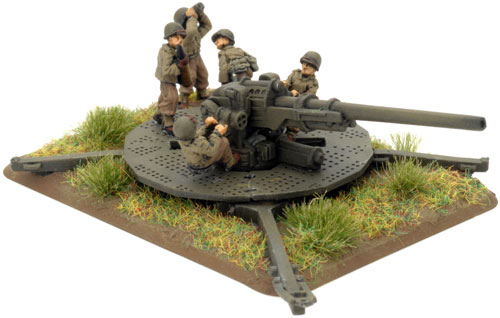 |
Colour Guide for the 90mm M1 Heavy AA Gun
|
Last Updated On Monday, July 12, 2010 by Chris at Battlefront
|
|
|