|
|
 |
|
|
Falaise Campaign Part II
|
Scenario 5: Hill 117
Mission
No Retreat. The German player is the attacker.
Forces
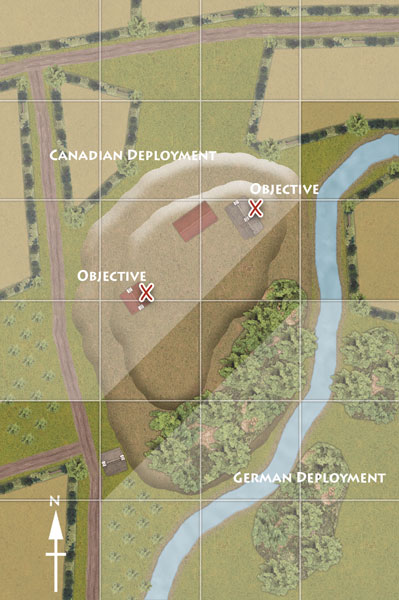
The headquarters of the South Alberta Regiment occupies Hill 117, which is being used as a clearing station for casualties and prisoners. It is also used as an observation position to call down artillery and air support for Canadian troops in St. Lambert as well as harass the retreating German forces. Armour from B Squadron is available in case it is needed.
German infantry is slipping across the Dives and moving east around the base of the hill and remain a constant threat. In addition, German counter-attacks from outside the Pocket are attempting to force the Falaise Gap open wider. These attacks are allowing German forces to drive a wedge between the Polish and Canadian positions. This main effort is aimed right at the SAR headquarters. The Panzer IV Tank Platoon, representing the break-in attack from outside the Falaise Pocket, must be held in reserve.
|
 |
|
Suggested Canadian force:
Sherman DD Armoured Squadron HQ (2x Sherman)
2 Sherman DD Armoured Troops (each 3x Sherman)
1 Crusader AA Troop (2x Crusader AA)
1 Stuart Recce Patrol (3x Stuart)
1 Rifle Platoon (7x Bren Gun & SMLE rifle team, 1x PIAT anti-tank team, 1x 2-inch mortar team)
1 Daimler Armoured Car Troop (2x Daimler, 1x Daimler Dingo)
1 M10 SP Anti-Tank Platoon (4x M10 (3-inch))
1 25 pdr Field Troop (4x 25 pdr gun)
Suggested German force:
Panzergrenadier Company HQ (2x MP40 SMG team with Panzerfaust)
3 Panzergrenadier Platoons (each 7x MG42 team with Panzerfaust)
1 sMG34 Machine-gun Platoon (4x sMG43 HMG)
1 8cm Mortar Platoon (4x 8cm mortar)
1 10.5cm Artillery Battery (4x 10.5cm howitzers)
Panzer IV Tank Platoon (4x Panzer IV)
|
Terrain
Hill 117 offers a commanding view of the Dives valley and runs southwest to northeast across the centre of the map and is roughly 48"/120cm long and 24"/60cm wide. It is heavily wooded on the lower slopes, but cultivated on the higher ground. A couple of farmhouses dot the heights.
The D13 highway starts in the northwest corner of the table, running south and skirting the west edge of the hill. The small Foulbec River flows from the east edge of the map, south and then west around the hill on its way to St. Lambert. It is Difficult Terrain for Tanks, Gun, Infantry teams.
The surrounding countryside is dotted with scattered farms, standing crops and orchards separated by low walls, hedges, and large woods.
|
 |
Results
• If the Canadians win, the German counterattack is stopped and the retreating Germans are channeled further south. The Canadians, under command of the headquarters, continue to disrupt the retreat and take prisoners. Proceed to Scenario 7, An Orderly Withdrawal? and use the Harassed Retreat Special Rule there.
• If the Germans win, they succeed in forcing the gap wider. They create a blocking line on the flanks of their retreat, so that some armour and transport units are able to escape. Proceed to Scenario 7, An Orderly Withdrawal? but do not use the Harassed Retreat Special Rule.
Scenario 6: Infiltrated!
Mission
Bridgehead. The German player is the attacker.
|
|
Forces
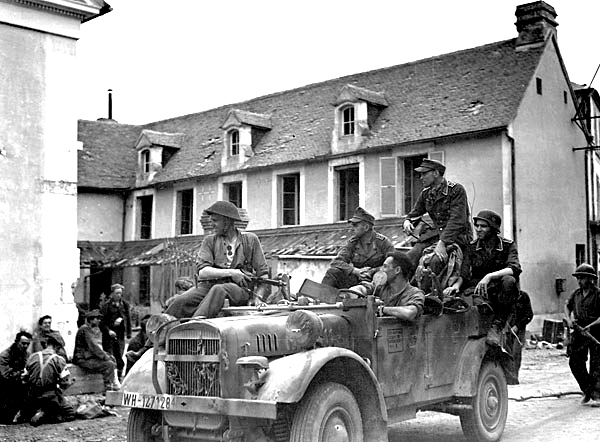
B Squadron of the South Alberta Regiment has been assigned to protect the south-eastern flank of the SAR Headquarters, on Hill 117. Unfortunately, all available infantry are now committed elsewhere, and the Squadron is in a very insecure position, surrounded by woods.
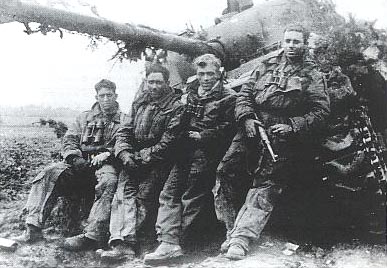
German Fallschirmjäger infantry have slipped into the area under the cover of darkness. Until now, both sides have exercised discretion in not engaging each other despite being so close together.
|
 |
 |
Suggested Canadian Force:
Sherman DD Armoured Troop HQ (3x Sherman)
2 Sherman DD Armoured Troops (each 3x Sherman)
1 Crusader AA Troop (2x Crusader AA)
1 25 pdr Field Troop (4x 25 pdr gun)
Suggested German Force:
Fallschirmjäger Company HQ (2x MP40 SMG team with Panzerfaust)
3 Fallschirmjäger Platoons (each 10x MG42 & K98 rifle teams, 1x Panzerschreck anti-tank team)
1 Fallschirmjäger 8cm Mortar platoon (4x 8cm Stummel mortar)
|
|
Terrain
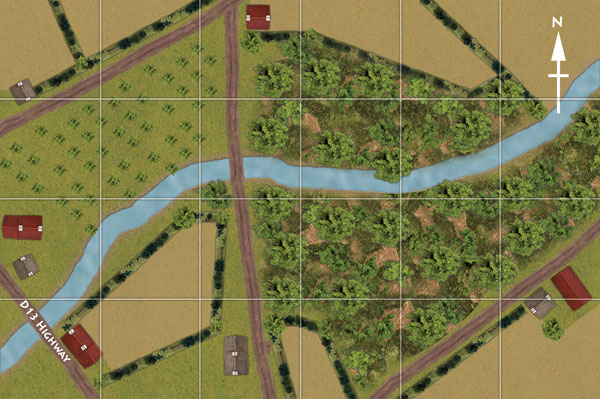
The map centre is dominated by overlapping features. First, a secondary road running north crosses the Foulbec River. The highway and river run through a heavily wooded area. The surrounding countryside is dotted with scattered farms, standing crops and orchards separated by low walls and hedges, and small woods. There are no significant hills.
The river is Difficult Terrain for Tank, Gun, and Infantry teams.Infantry and gun teams adjacent to either bank of the stream are Concealed.
|
 |
|
Results
• If the Canadian player wins, they maintain a blocking position and continue to disrupt the retreat and take prisoners. Proceed to Scenario 7, An Orderly Retreat? and use the Harassed Retreat Special Rule.
• If the German players wins, they succeed in forcing the gap wider, so that some armour and transport units are able to escape. Proceed to Scenario 7, An Orderly Withdrawal? but do not use the Harassed Retreat Special Rule.
Scenario 7: An Orderly Retreat
|
|
Mission
Rearguard. The Canadian player is the attacker.
Forces
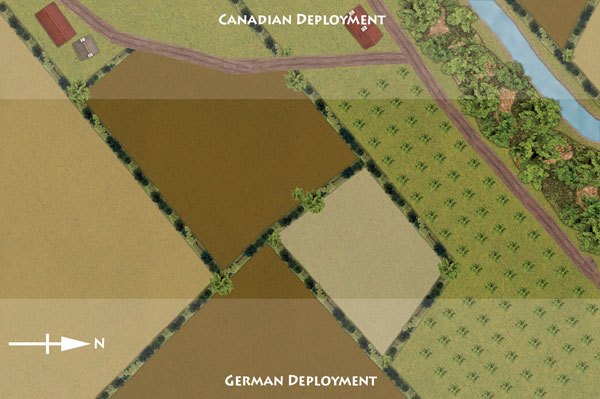
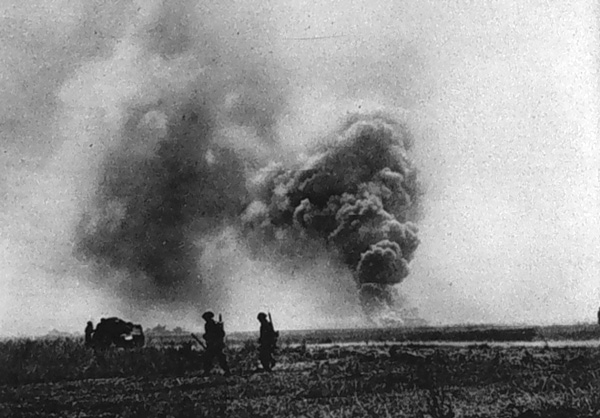
As the battle over the Falaise Gap winds down, the German rearguard forms up to allow retreating forces to move back towards the safety of prepared defensive lines near the Seine River. The Canadians, worn down after a week of intensive fighting, are ordered to maintain contact and attempt to seal the gap.
|
 |
 |
The Canadian player should field either a 100 point Sherman Armoured Squadron or Rifle Company, while the German player should field a 100 point Panzer IV Tank Company, Grenadier Company, Panzergrenadier Company, or Fallschirmjäger Company.
Harassed Retreat Special Rule
If instructed to use this special rule by a previous scenario, the Germans have been shattered and are on the verge of full rout. Sensing this, the Canadians commit all of their artillery assets to break their morale.
The Canadian player may conduct a Preliminary Bombardment before the battle begins.
|
|
Terrain
The countryside is dotted with scattered farms, standing crops and orchards separated by low walls and hedges, and small woods. There are no significant hills. The Normandy bocage has given way to larger, more open fields and created the opportunity for maneuvering battles.
Final Results
Total the accumulated Victory Points to determine the overall winner.
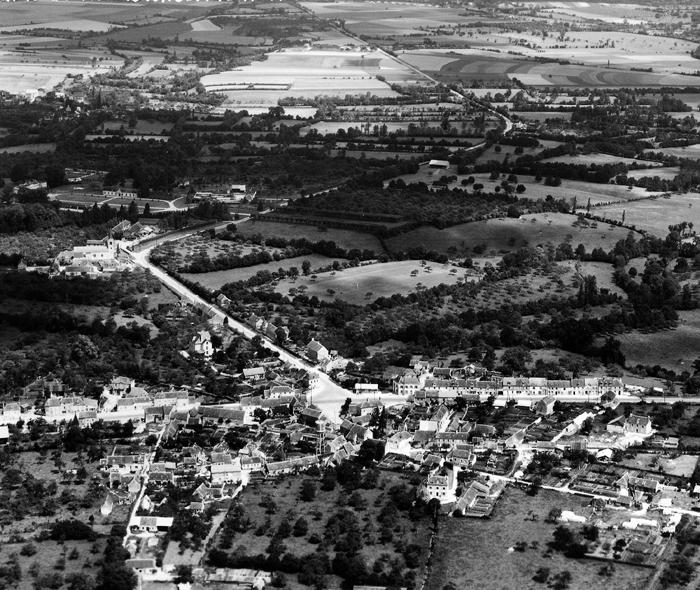
If the Canadians have more points than the Germans, they have managed to collapse the Falaise Gap, trapping the retreating Germans inside. Their success will lead to an easy liberation of France!
|
 |
| If the Germans have more points than the Canadians, they have succeeded in keeping the way open allowing many troops to escape capture and destruction. Saving these troops means that the Germans can put together a solid defense at the Seine River to stall the Allied advance. |
|
|
Historical Results
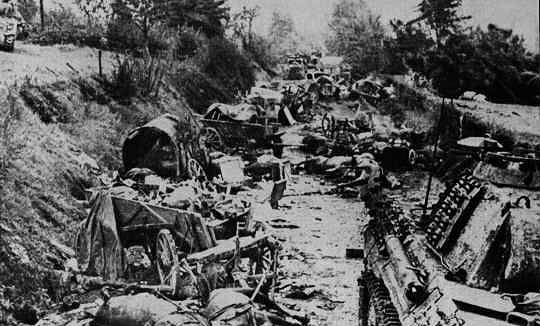
The Canadians, with barely three companies of infantry and a squadron of tanks at their leading edge, were ill equipped and outnumbered 100 to 1 against the tide of Germans retreating through the gap between Trun and Chambois. All around them were horrific scenes as whole columns of German infantry, armour, vehicles and horse transports were annihilated by continuous air and artillery attacks. Around St. Lambert itself, nearly 350 German armoured fighting vehicles, 2000 trucks, 700 cars and 250 guns were destroyed or abandoned. |
|
Even Montgomery recommended that his younger staff officers visit the area if they wanted to see the reality of war.
|
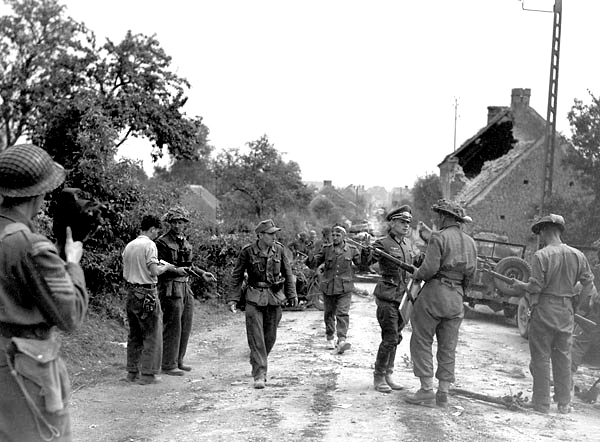
| Many have been faulted for the failure to close the Falaise Gap, but roughly half of the German forces evacuating Normandy were destroyed or captured, and the loss of armour and transport was devastating on the Wehrmacht. The Canadians mounted a heroic stand in and around St. Lambert-sur-Dives, killing hundreds and capturing thousands, but they could not hold the south end of the village nor control the bridges there. Still, their extraordinary courage and resilience of Major Dave Currie led to his being awarded of the Victoria Cross for his actions commanding C Squadron of the South Alberta Regiment. Currie later said the award was not his personal award, but something he carried “for a lot of people who aren’t here anymore.” |
 |
Last Updated On Tuesday, May 26, 2020 by Wayne at Battlefront
|
|
|