
|
| |
|
|
|
|
 |
|
|
Assembling The M4 Sherman (Late)
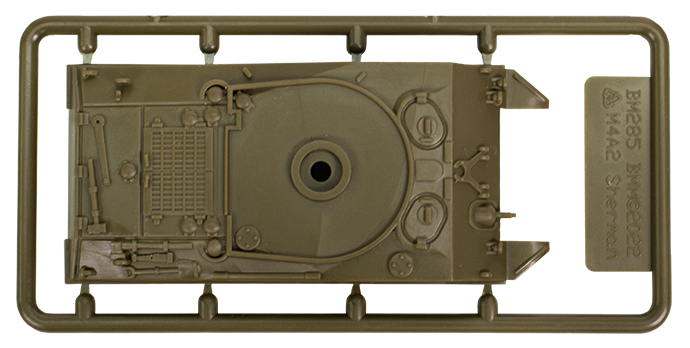
| Note: If you are assembling the M4 Emcha, replace the upper hull in the steps below with the M4A2 upper hull included. You will not need to attach a front glacis plate. |
 |
 |
 |
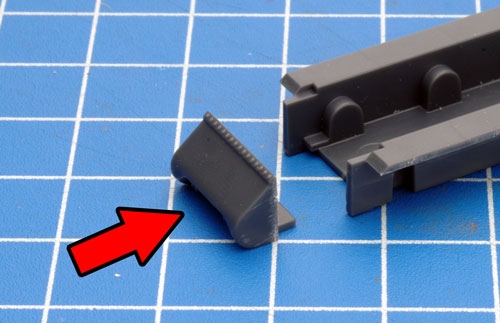
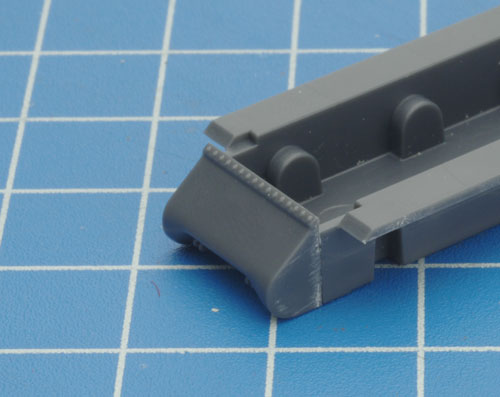
| Step 1. Begin by attaching the final drive section to the front of the lower hull. |
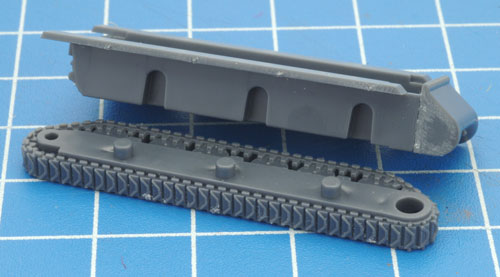
Step 2. Next, attach the tracks to the lower hull.
Note: Each track has been keyed to correspond with a particular side of the hull; this aids in ensuring the correct orientation of the tracks when assembling the miniature. |
 |
 |
 |
 |
| Tip: Although regular Hobby Glue can be used to assemble plastic vehicles, we recommend that you use good quality plastic cement instead. It gives the strongest bond when gluing plastic to plastic. |
| Below: The left-hand side track attached to the hull. |
Below: The right-hand side track attached to the hull. |
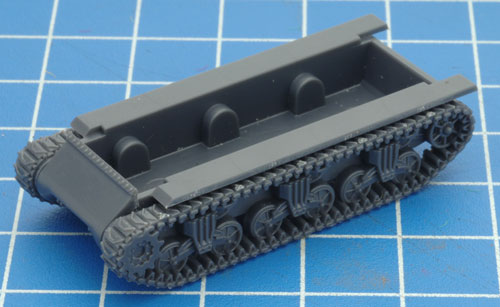
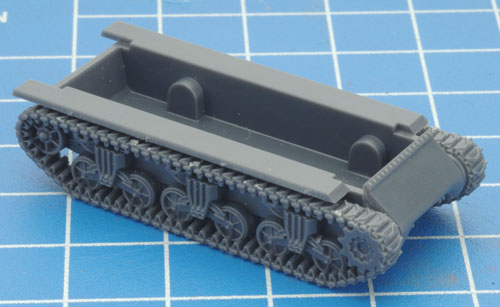
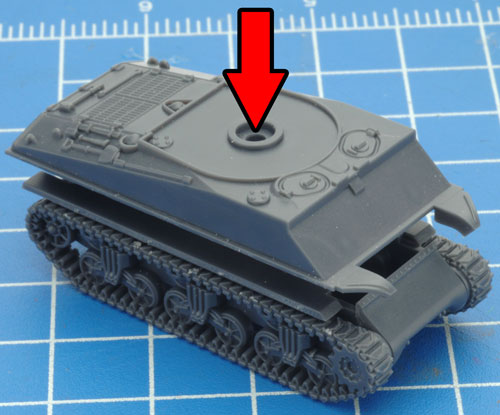
Step 3. Next, attach the upper hull section to the lower hull. |
 |
 |
 |
| Tip: When referring to the left or right-hand side in regards to a Flames Of War miniature, the orientation is determined as if looking at the vehicle from the rear. |
| Below: The upper and lower hulls now joined. |
Step 4. Attach the stowage rack to the rear of the hull. |
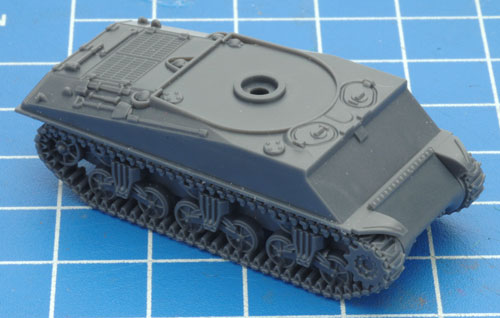
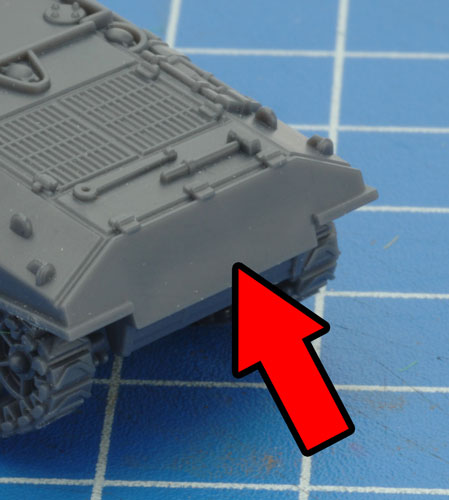
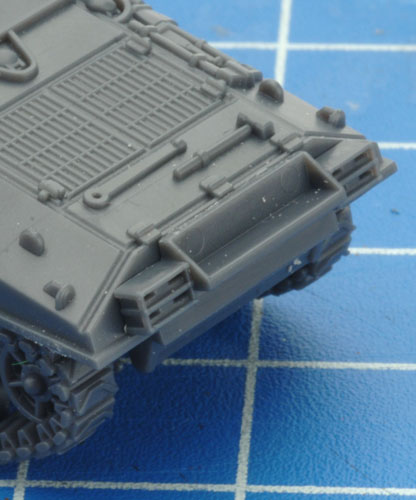
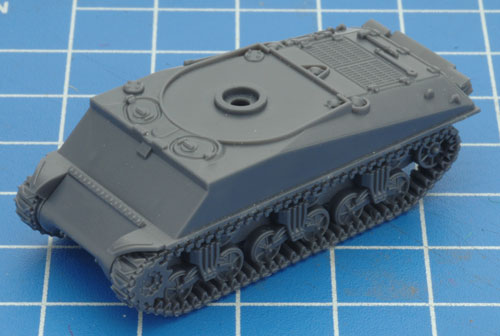
Below: With the stowage rack attached, the basic hull of the M4 Sherman is now fully assembled. |
 |
 |
 |
 |
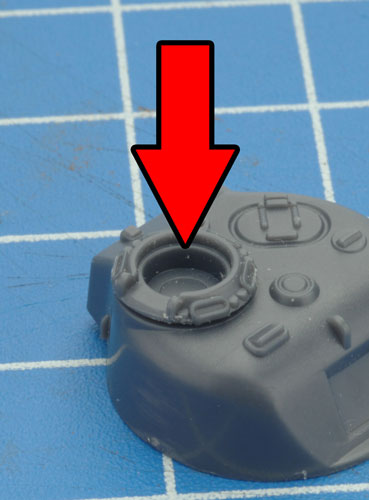
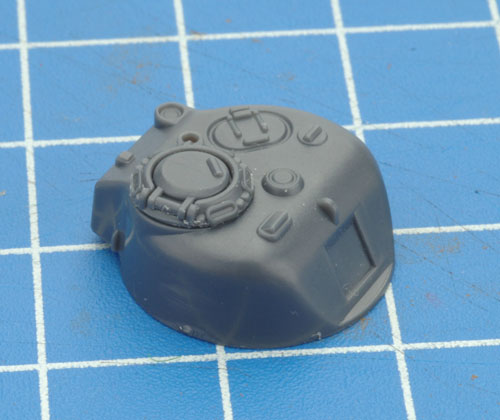
| Step 5. Attach the hatch to the inside of the commander's cupola. |
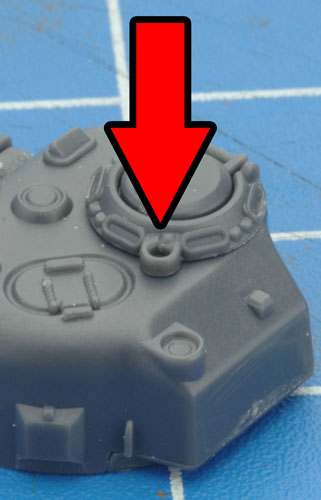
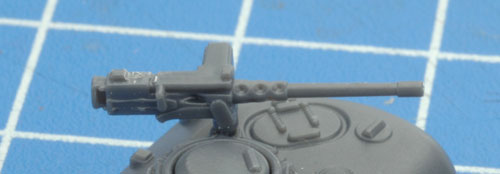
Step 6. Next, attach the .50 cal AA MG to cupola ring. |
 |
 |
 |
 |
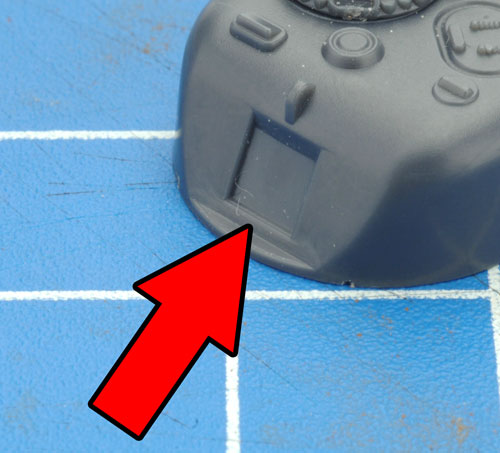
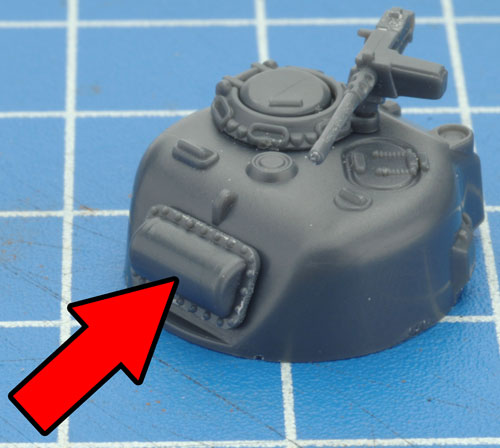
| Step 7. Attach the 75mm gun trunnion to the front of the turret. |
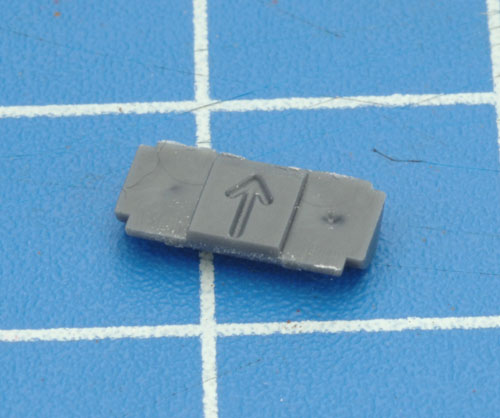
Below: The back of the 75mm gun trunnion has an arrow to indicate which way is up. |
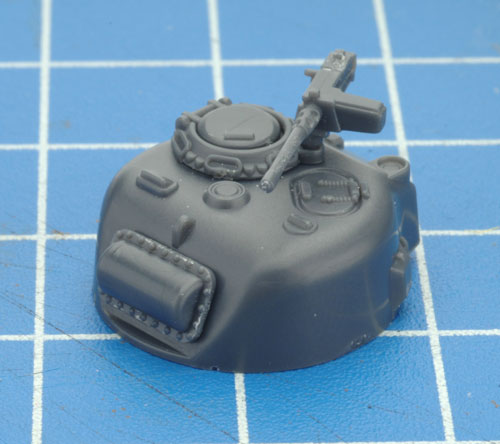
Below: The 75mm trunnion attached to the front of the turret. |
 |
 |
 |
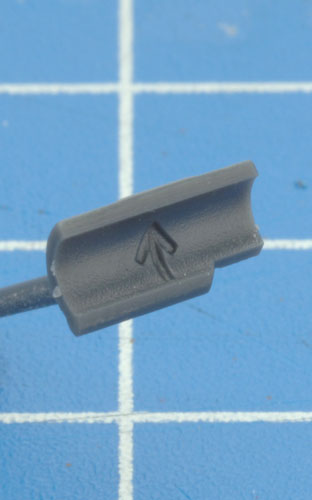
| Below: The back of the 75mm gun also has an arrow to indicate which way is up. |
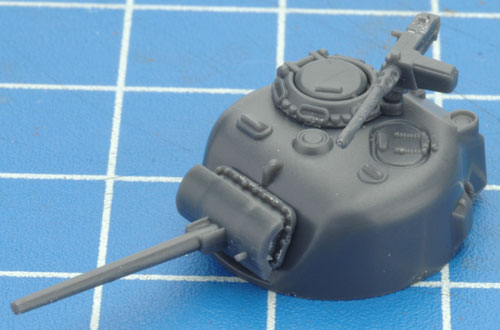
Step 8. Attach the 75mm gun to the gun trunnion. |
Below: With the 75mm gun in place, the M4 Sherman (Late 75mm) turret is now fully assembled. |
 |
 |
 |
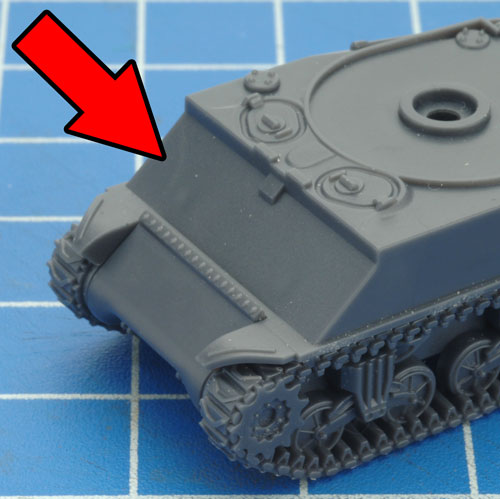
| Step 9. Begin by attaching the glacis plate to the front of the hull. |
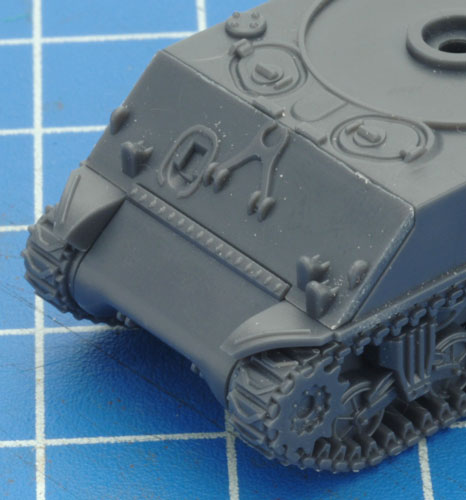
Step 10. Attach the hull MG to the glacis plate. |
 |
 |
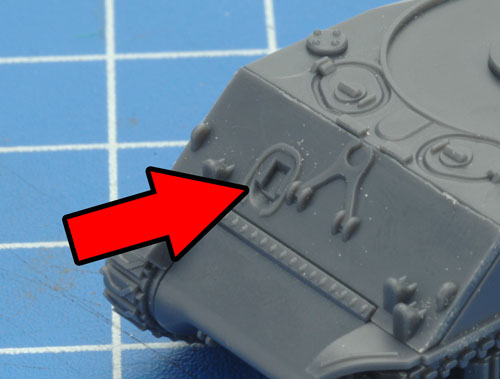 |
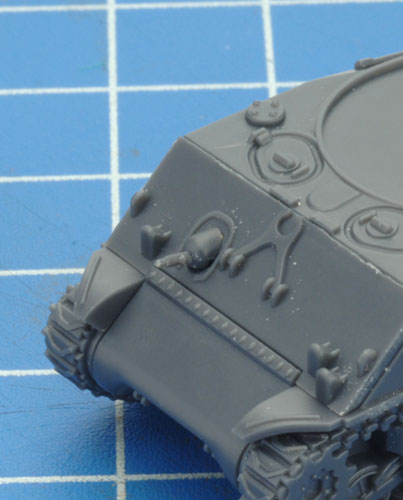
| Below: The hull MG attached to the front of the hull. |
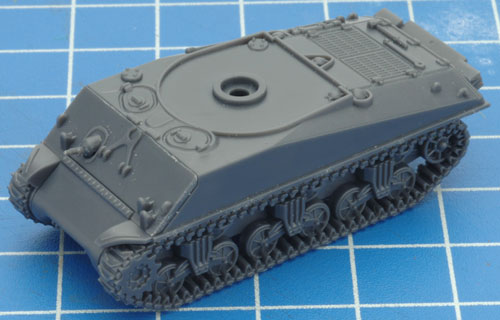
Below: With the hull MG in place, the hull of the M4 Sherman (Late 75mm) is fully assembled. |
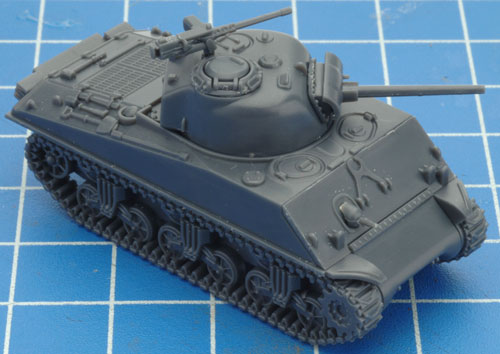
Below: With the turret added to the hull our M4 Sherman (Late 75mm) is now complete. |
 |
 |
 |
 |
| Components Required For The M4 Sherman (Late 76mm) |
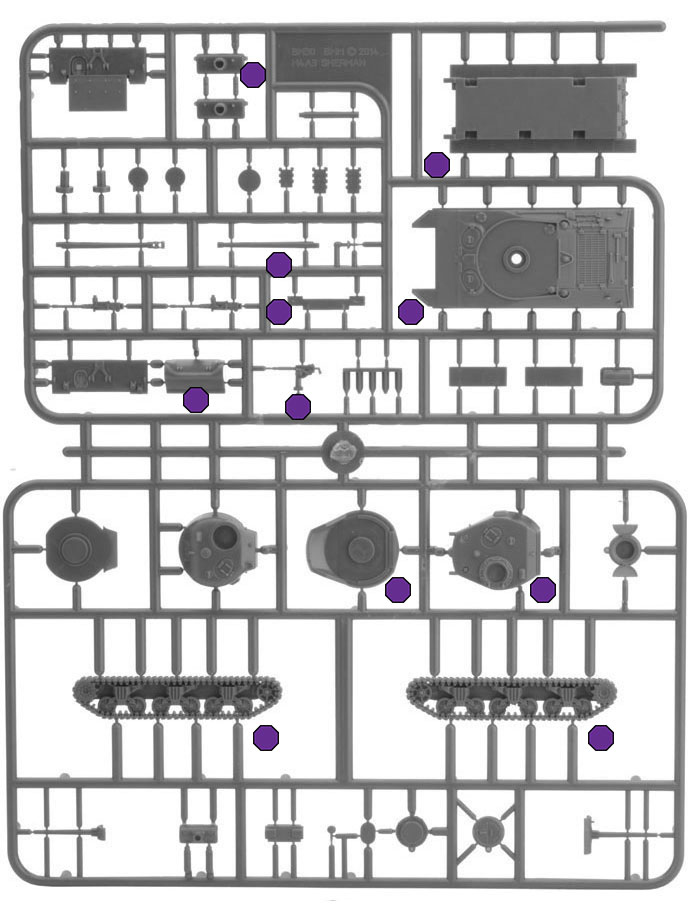 |
| Step 1. Begin by attaching the final drive section to the front of the lower hull. |
Step 2. Next, attach the tracks to the lower hull.
Note: Each track has been keyed to correspond with a particular side of the hull; this aids in ensuring the correct orientation of the tracks when assembling the miniature. |
 |
 |
 |
 |
| Tip: Although regular Hobby Glue can be used to assemble plastic vehicles, we recommend that you use good quality plastic cement instead. It gives the strongest bond when gluing plastic to plastic. |
| Below: The left-hand side track attached to the hull. |
Below: The right-hand side track attached to the hull. |
Step 3. Next, attach the upper hull section to the lower hull. |
 |
 |
 |
| Tip: When referring to the left or right-hand side in regards to a Flames Of War miniature, the orientation is determined as if looking at the vehicle from the rear. |
| Below: The upper and lower hulls now joined. |
Step 3. Attach the stowage rack to the rear of the hull. |
Below: With the stowage rack attached, the basic hull of the M4 Sherman is now fully assembled. |
 |
 |
 |
 |
| Step 4. Begin by attaching the glacis plate to the front of the hull. |
Step 5. Attach the hull MG to the glacis plate. |
 |
 |
 |
| Below: The hull MG attached to the front of the hull. |
Below: With the hull MG in place, the hull of the M4 Sherman (Late 76mm) is fully assembled. |
 |
 |
| Step 6. Begin by joining the upper and lower sections of the turret. |
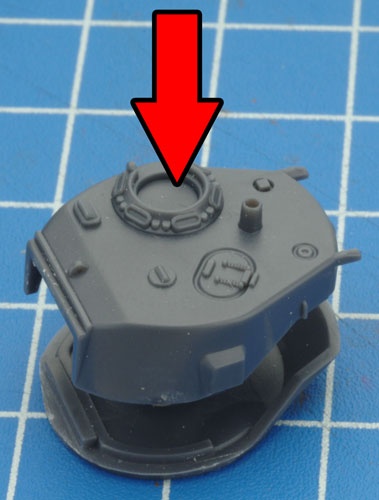
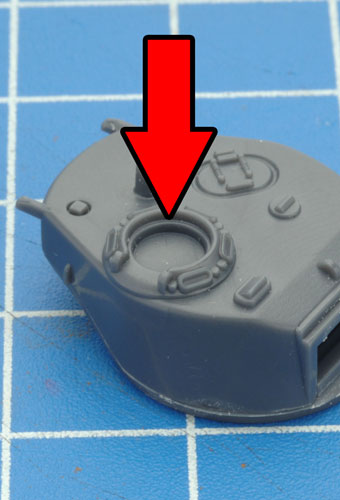
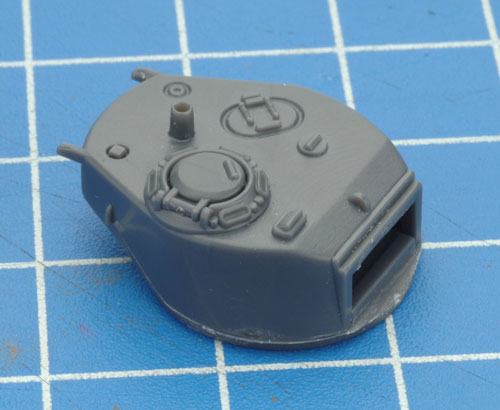
Step 7. Next, add the hatch to the commander's cupola. |
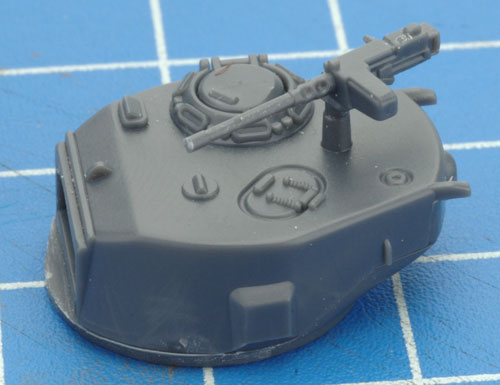
Step 8. Attach the .50 cal AA MG to the pintle mount located on the top of the turret. |
 |
 |
 |
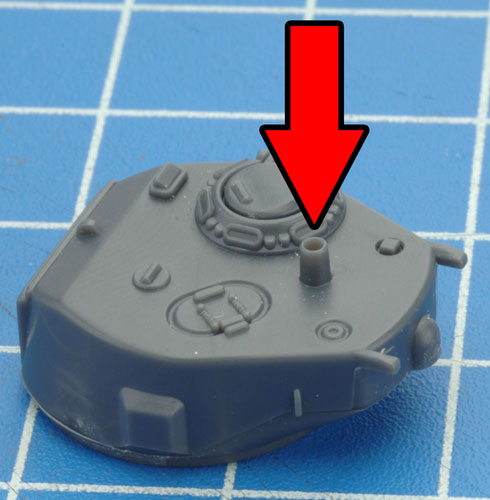 |
| Below: The .50 cal AA MG mounted on the turret. |
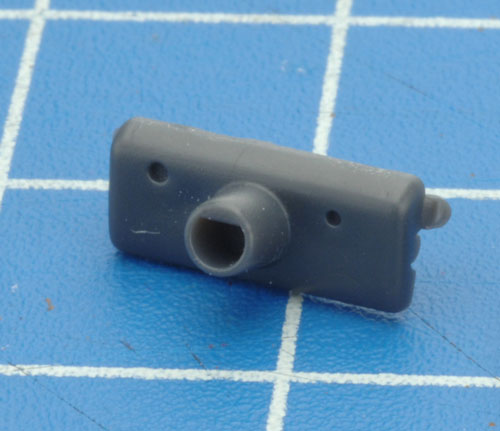
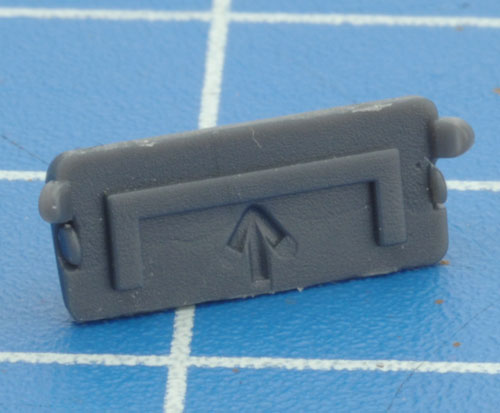
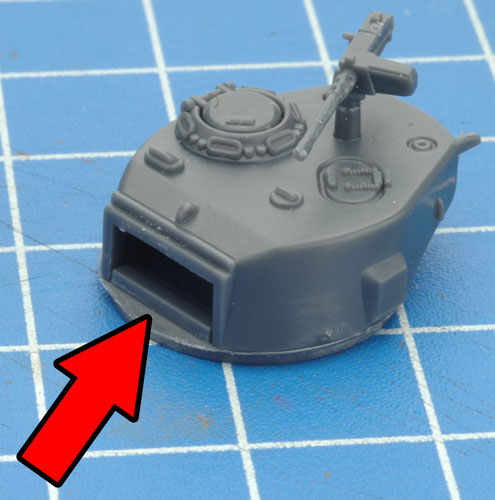
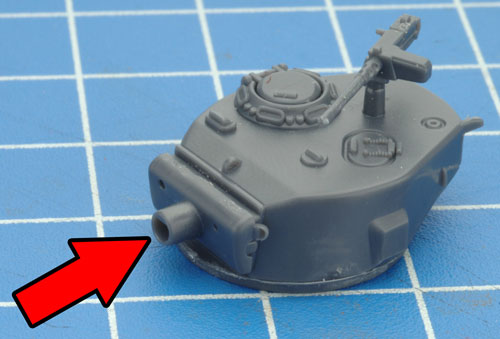
Step 9. Next, attach the gun mantlet to the front of the turret. The back of the 76mm gun mantlet has an arrow to indicate which way is up. |
 |
 |
 |
 |
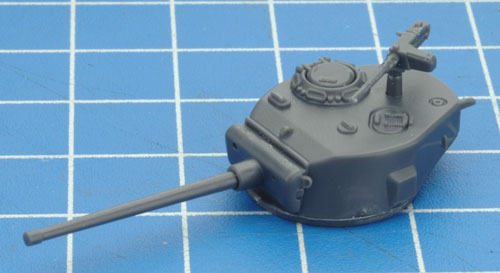
| Step 10. Finally, attach the 76mm gun to the gun mantlet. |
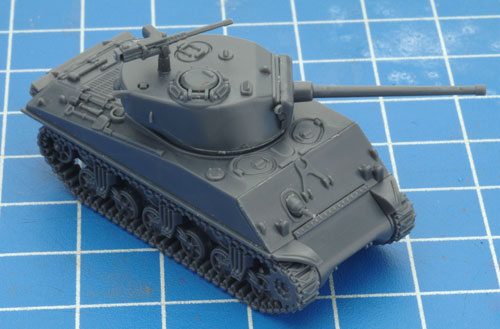
Below: The M4 Sherman (Late 76mm) fully assembled. |
 |
 |
 |
| Step 1. Begin by attaching the final drive section to the front of the lower hull. |
Step 2. Next, attach the tracks to the lower hull.
Note: Each track has been keyed to correspond with a particular side of the hull; this aids in ensuring the correct orientation of the tracks when assembling the miniature. |
 |
 |
 |
 |
| Tip: Although regular Hobby Glue can be used to assemble plastic vehicles, we recommend that you use good quality plastic cement instead. It gives the strongest bond when gluing plastic to plastic. |
| Below: The left-hand side track attached to the hull. |
Below: The right-hand side track attached to the hull. |
Step 2. Next, attach the upper hull section to the lower hull. |
 |
 |
 |
| Tip: When referring to the left or right-hand side in regards to a Flames Of War miniature, the orientation is determined as if looking at the vehicle from the rear. |
| Below: The upper and lower hulls now joined. |
Step 3. Attach the stowage rack to the rear of the hull. |
Below: With the stowage rack attached, the basic hull is now fully assembled. |
 |
 |
 |
 |
| Step 3. Begin by attaching the glacis plate to the front of the hull. |
Step 4. Attach the hull MG to the glacis plate. |
 |
 |
 |
| Below: The hull MG attached to the front of the hull. |
Below: With the hull MG in place, the hull of the M4 Sherman (105mm) is fully assembled. |
 |
 |
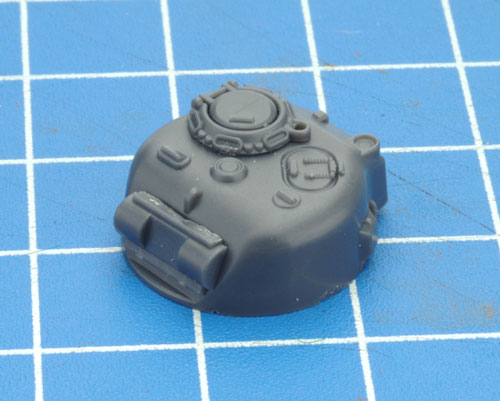
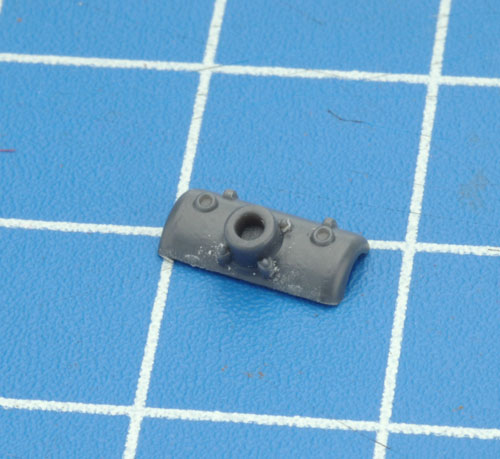
| Step 5. Attach the 105mm gun trunnion to the front of the turret. |
Below: The back of the 105mm gun trunnion has an arrow to indicate which way is up. |
Below: The 105mm trunnion attached to the front of the turret.
|
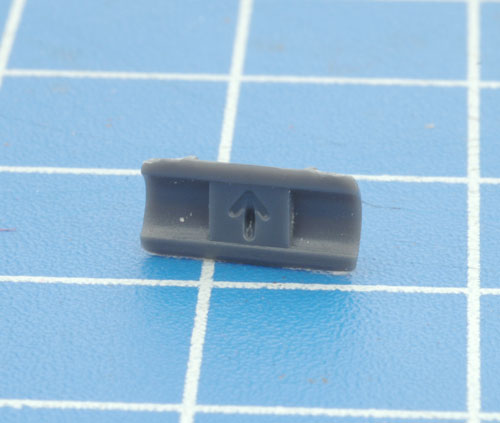
Step 6. Next, attach the 105mm gun mantlet. |
 |
 |
 |
 |
| Below: The back of the 105mm gun mantlet also has an arrow to indicate which way is up. |
Below: The 105mm gun mantlet attached to the front of the turret. |
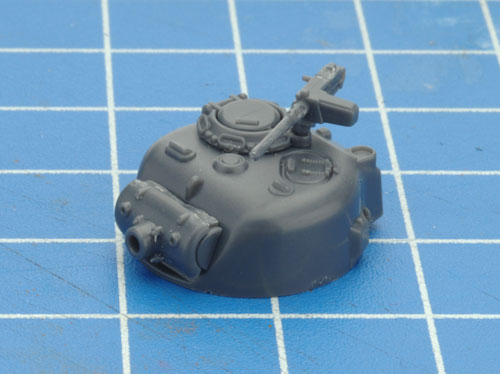
Step 7. Finally, attach the 105mm gun barrel to the gun mantlet. |
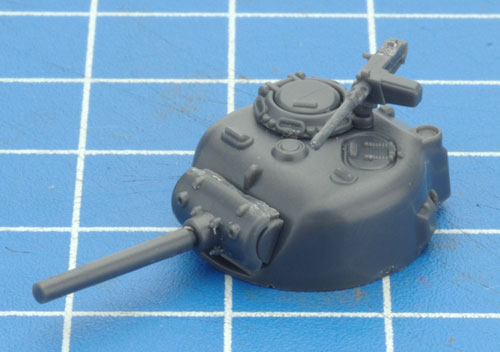
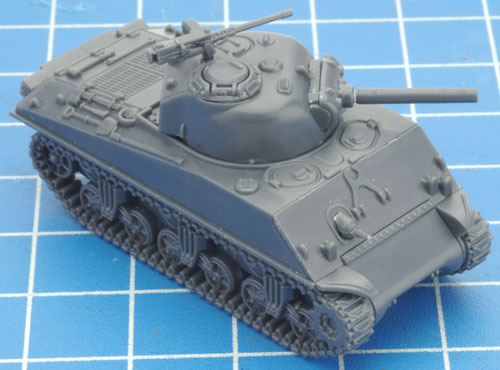
Below: With the addition of the 105mm equipped turret the M4 Sherman (105mm) is now fully assembled. |
 |
 |
 |
 |
|
Using Rare-earth Magnets
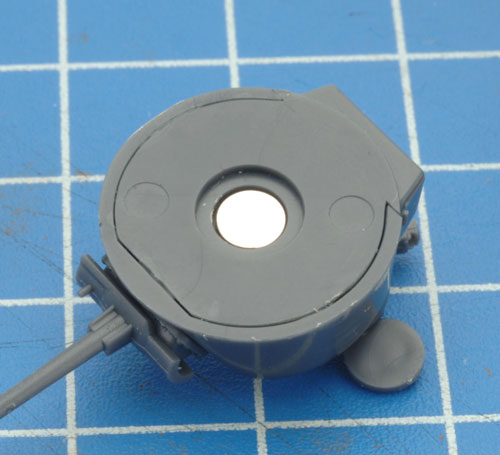
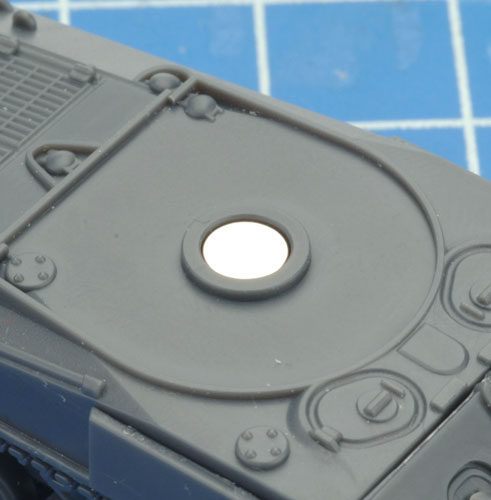
The alternate method of attaching the turret to the hull is to use rare-earth magnets. To do this, simply glue a rare-earth magnet into the recess in the bottom of the turret rather than using the turret peg. Then glue another magnet into the recess located on the top of the hull and you have a safe and secure way of attaching the turret to the hull.
Read Chris' guide to Rare Earth Magnets here... |
 |
 |
|
| Adding The Extras |
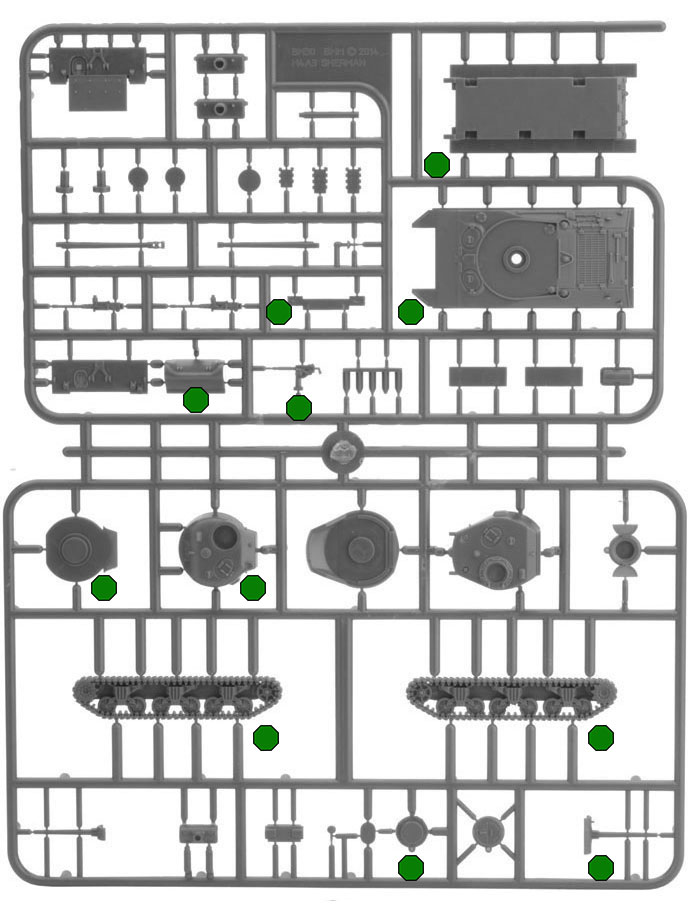
| The plastic M4 Sherman (Late War) sprue also includes a number of extras that can be added to your vehicles. These are marked with red on the sprue below. |
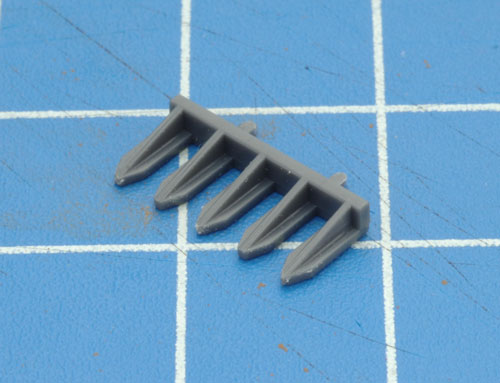
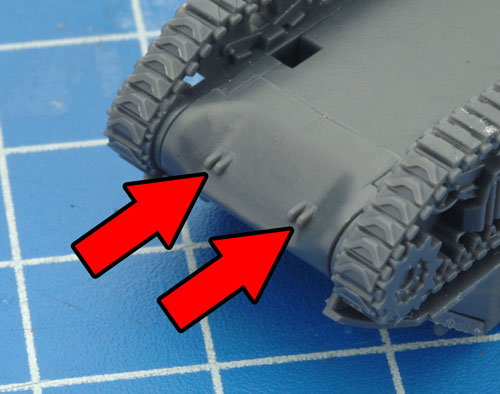
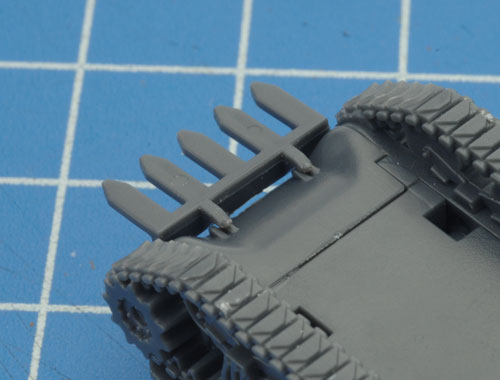
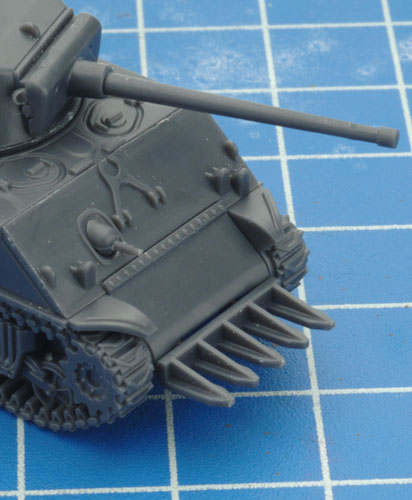
| Step 1. The hedgerow cutters attach to the underside of the final drive as shown below. |
Below: The attached hedgerow
cutters. |
 |
 |
 |
 |
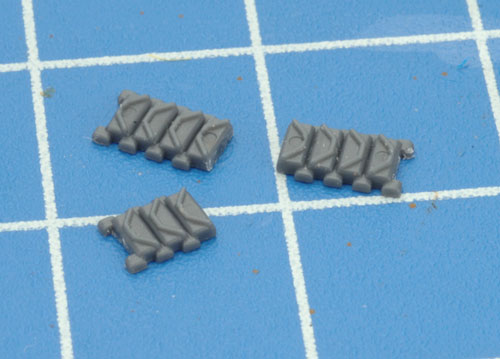
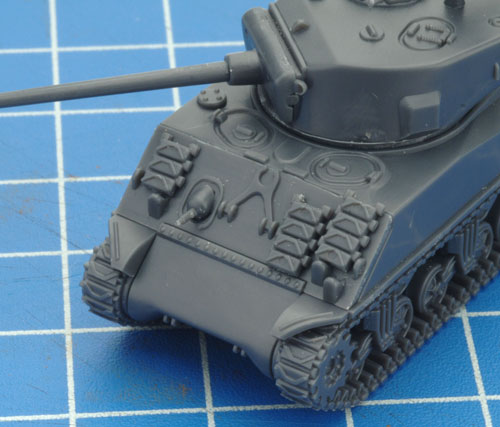
| Spare Track Links |
| Spare track links can be added to the hull front or turret sides to help add some modelling variety to your miniatures. |
 |
 |
|
|
|